hugh.radkins@LIGO.ORG - posted 17:24, Wednesday 14 December 2011 (1915)
SEI Payload reloaded onto BSC8 ISI
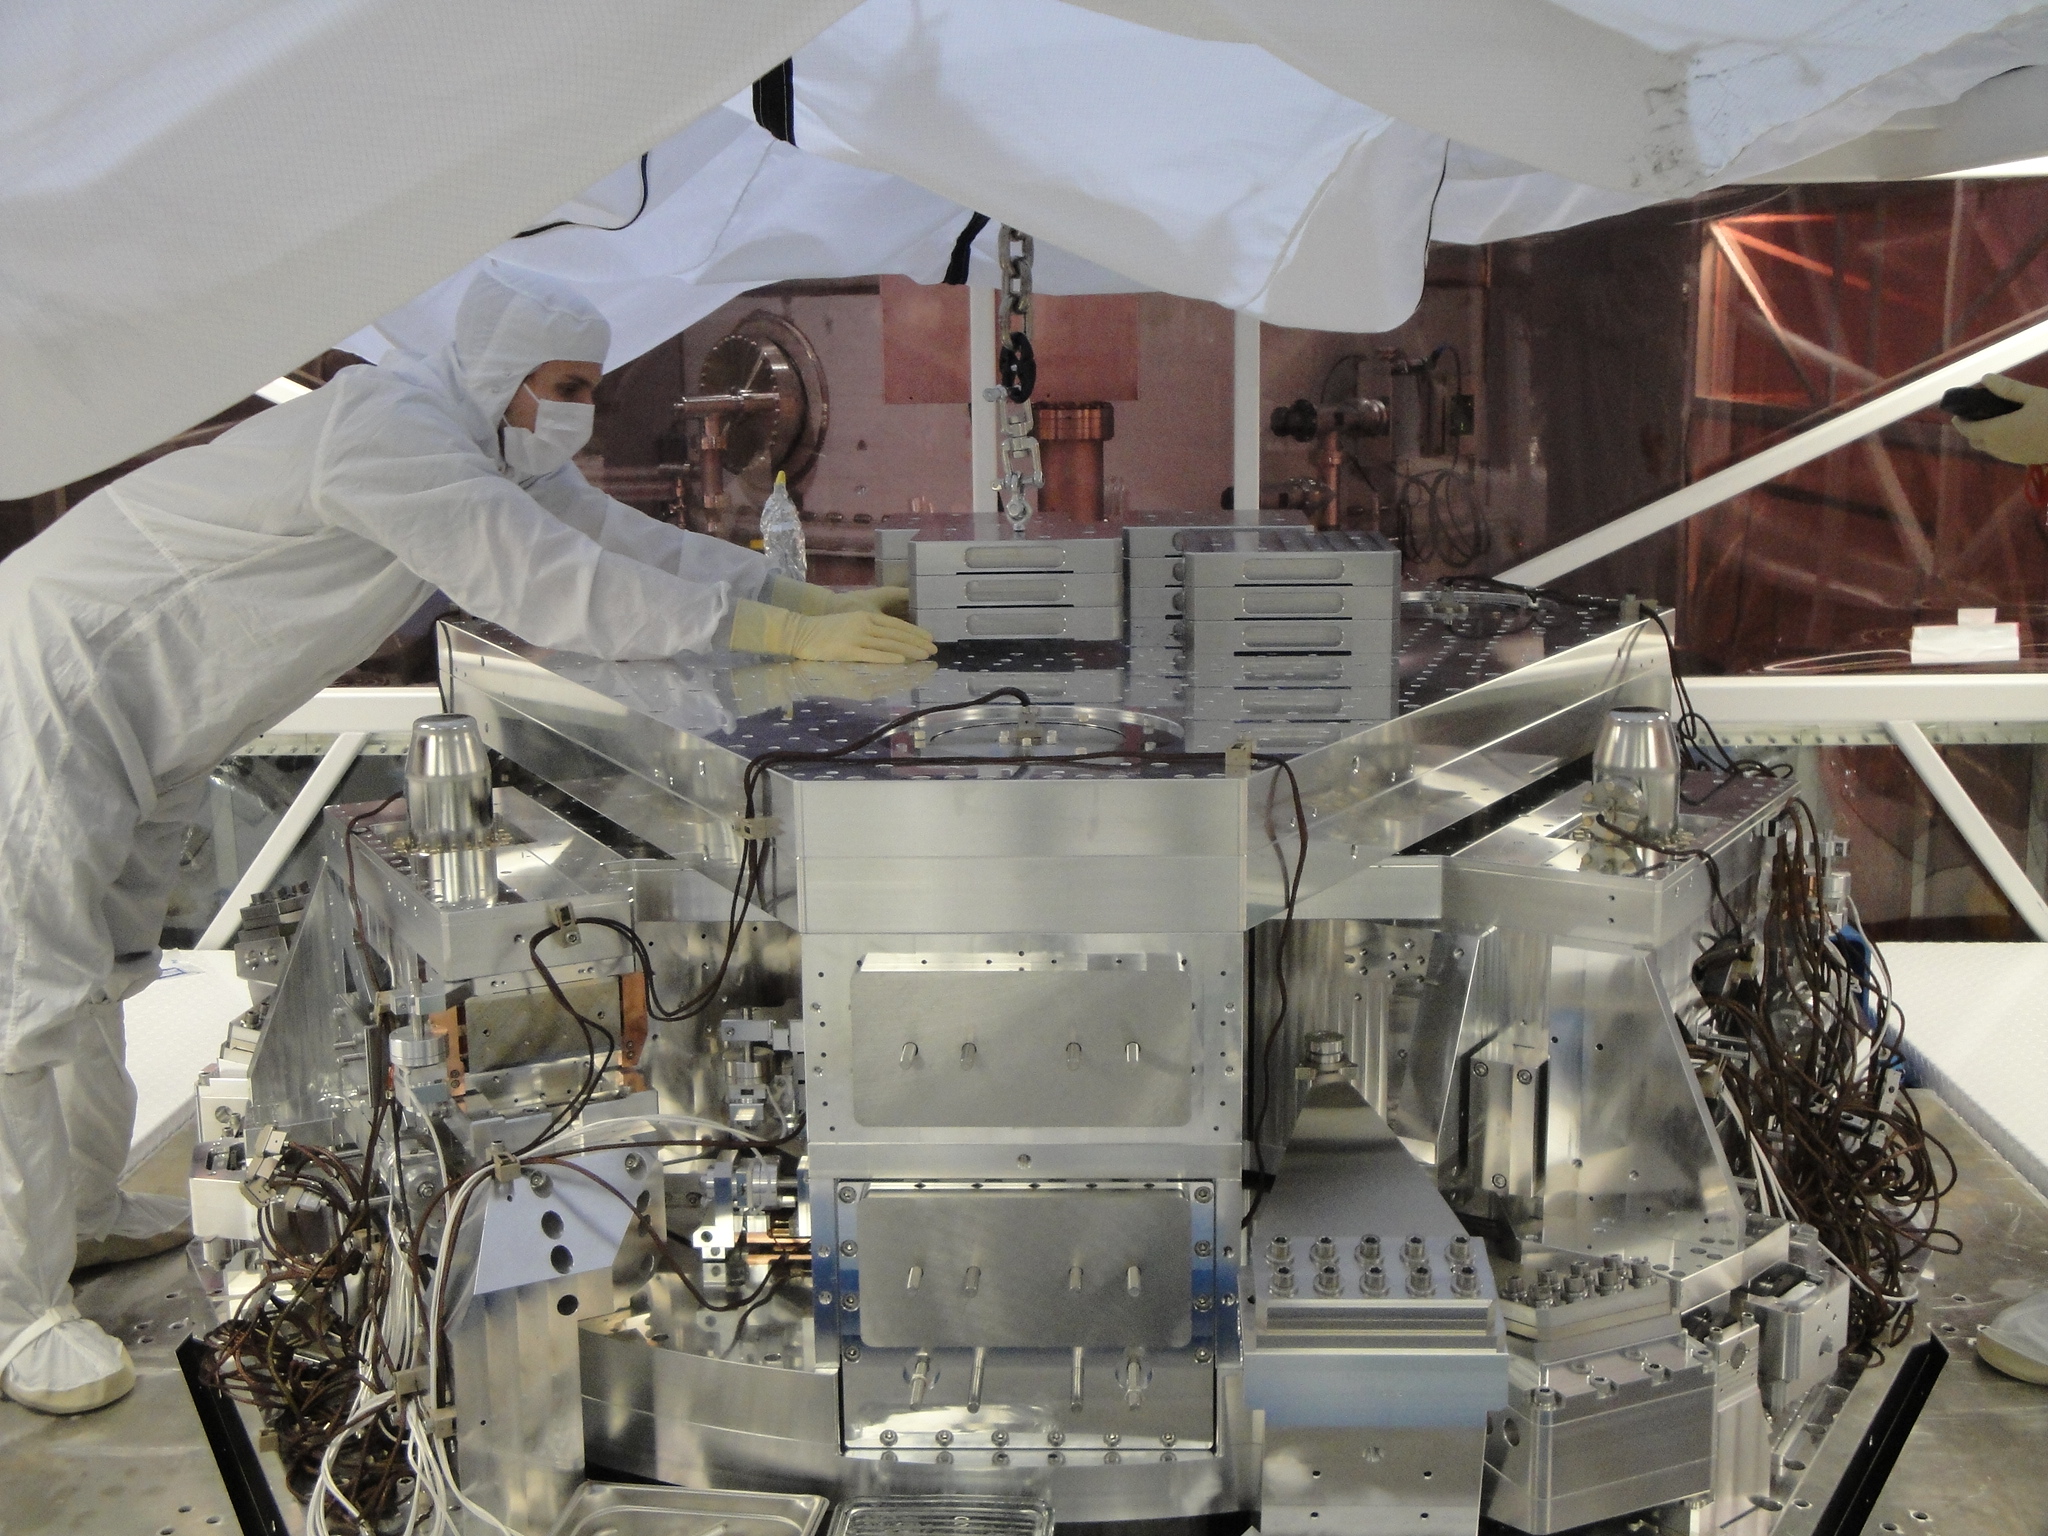
Jim & Greg carefully positioned the Keel Masses and symmetrically located the Stage2 side wall masses(D071200).  The lockers are now loose so that means we are close to being balanced.  Good news this is as models are looking close to realistic.

The ISI however remains locked.  Once all the in-air cabling is run and we can power up the CPSs (Capacitive Position Sensors,) we'll use those to fine tune the mass distribution for balance, modulo any IAS tweaking for table level.

Attached is a photo of Greg fine tuning the last of the four 150lbs Keel Ballast Mass Stacks.
Images attached to this report