jeffrey.bartlett@LIGO.ORG - posted 16:53, Thursday 07 October 2010 (201)
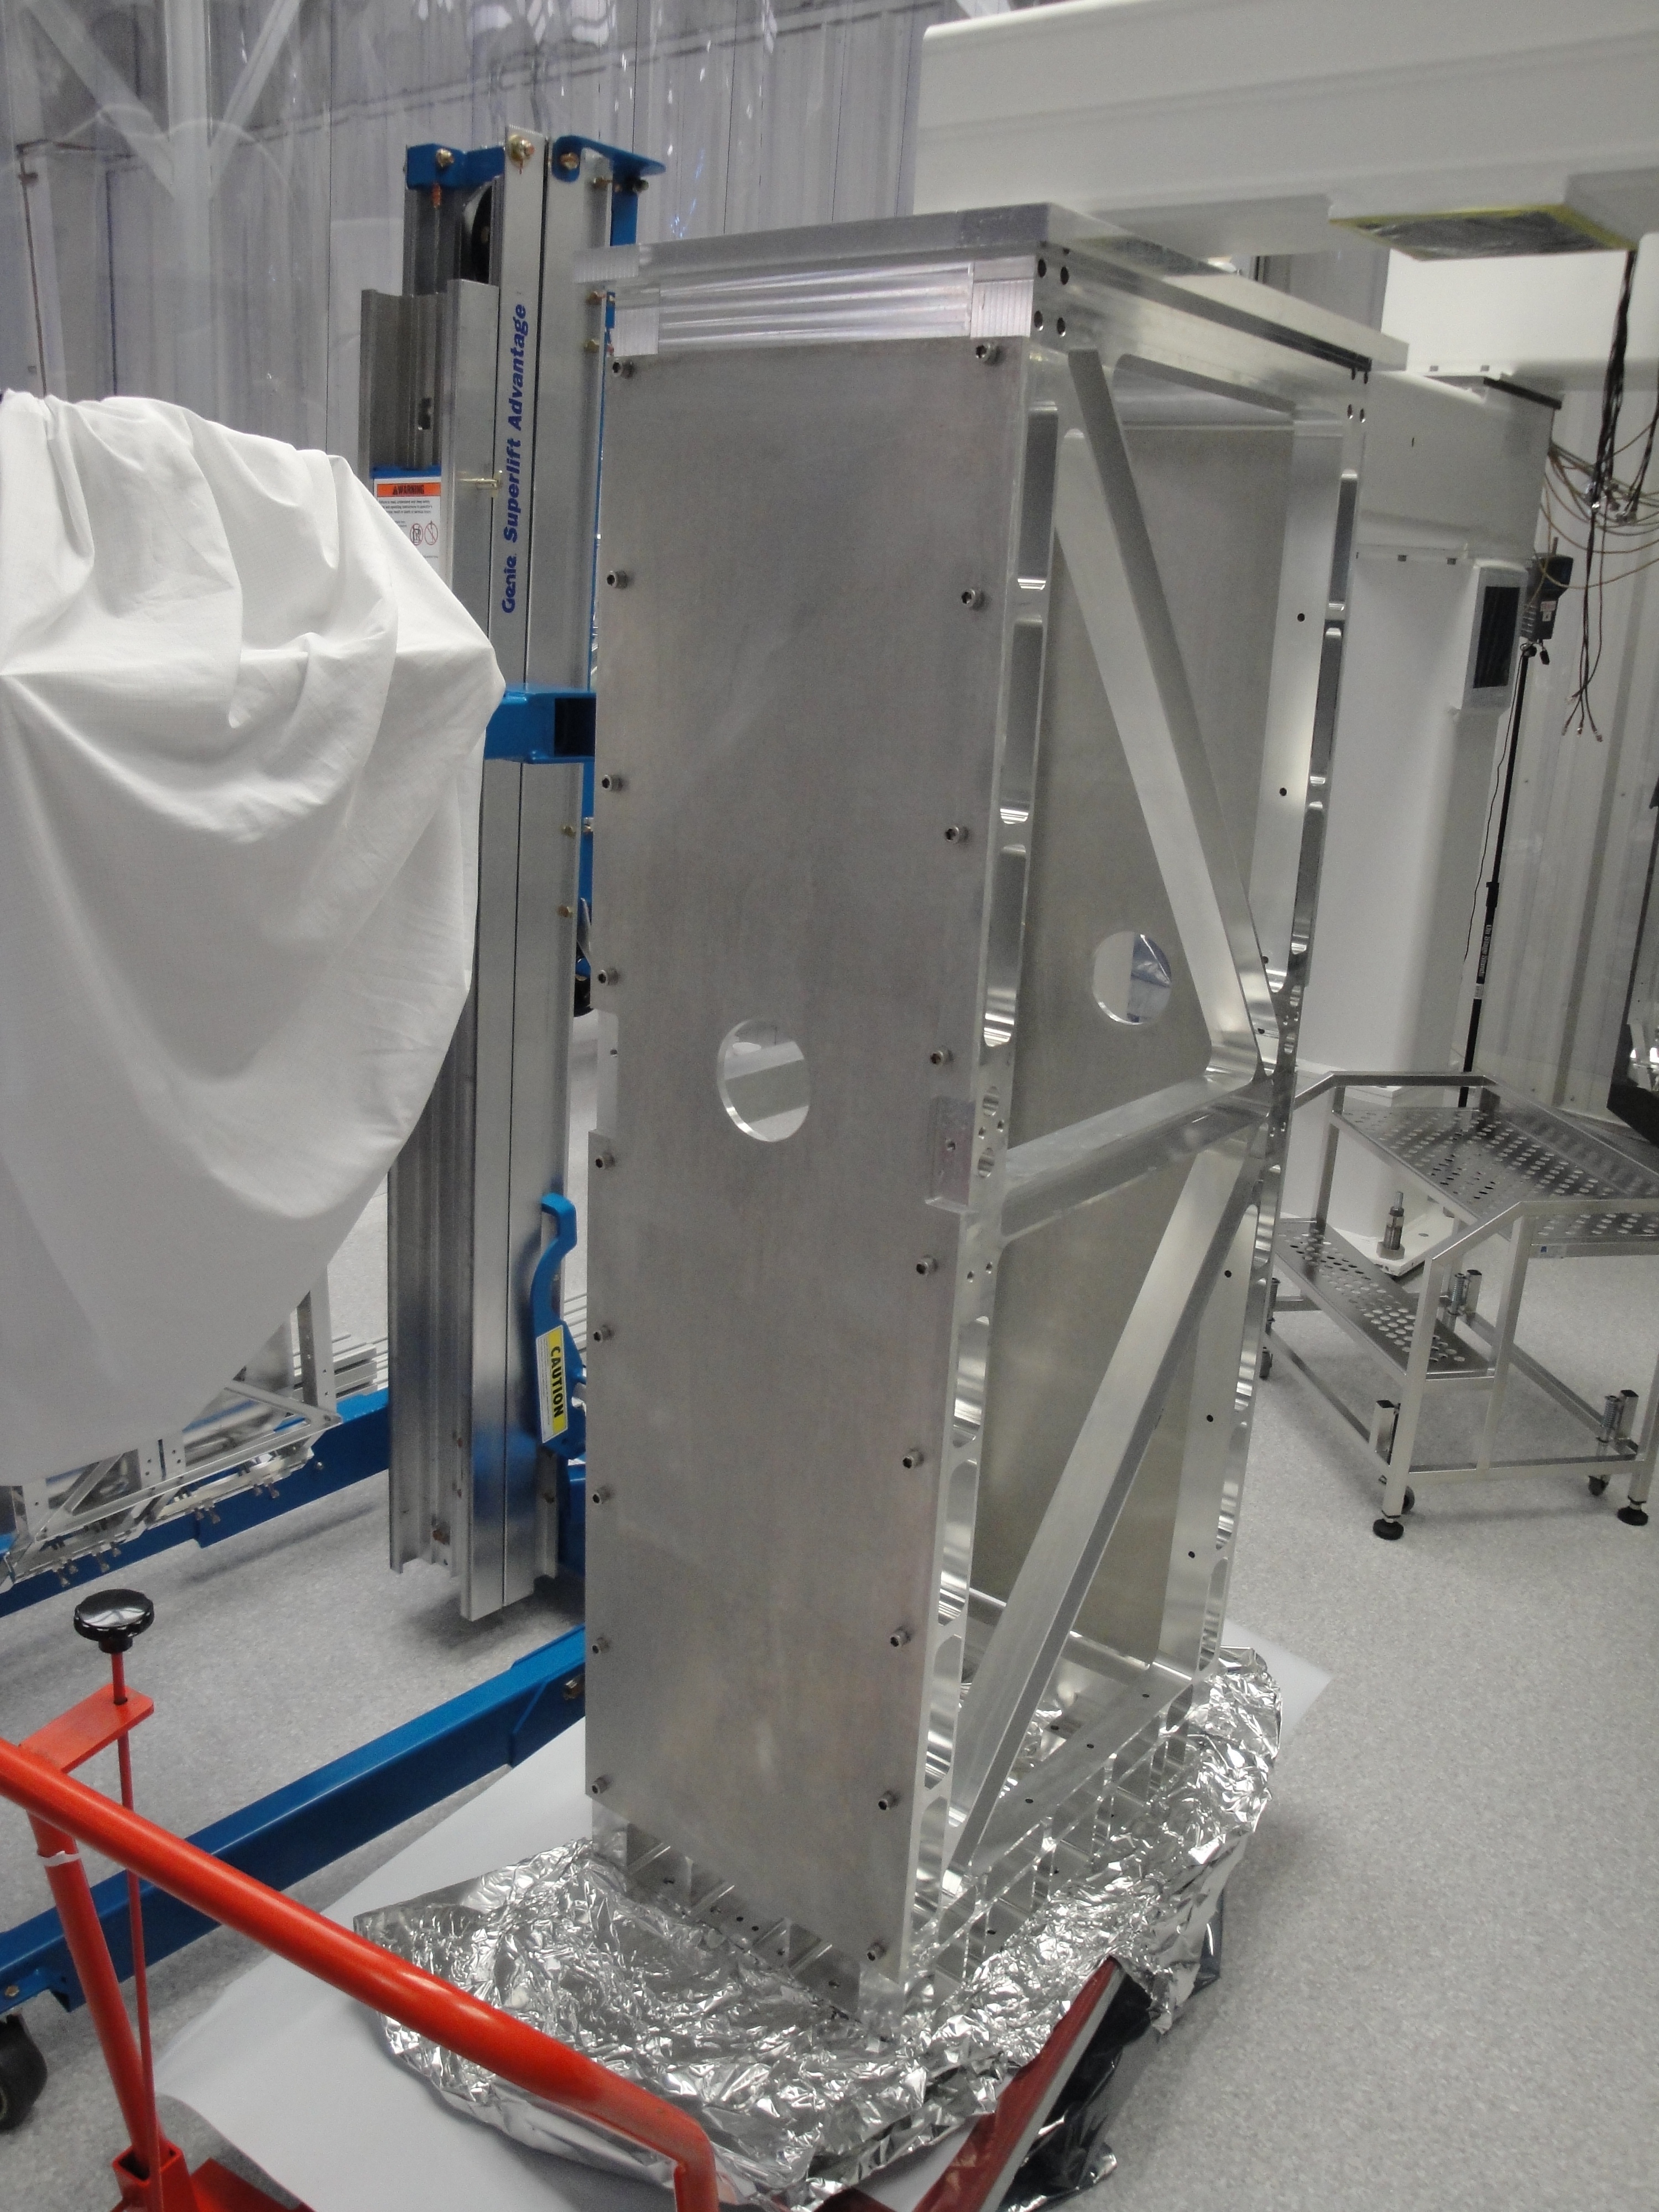
Beam Splitter Upper Structure
 We completed the test assembly of the Beam Splitter Upper Structure. To ease installation of the Shear Plates we enlarged all but the top two mounting holes to 29/64”.

Beam Splitter Upper Structure Assembly Procedures:

(1). Assemble the Upper Structure Face Plates, Bottom Ring and US Cross Member. Snug the bolts enough to allow a semi-ridge structure, but with enough give to allow some wiggle. This will help to align the Face Plate bolts.

(2). Stand the assembled Upper Structure upright on a level surface.

(3). Hold one of the Shear Plates to a Face Plate and run in the top two bolts. Lightly snug these bolts, but do not tighten.

(4). Run in the remaining bolts so the washer has about a 1 mm gap between the Shear Plate and the Face Plate. Note: Rock the structure from side to side slightly and/or wiggle the Shear Plate to allow alignment of the bolts. When you get to the bottom bolts, it may be necessary to lever up the Shear Plate due to sag.

(5). Repeat steps 3 and 4 on the other Shear Plate.

(6). When both Shear Plates are mounted, tighten the bolts using a crossing pattern, paying close attention to squaring the Shear Plates to the Face Plates. Make at least two rounds of tightening to ensure the structure does not creep, as the bolts are tightened.

(7). When all the Shear Plate bolts are tight, tighten the bolts on the Bottom Ring and US Cross Members.

(8). Remove the Shear Plates and store until the Beam Splitter has been installed in the chamber and aligned.

This procedure should ensure the Shear Plate to Upper Structure fit is correct for installation. If it is not, you may try slightly loosening the bolts on the Bottom Ring allowing the Structure to “float” into a square alignment. Tighten all bolts as noted above.
Images attached to this report