jeffrey.kissel@LIGO.ORG - posted 16:32, Tuesday 05 April 2016 (26452)
HAM6 Vent Progress
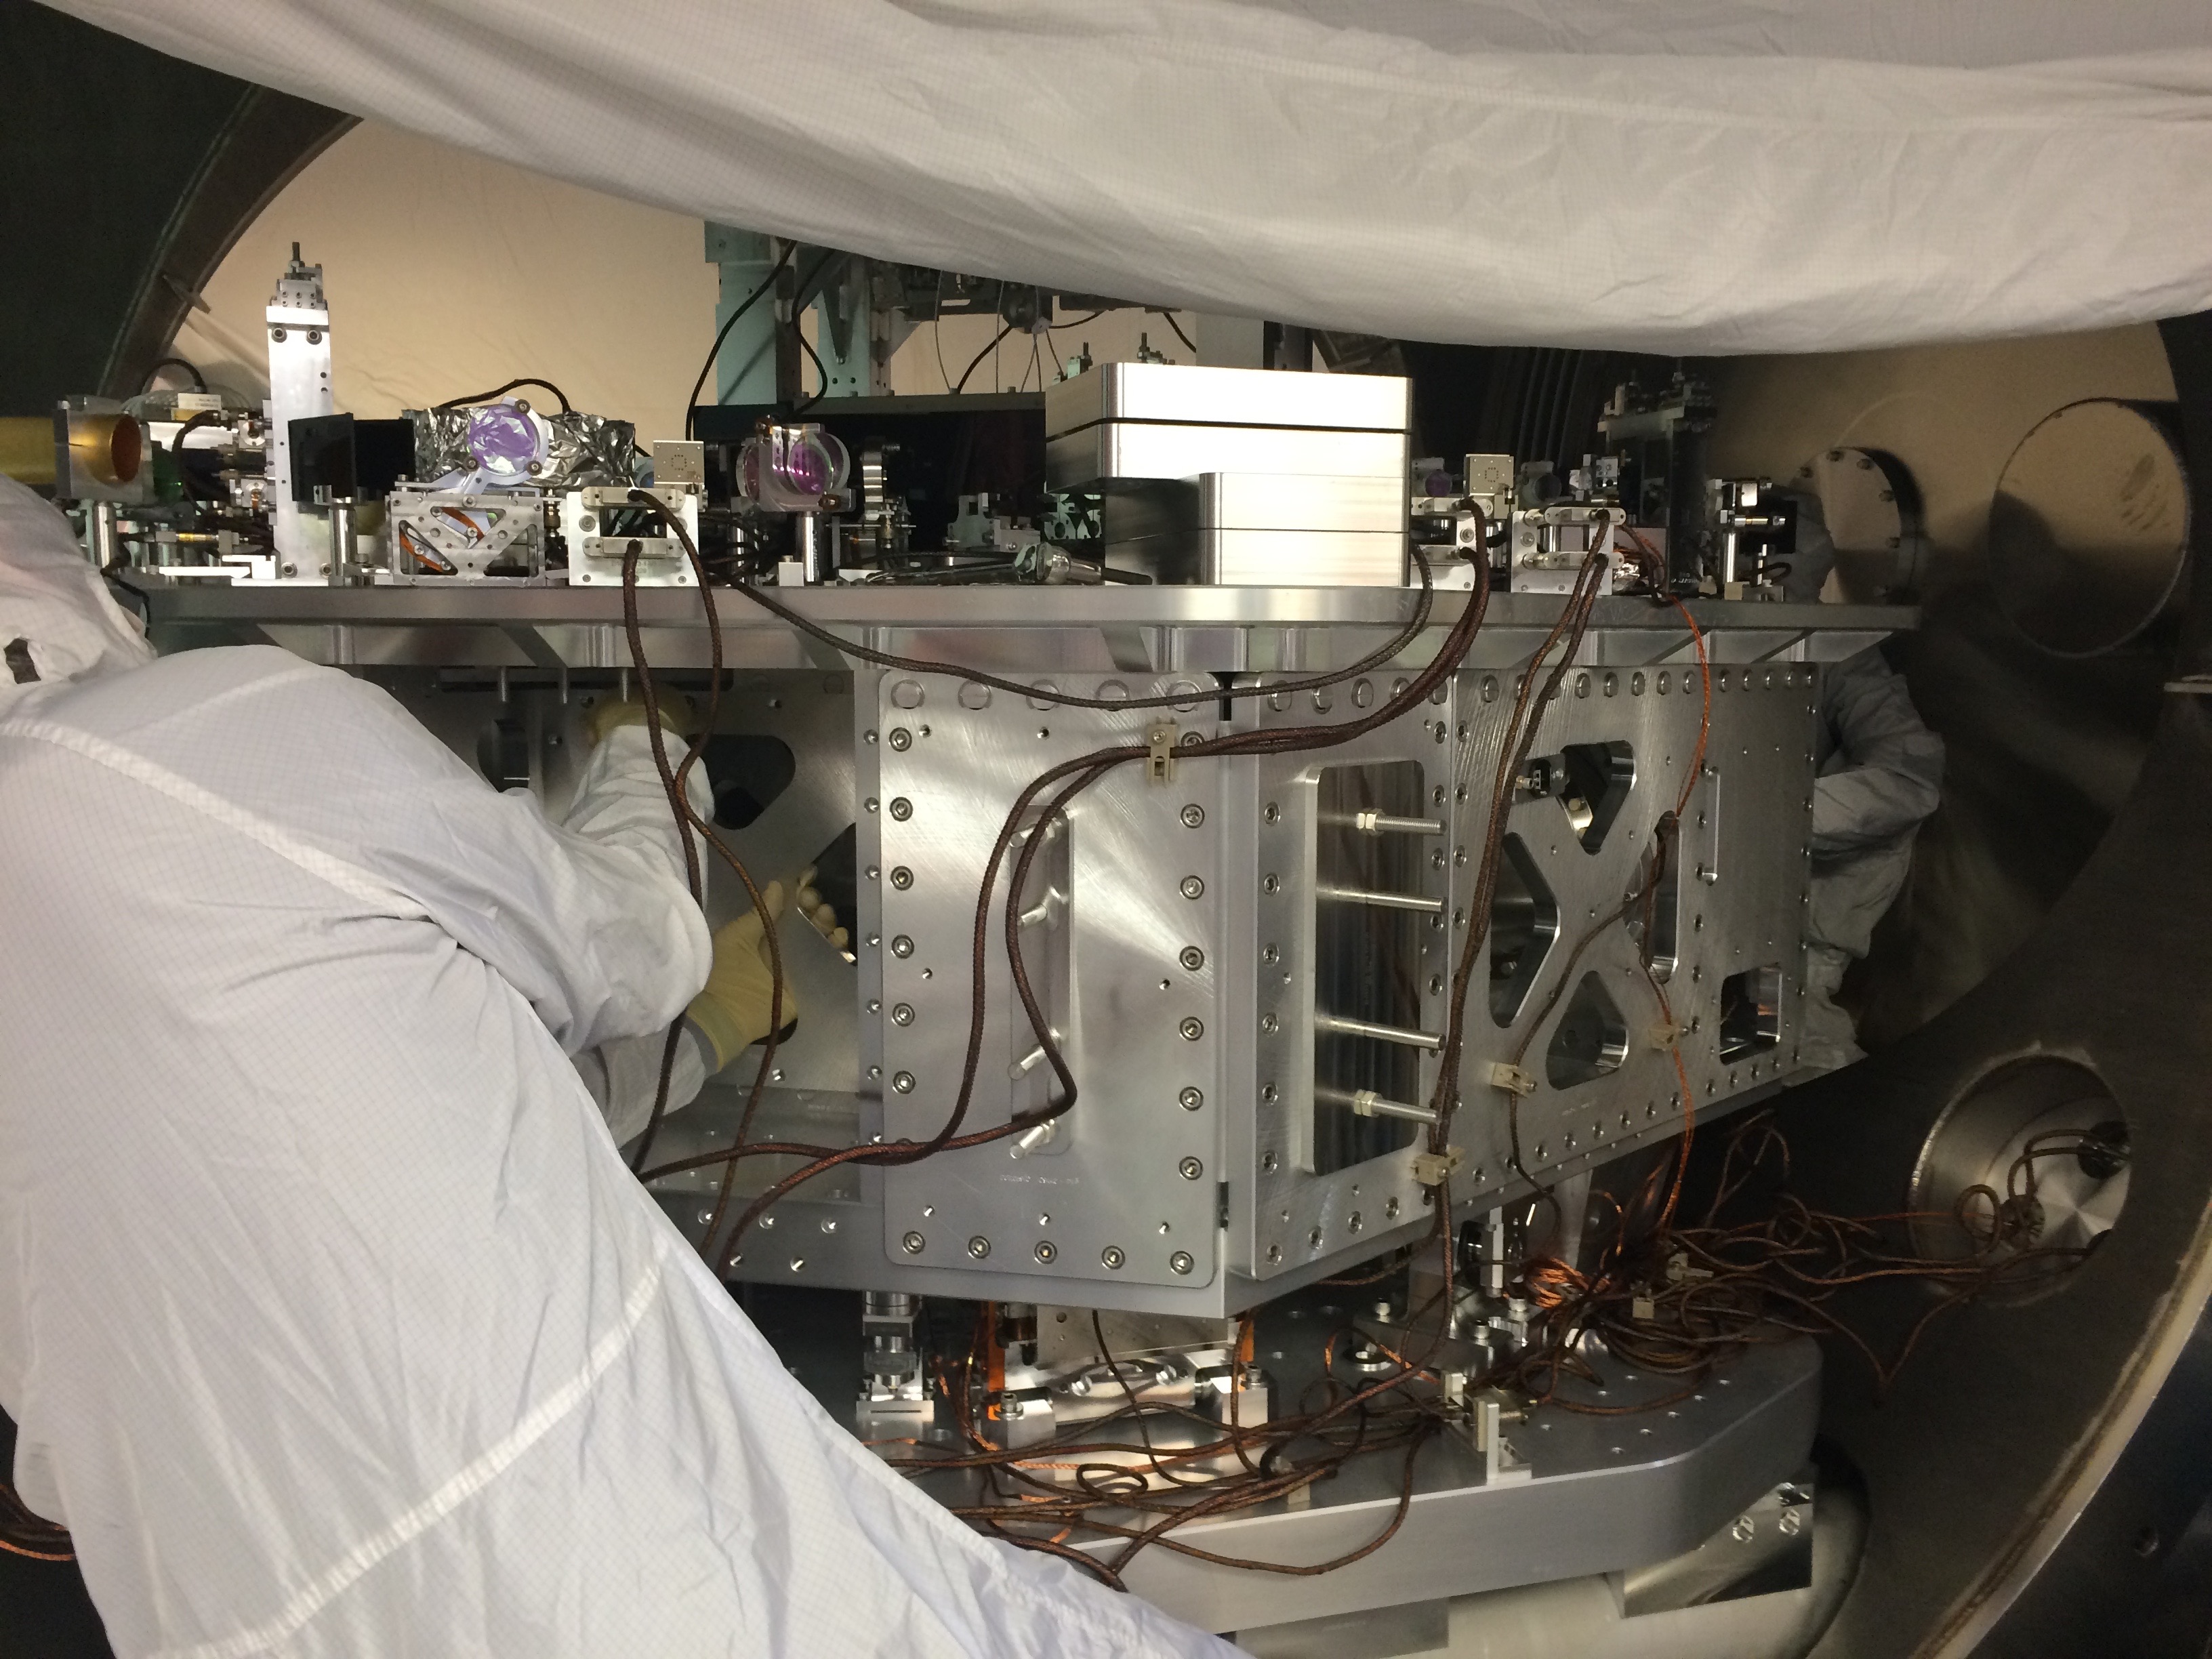
J. Warner, N. Kijbunchoo, T. Shaffer, B. Weaver, T. Sadecki, J. Kissel

Good progress today on the HAM6 Damper Install, a la E1600092. Starting on the Tuesday steps:

10) Remove all three chamber doors DONE
11) Pick up floor CC wafers.  Take particle counter measurements and record DONE (see LHO aLOG 26450)
13) Pick up table top CC wafers. DONE (see LHO aLOG 26450)

12) Lock HAM ISI DONE
14) Install Septum Window Cover DONE
15) Evaluate, mark and Move Beam Diverter ONLY IF ABSOLUTELY NEEDED for ISI work.  IF CABLES of Beam Diverter get removed, a test of the Beam Diverter function will need to be made before closeout.
           Beam Diverter did not need to be moved. Nice!
16) Start ISI damper install work.
   a) Remove outer walls and internal "window" access panels in order to access the blade-springs. DONE
   b) Remove Tuned Mass Dampers (TMDs) DONE
We Stopped Here for the day.*
   c) Install new spring damper assemblies
   d) Measure new spring modes using the B&K System
   e) Retune TMDs with new info
   f) Reinstall TMDs

* After removing the TMDs from the blades, we took reference B&K hammer measurements to be sure we'd gotten all the data we need and we understood how to use the B&K system (all of us are relative newbies to the software interface). We have pre-assembled all spring-damper assemblies, but we were at a good stopping point for the day with the reference measurements and will pick up with the installation of the spring damper assemblies tomorrow morning.

Stay tuned for processed reference data.

The attached image is of Jim removing the inner wall from the -X/+Y corner (to access Corner 3's blade tip), with Nutsinee's knees visible as she's doing the same to the +Y corner (to access Corner 1's blade tip).
Images attached to this report
Non-image files attached to this report
