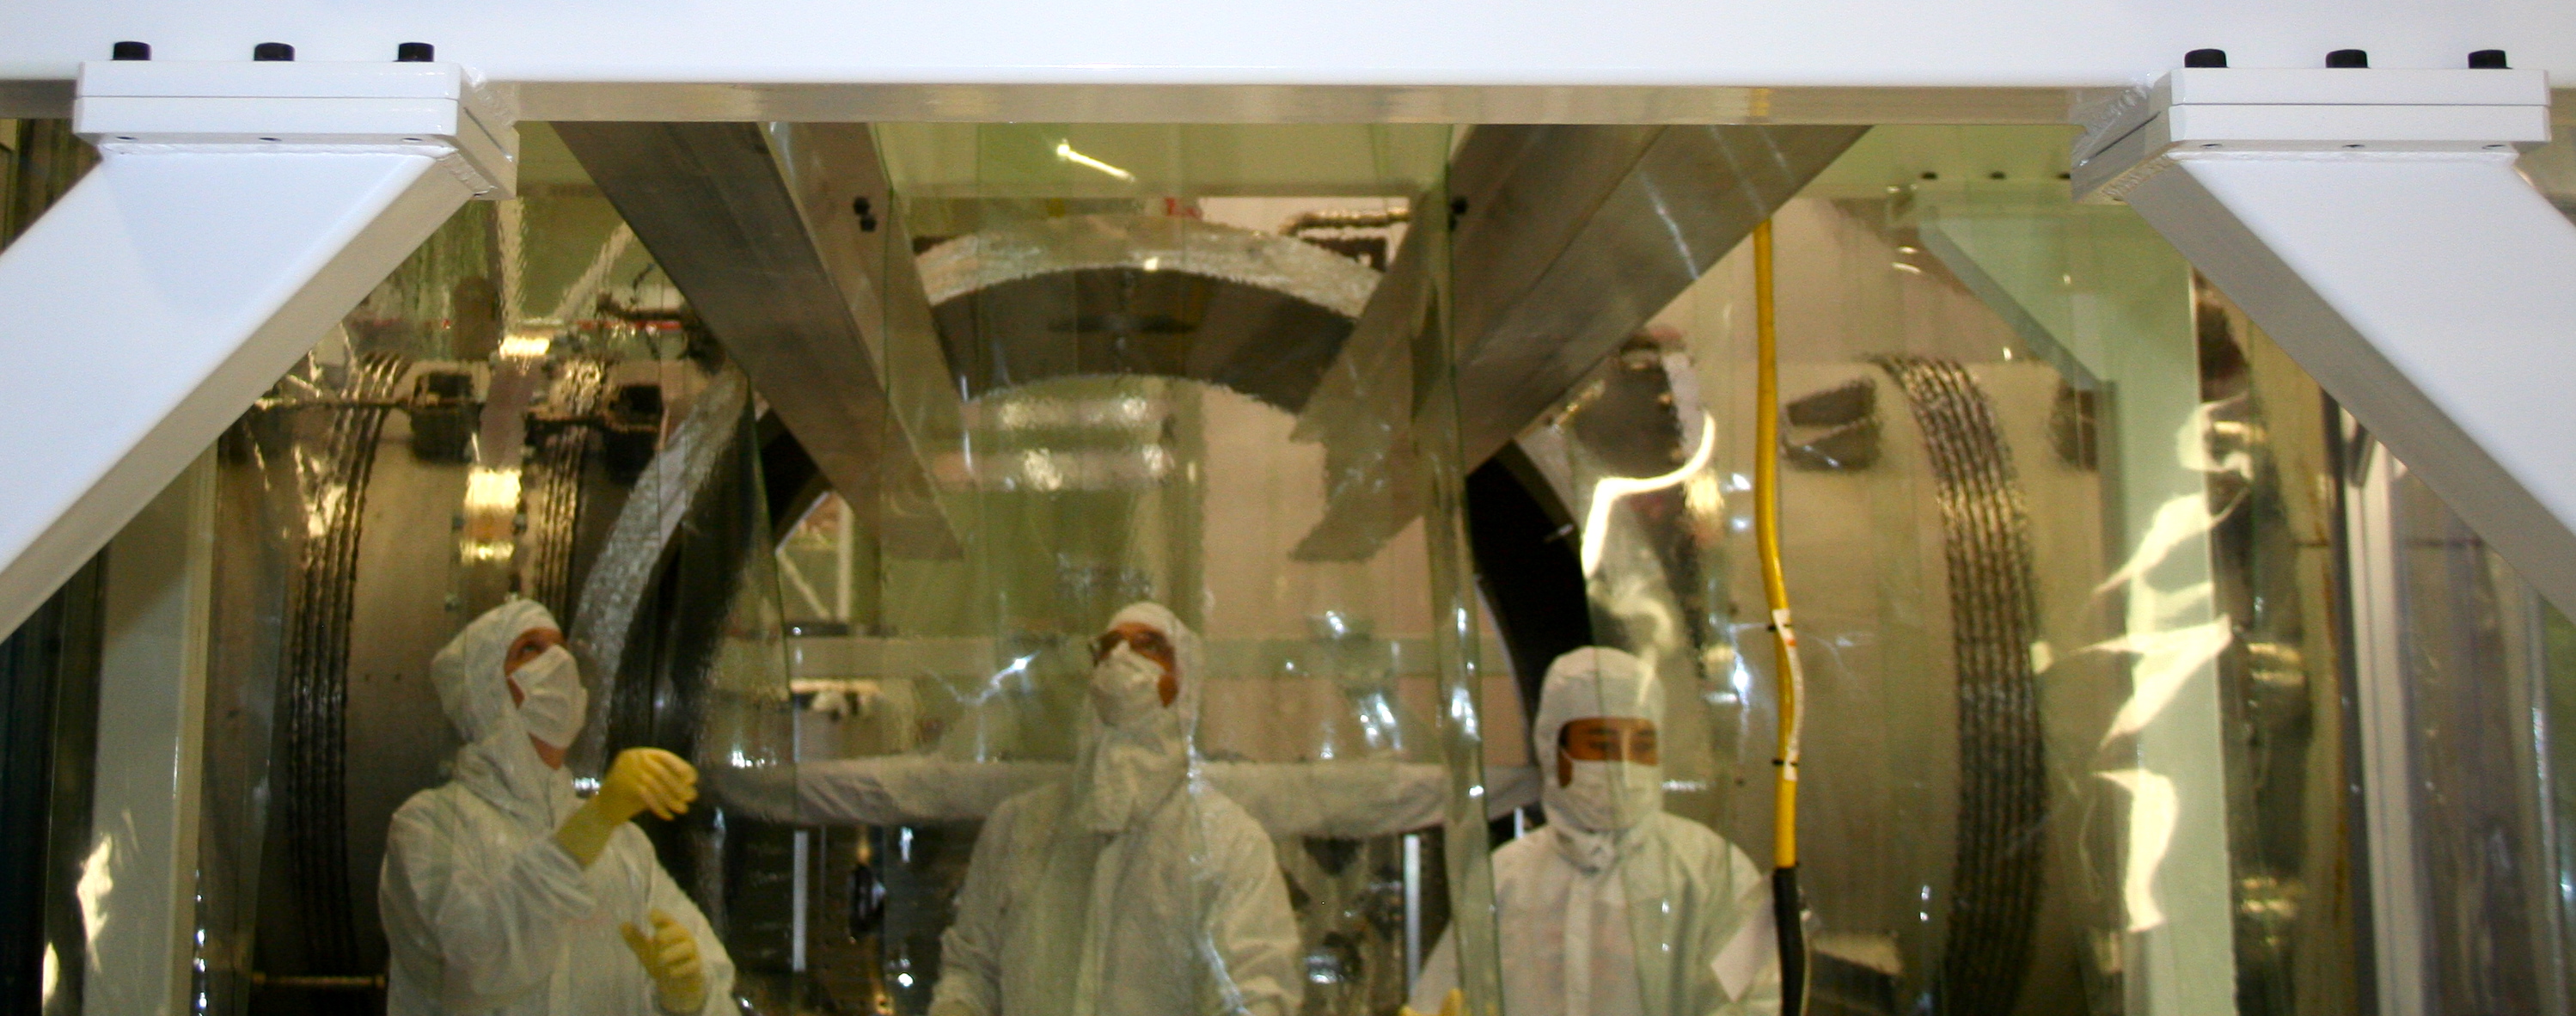
(caleb aka "counterweight", corey, ed, mark, randy, stephany)
With the ISI Installation Fixture installed at HAM3 & Lifting Connectors mounted on the HAM-ISI yesterday, today's installation activities started at ~8am. Yesterday's work and today's were conducted under the expert instruction of Mr. Radkins' updated & redlined ISI Installation Procedure (LIGO-E080012-A-D v3); Hugh added specific notes to procedure from lessons learned from the HAM2 Installation last week.
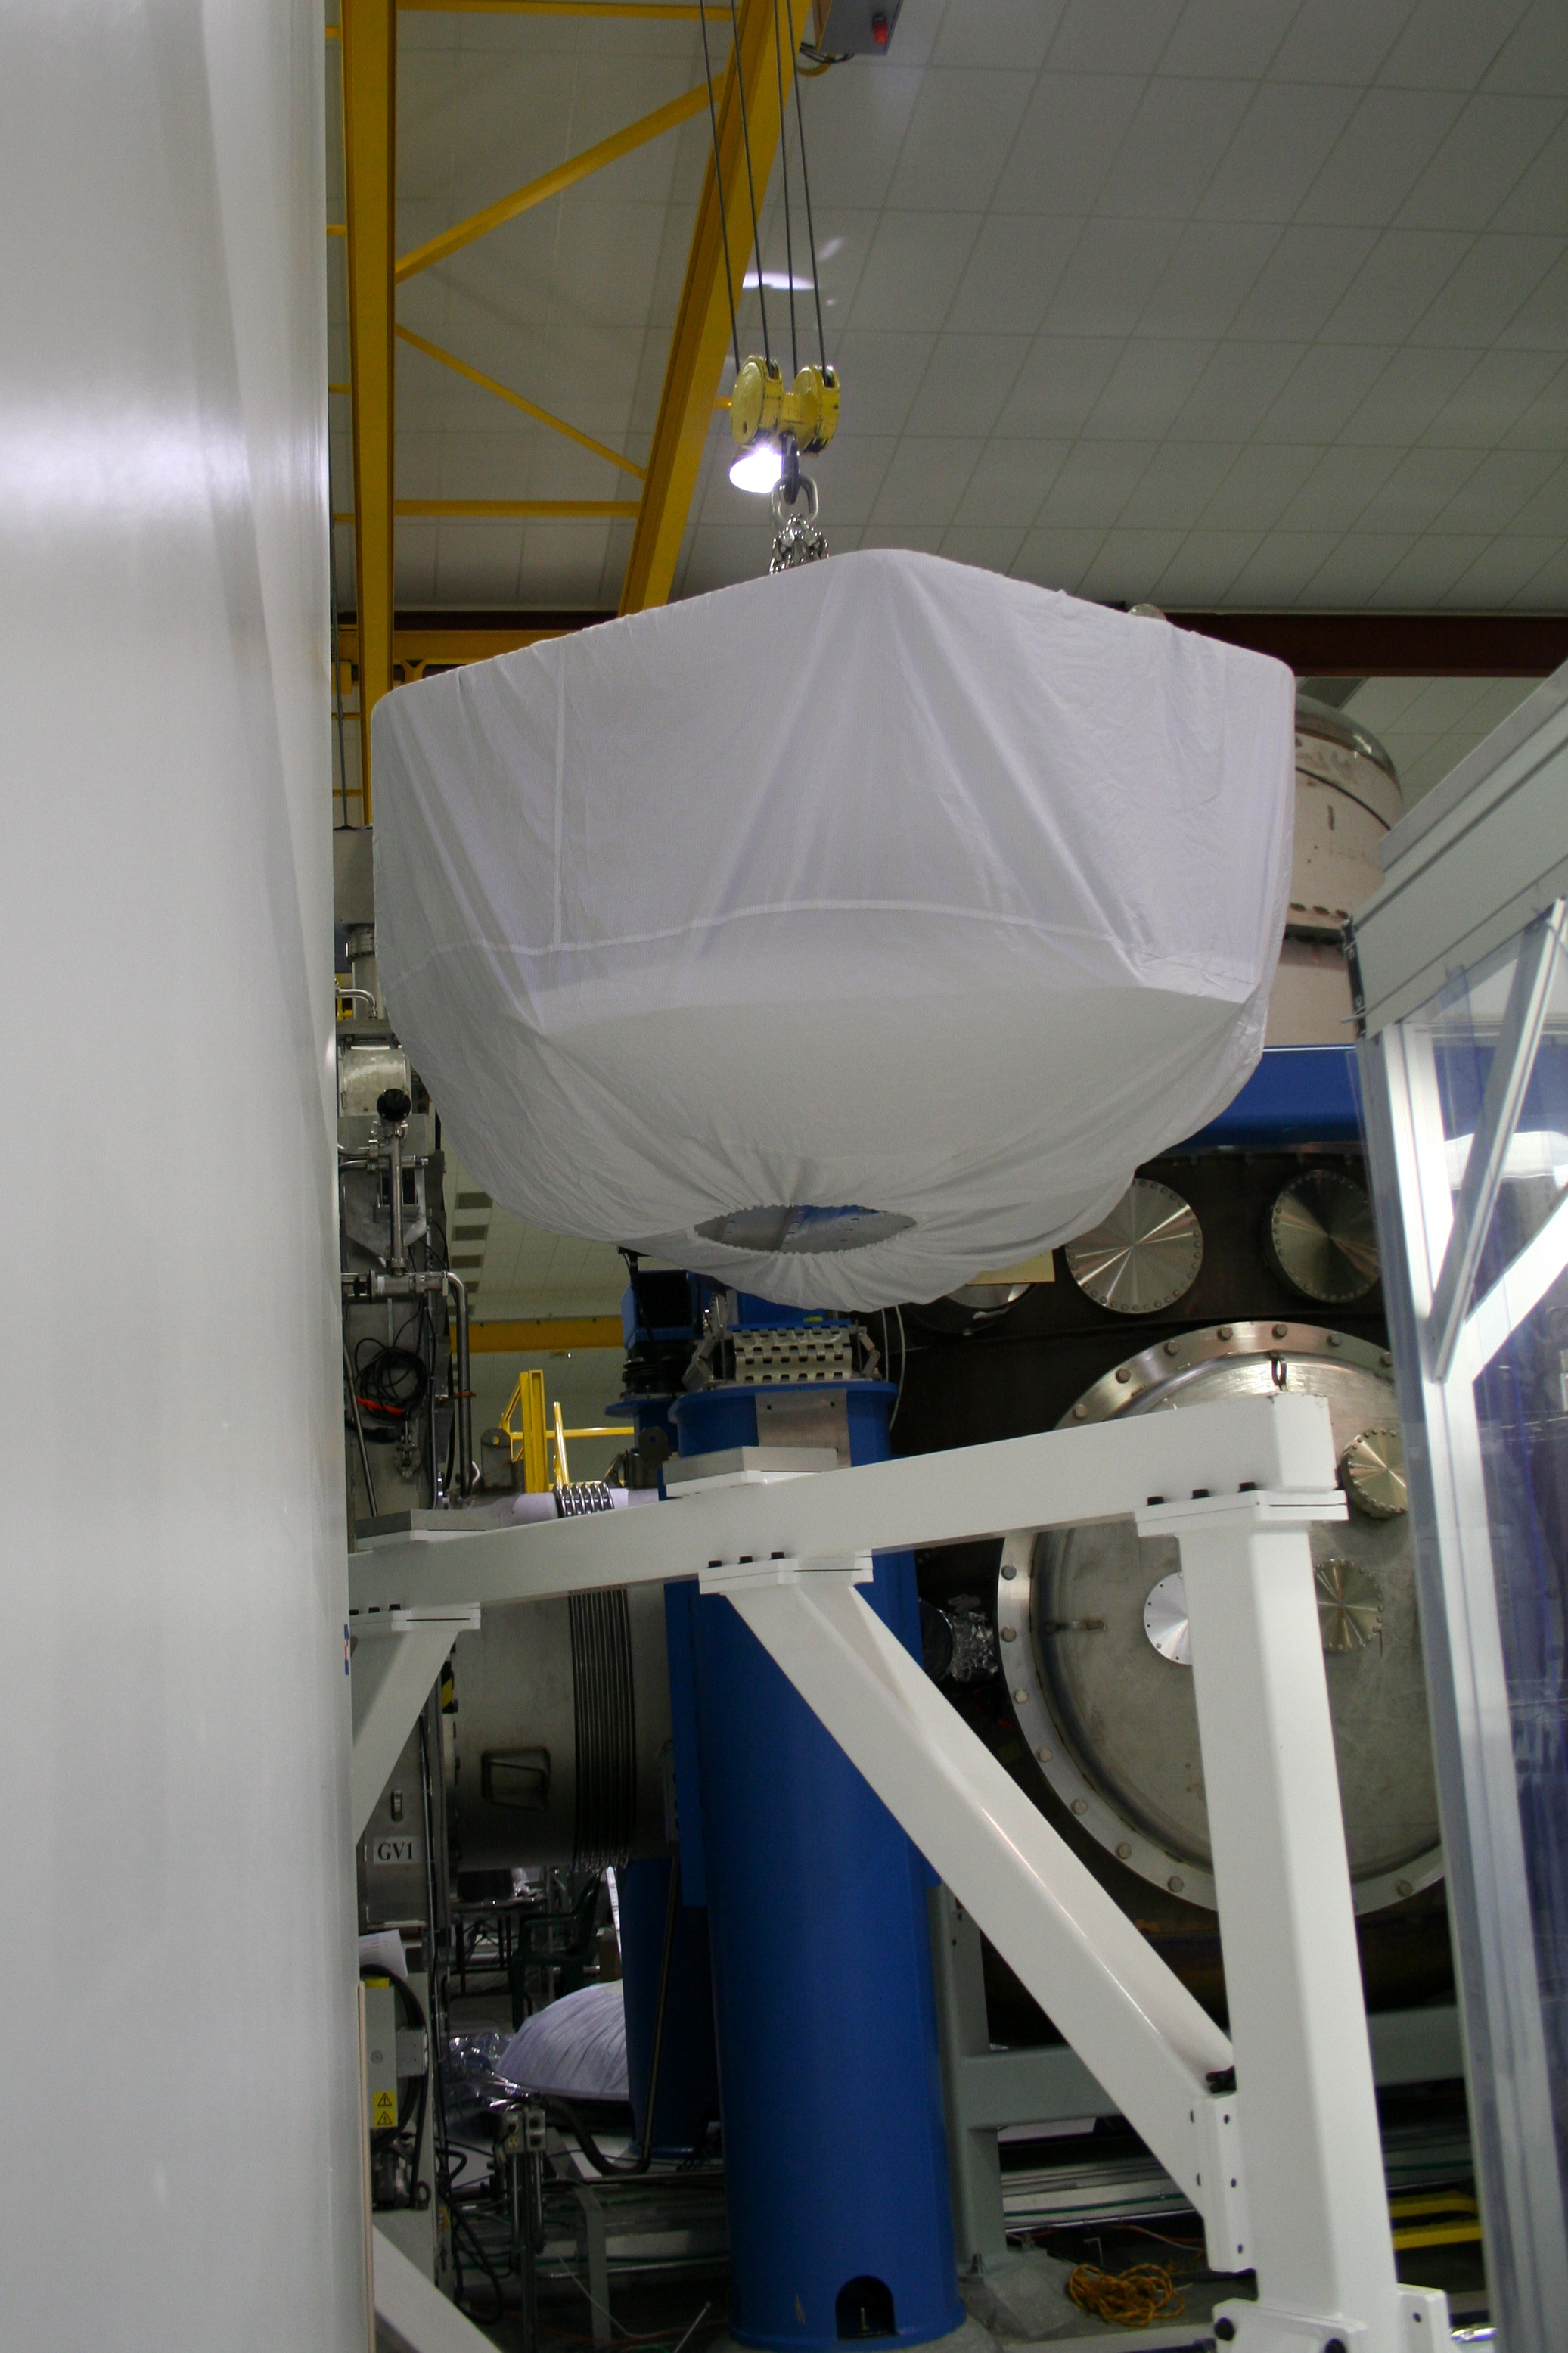
The Apollo crew craned the ISI with the West crane close to HAM3 (this was done with the pair of 2-legged slings connected to the crane---we didn't want to use the long Installation chain because we wanted clearance to hoist the ISI over BSC chambers).
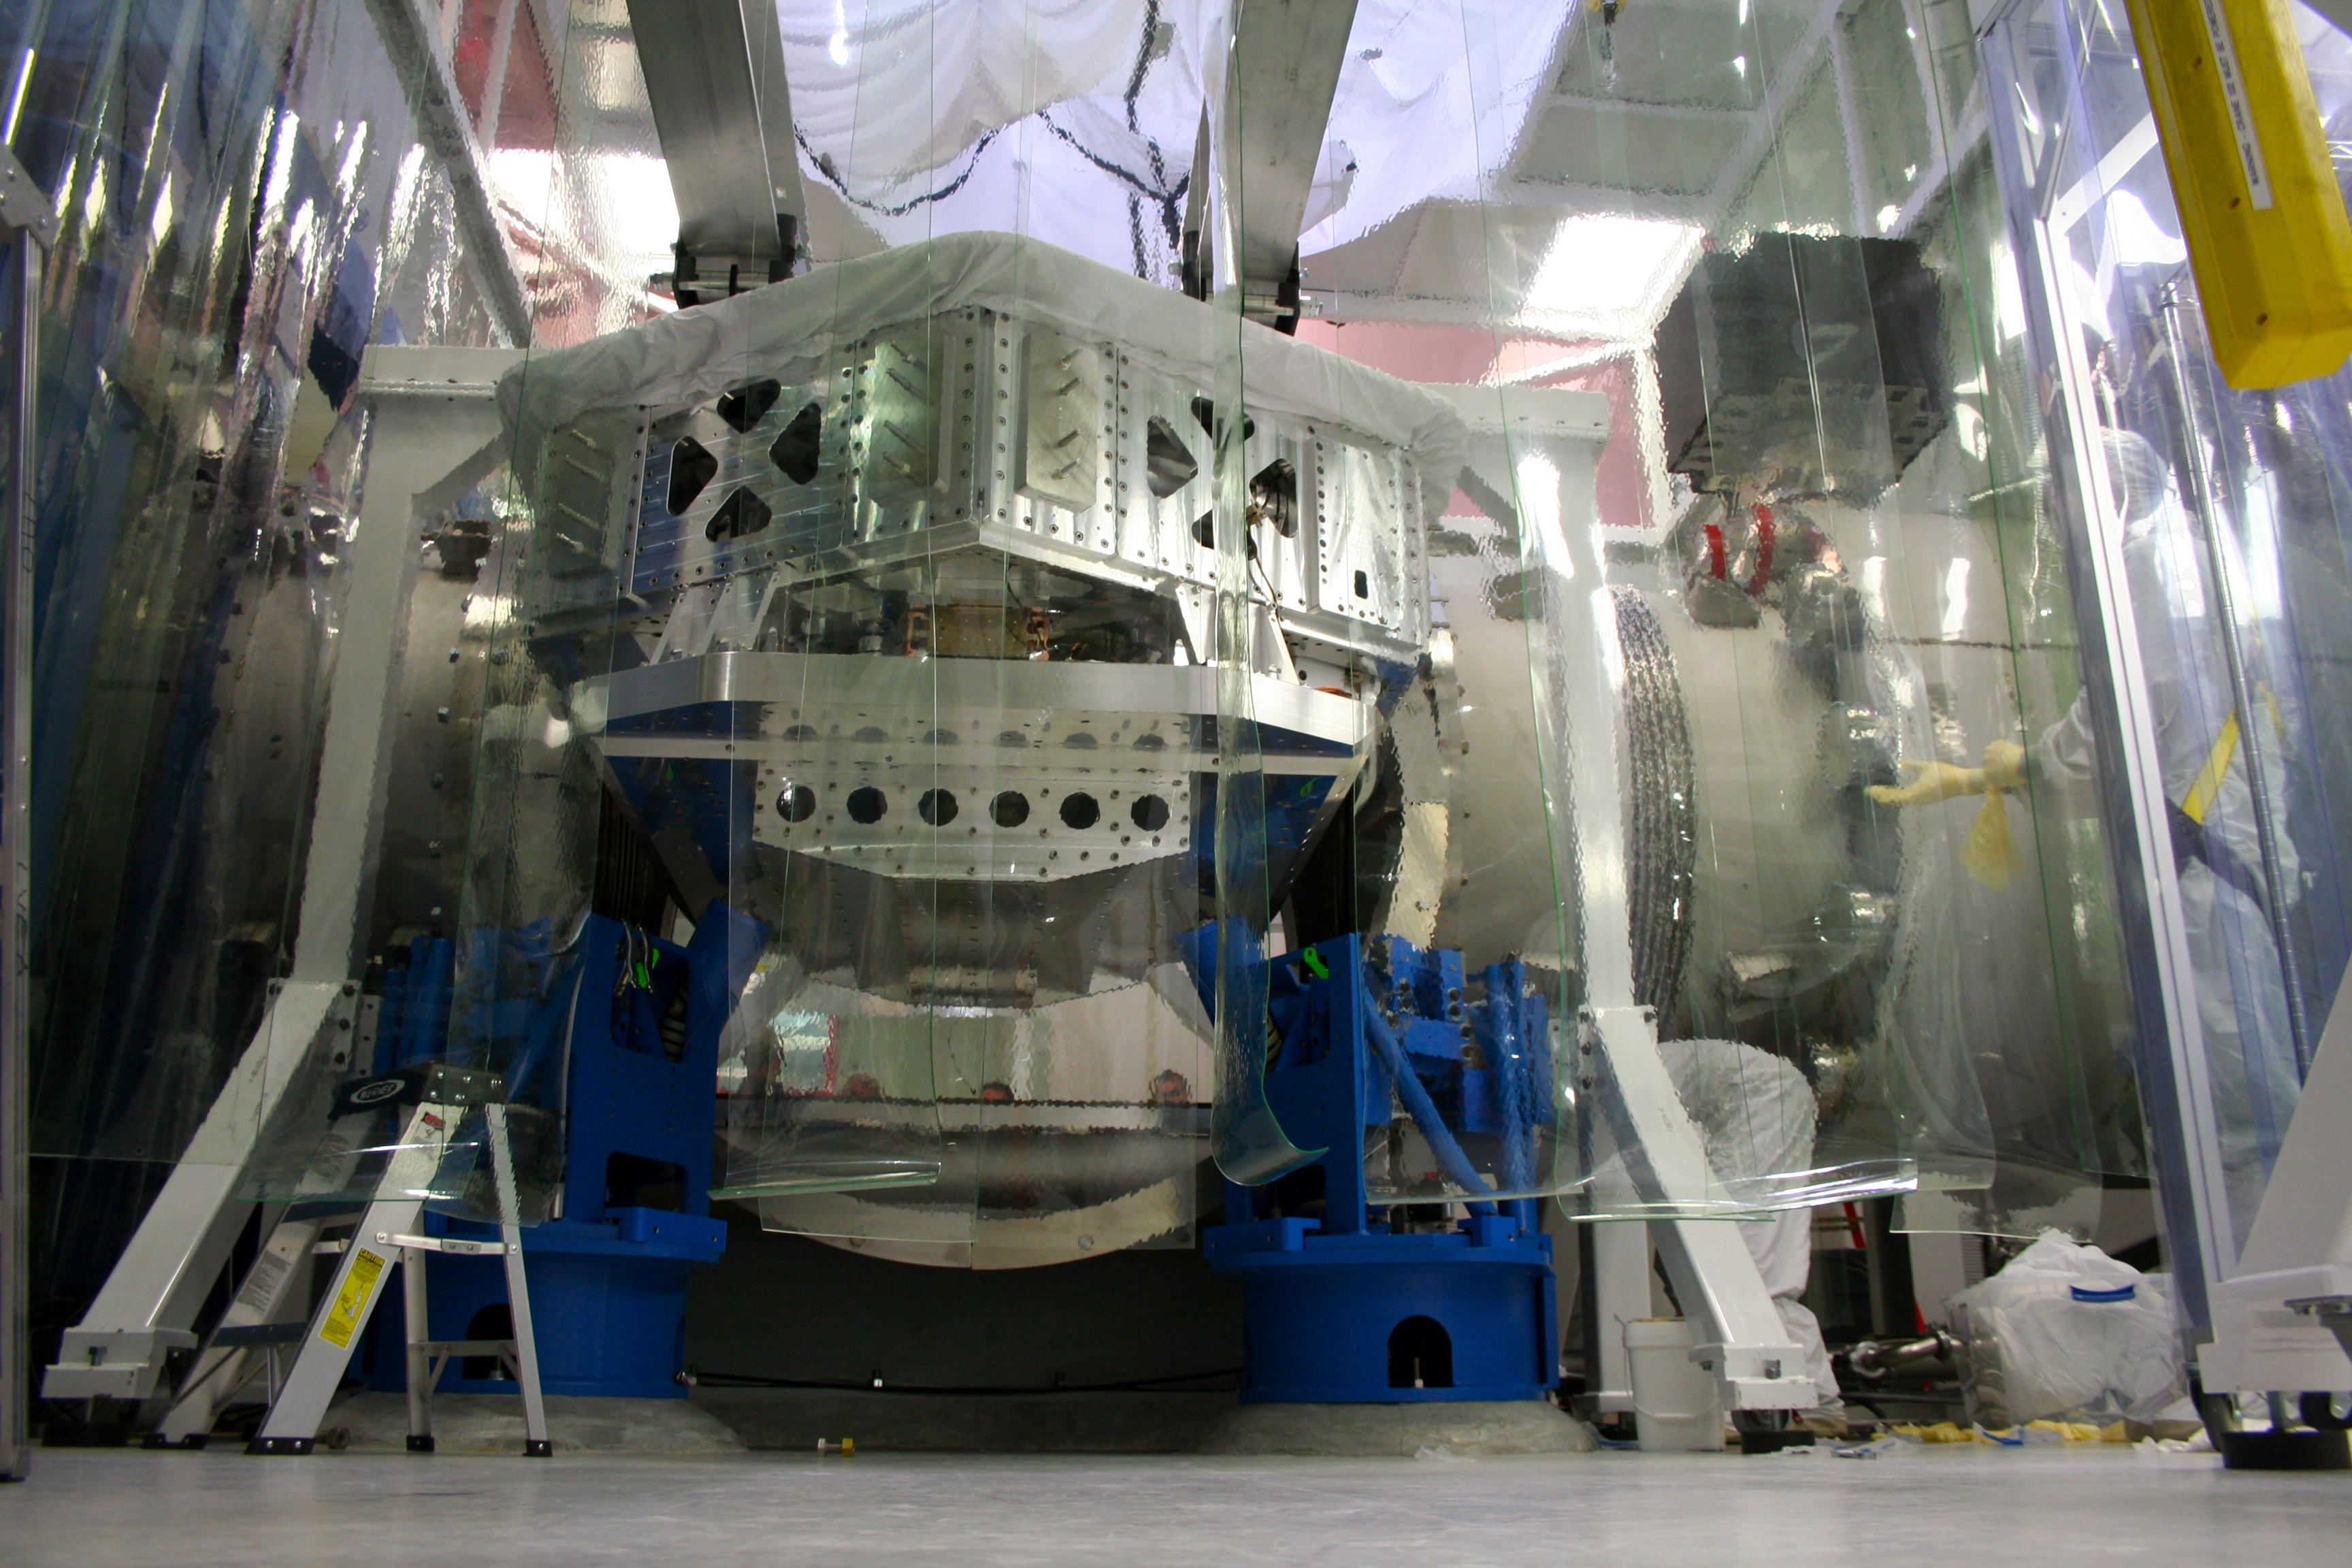
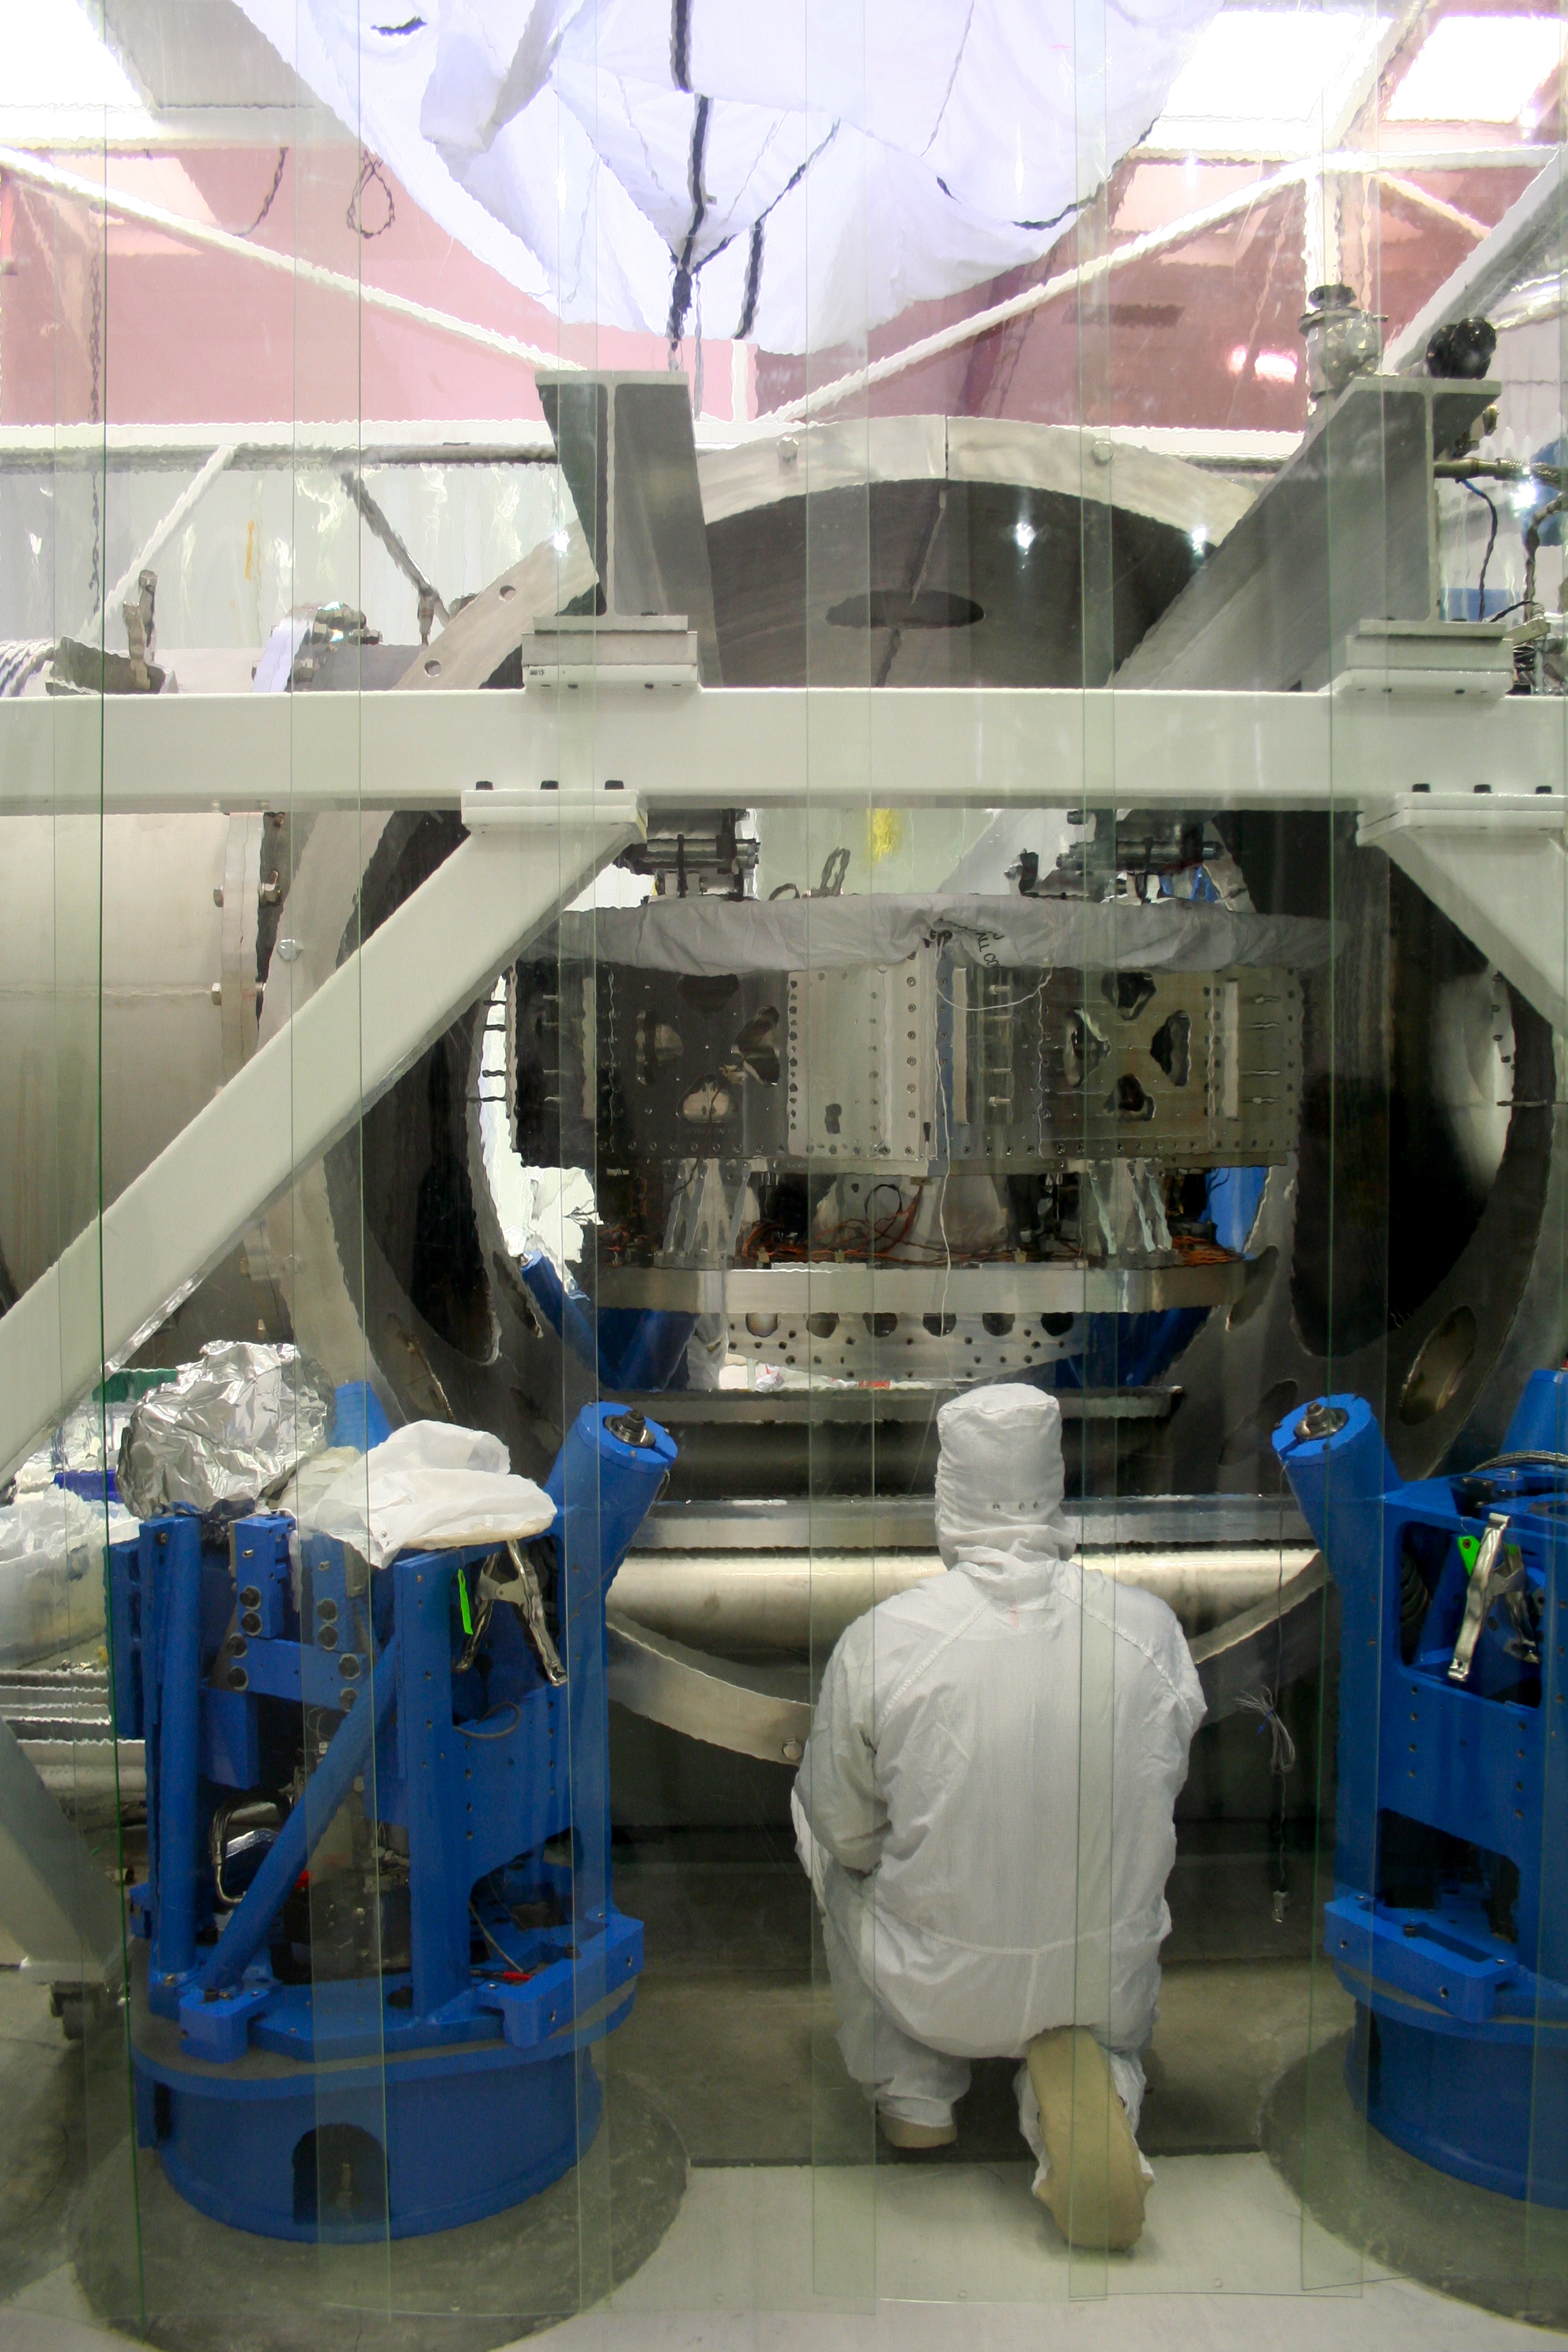
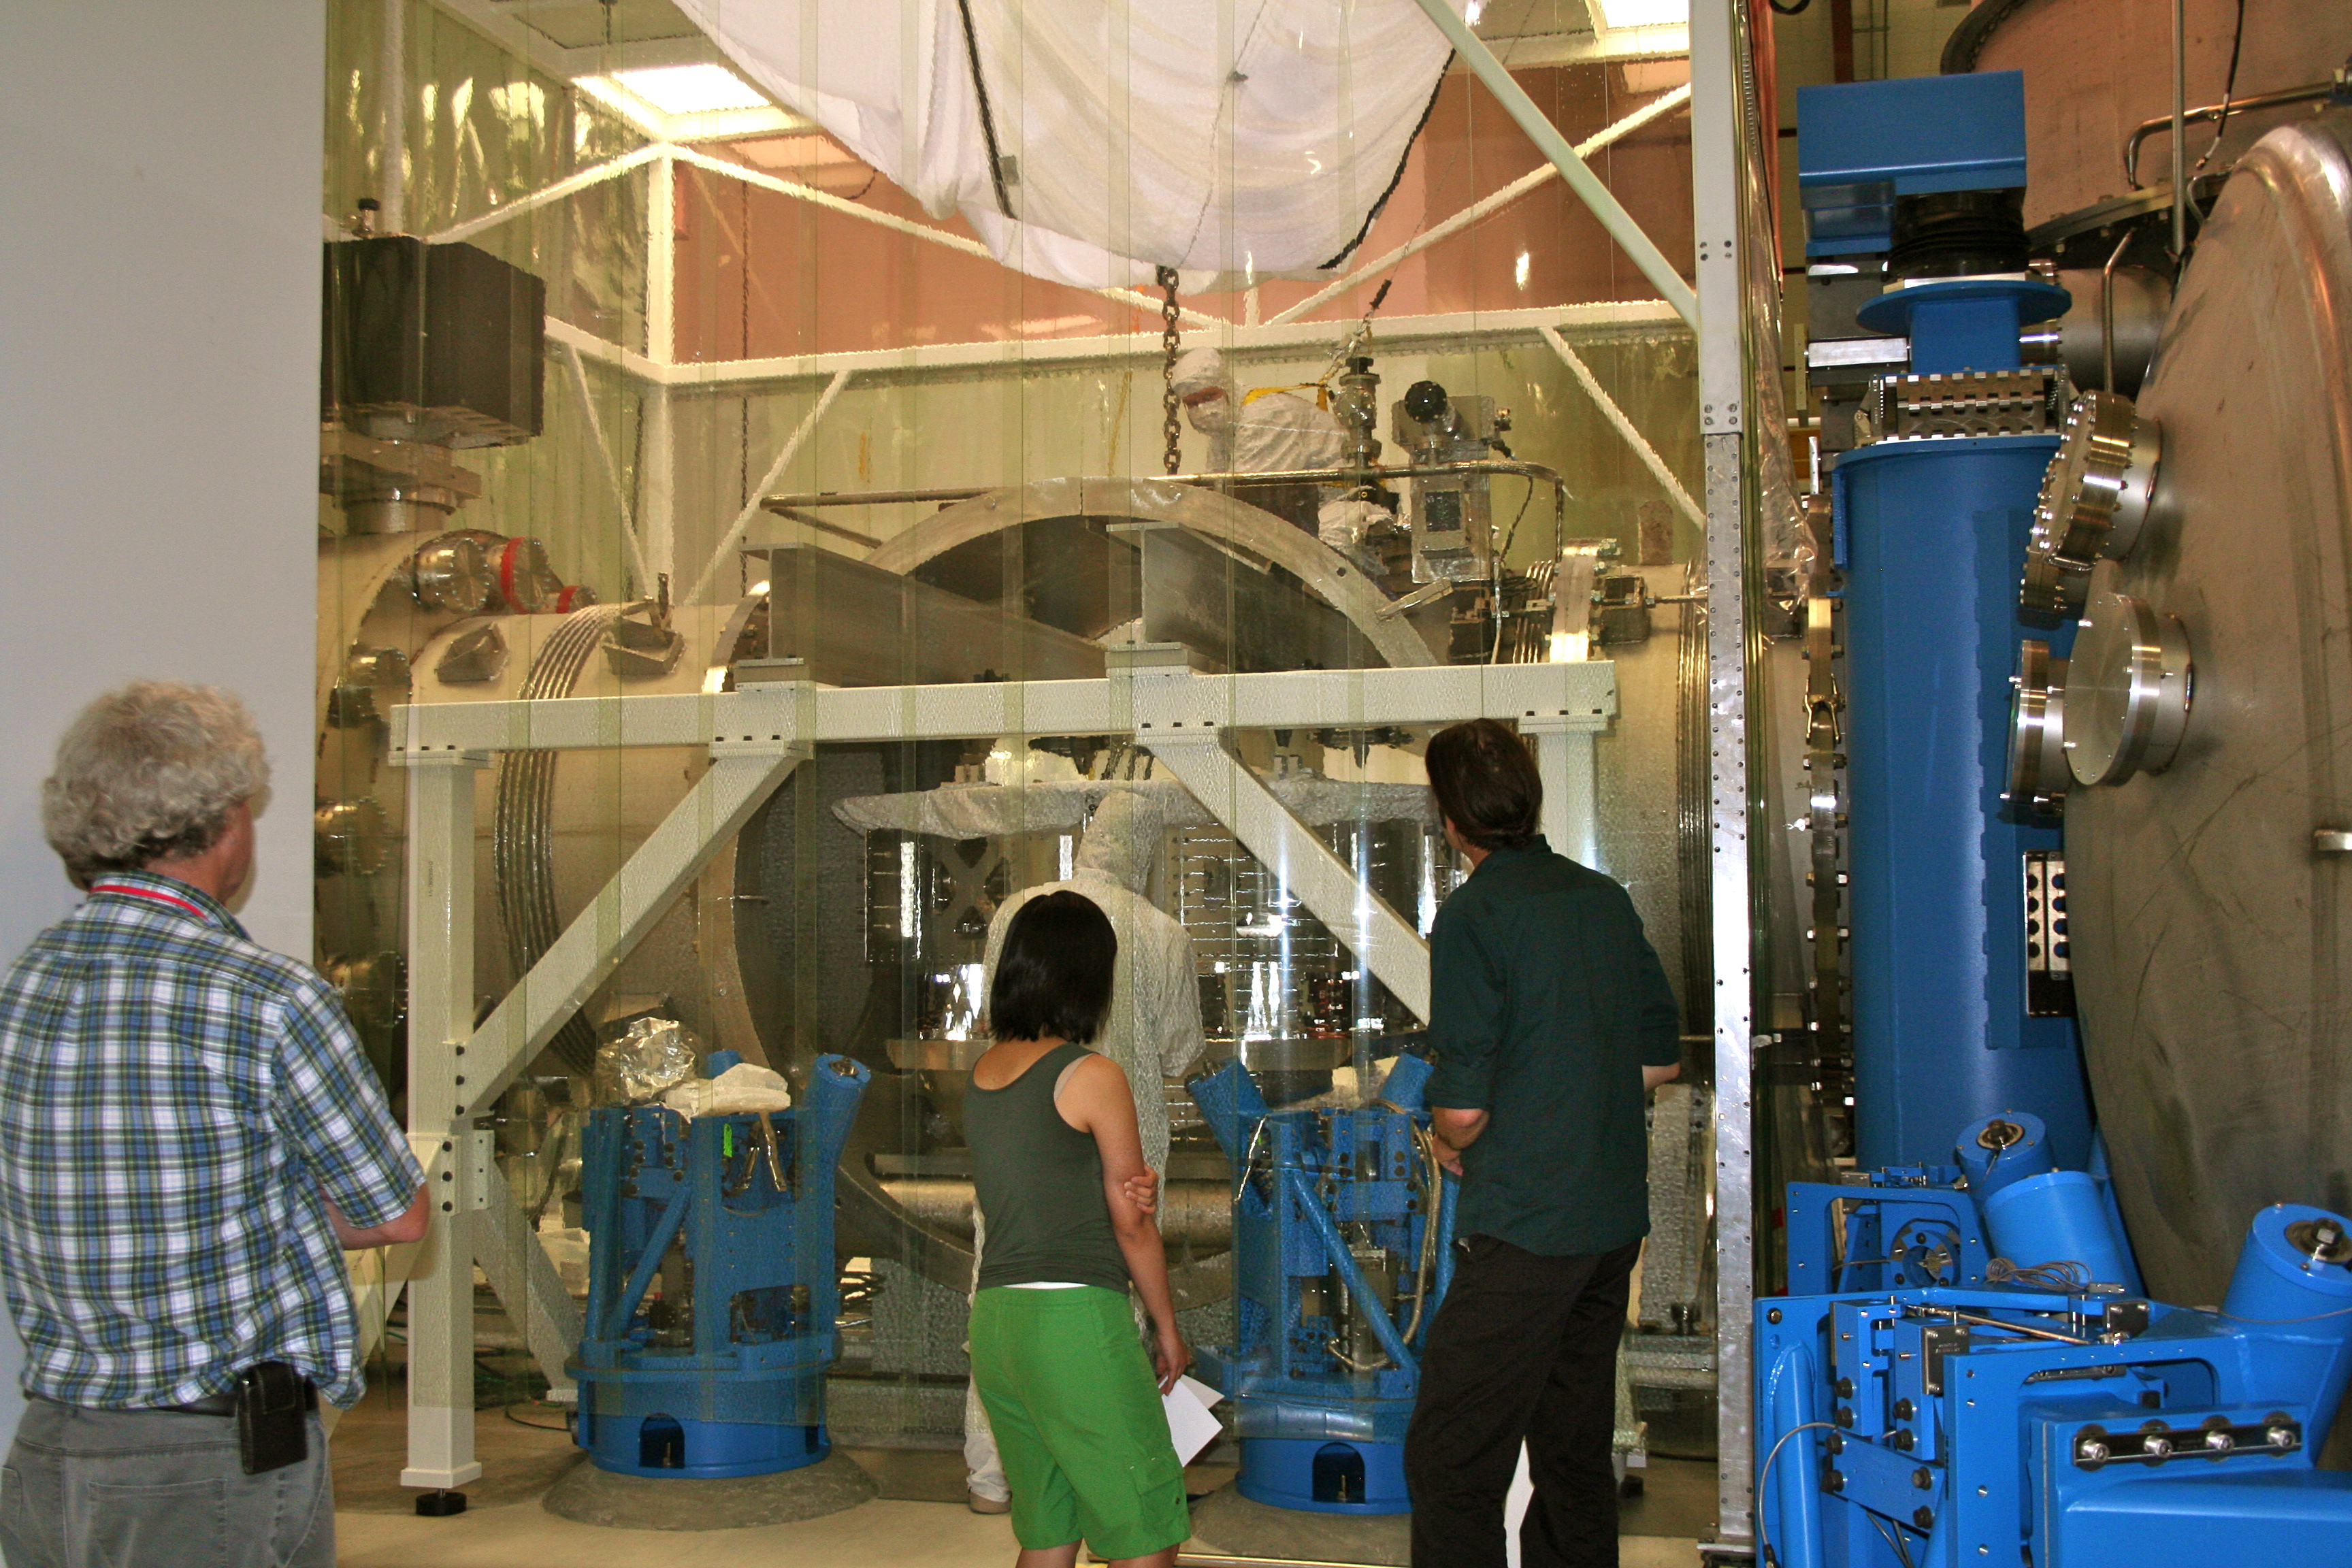
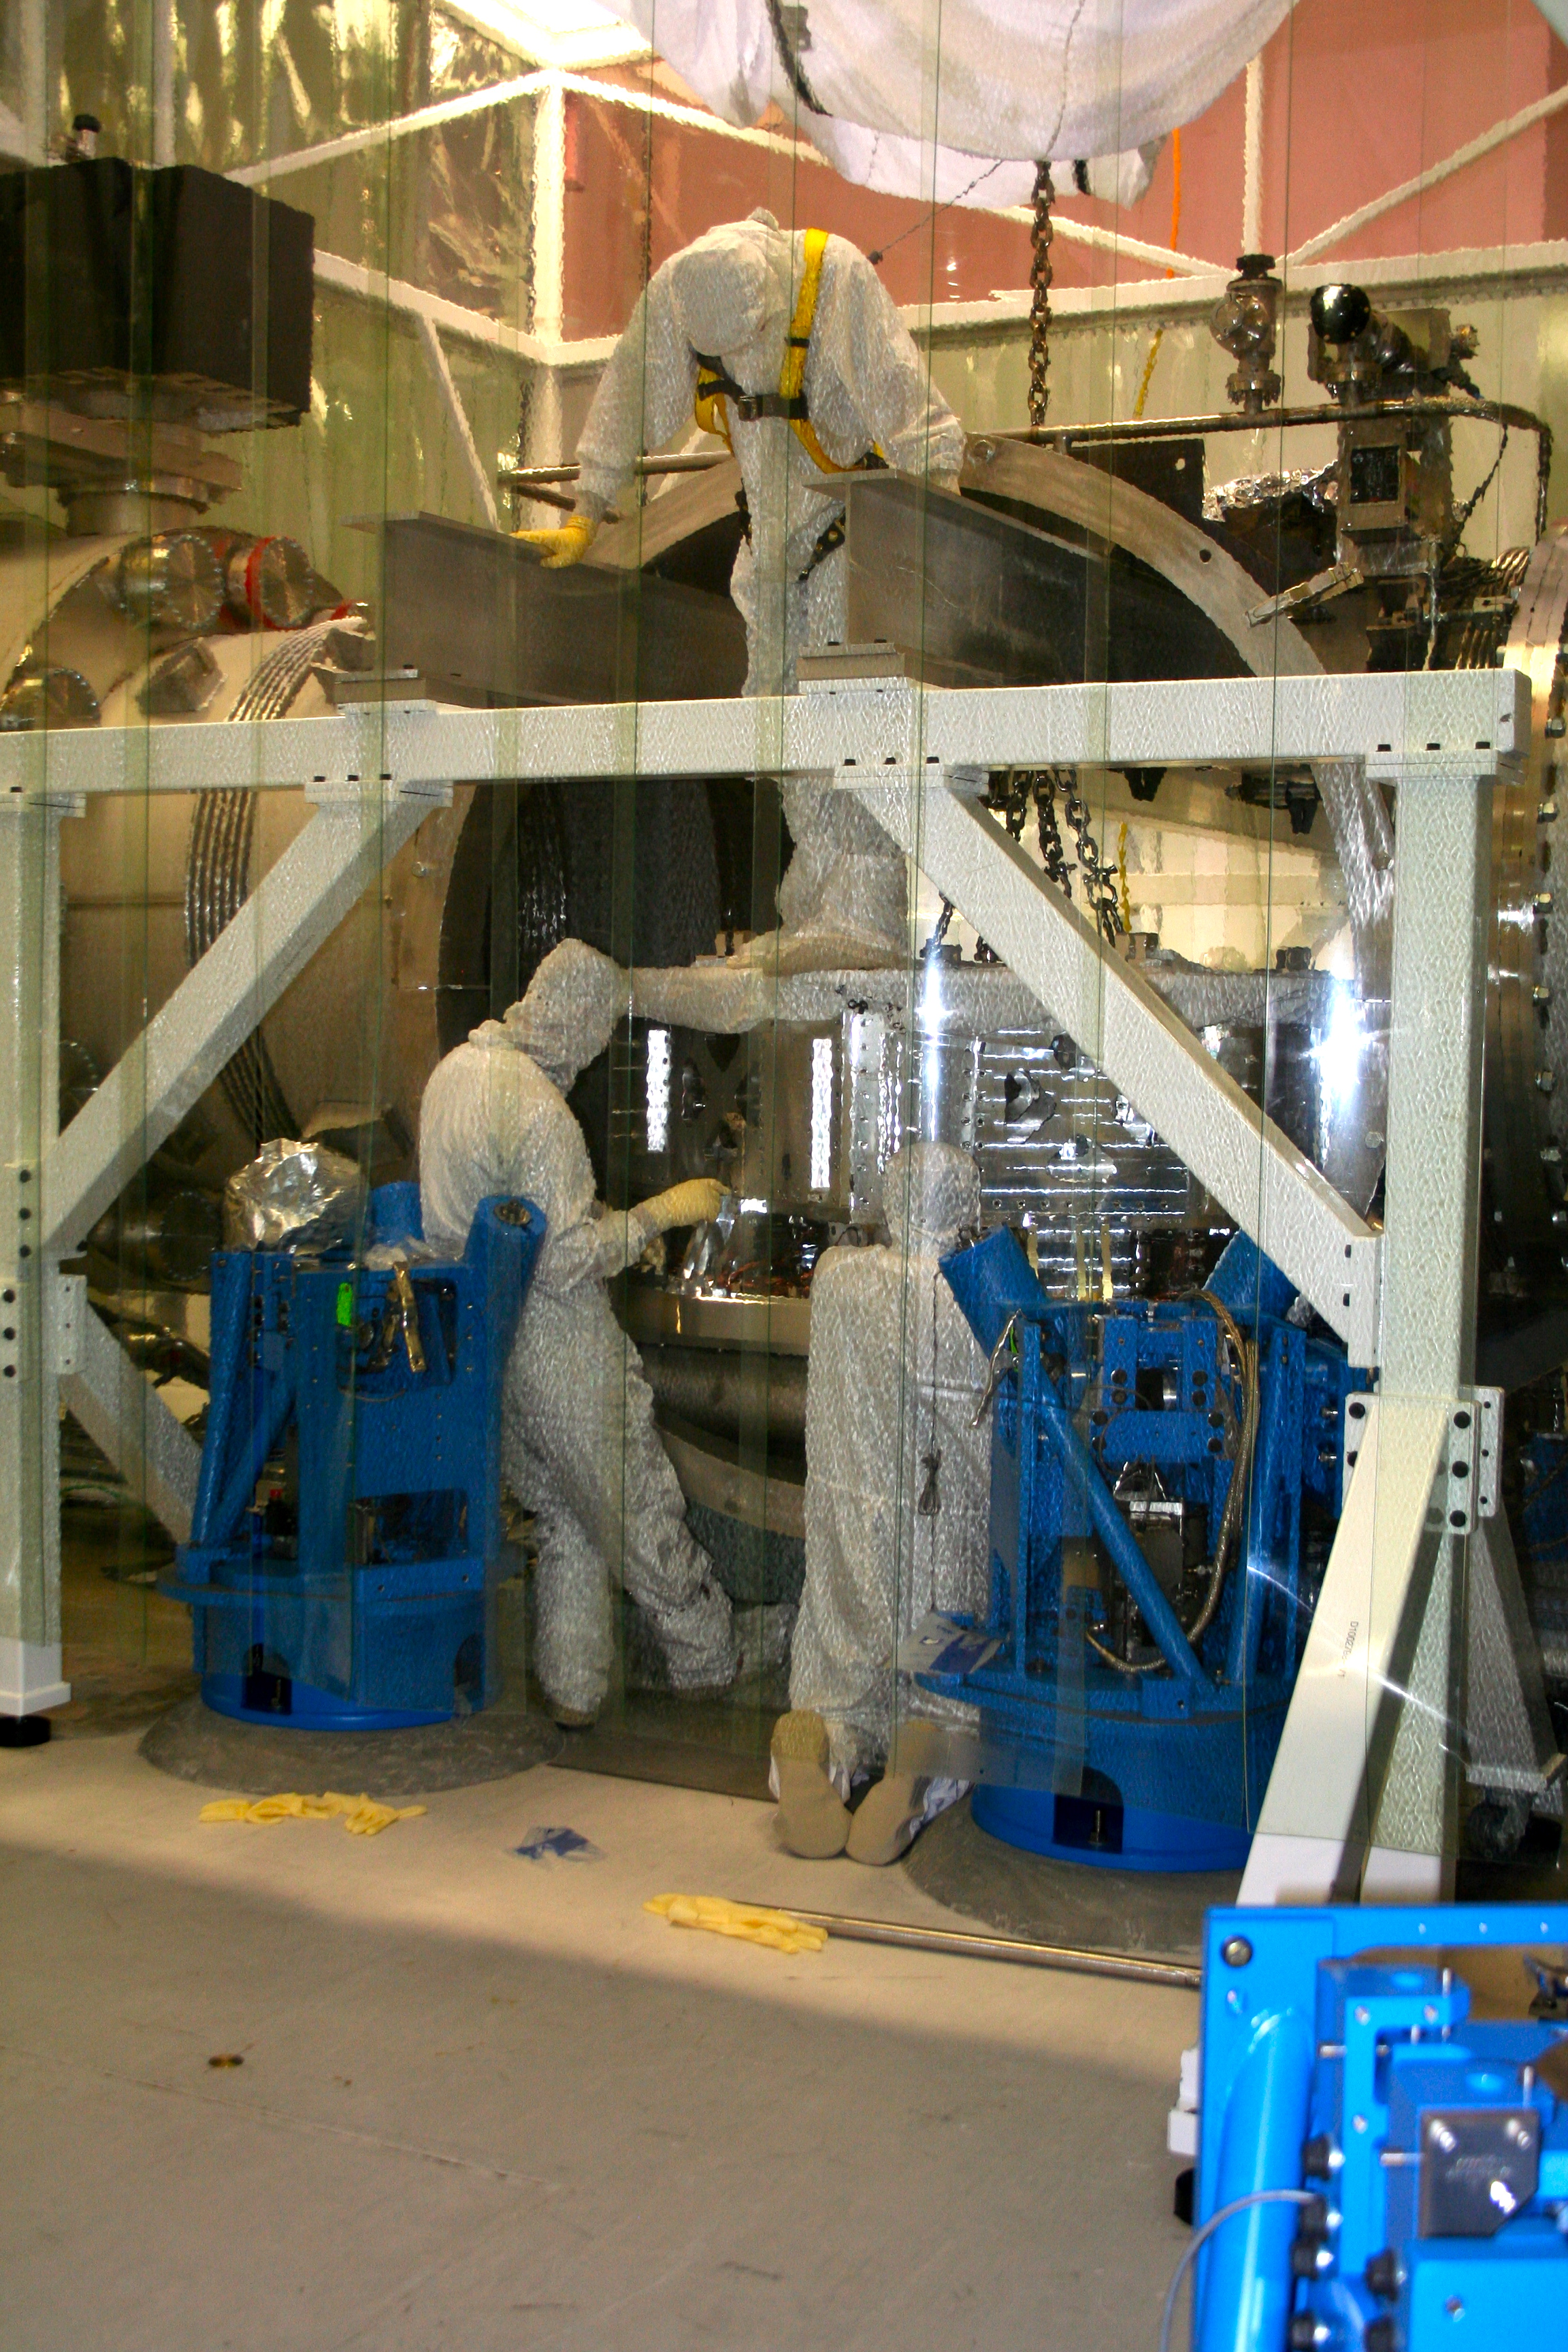
From here, all went according to procedure. ISI landed on Cart, to hand off ISI to other crane; ISI attached to Installation fixture; ISI rolled into HAM3. I wish I took photos of clearances for this move, but we moved too fast and efficiently---main thing: careful alignment of A-Frames made it easy to slide the ISI into place. Did not need to move cleanroom for any of this work.
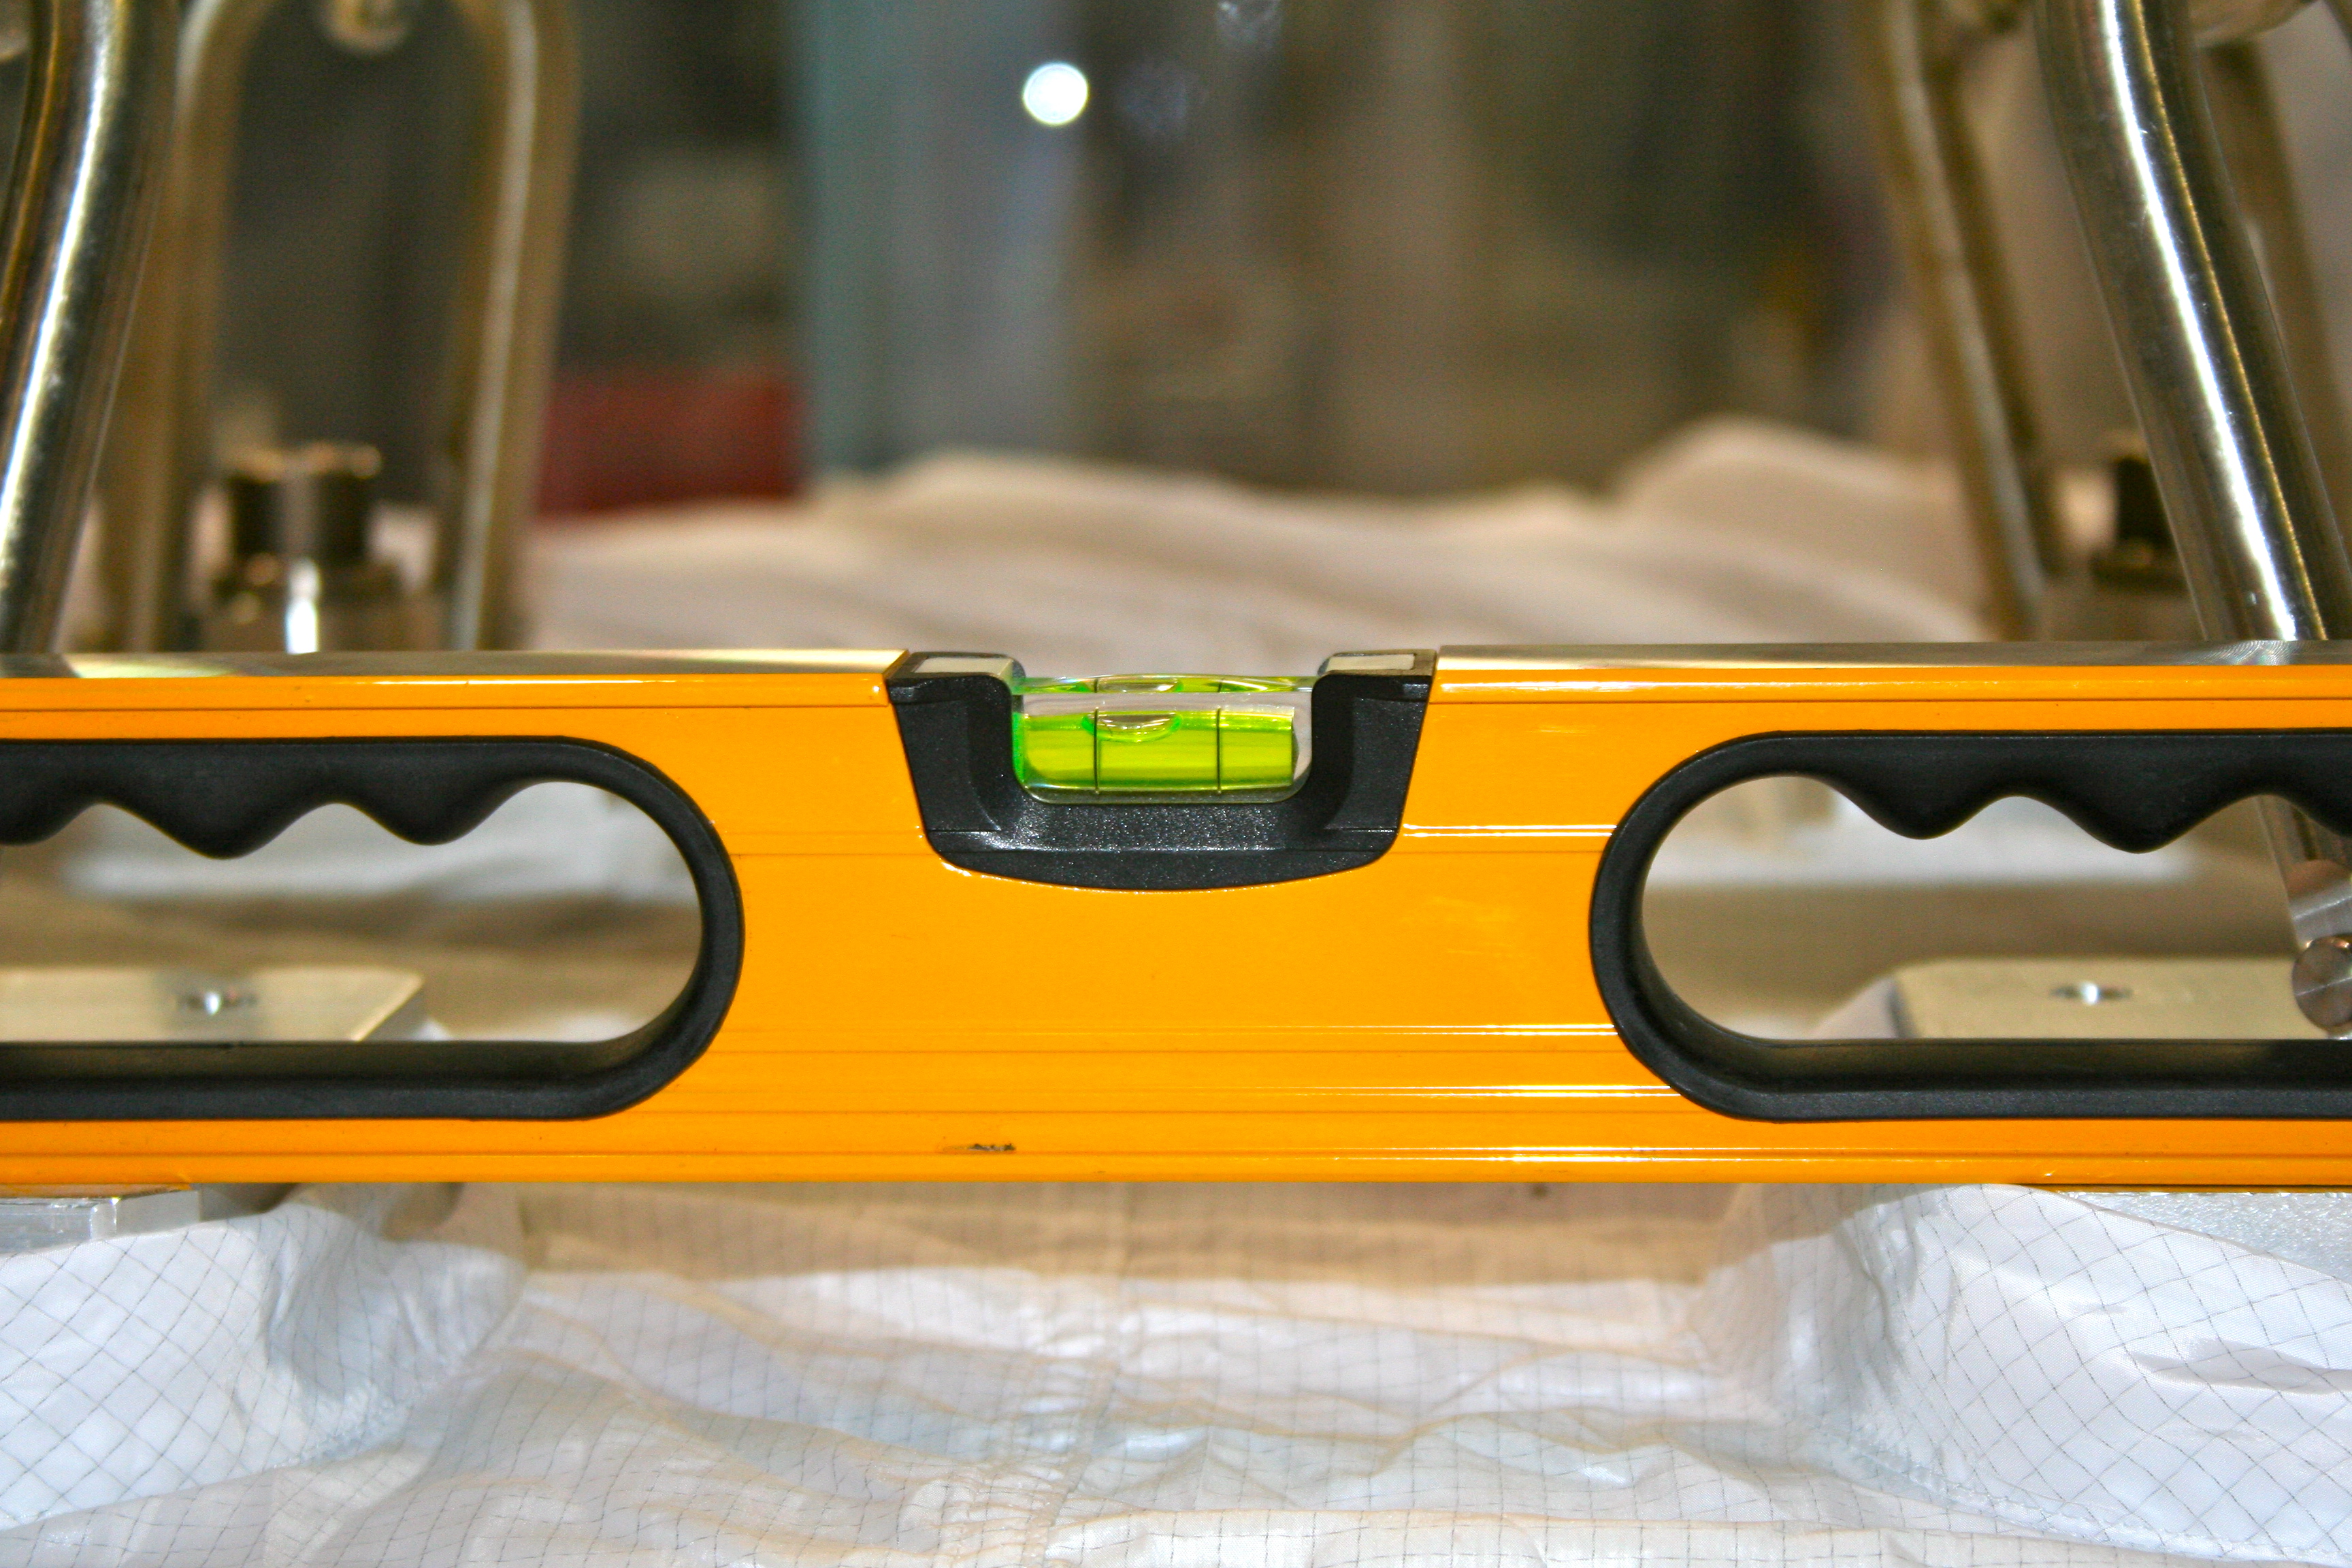
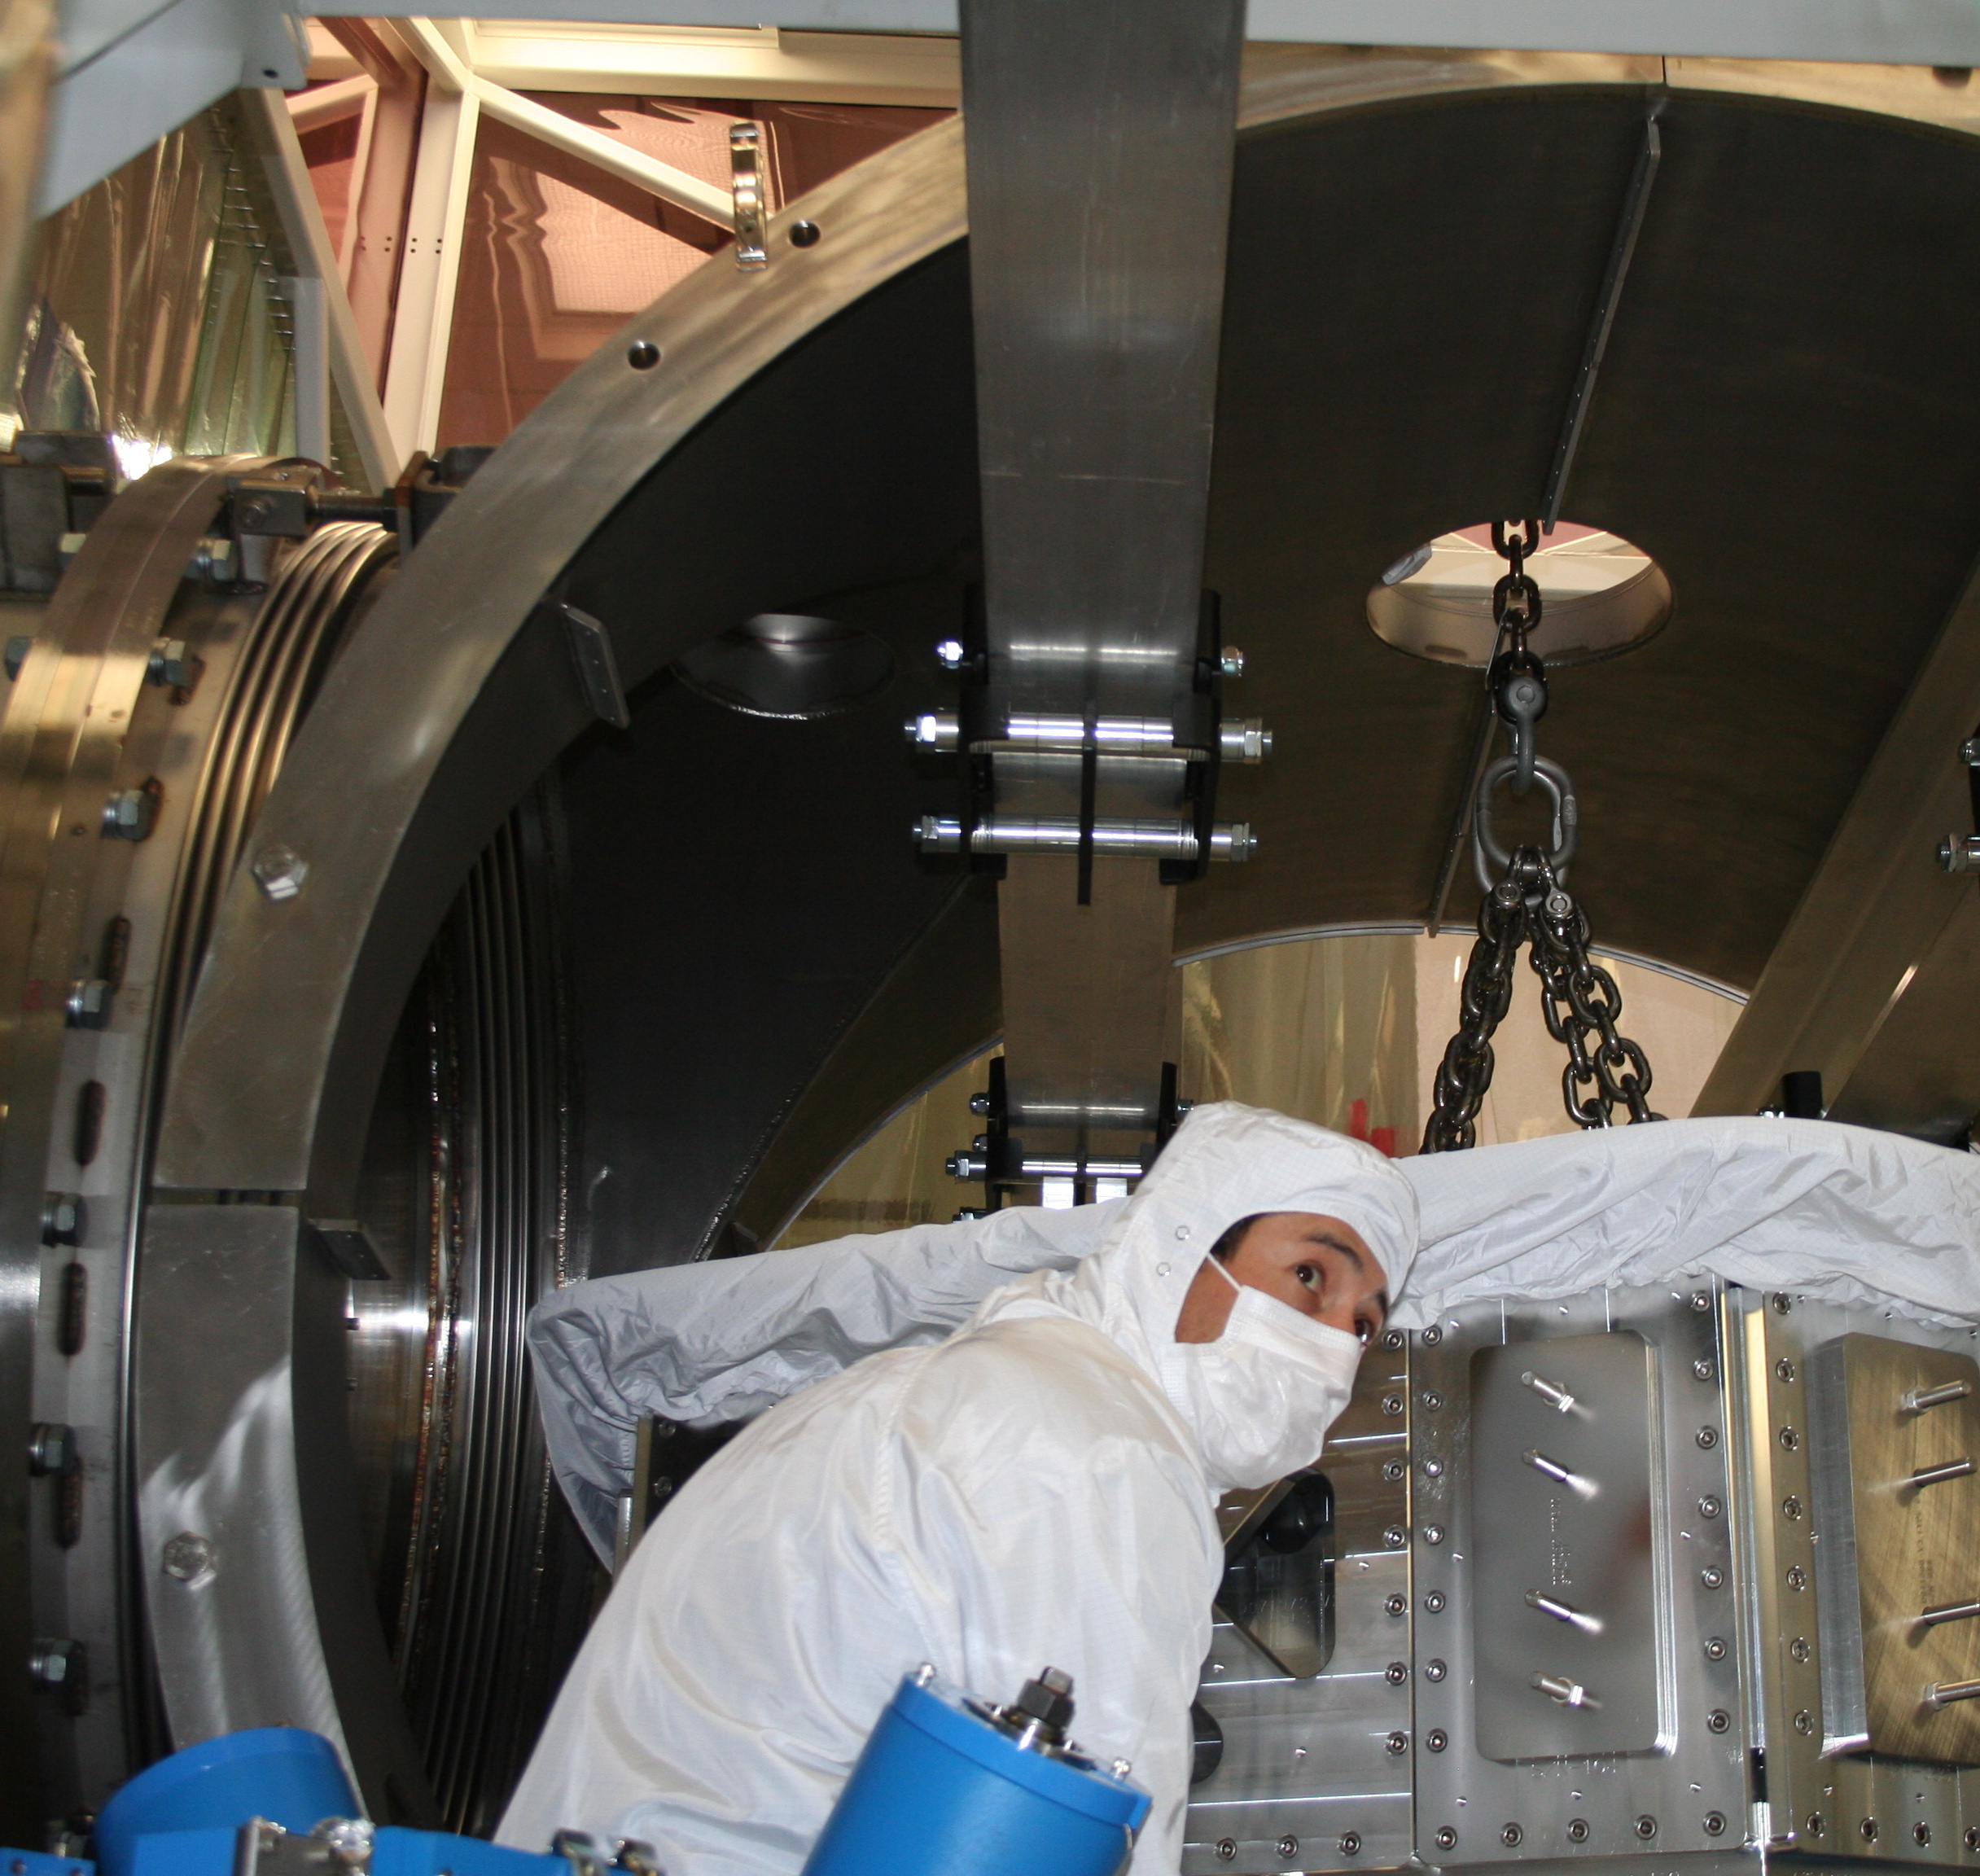
It should be noted that the ISI did not hang completely level. One could see with a bubble level that we were slightly off. This was even more important when the ISI was lowered on to the HAM3 Support Tubes. For this landing, the SW corner touched down first, and the west side touched down first with the east side high by about 1". So, it did take some jiggling and vertical cycles to finally start threading all the bolts. (we also had Caleb put on some In-Chamber boots and stand on our high side of the ISI to help make it level and ease threading the eastern bolts.
Similarly, to HAM2, it was observed that a couple of bolts appeared to have issues with their thread (they'd get bolted down, and when a torque was applied, the bolts just spun in their holes without getting tight). Ultimately, we replaced the bolts, and the fresh bolts did the trick. (We went ahead and installed/torqued a new bolt in the missing SW bolt for HAM2 with no problem.)
On the east side, we were not able to install a southeast bolt--it was blocked by a Shipping Bracket. On the west side, we were not able to install one of the 5" bolts which was below a Vertical Actuator (this bolt also not installed on HAM2). Other than that, all bolts were torqued down (just need to remember to install that bolt on the east side.)
Here is a link to all photos taken for HAM3 Installation work, here.
Install time: 8 - 11:30am
THREE more to go!