[Corey, Dave, Eric, Hugh, Jeff, Scott]
NE Pier
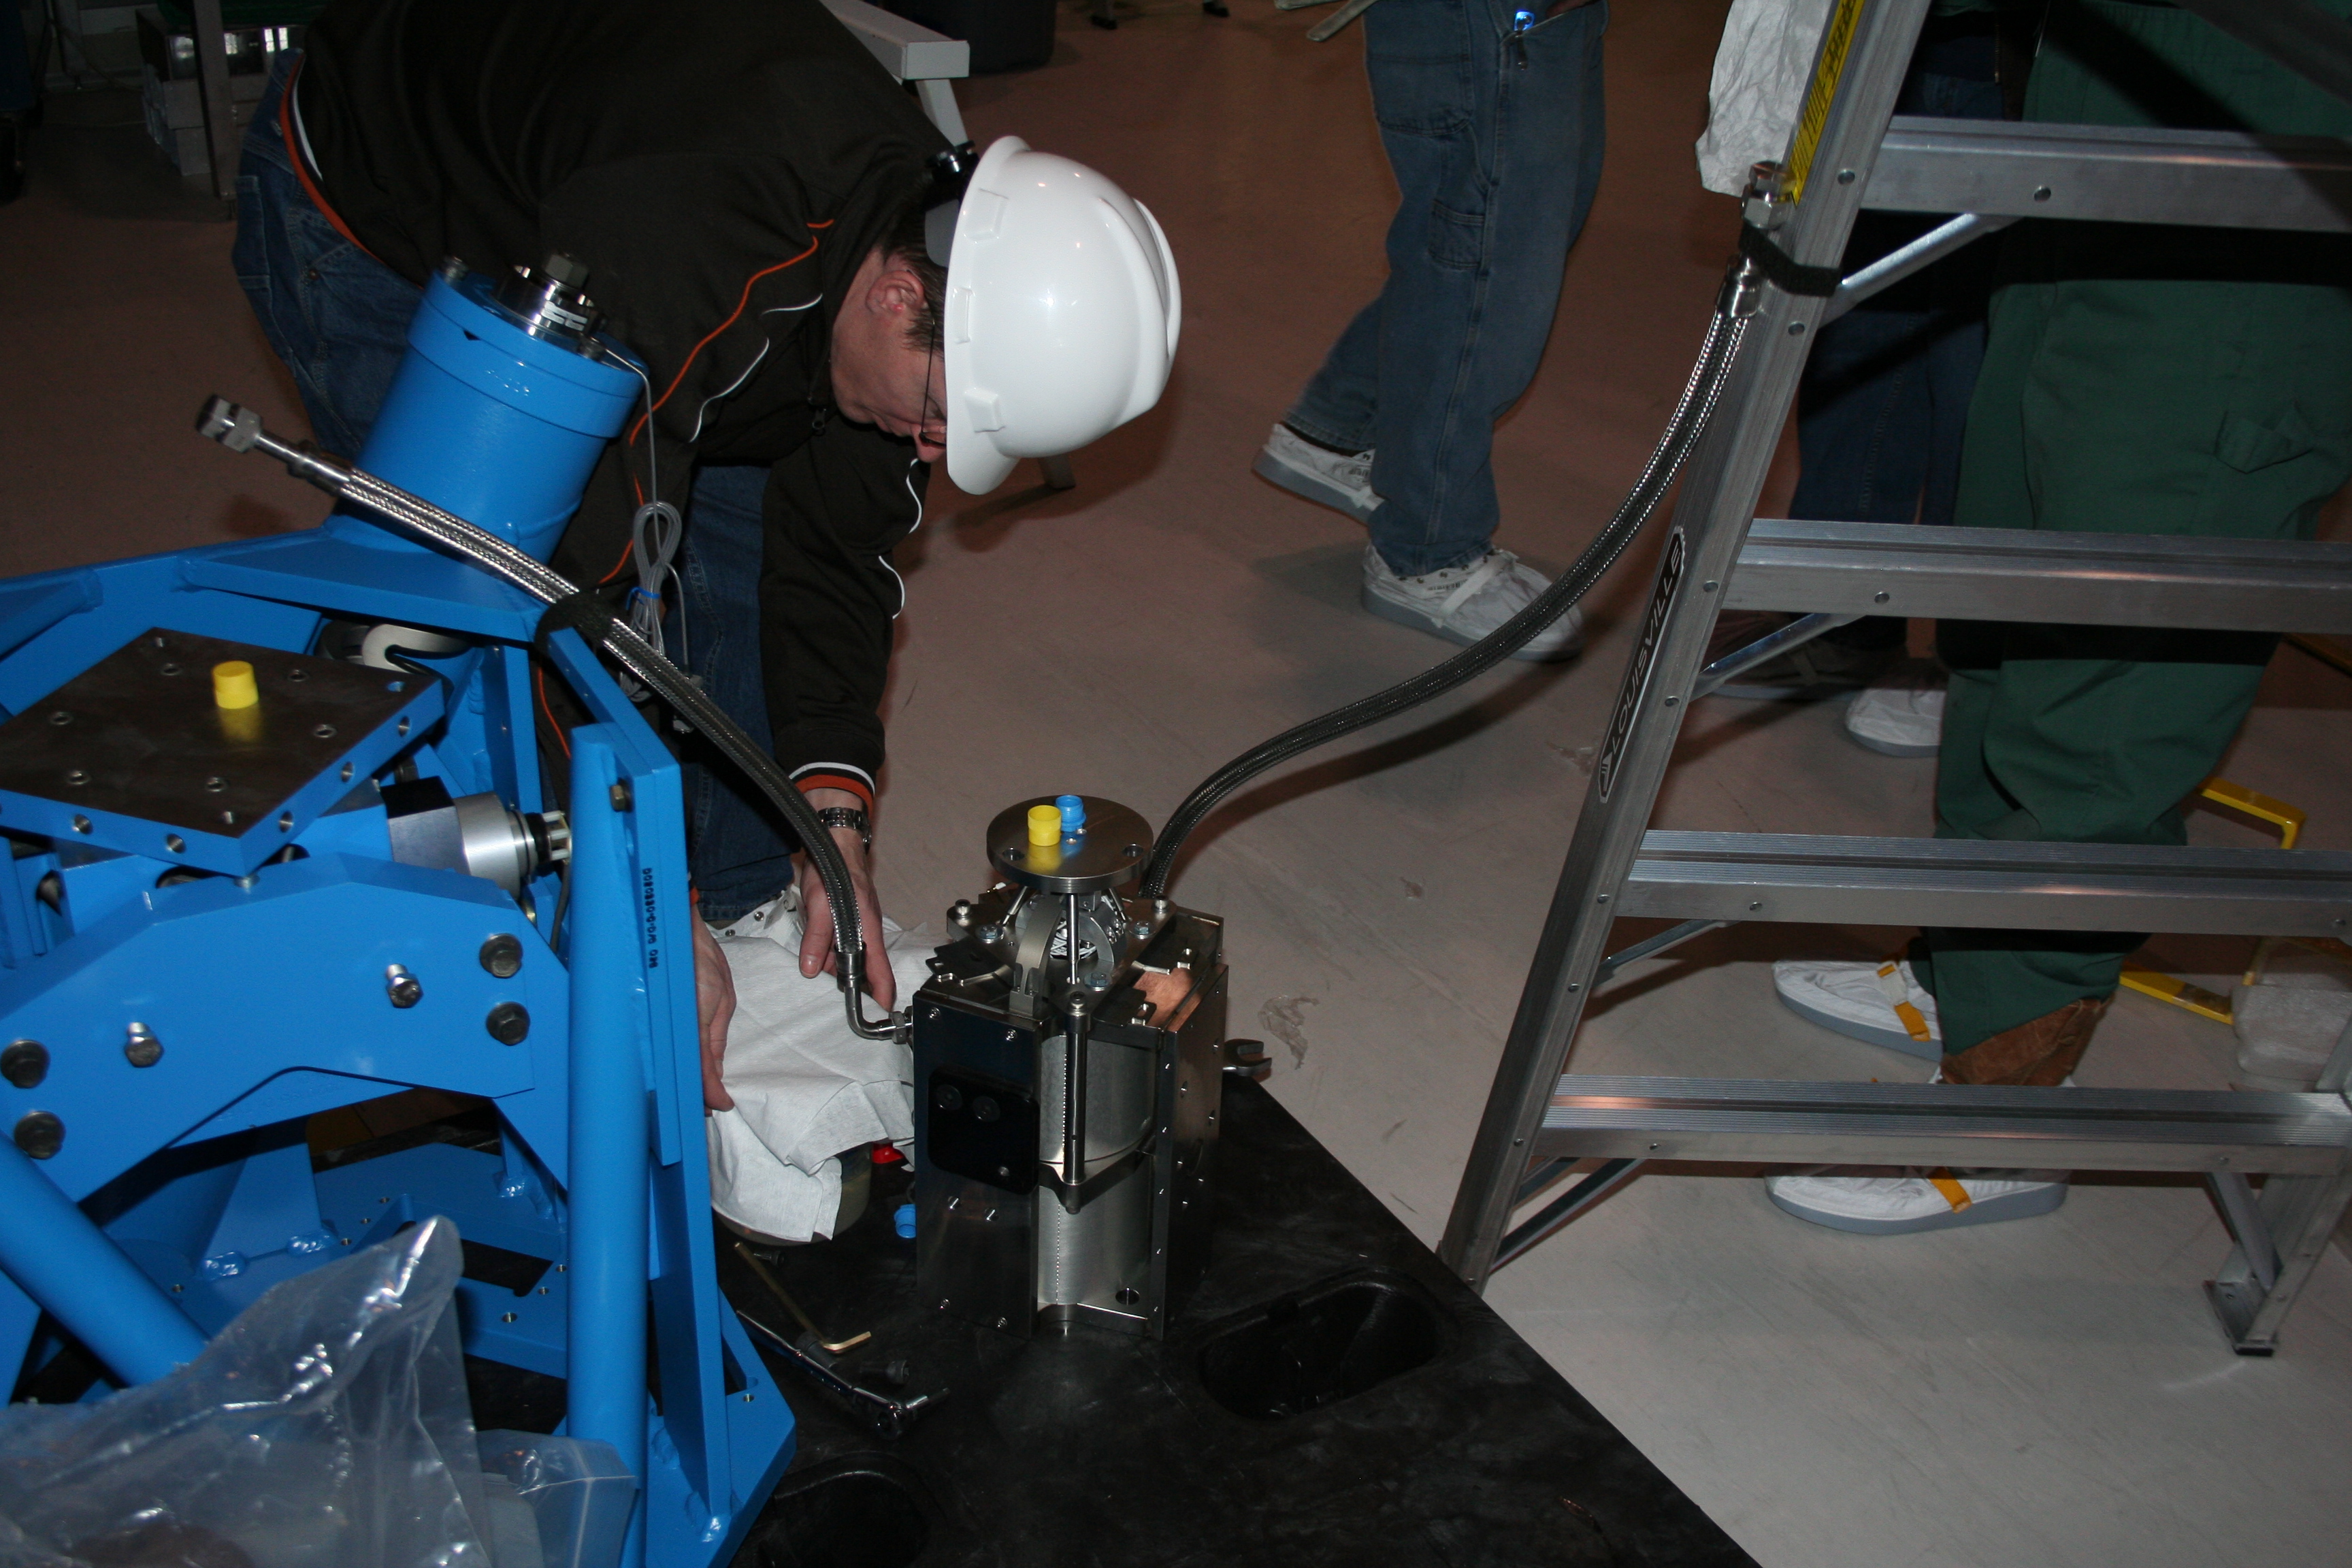
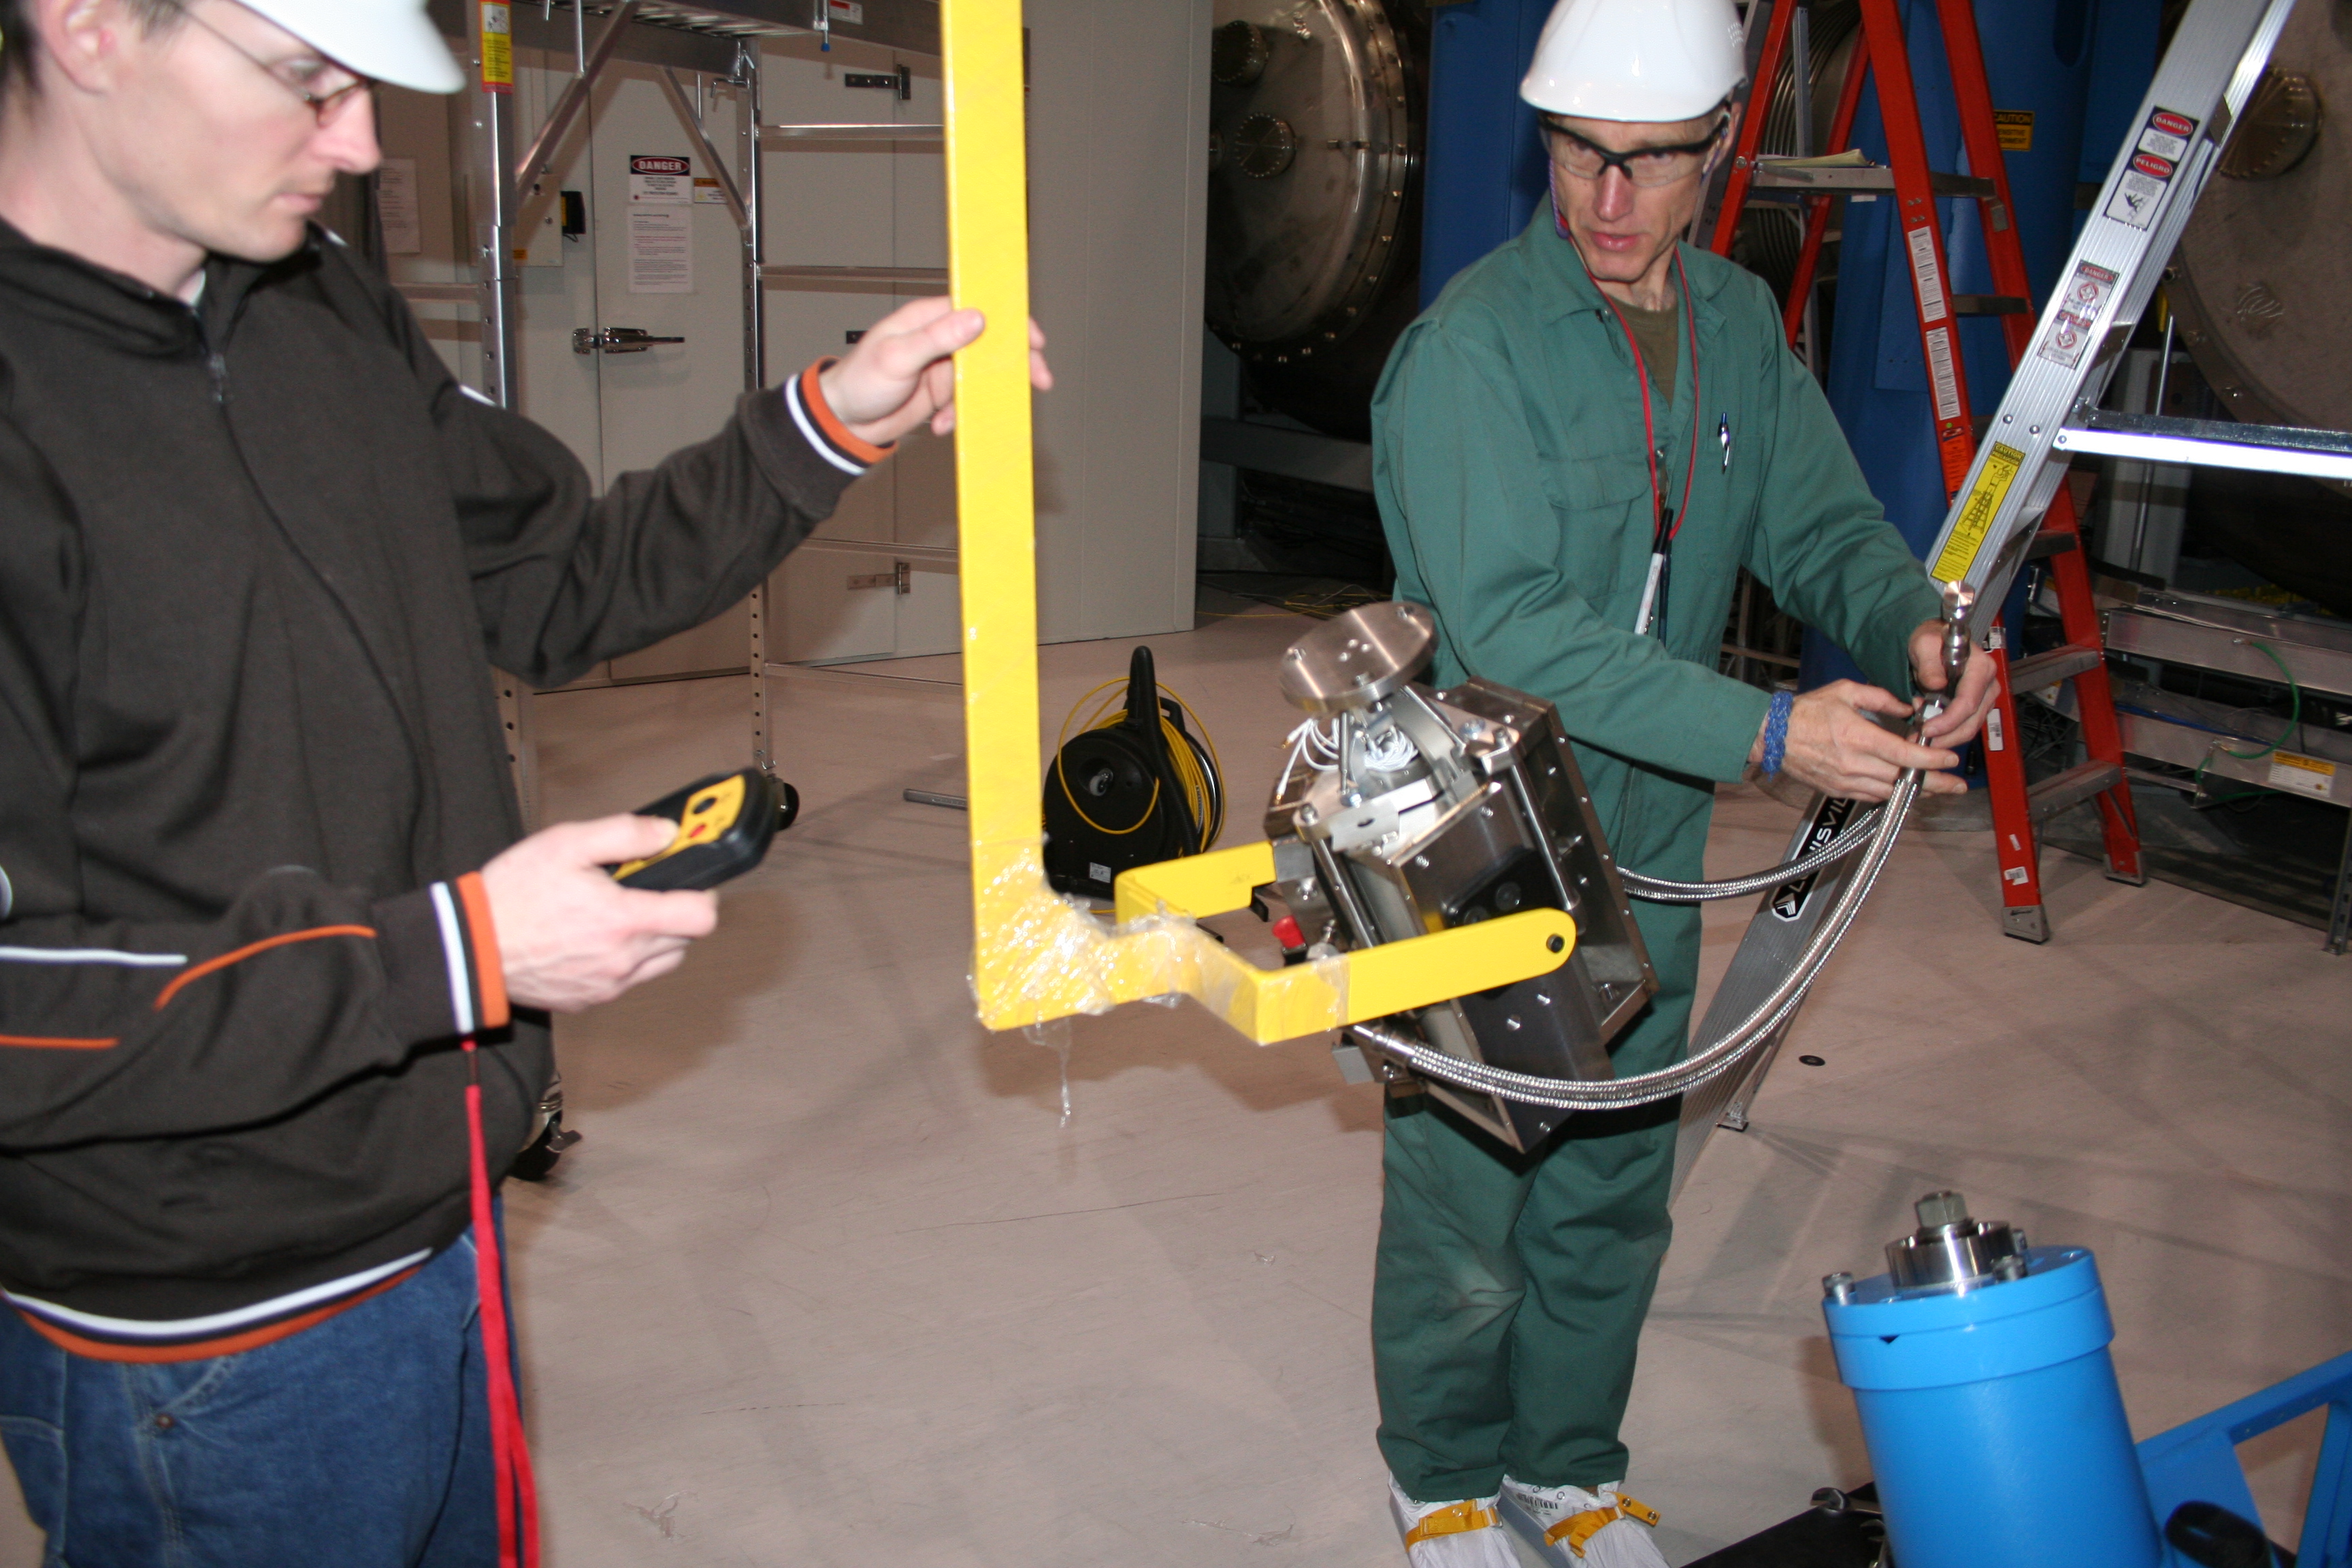
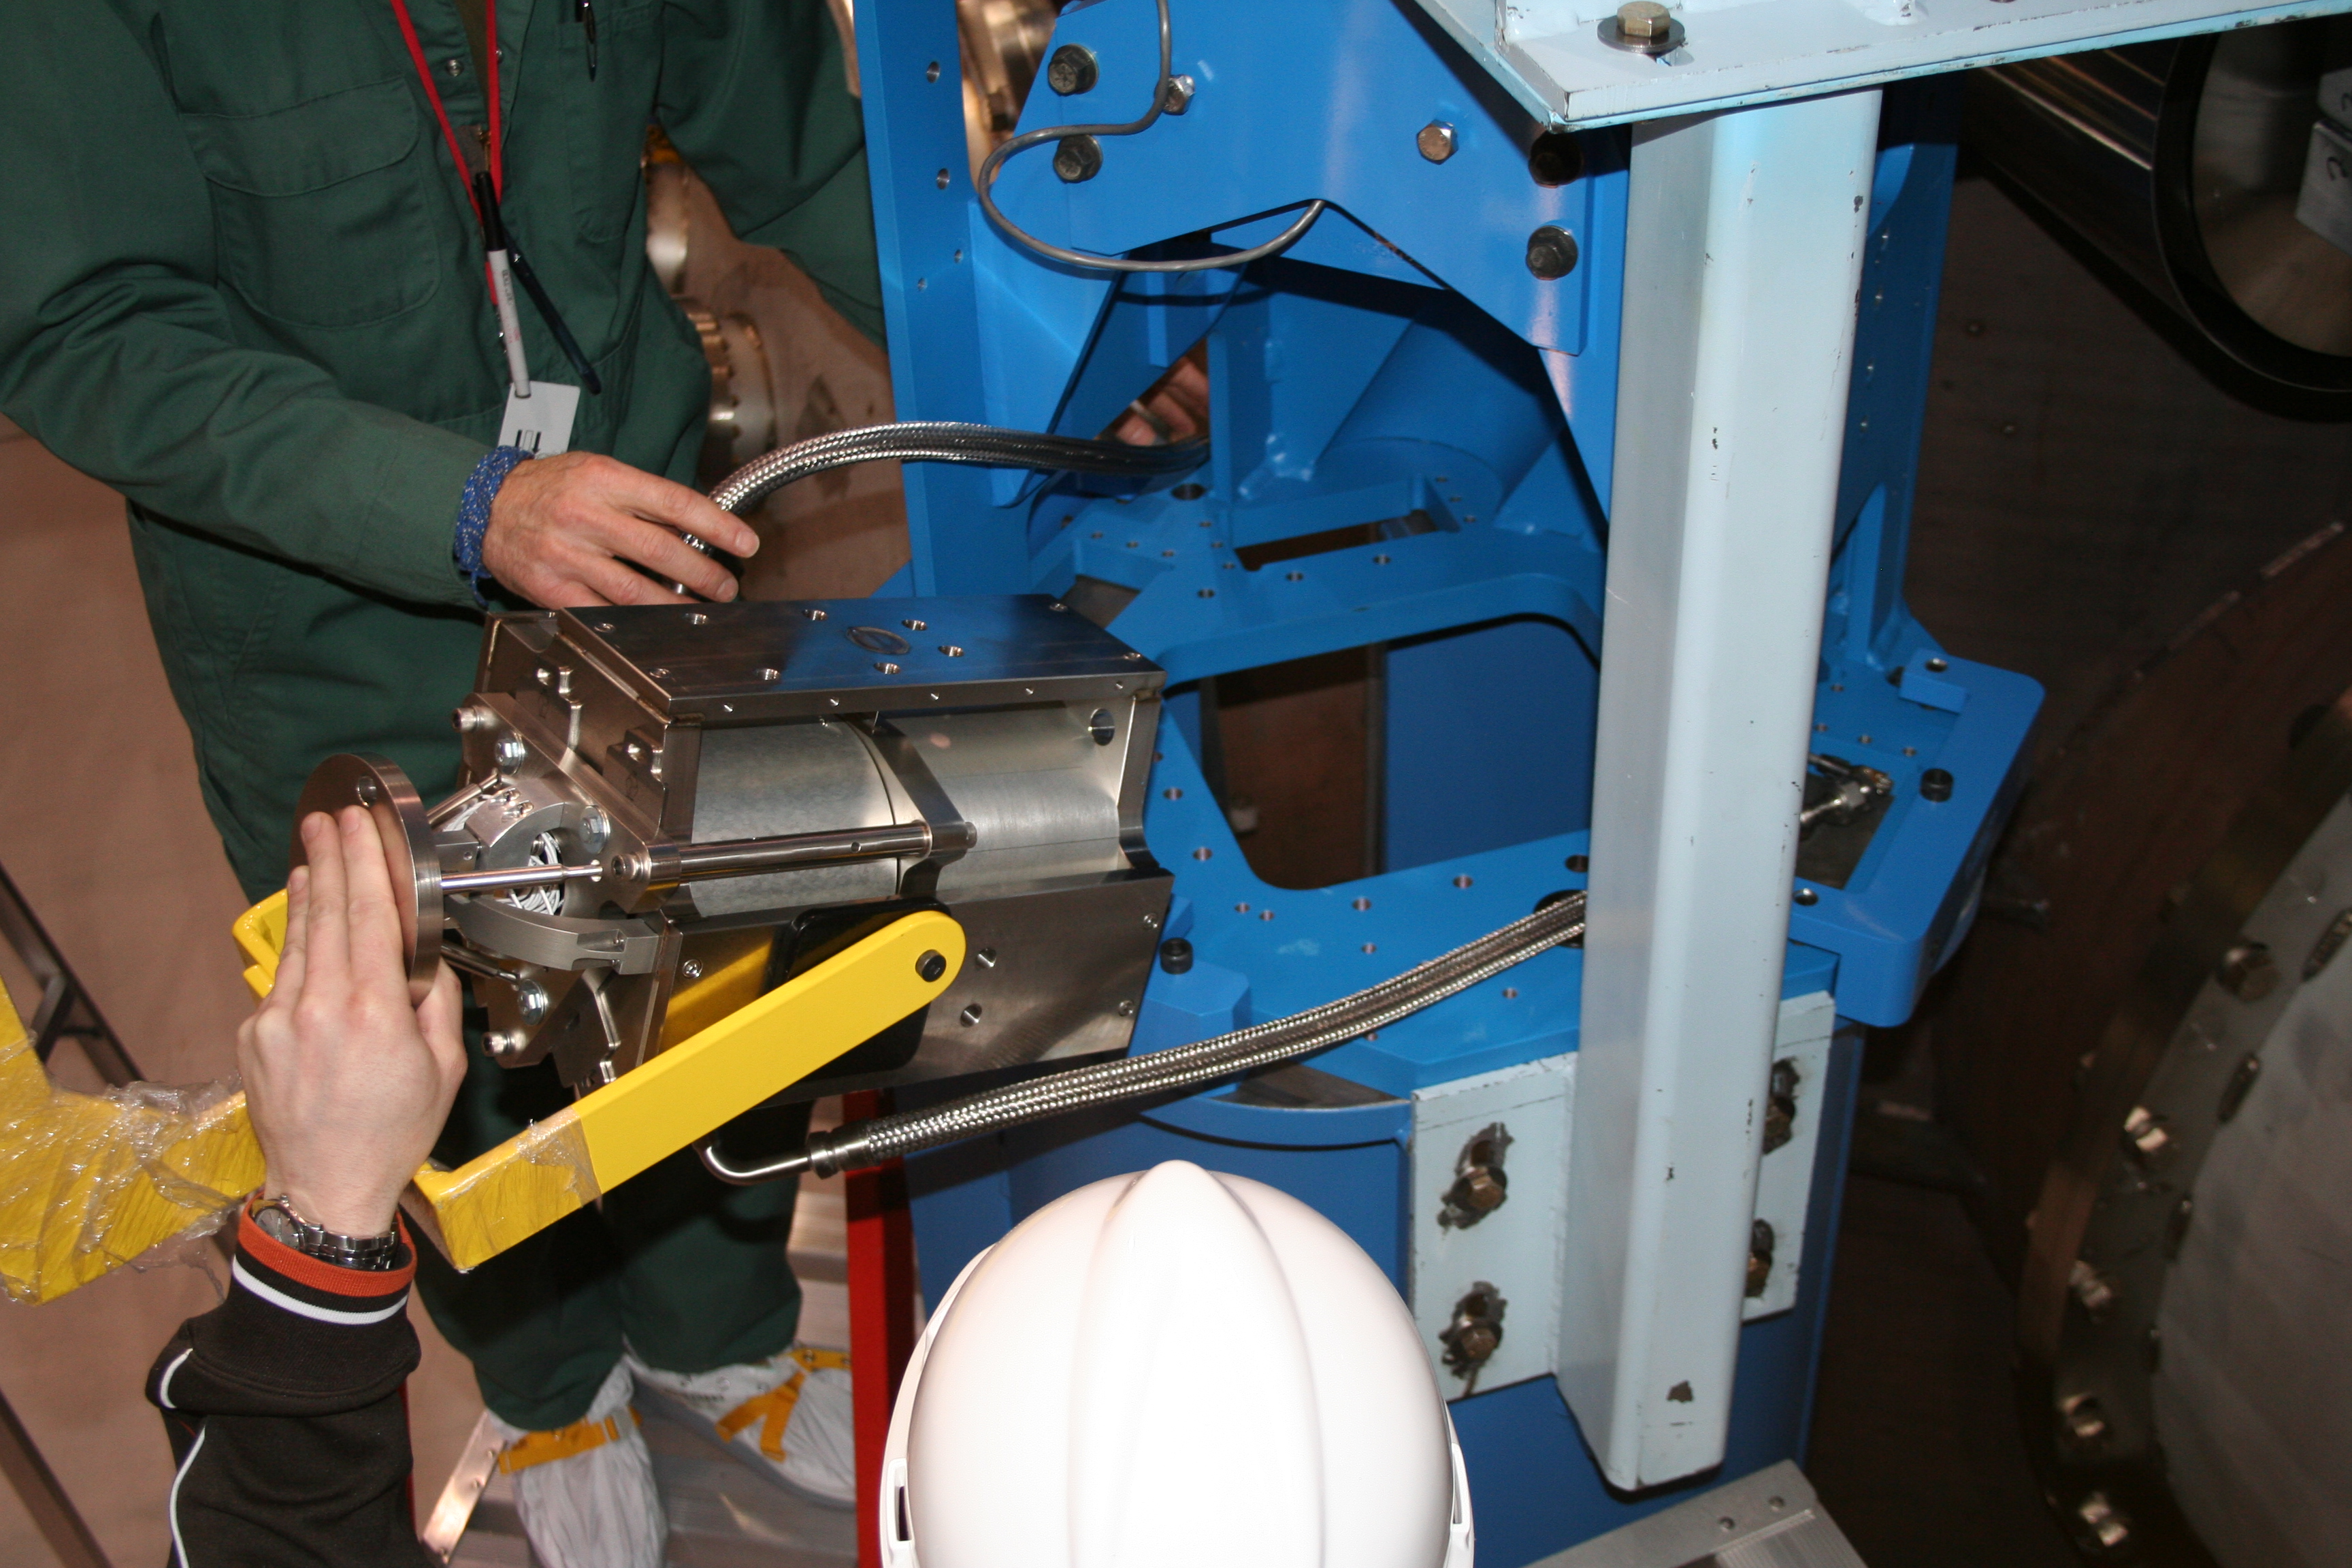
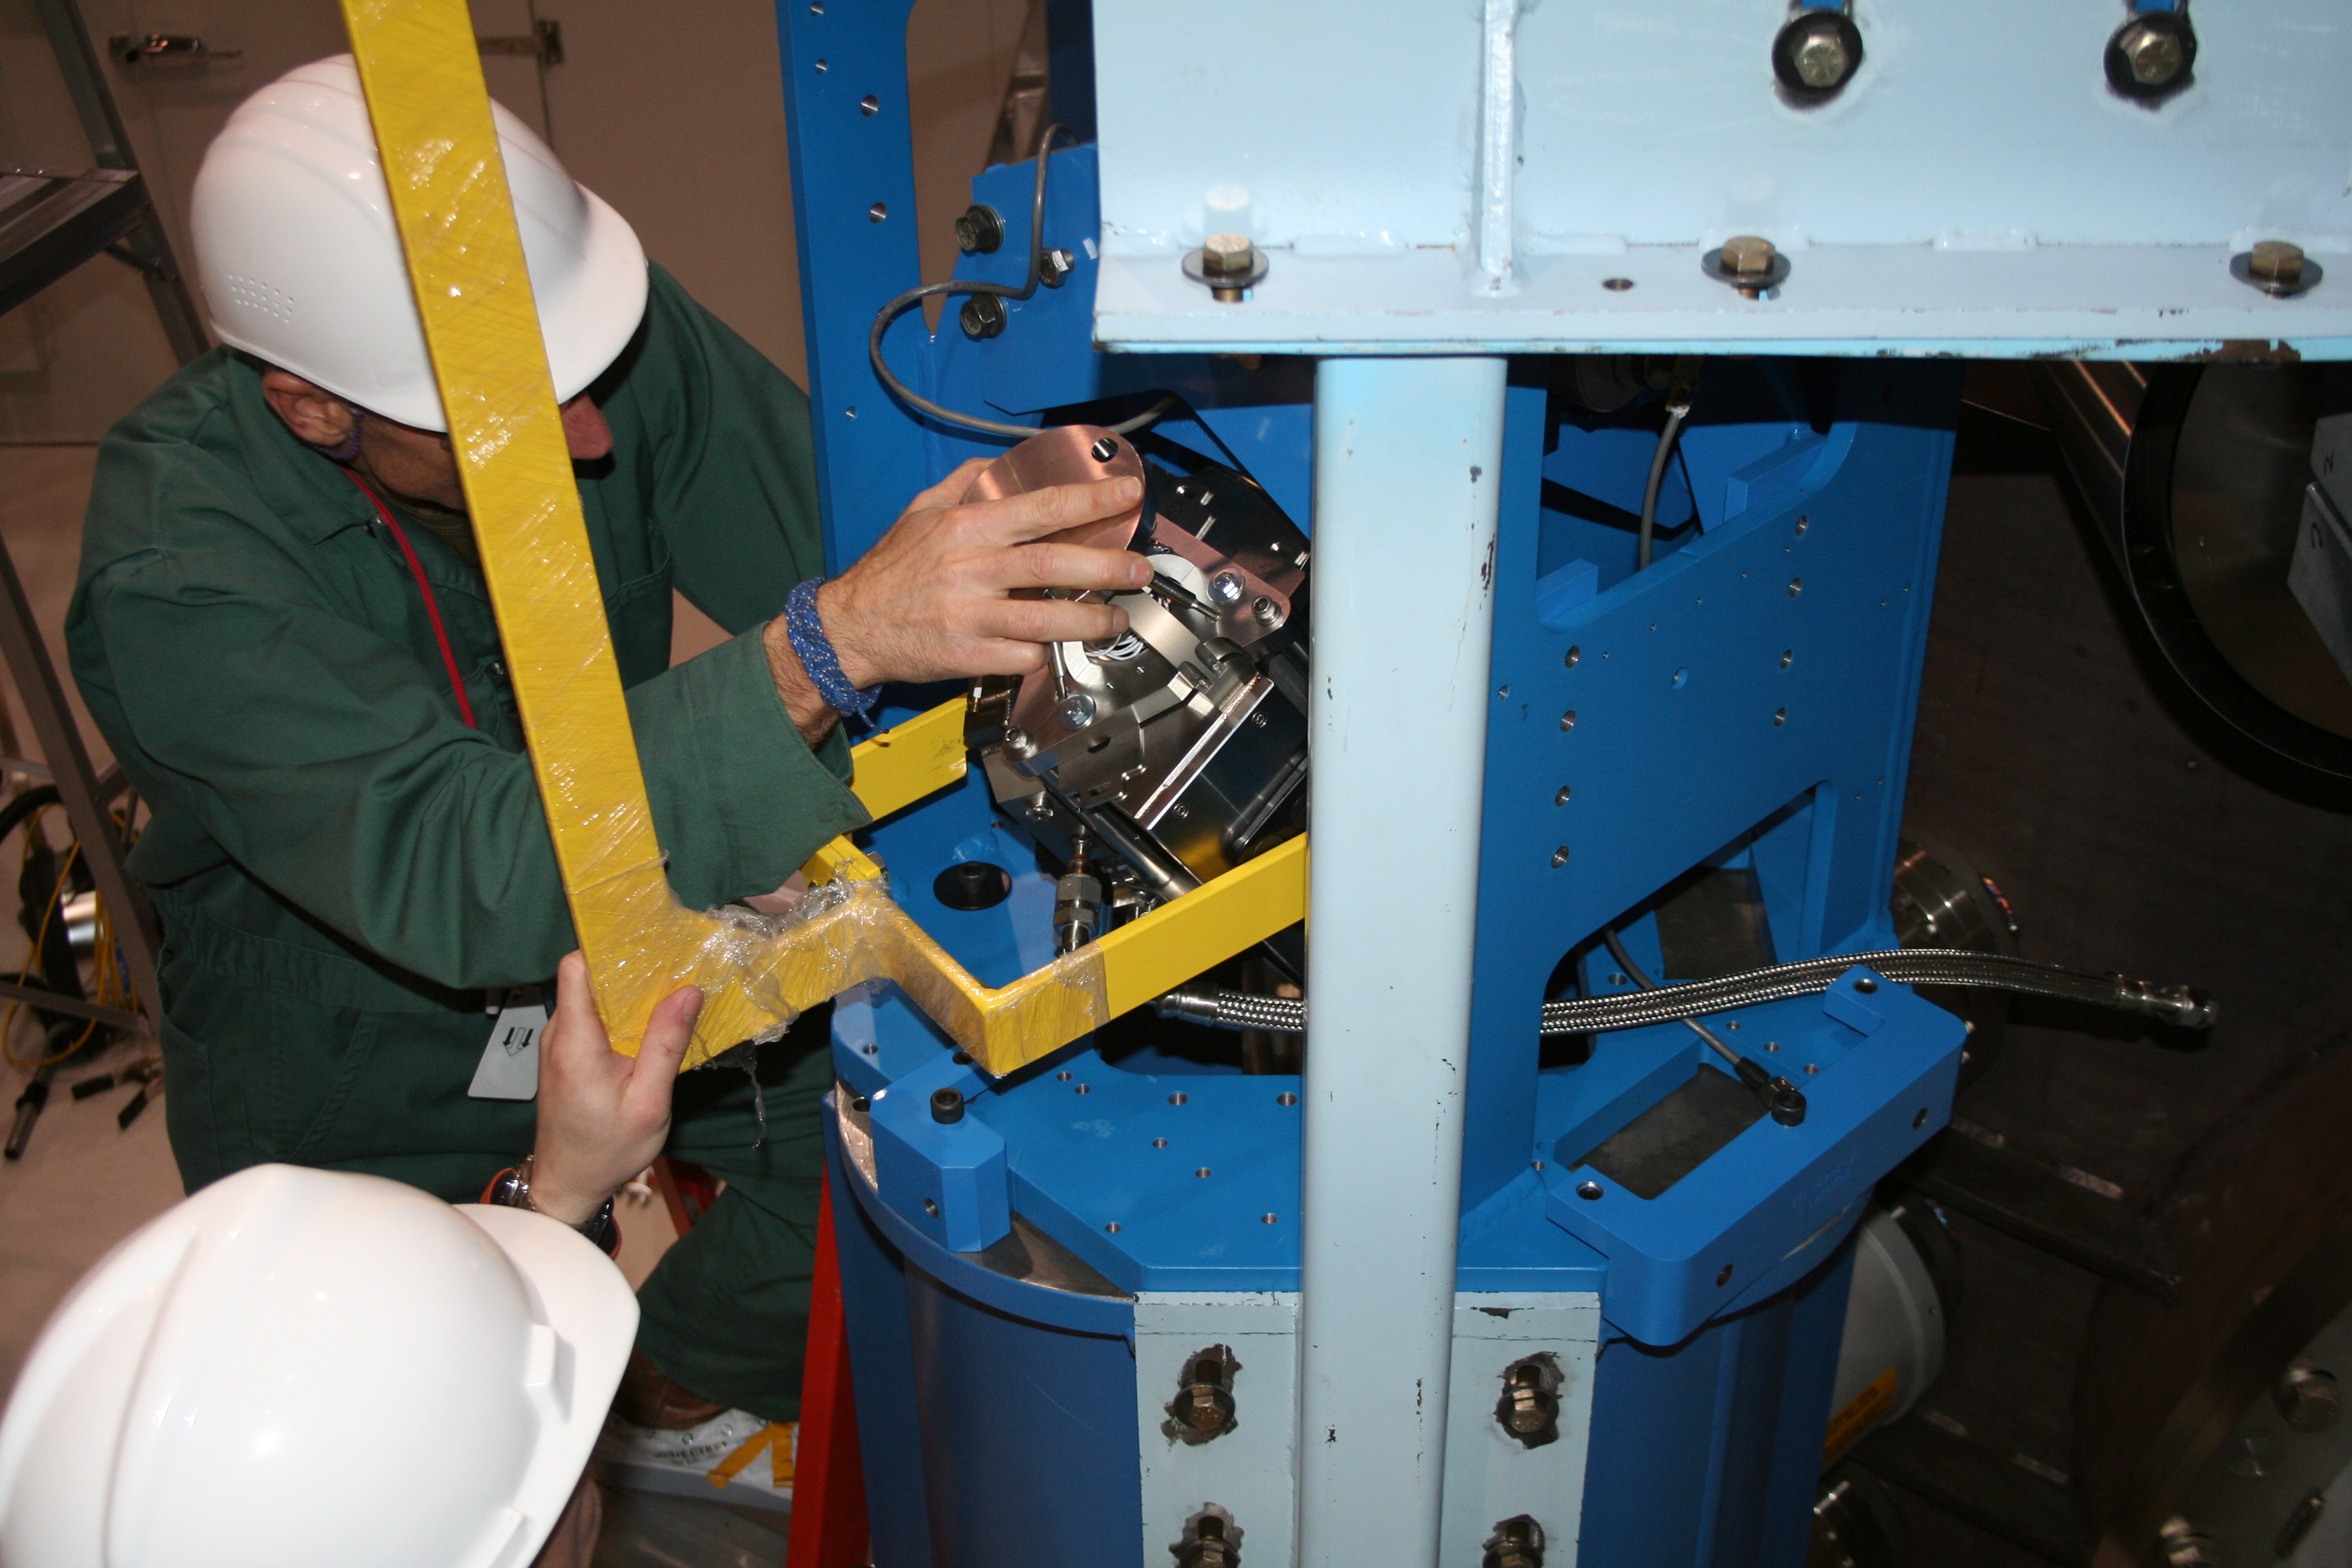
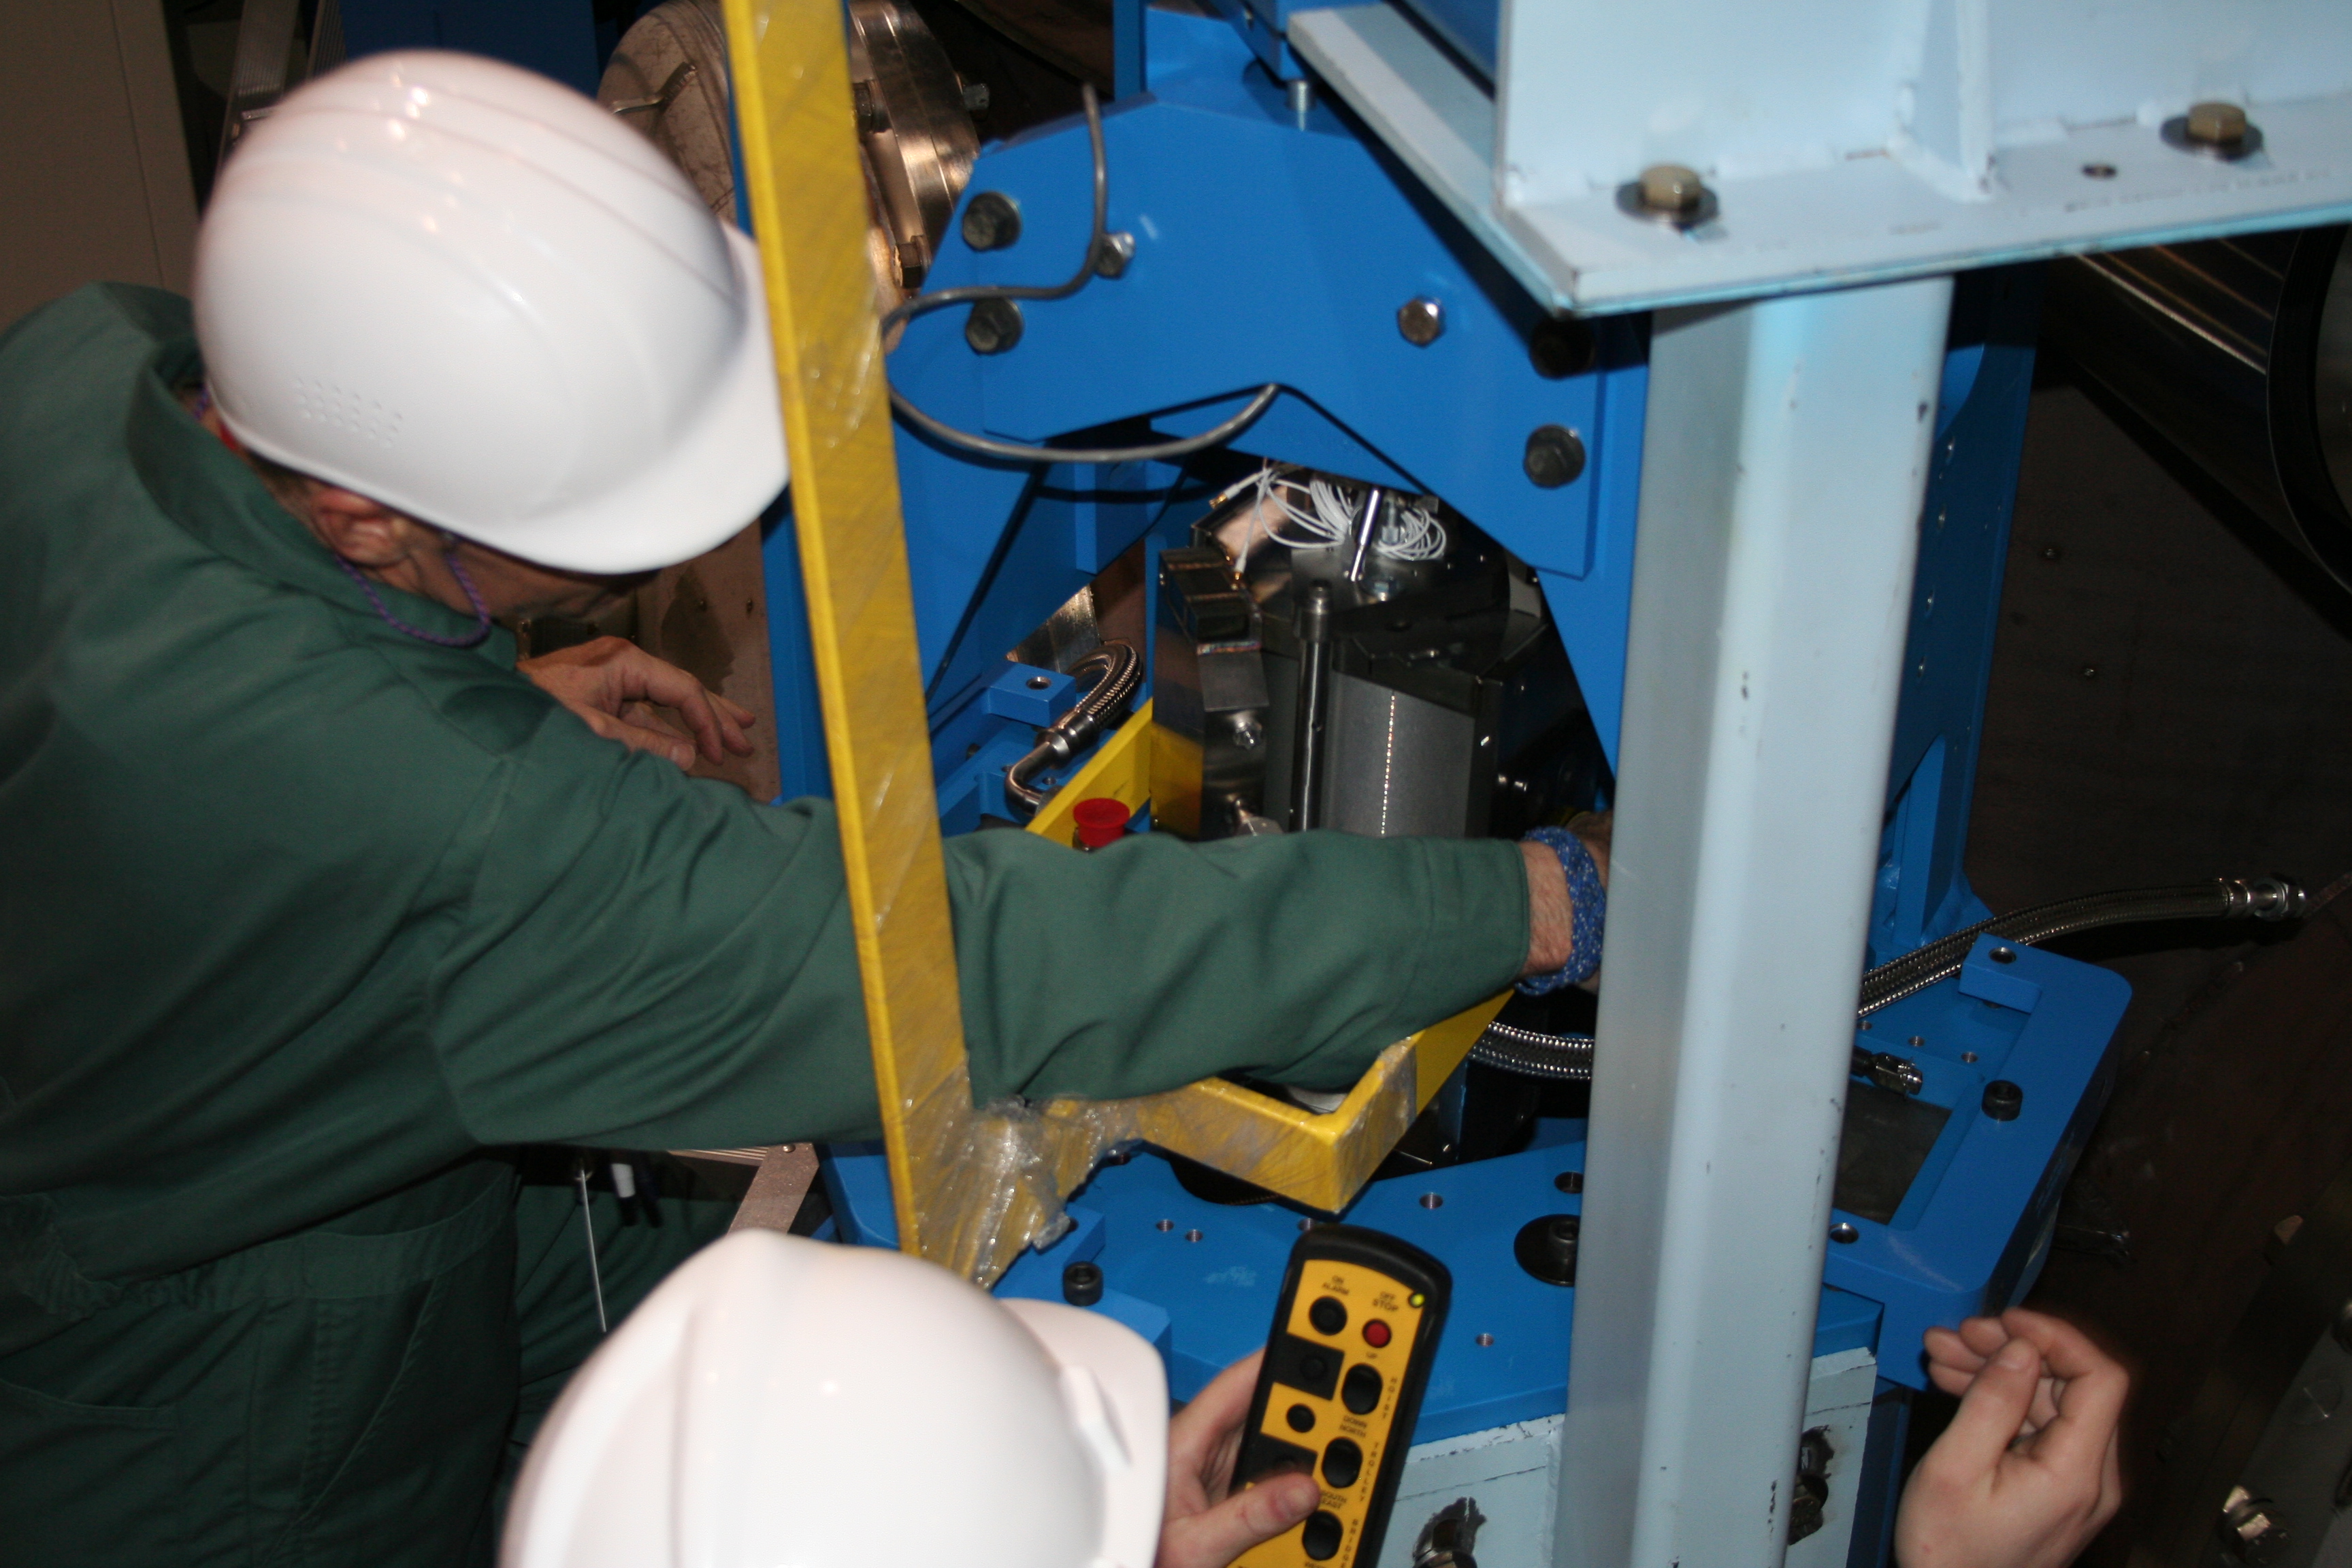
Most of today was devoted to installation of the Vertical Actuator. This Actuator gets installed after the HEPI assembly is in place. Once the HEPI assembly is in place and connected (via HEPI Foot) to the Crossbeam, the Vertical Actuator can be installed. The Actuator has been tested and flushed at this point (i.e. it contains "HEPI fluid"). Before the Actuator is craned into place, inlet/outlet hoses are connected to the Actuator, filled with fluid, and then capped off. At this point, the Actuator was carefully craned into place (see photos). We have a fixture (yellow item in pictures) which holds the Actuator and allows installers to tilt it as it gets installed. At this moment, the Actuator is in place and resting on it's Unified Actuator Brackets (they aren't torqued down to the HEPI Assembly). Only one HEPI Assy Stiffener was re-installed. The Support Bracket will need to be removed for the other one to get installed. The Actuator has also not been connected to the Foot on top.
SE Pier
iLIGO Coarse Actuation System stack has been removed. Marks have been made on the Pier (holes can be drilled out tomorrow).
Misc.
As we've worked we've found that the Support Brackets needed several modifications due to interferences or non-fits. Sections of the Bracket have been cut off, and slots have been made longer.
Cut out was also made to the yellow Actuator fixture to prevent rubbing against a valve.