[Corey, Dave, Greg, Hugh, Mark, Mick, Scott]
Support Tube/Crossbeam Centering
Scott, Dave, & Hugh determined that the BSC7 Crossbeams/Support Tubes (a "big metal square") Assembly was roughly out of place (i.e. the ends of the Support Tubes were not centered within their nozzles & hence the Bellows were also flexed a little...not sure how these guys got pushed around).
So with measurements by the crew above, this morning we went about the process of getting the "big square" centered. For the most part it went well. Closing the final gap was a little tough in that we could get the assembly where we wanted, but it would spring back to a place where it wanted to be. So, we manhandled the assembly into place, and then lowered the load via the crane. The crossbeams were then torqued in place onto the Support Brackets. We now had the Support Tubes/Crossbeams at a much better place, and wanted to make sure the HEPI are positioned wrt the Crossbeams.
HEPI Swap
Greg & I have been pre-positioning HEPI Foot Assemblies on the floor in preparation for the installation. Now that BSC7 Crossbeams are better positioned, we wanted to install these pre-positioned HEPIs (instead of adjusting the feet of the HEPIs already in place...would have been a little tough to do this 10' up next to the chamber).
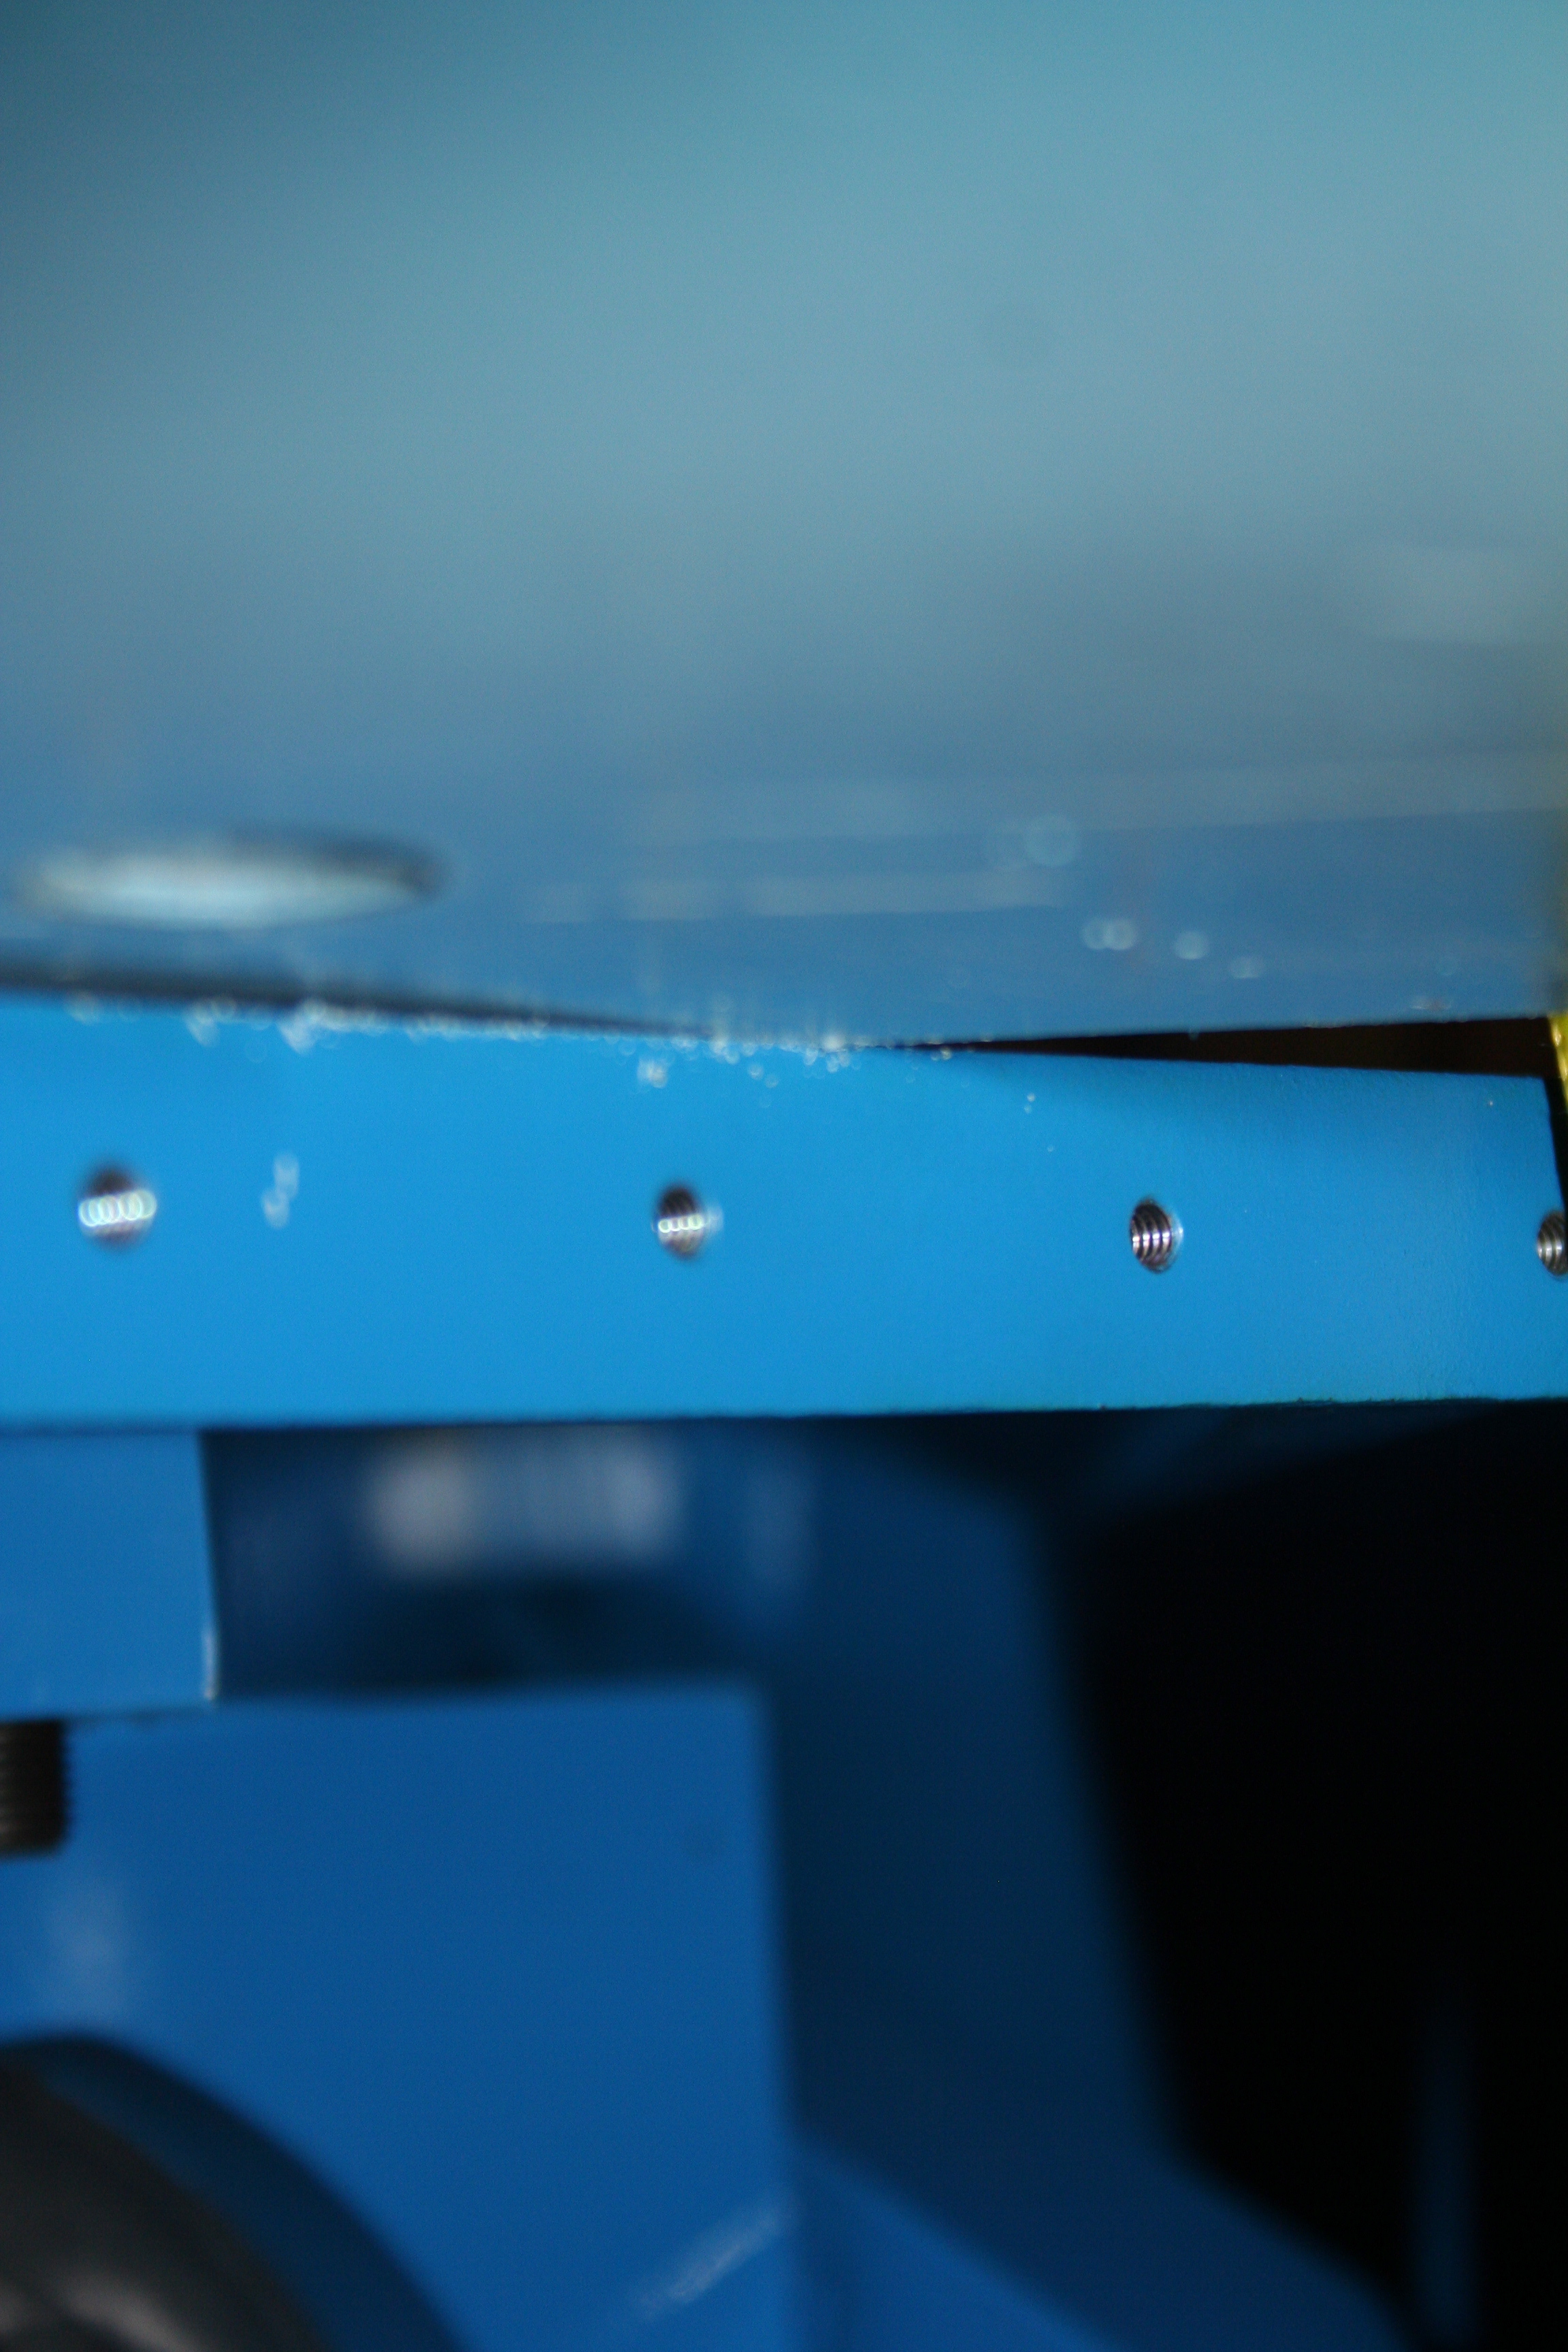
So we pulled out the NE HEPI assembly and replaced it with SN 54 HEPI assembly. We positioned this HEPI such that the four bolts on top for the Crossbeam/HEPI Foot connection could be made. This was a VERY TIGHT FIT. Most of the interference came with the Support Bracket (seemed like there were some spots where we had less than a 1mm of clearance [see photo]).
Once the HEPI Foot was in place, we selected a Shim to fit between the Foot & Crossbeam (previously, a 0.5" shim was used). This time the 0.25" shim looked the best (vs. the 1/8" shim). To make this shim fit, we had to the lower the HEPI Foot a little. We were able to lower the Foot a little via the Vertical Foot Clamping Bolts, but we also had to loosen the "top" bolts of the Spring.
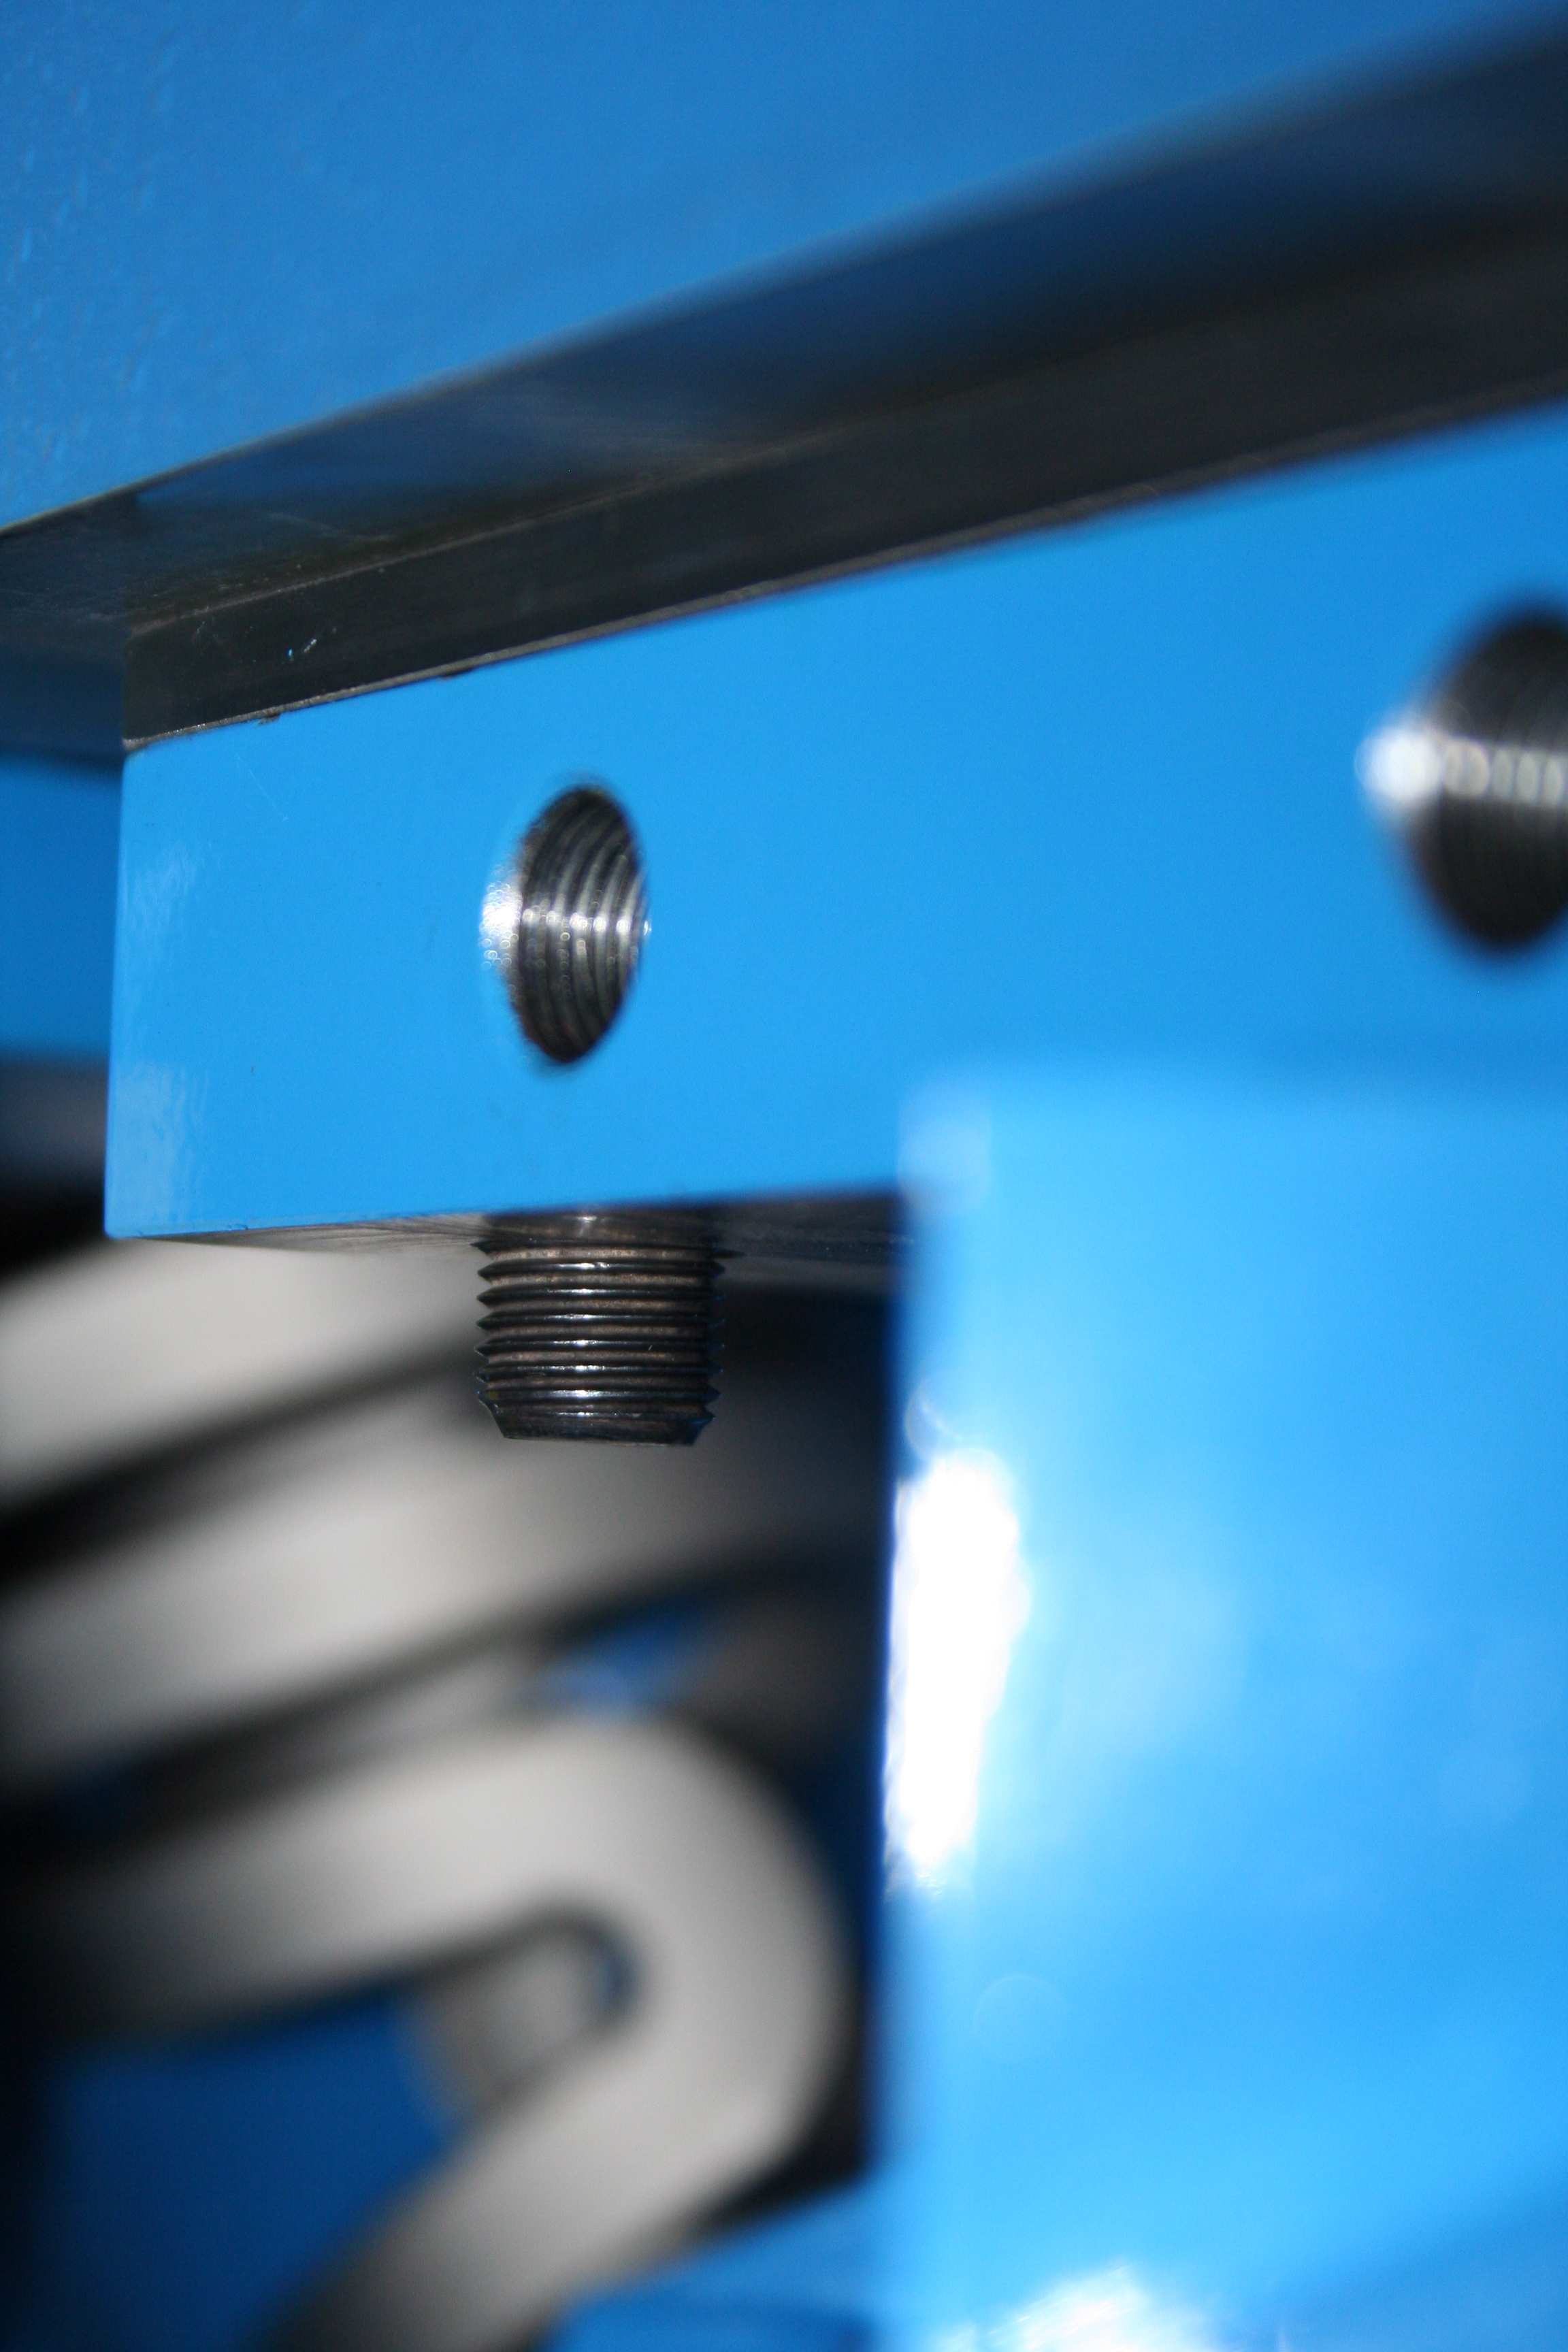
ISSUE: now that we have 0.25" less space here, the bolts we were using could not be used---they were too long. Two of them would be ok, but the other two would run into the heads of the vertical HEPI Foot positioning bolts (see photo of how much these bolts run through the HEPI Foot top plate). So, we need to find new bolts for this connection.
For the time being, we torqued down the two bolts which had no interference. Once the foot was clamped to the Crossbeam, we backed off all of the HEPI Foot Clamping Bolts and then moved the HEPI Assy to line up with bolt holes on the Pier. We want to move as little as possible here so we don't jeopordize any range of the Foot. The two carbon steel 1/2-13 HoloKrome bolts on the inside of the HEPI Assy which bolt to the Pier technically have torque values of 150ft-lbs (!), but since they are going thu such a big hole/with a wide washer, we didn't want to use this value (went with 45ft-lbs). (Is this ok??)
This HEPI Assy is close to being complete, but we still have a few issues we'd like to go over with Hugh. We'll then move onto the other HEPIs.