(Corey, Eric, Jim W.)
Optic Table Assembly
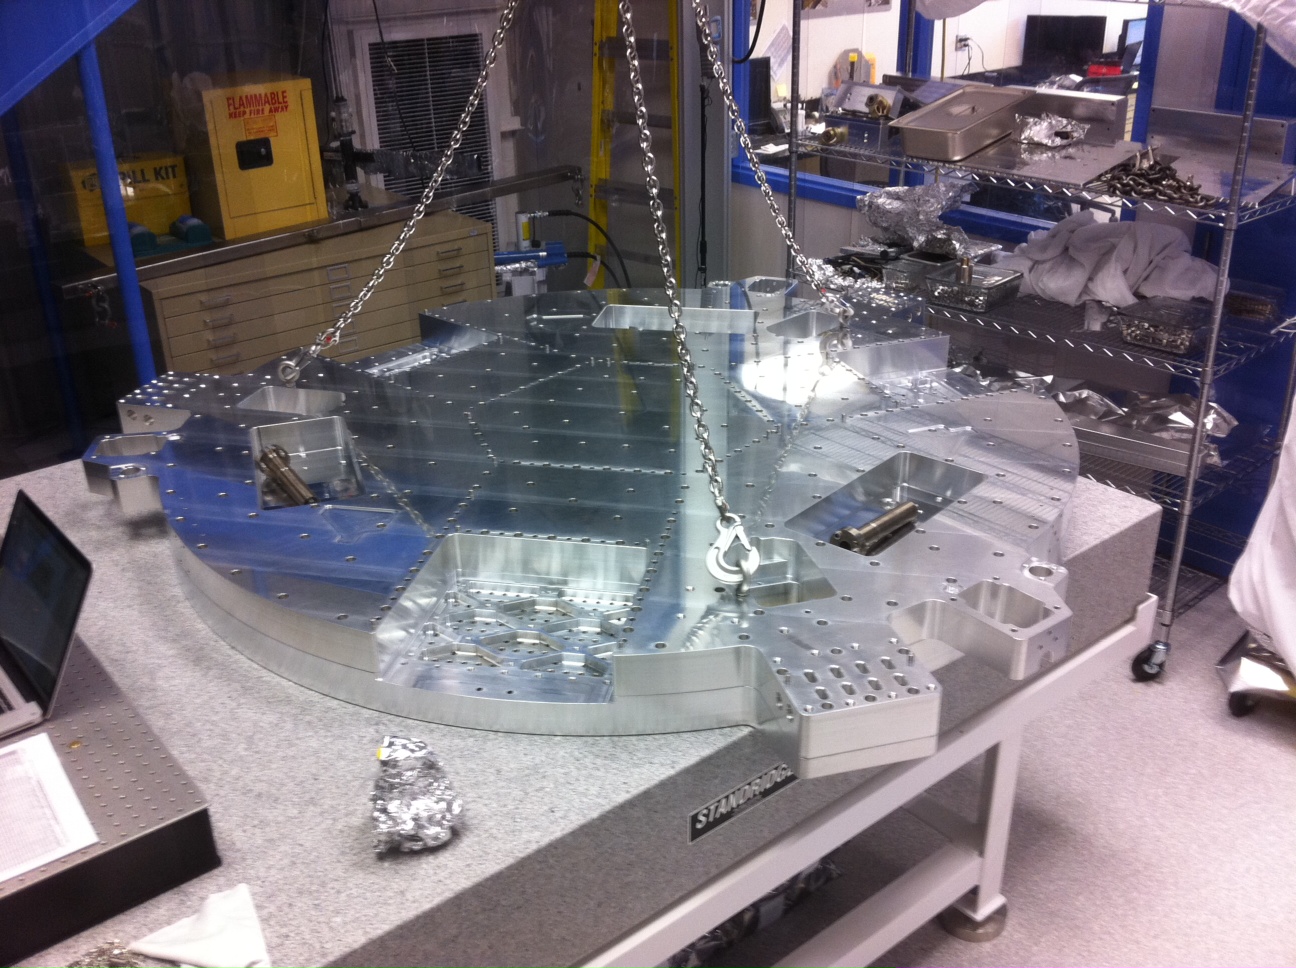
After reaming of dowel pin holes from last Friday, the top-facing plate of the Optics Table was lifted so (3) dowel pins could be pressed into the bottom-facing plate. Also took this opportunity to install a set of Optical Table covers which would have been too tough to drop in with the big Optics Table plates assembled together. When connecting the two Optics Table plates together, it seemed like we were caught up on one of the dowel pins (plates were only millimeters apart from each other). The top plate eventually slammed down onto the bottom plate---just a tight fit for this connection.
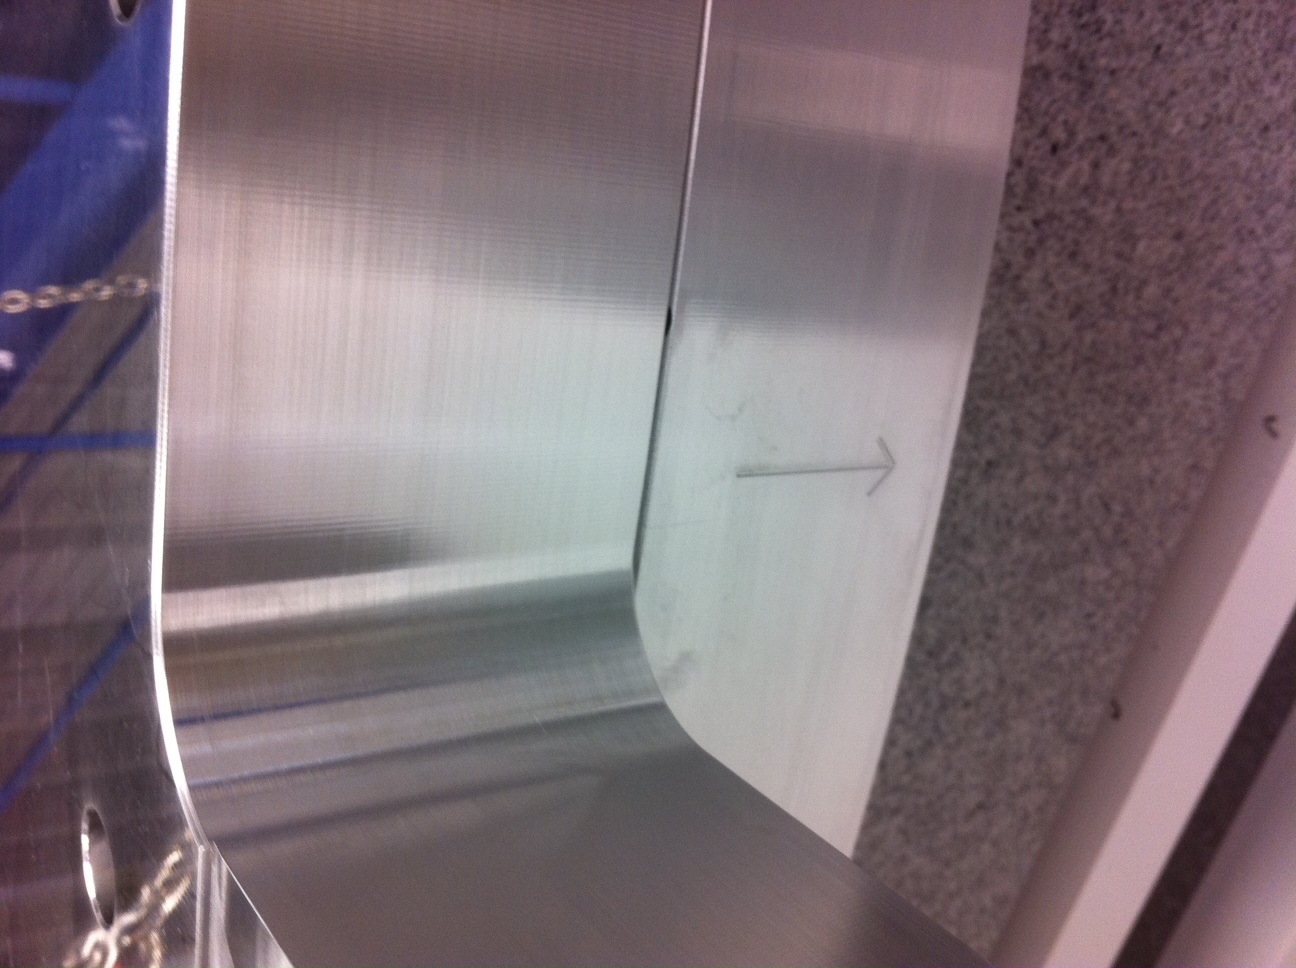
Then (306) bolts were used to torque the two plates together (their torquing was double-checked by another wrench-turner). We did not notice a preference for orientation between these two plates (the bottom-facing plate has an arrow on it, and this was only used to align the Optics Table to Stage0). At this point, there were a few (3) dowel pins, and helicoils which had to be inserted onto the top-facing plate from underneath, but it wasn't too tough.
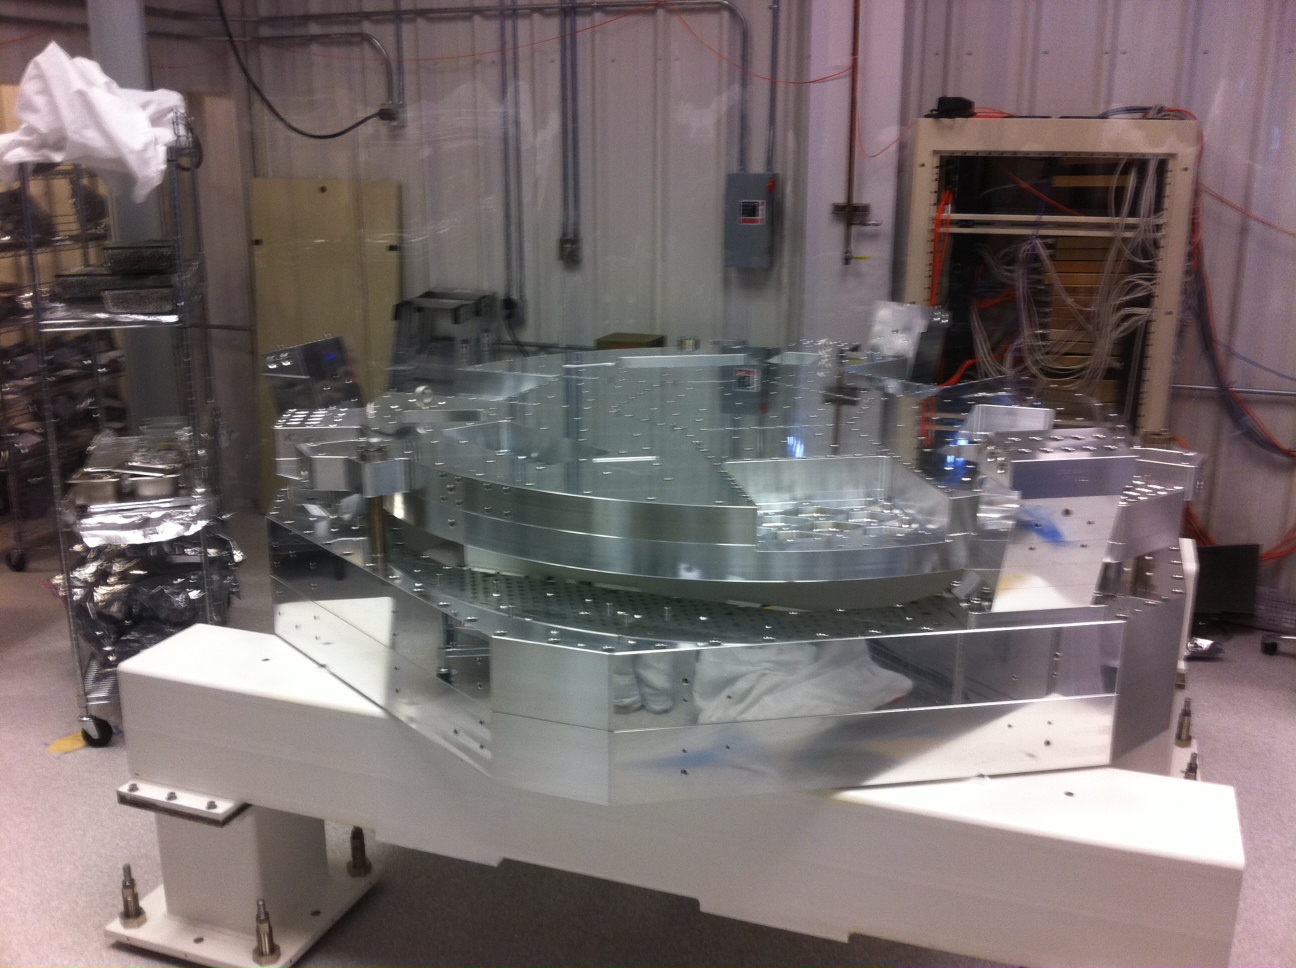
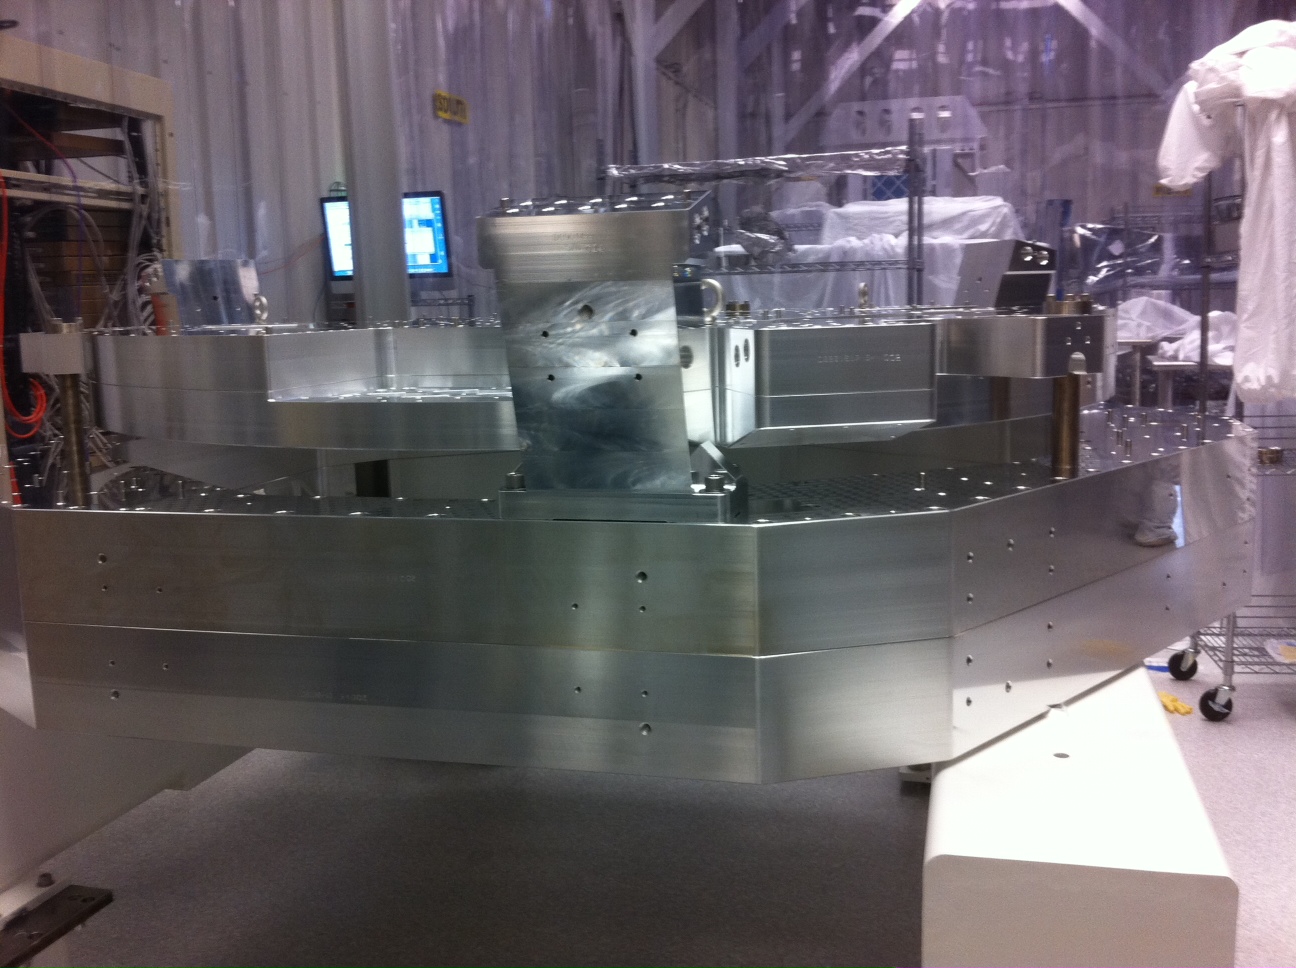
Stage2 Optic Table Moved On To Stage0: Finally Starting To See A BSC-ISI!!
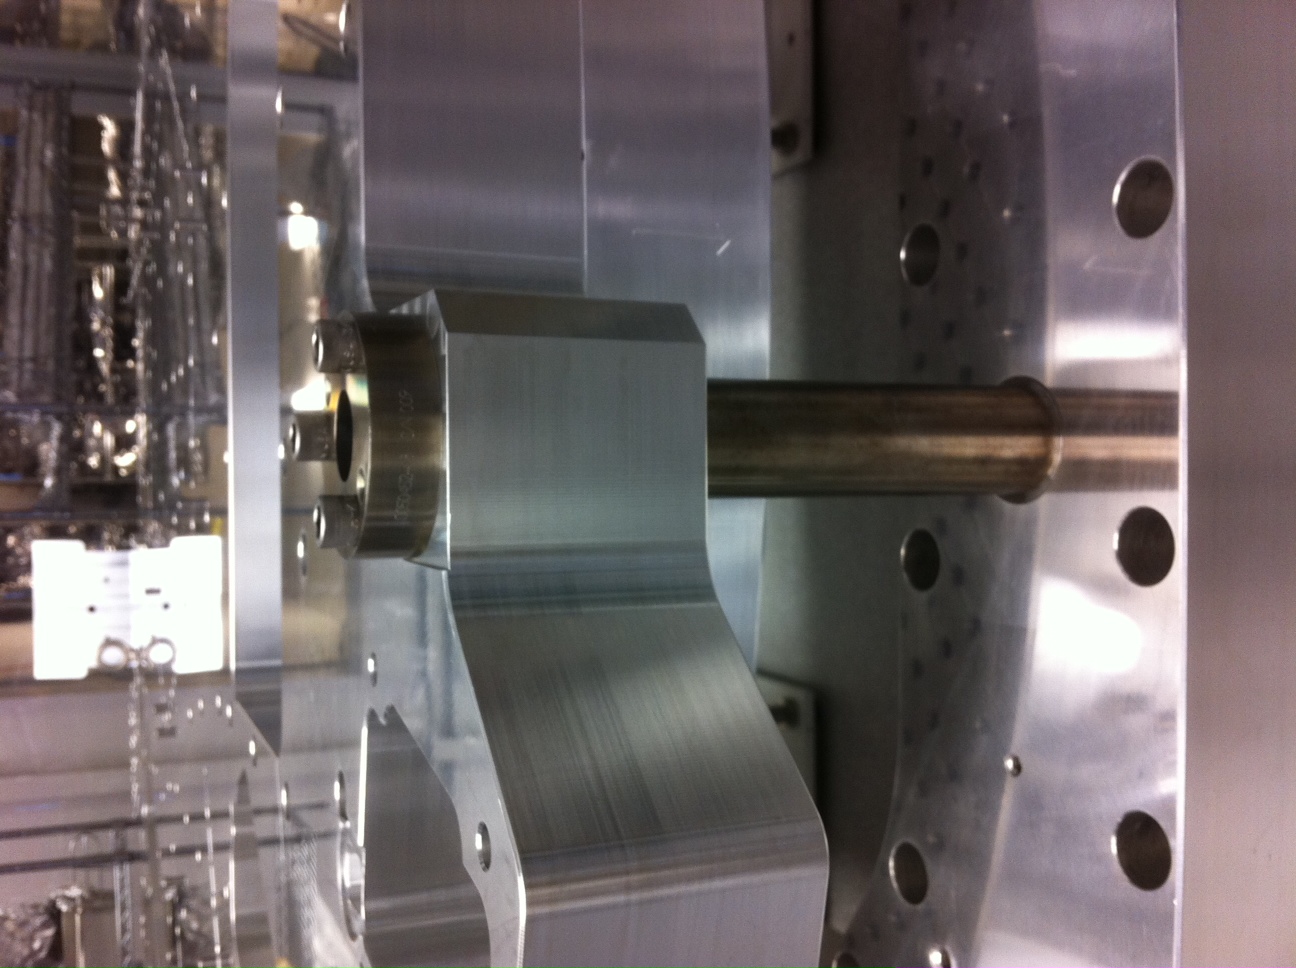
The newly assembled Optics Table was lifted via the forklift and taken to Stage-0. Optics Table orientation was set such that the arrows lined up. We then used our (3) Alignment Pin Assys to attach the Optics Table to Stage0 (the Alignment Pins definitely at a rotational orientation which was determined by a machined alignment washer. Optics Table was lowered onto Stage0 with no problems. The Alignment Pin bolts were all torqued to spec.
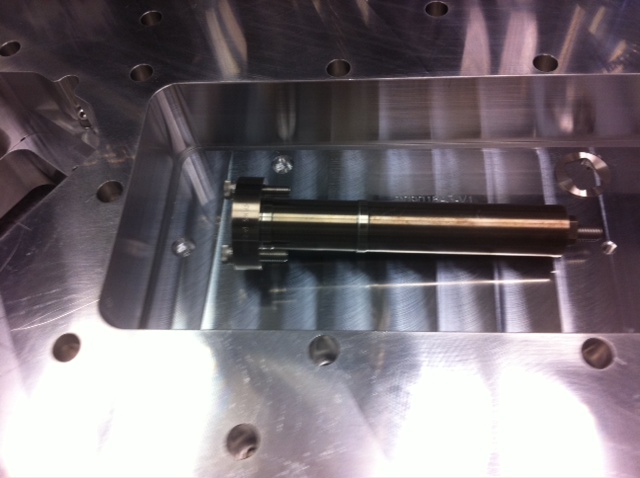
Actuator Sub-Assembly Work
Our 10-32 x 1.5D helicoils appear to be a little too long for our D0902310 part. Started pressing pins into some of the Actuator parts. For the 1/4" x 5/8" dowel pin, I followed the 3/8" & 1/2" pin preference of having 40% of pin sticking out (so for these 5/8" long pins that would be 0.25" exposed).