camilla.compton@LIGO.ORG - posted 10:14, Thursday 11 June 2026 - last comment - 10:01, Monday 20 July 2026(90573)
HAM7 Vent - Wednesday 10 June
Camilla Sheila
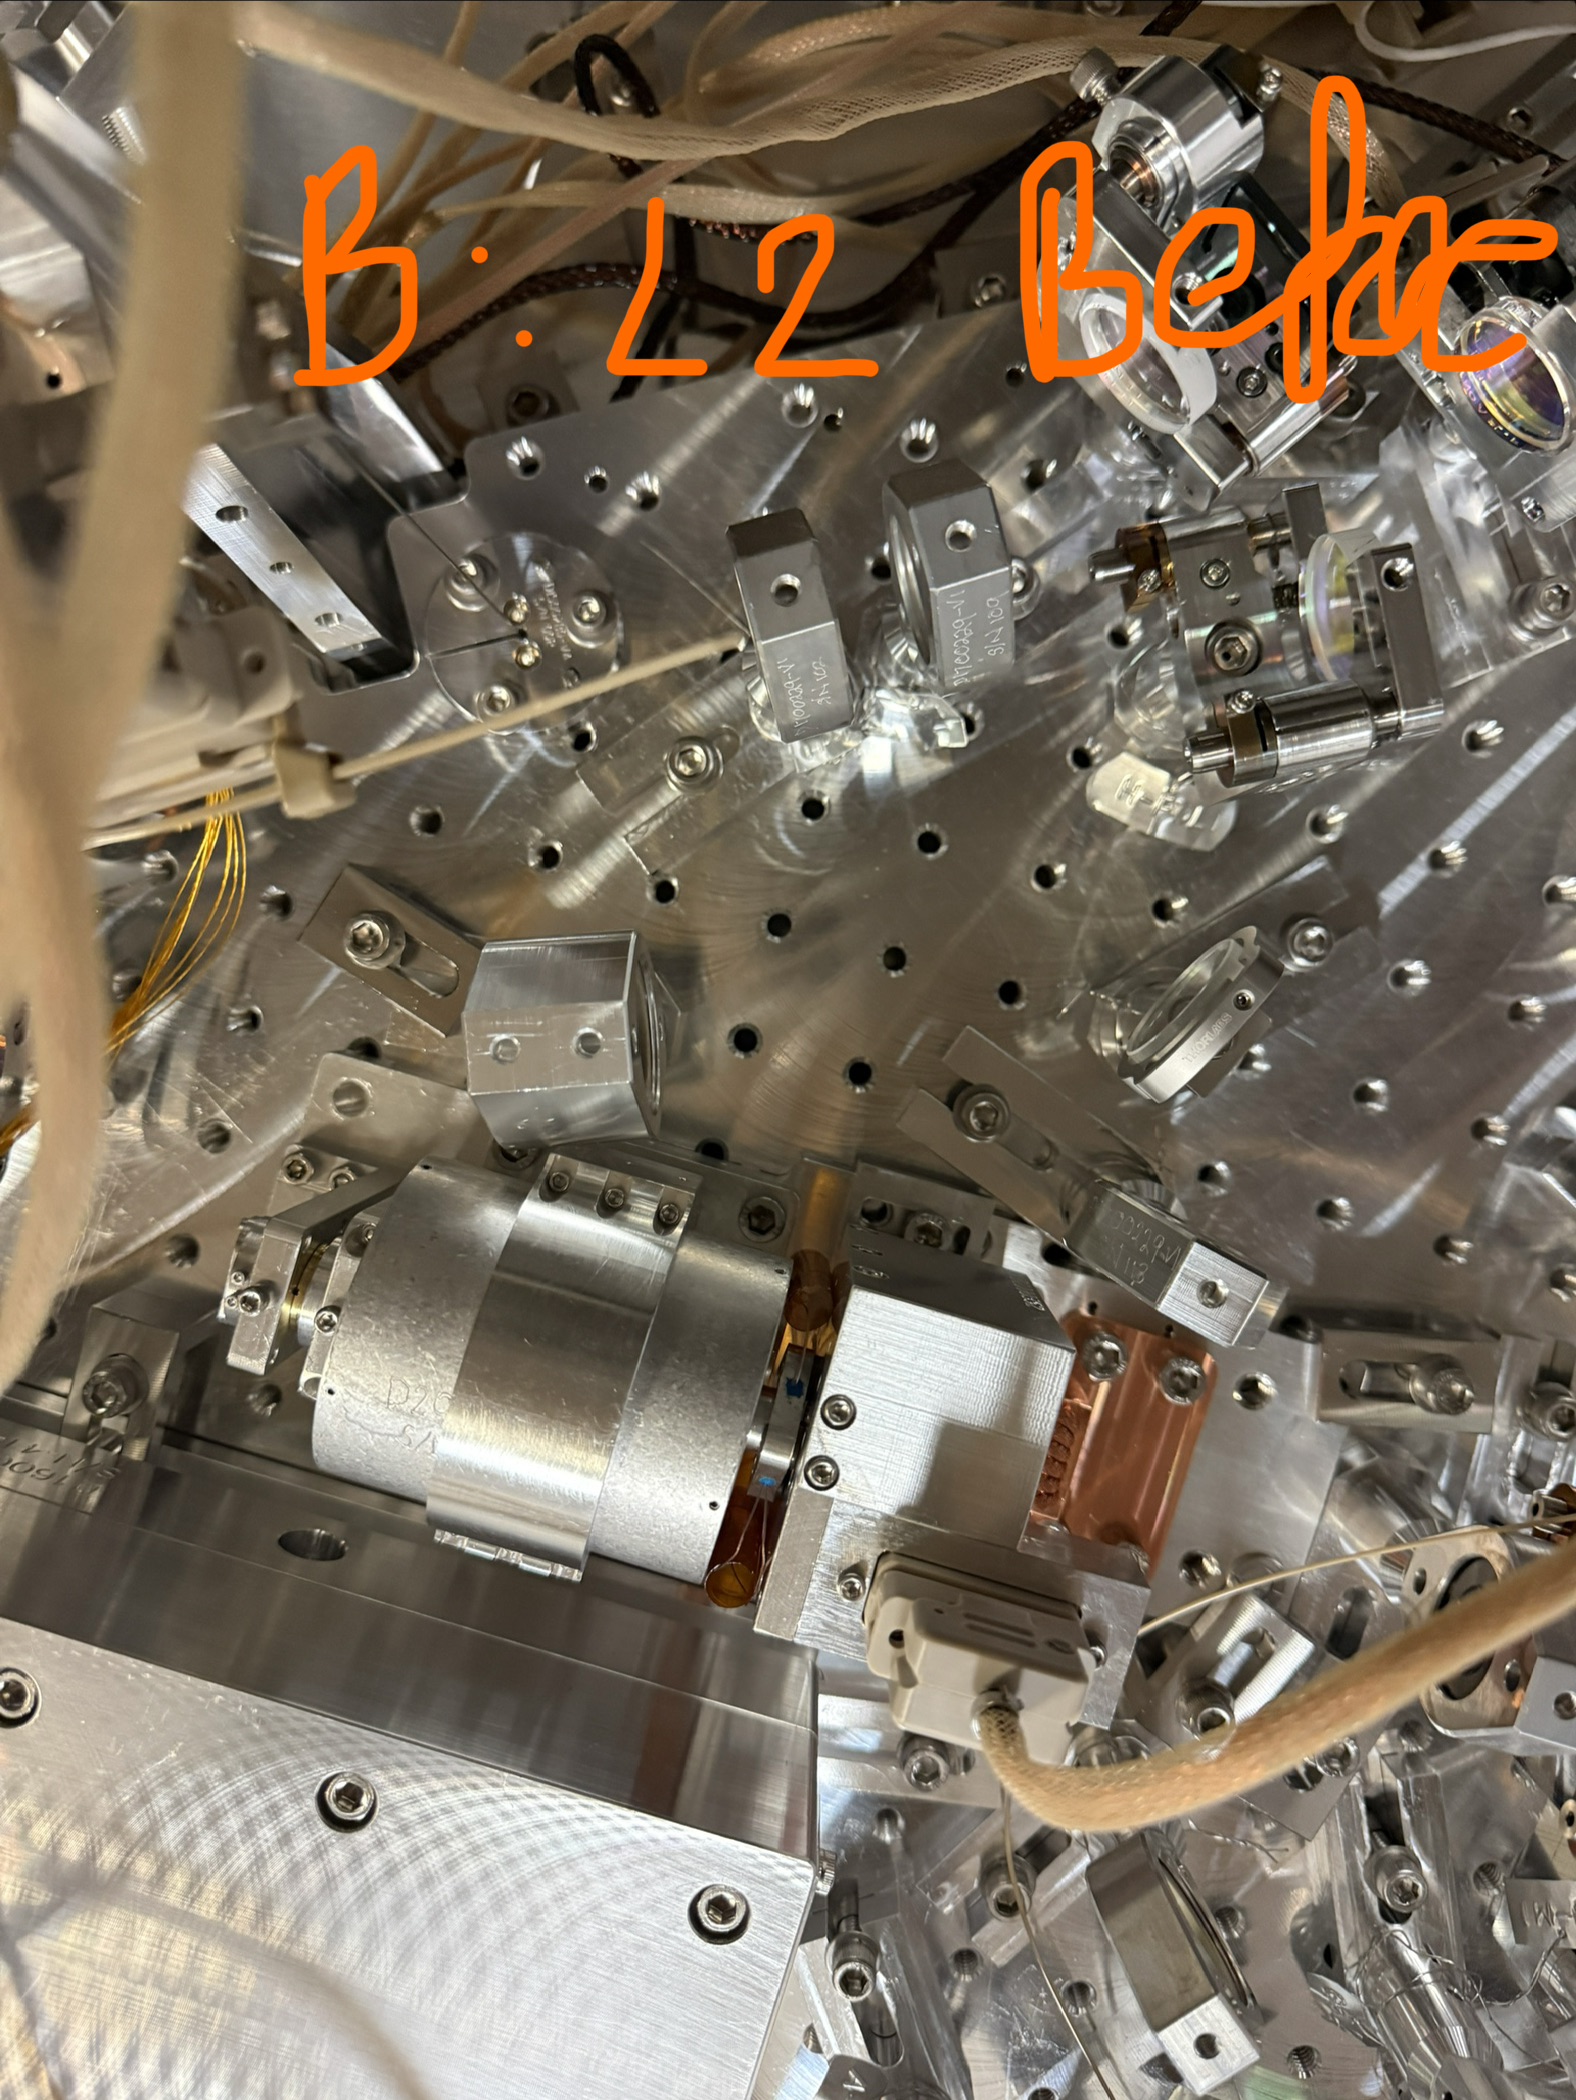
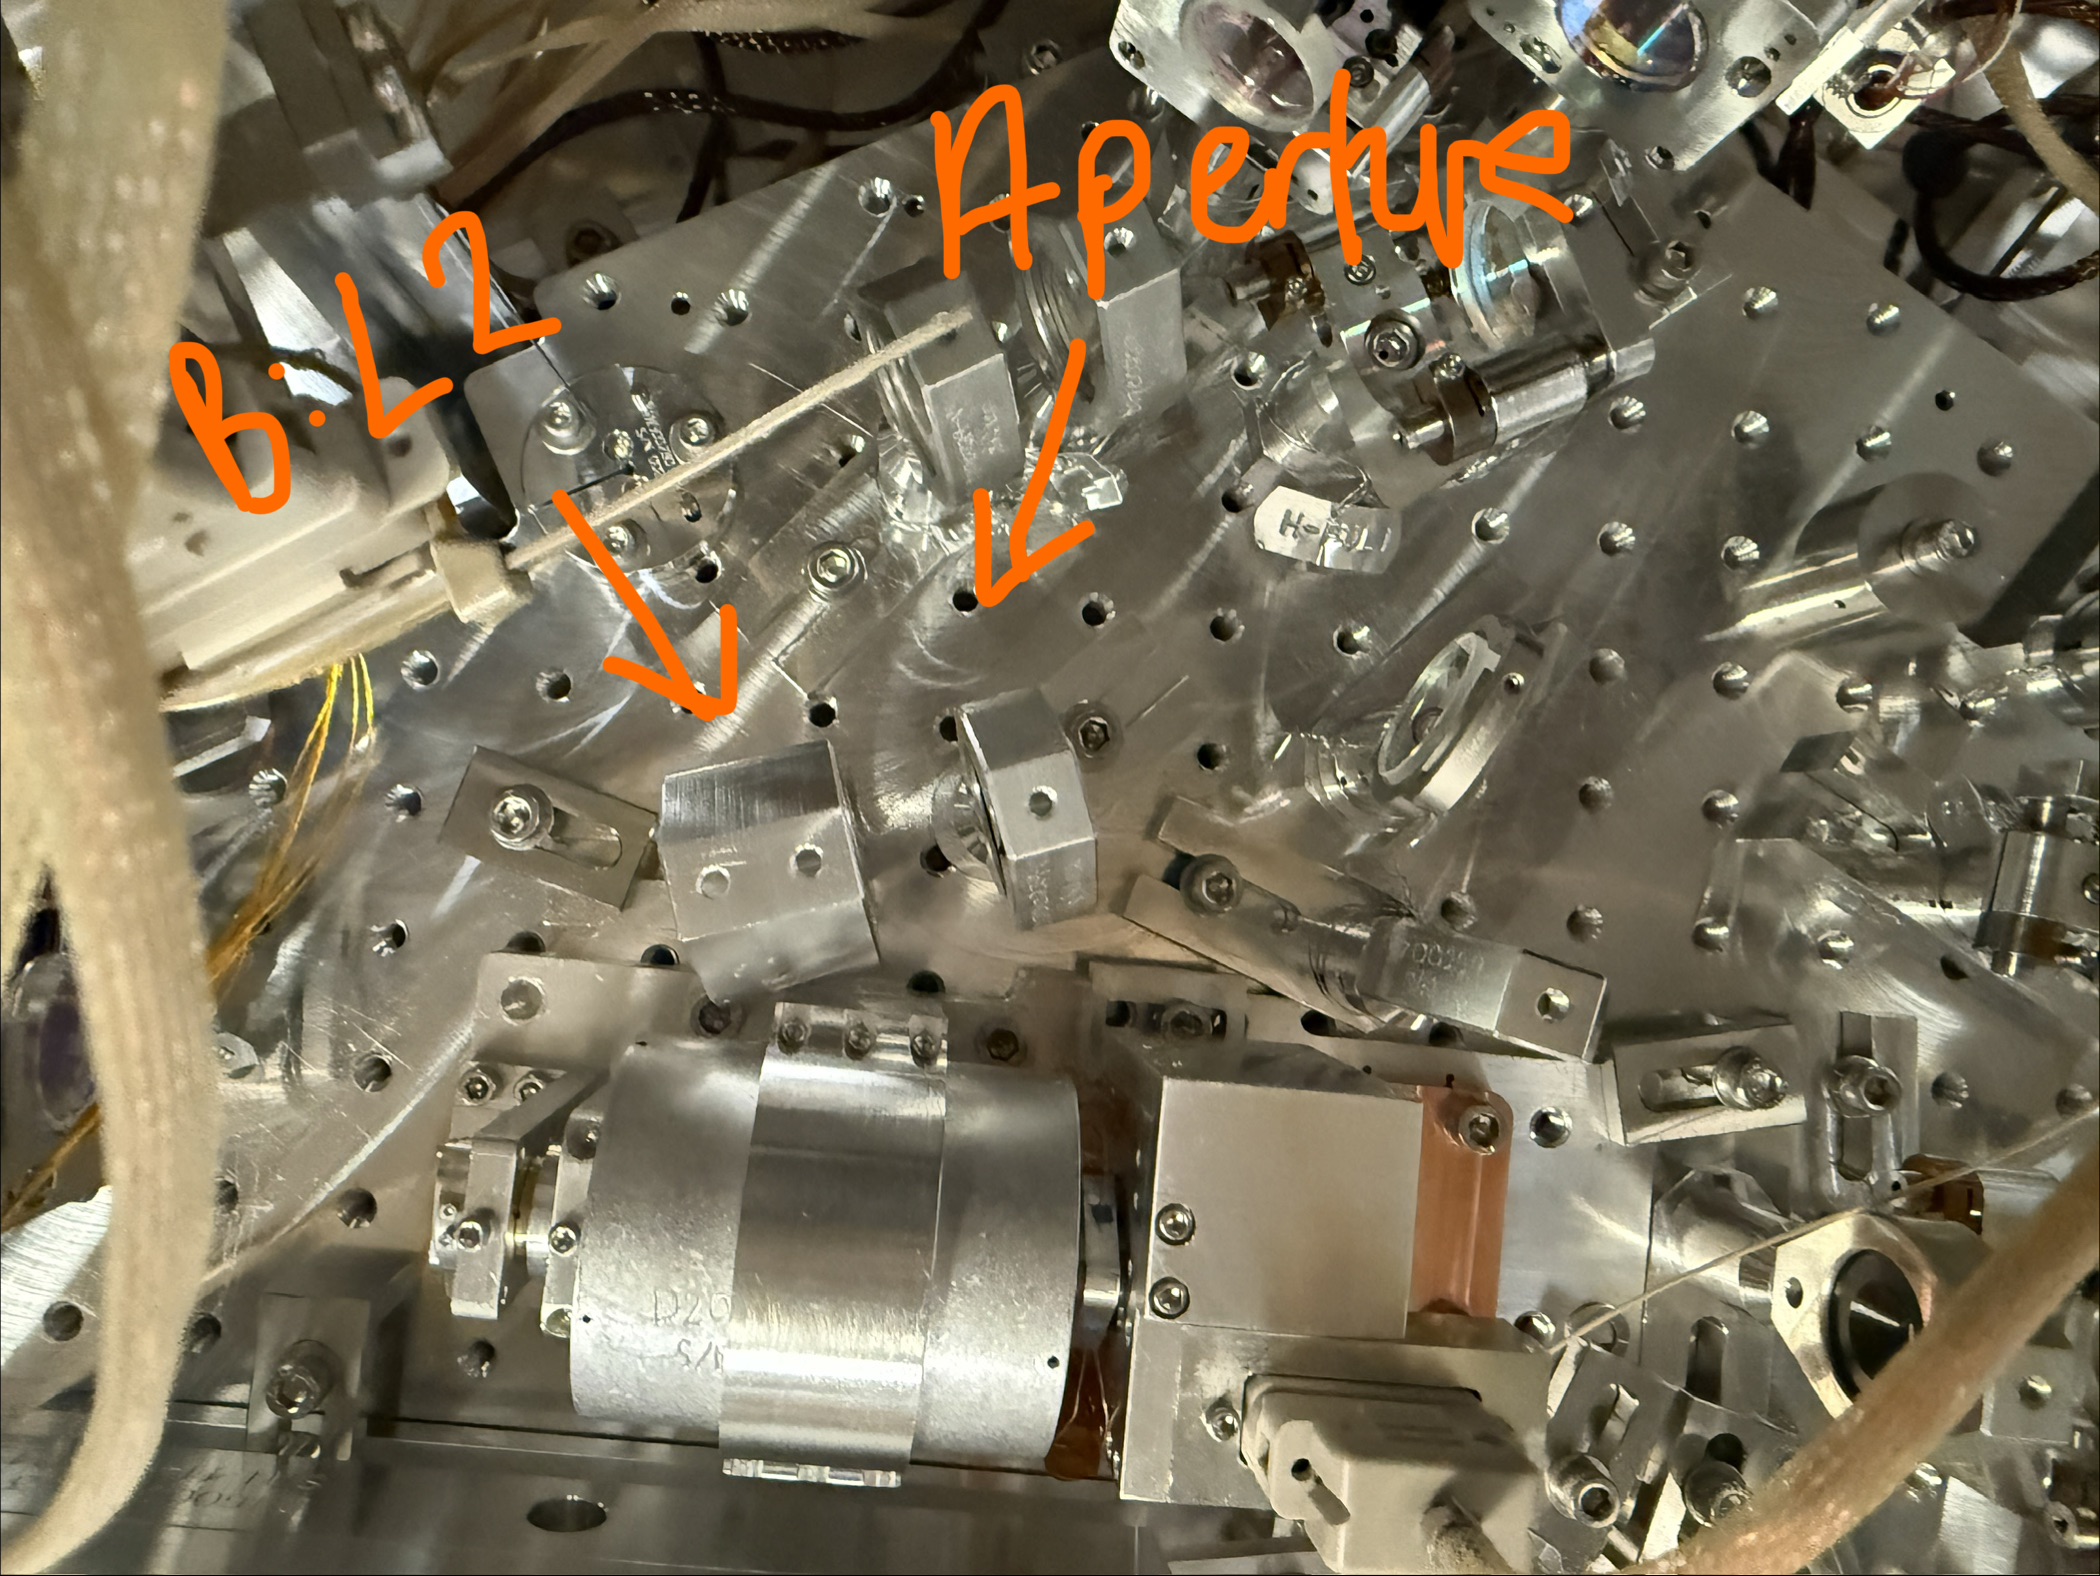
Moving B:L2 aperture to own lens holder
As we couldn't remove the retaining ring in situ. We marked the location of B:L2 with a dog and removed it. We found the aperture was facing the wrong direction, it should be catching beams from the SFI2 as per cartoon but was facing B:BS1. We replaced the lens, still in the double holder and centered it on the beam. We placed the aperture in a single lens holder with a single base and placed it next to B:L2 and centered on the beam. The beam was too high here. Photo of before and after attached.
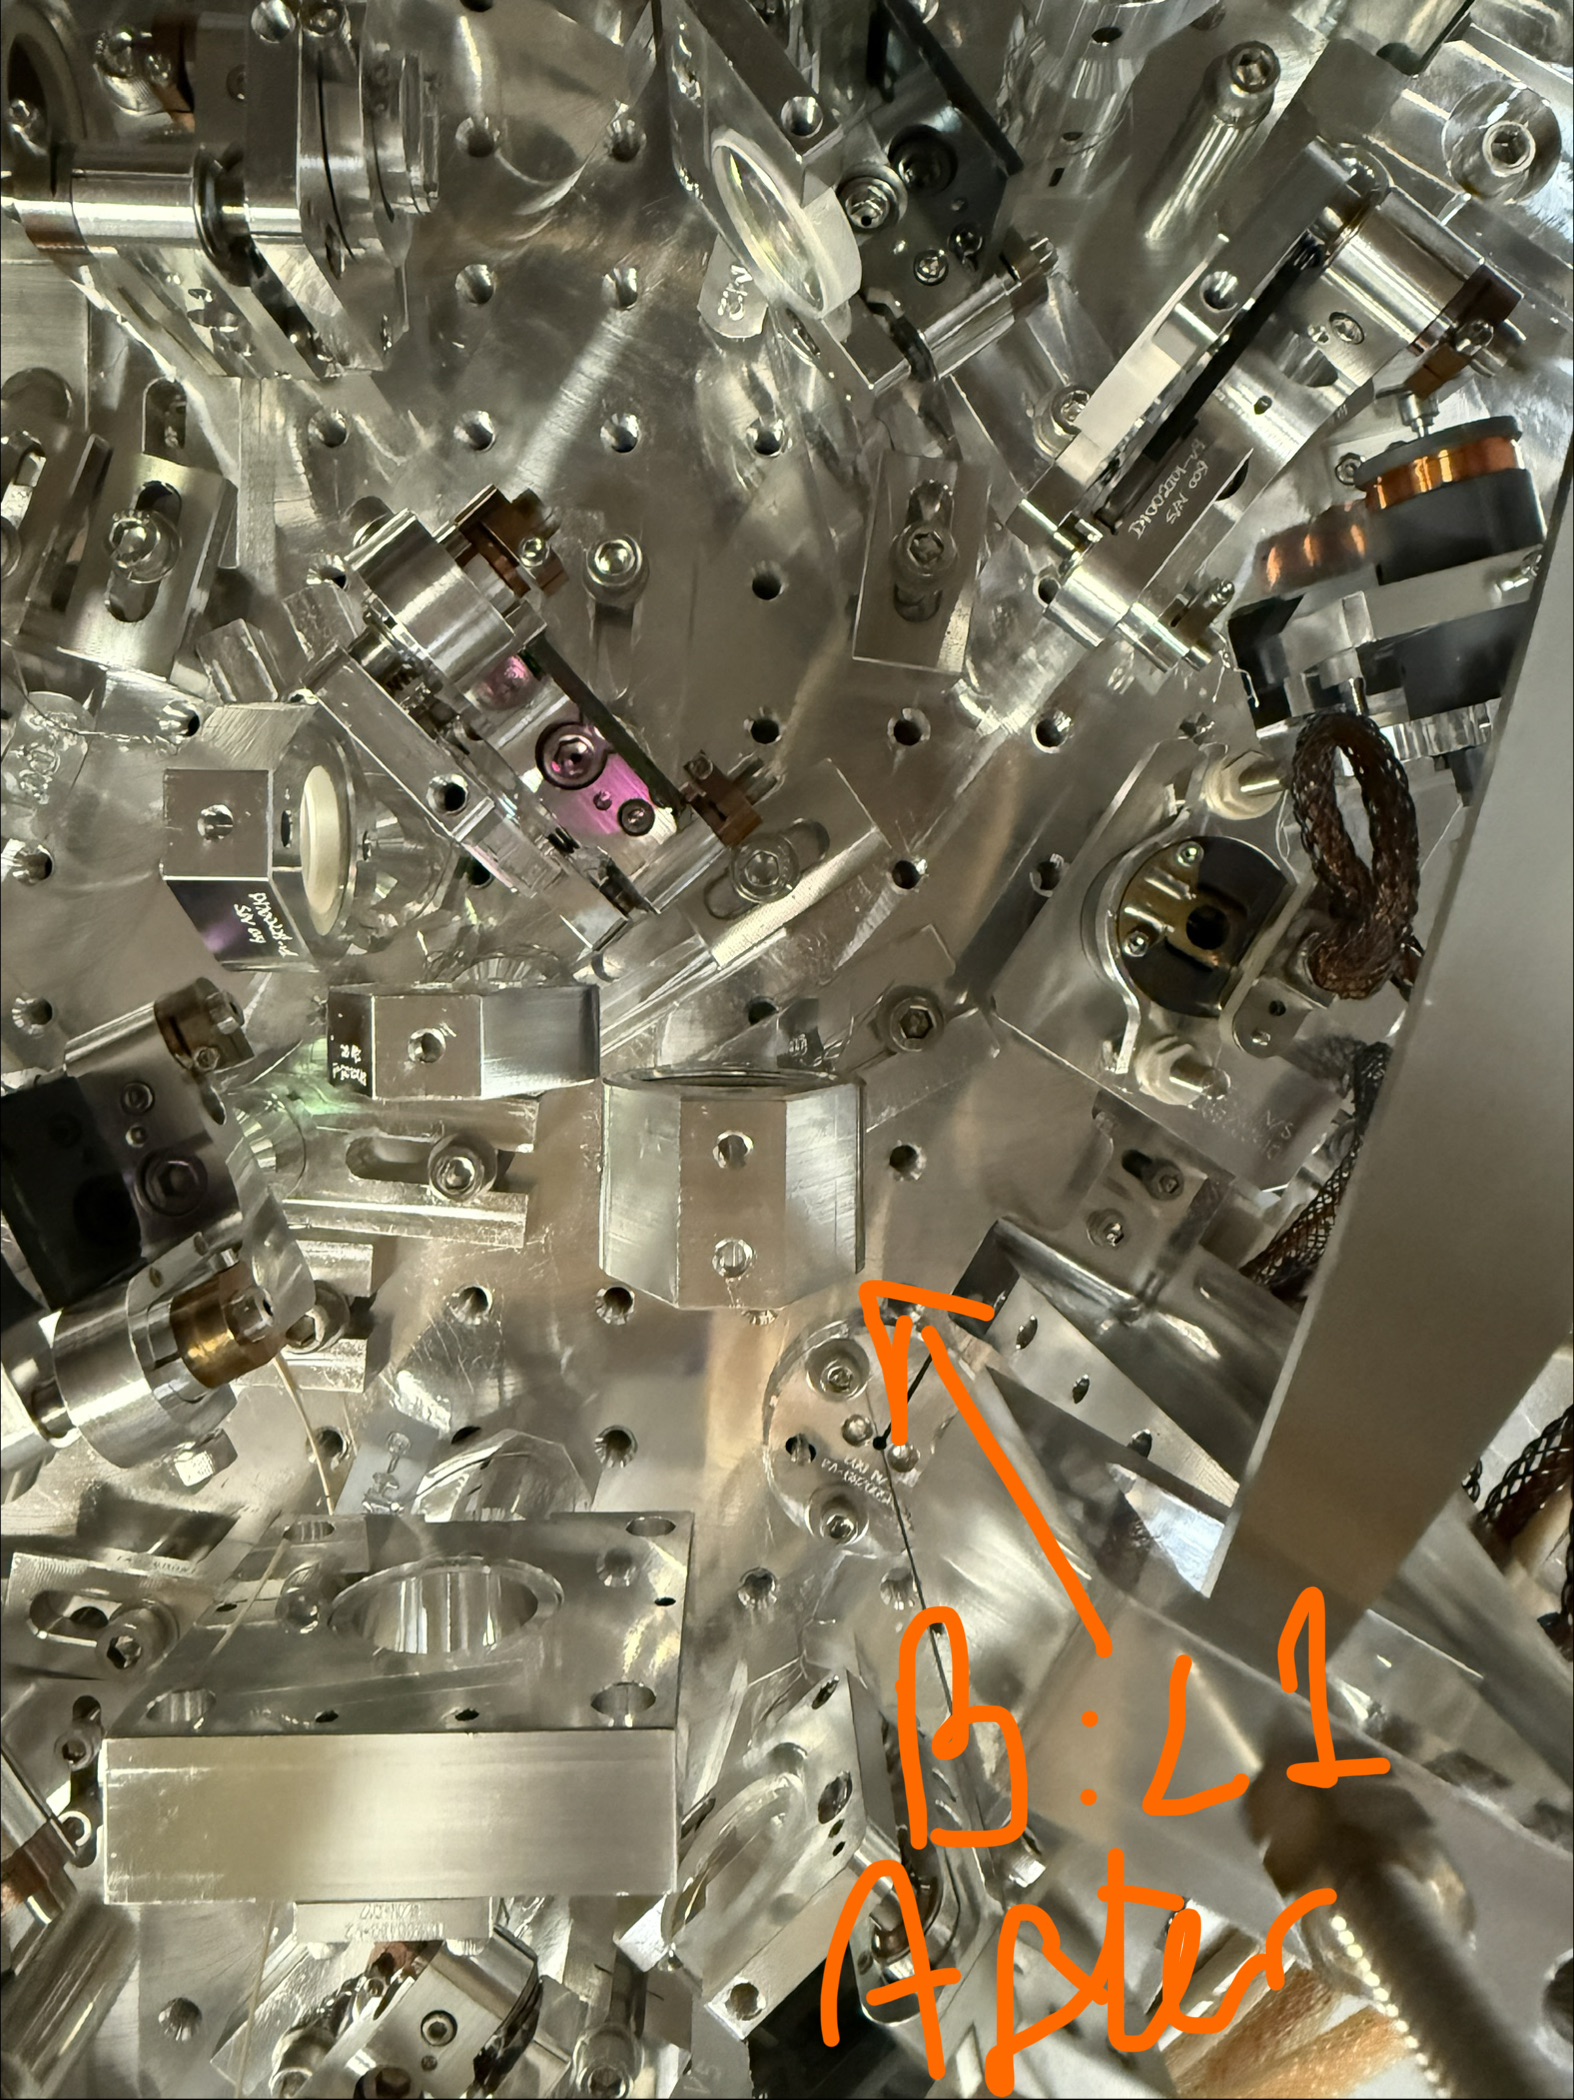
Shifted B:L1 to get beam centered
The beam was to the -X side of the B:L1 aperture so we shifted the B:L1 double lens holder ~1-2mm in -X (caused a ~1mm move towards -Y). Photo of before and after attached.
Adjusting Alignment through B:M1 to B:M4
As beam was clipping in height on the B:L2 aperture (maybe this was always our issue), we adjusted B:M1, B:M2 and B:M3 in pitch. The beam started low on the SFI2 first crystal and slightly high on the second crystal. We corrected this. The beam remained slightly high at B:L1 aperture and low at B:M4 but we were happy with this. We adjusted B:M4 to center on the ZM4 iris and ZM4 Pitch to get the beam to the SQZT7 iris. Had light on the SQZT7 PD that seemed less clipped.
Power through OPOS
We measured powers at various places through the OPO and couldn't see a big power drop anywhere. Total of around 1.42 to 1.47mW out of OPO, before A:DC1. Measured drop of between 0.03 and 0.08mW though to off OPO after B:M4. This is between 2% and 5.5% power drop. We expect at least 3% (1% for each SFI and 1% at B:BS1) and our power budget has 4.7% measured which is similar to what we measured.
Beam profile measurements with Nanoscan
In the afternoon, after not being happy with the reliability of the Phasics camera 90586, we used the nanoscan to take beam profiles at 5 locations between ZM1 and ZM2 with different A:L2 positions, and three positions between ZM2 and ZM3 with different ZM2 PSAMS settings.
Images attached to this report