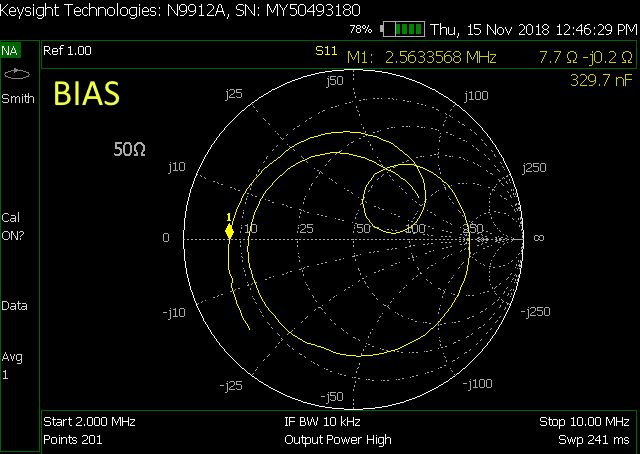
I replaced the IO lens, L1, that's downstream of the EOM by about 3 inches. The new lens needed to shift +Y direction from the old lens, to recover yaw, and recovery of the IMC WFS with an unlocked IMC revealed that the IMC_IN beam was still off in yaw, so I also made a very small adjustment with M3, unnoticeable on the rotation stage, and the iris, but seen by the cameras and IMC.
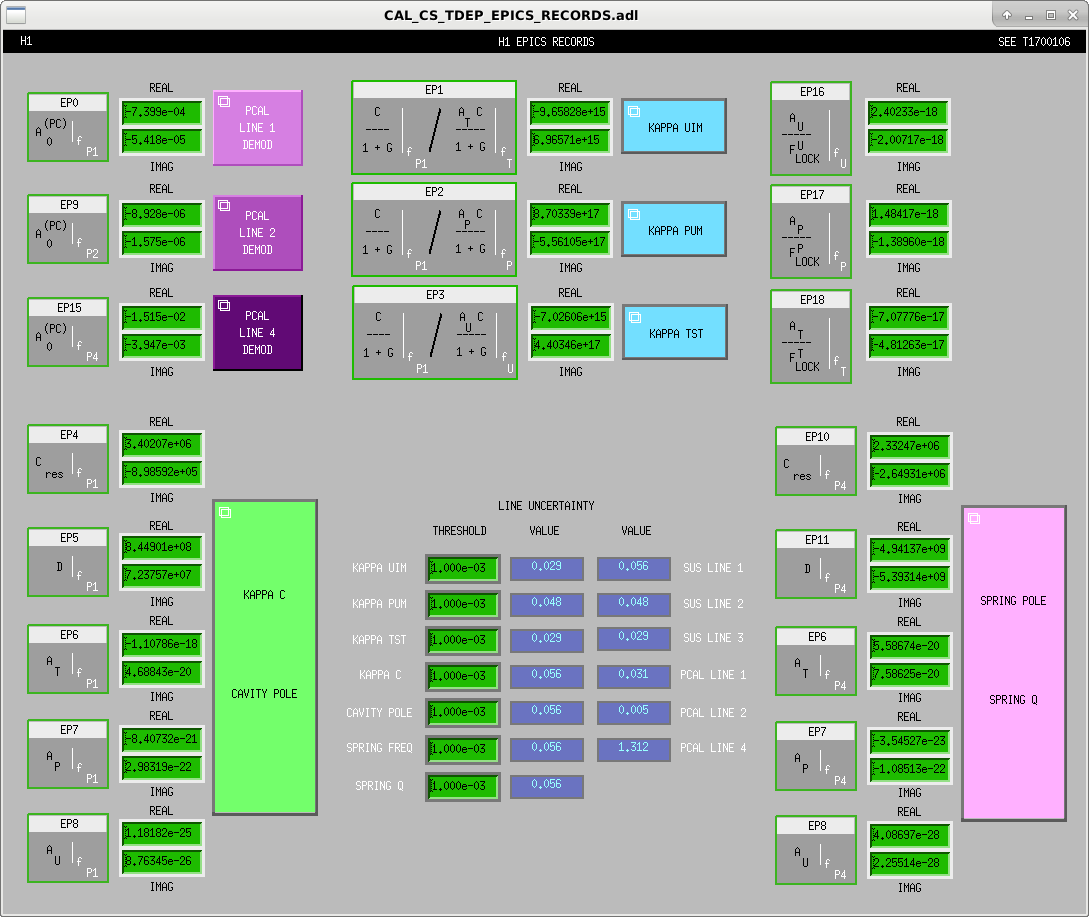
I realigned the IMC, and relocked, and checked against previous locks. My target lock was the Nov 26, 17:00 lock, and current values for the IMC mirrors are within -15.7urad to +10.9urad from the target. H1:IMC-REFL_DC_OUT16 is now at 0.072.
| |
Nov 26 |
Nov 28 |
diff |
| |
17:00 |
07:42 |
|
| lens change |
before |
after |
|
| |
|
|
|
| |
|
|
|
| 'H1:SUS-MC1_M3_WIT_PMON' |
-275.9 |
-272.0 |
3.9 |
| 'H1:SUS-MC1_M3_WIT_YMON' |
-983.1 |
-972.3 |
10.9 |
| 'H1:SUS-MC2_M3_WIT_PMON' |
156.2 |
140.5 |
-15.7 |
| 'H1:SUS-MC2_M3_WIT_YMON' |
627.2 |
630.7 |
3.5 |
| 'H1:SUS-MC3_M3_WIT_PMON' |
-685.6 |
-675.6 |
10.0 |
| 'H1:SUS-MC3_M3_WIT_YMON' |
-1255.8 |
-1260.6 |
-4.8 |