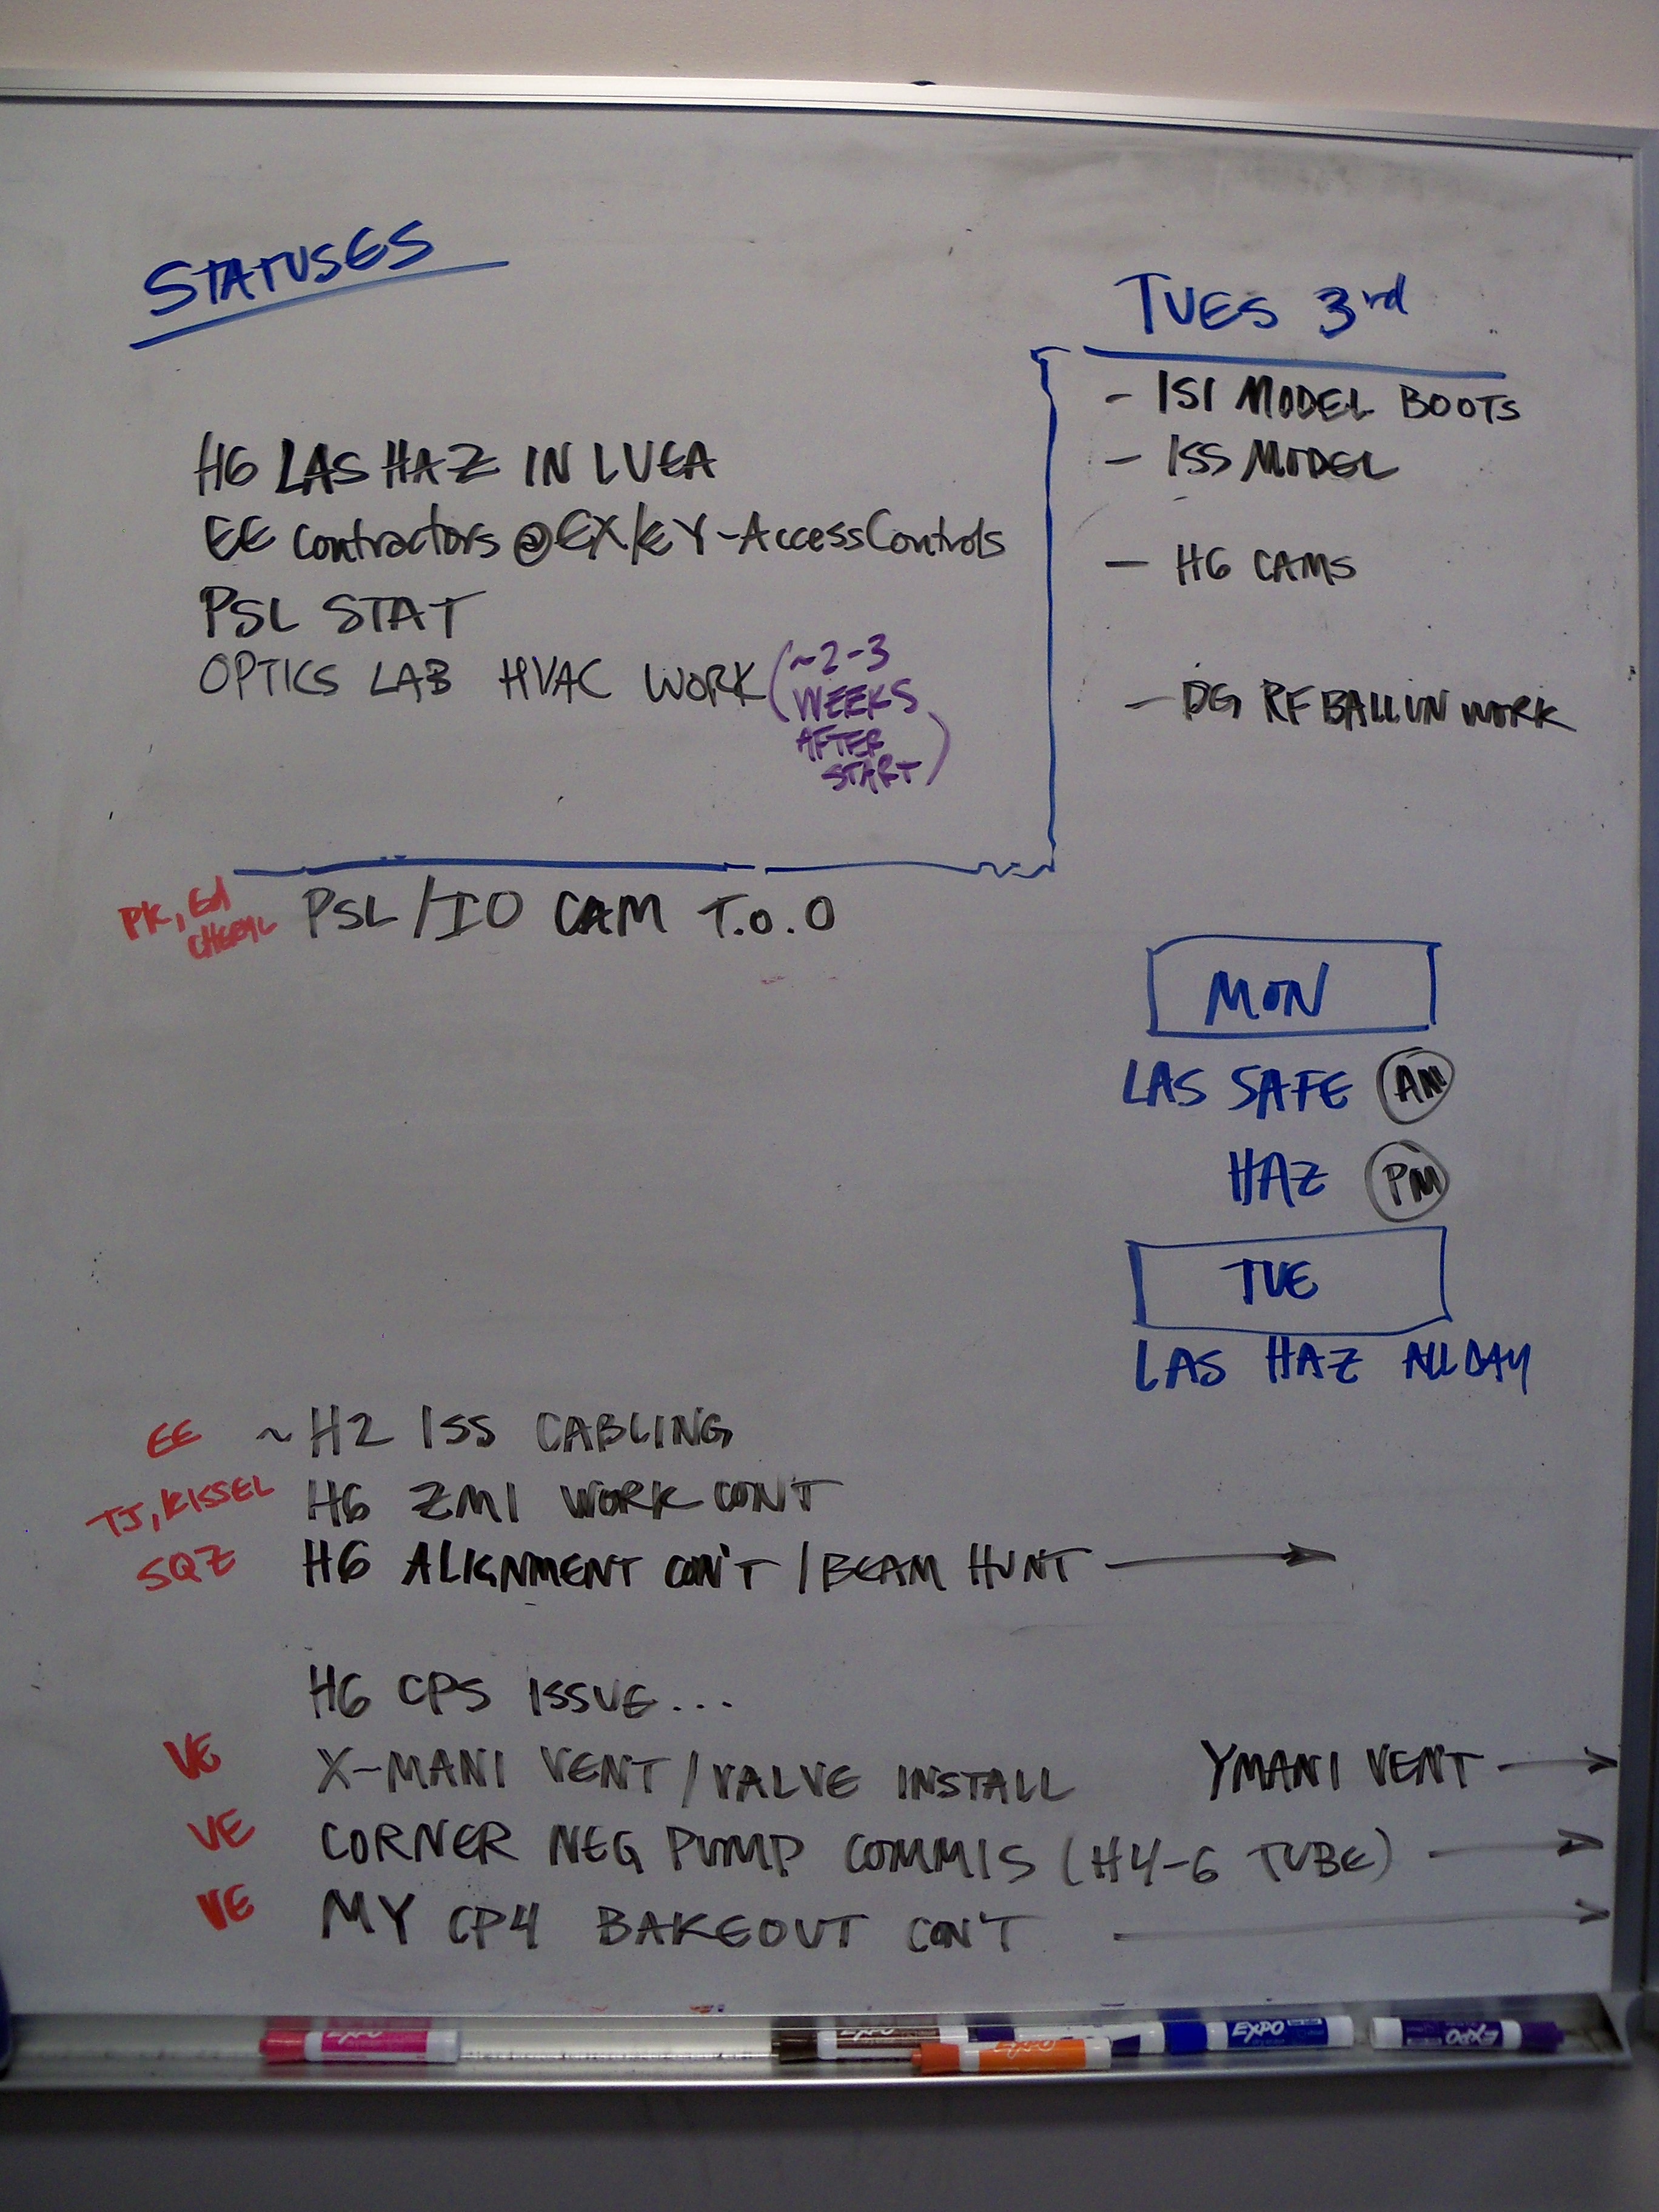
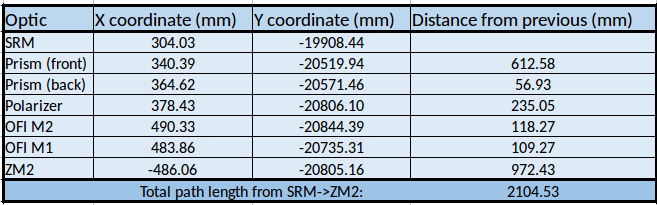
Shelia, TVo, Nutsinee, Alexei, Dan
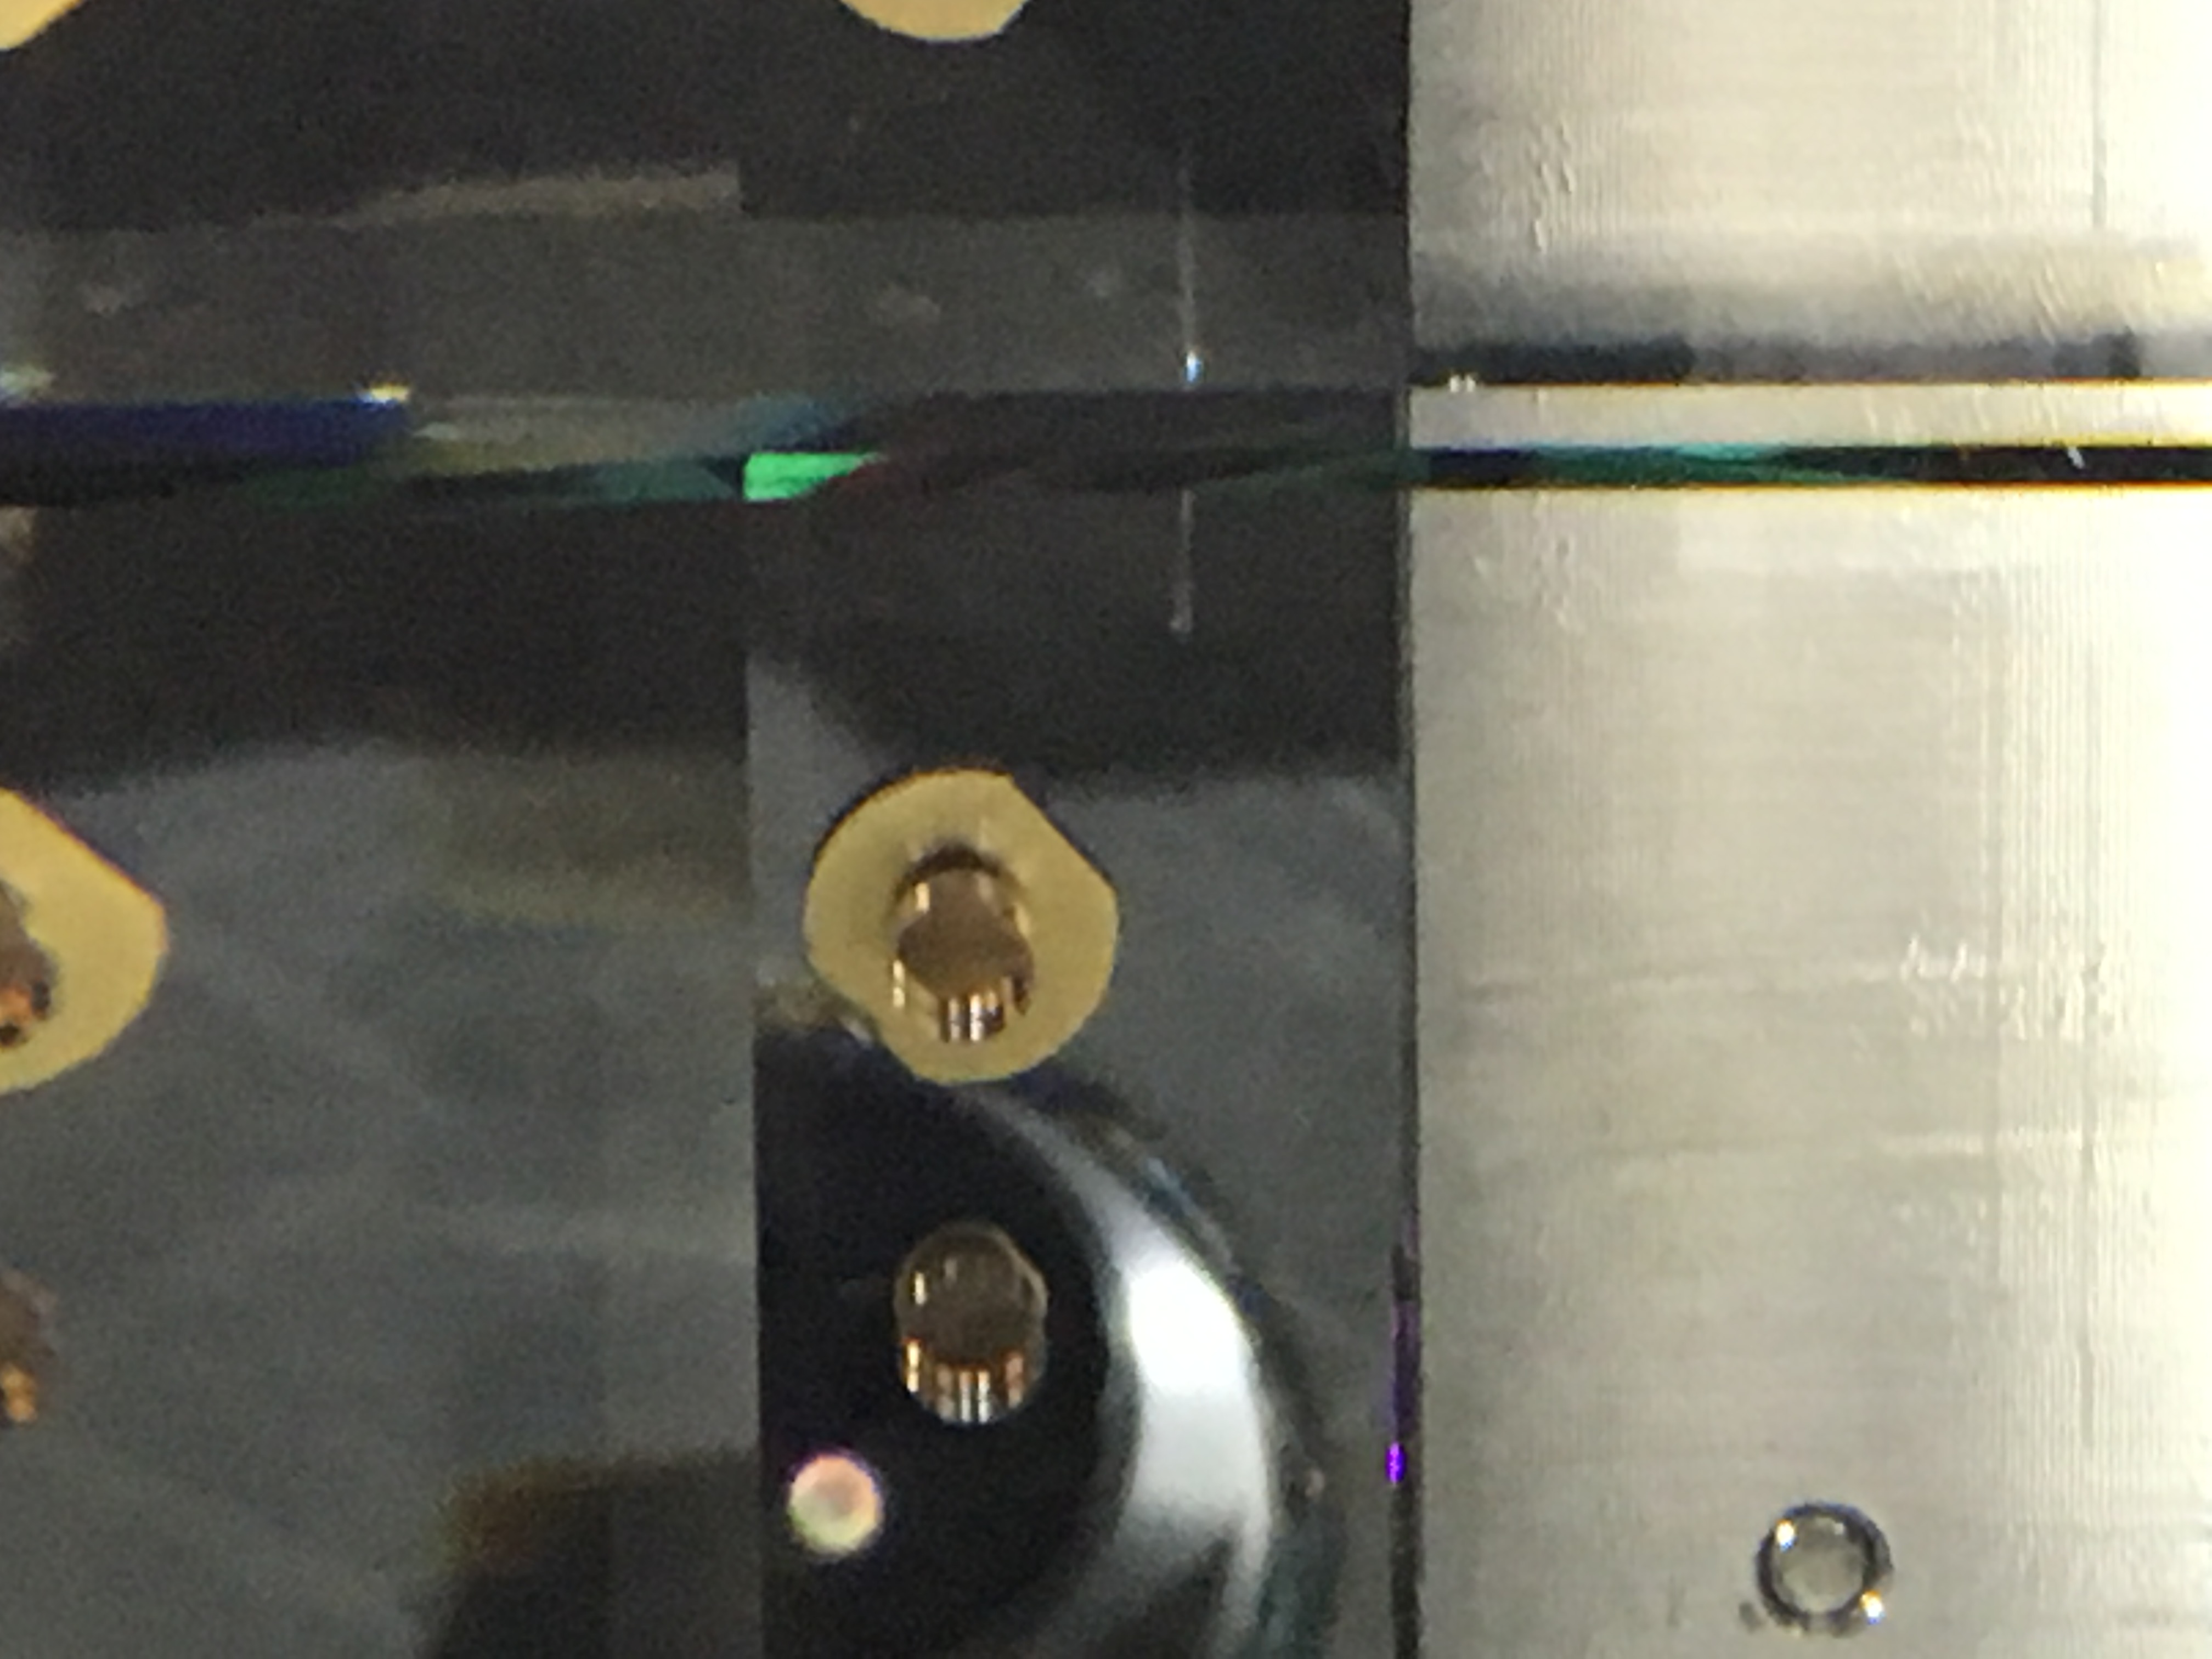
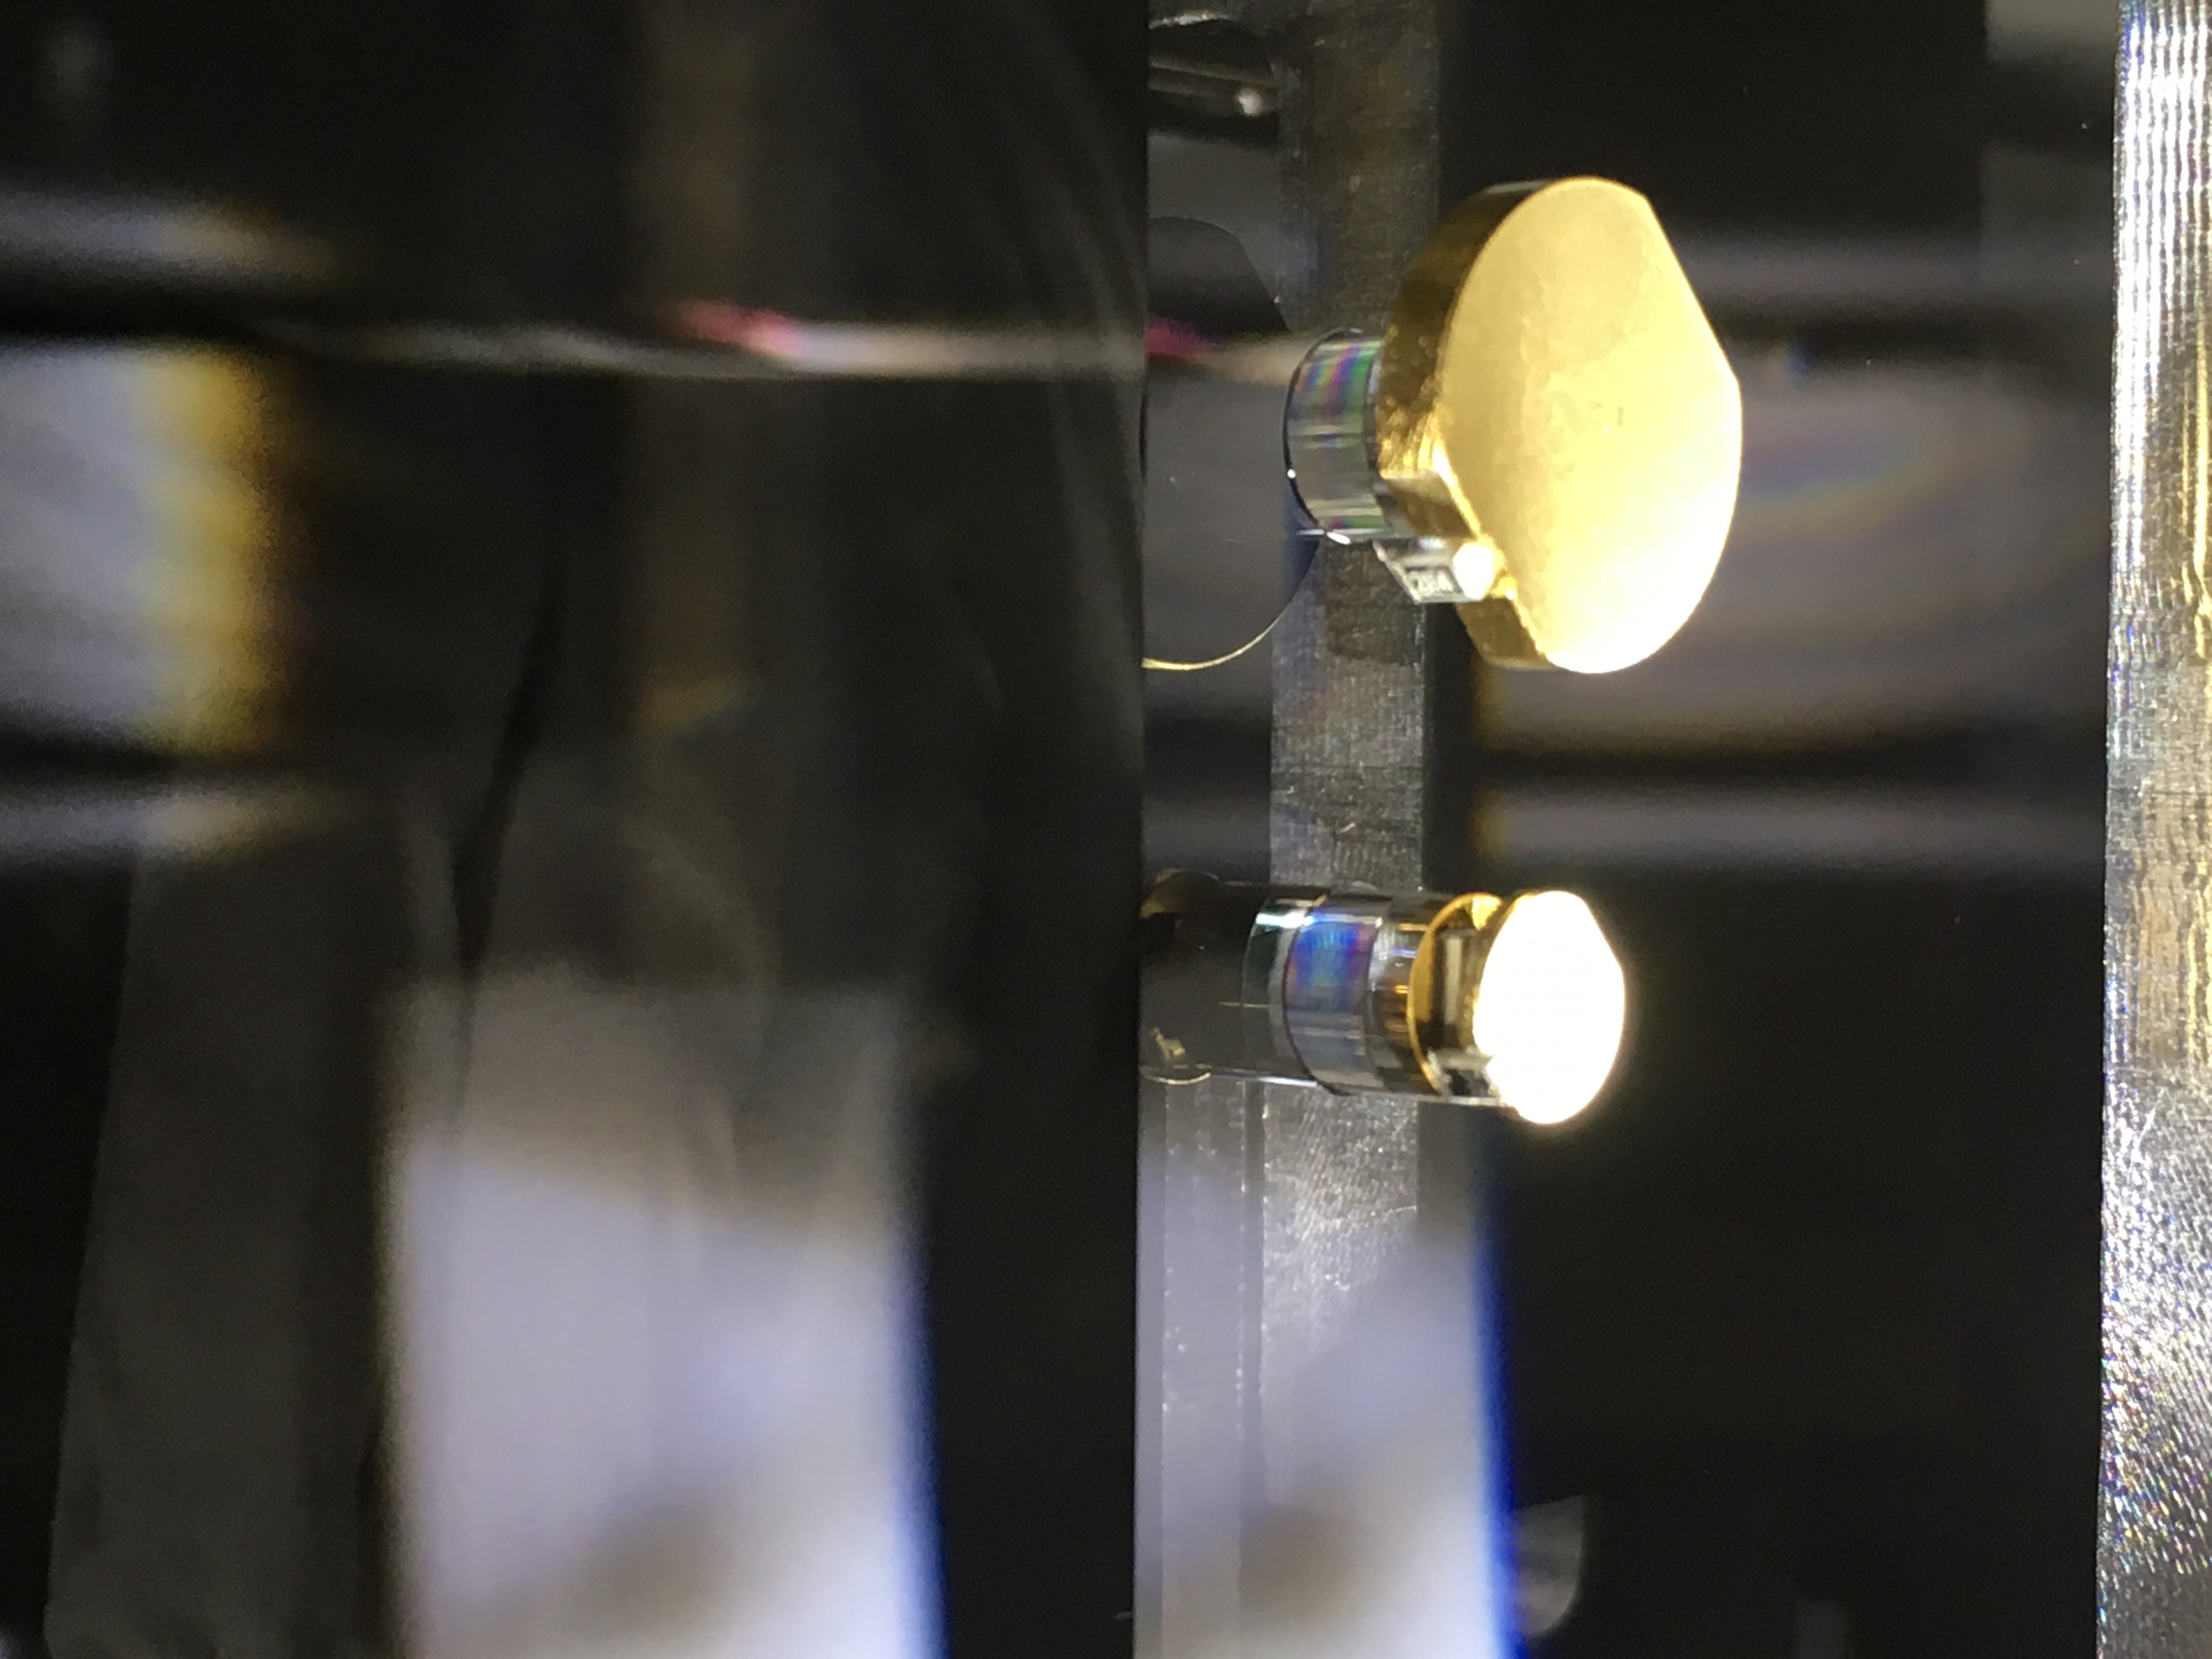
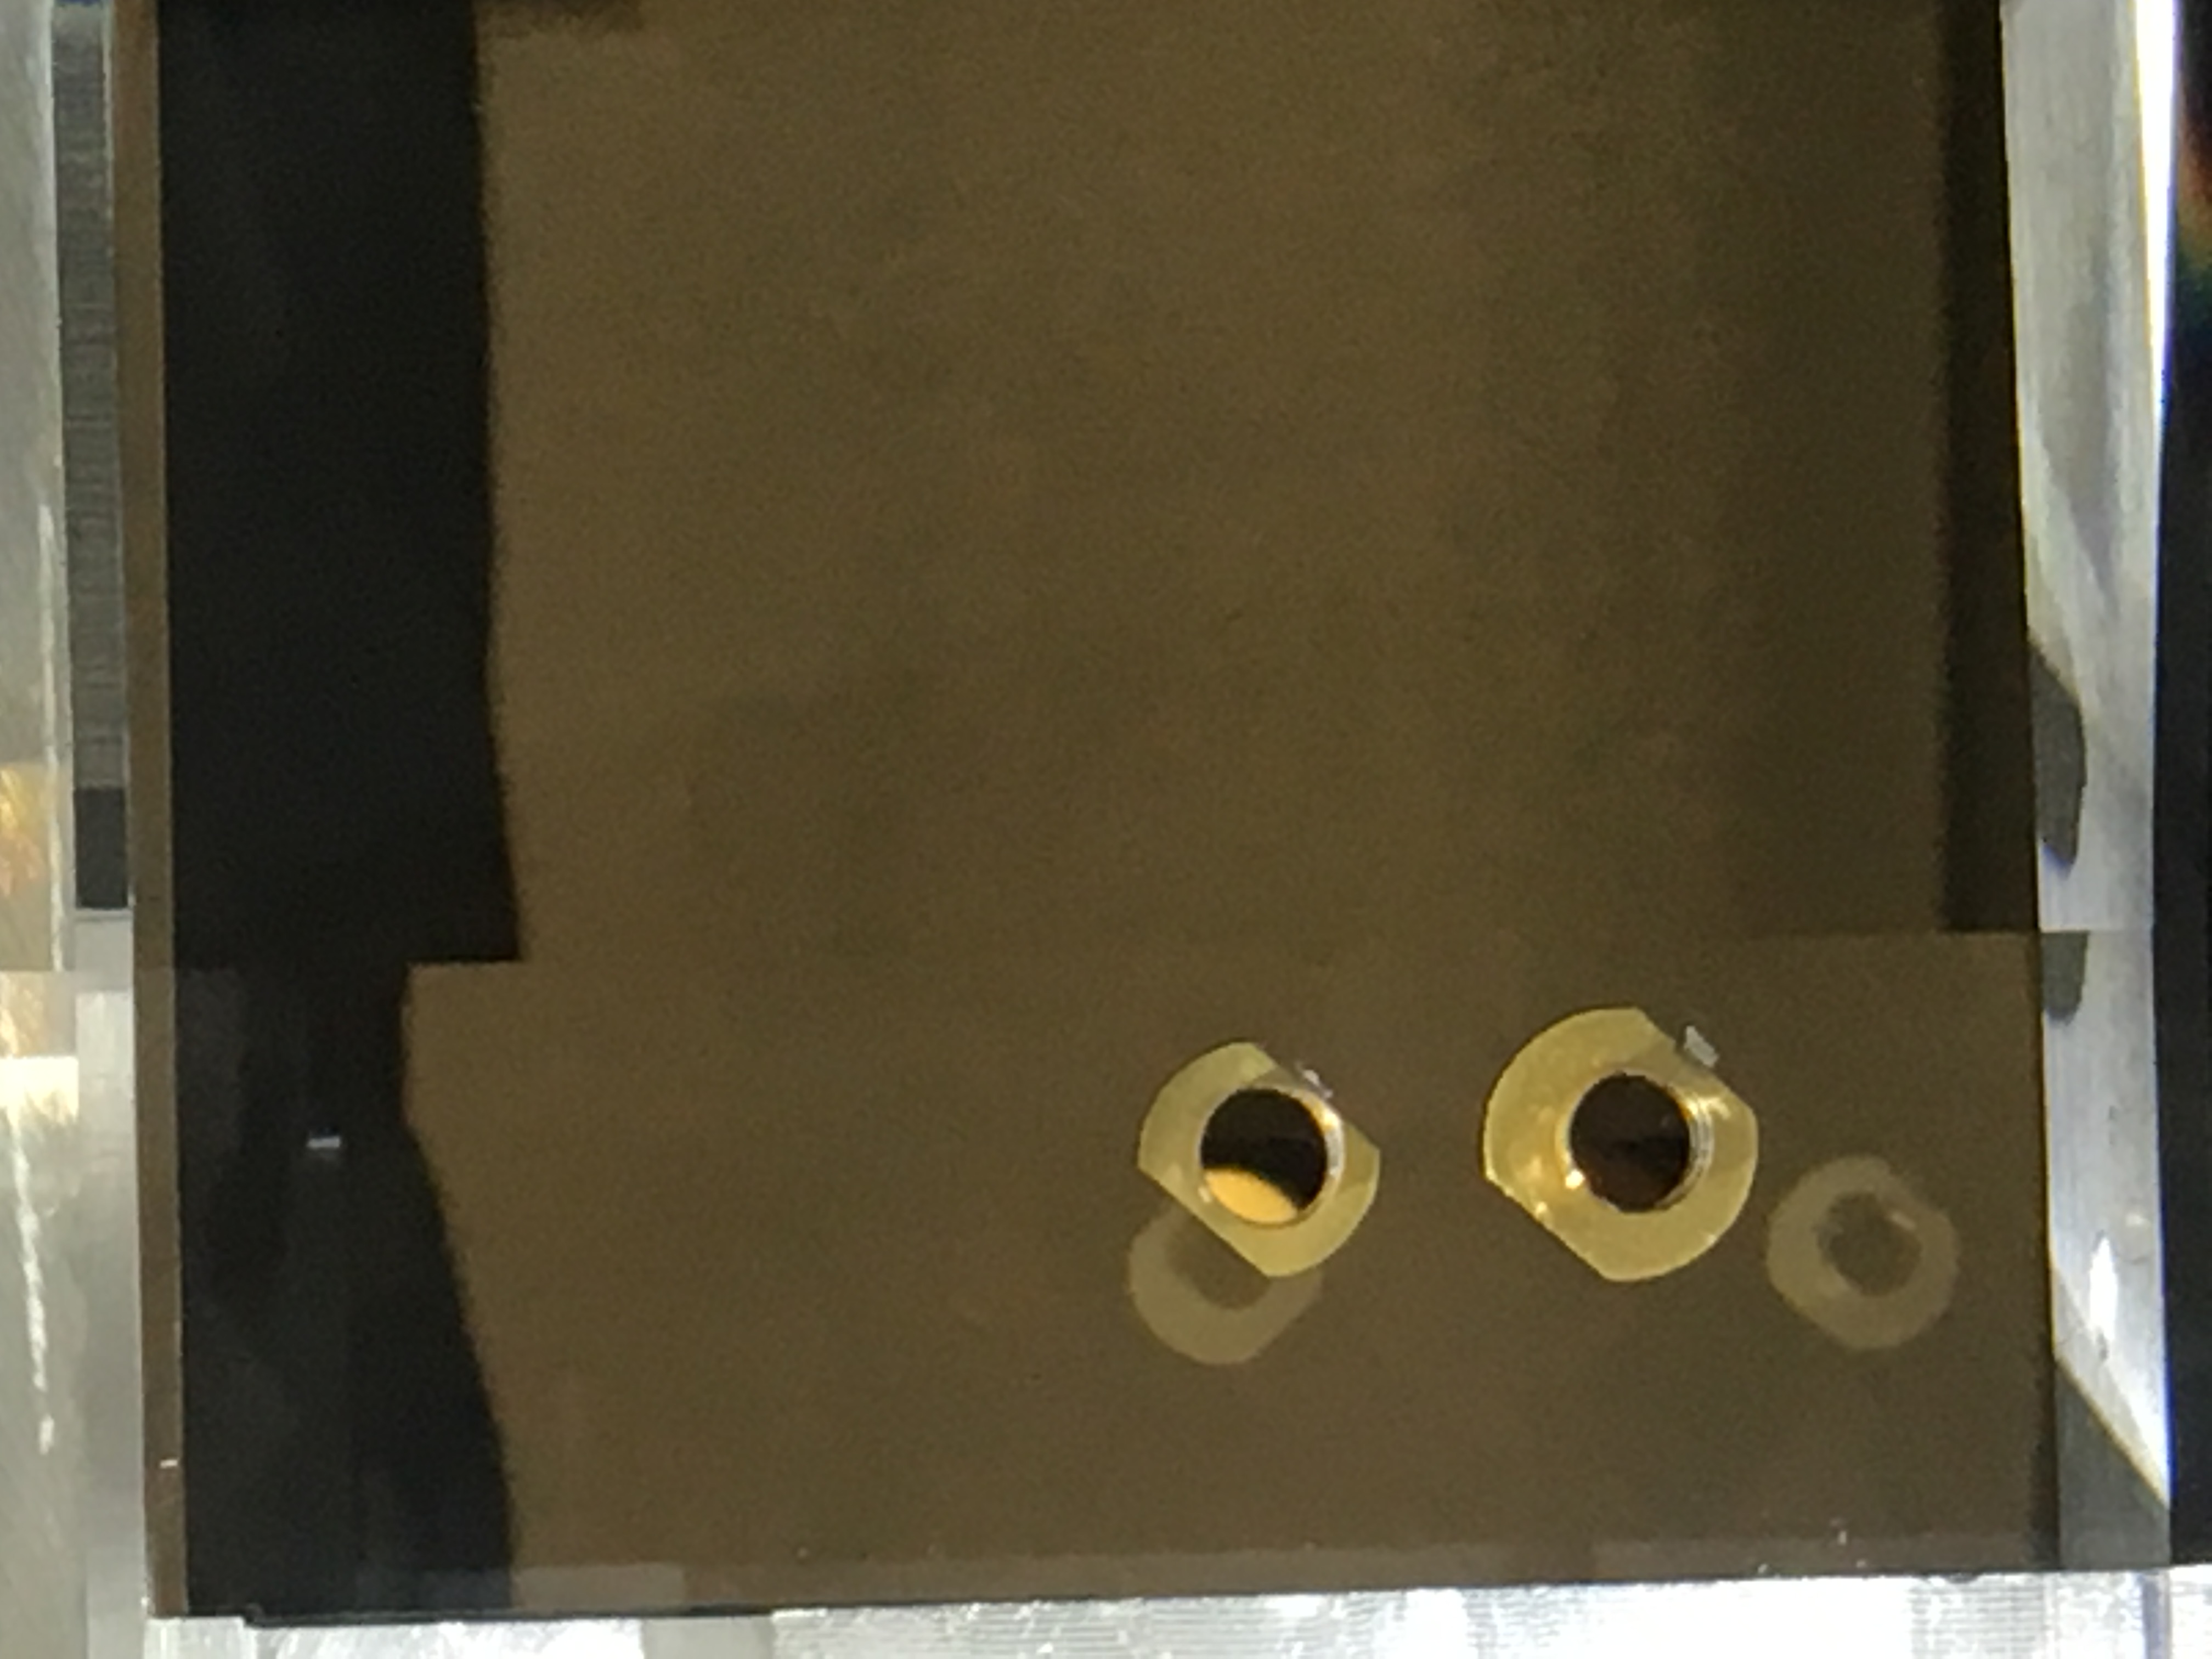
Today we continued trying to align the beam into HAM6. The beam going into HAM6 leaking from the OFI was ~15mm too low on the SQZ apertures. To try and correct this we adjusted SR2 and SR3 pitch within the ranges we found yesterday (alog 41197) to avoid any OFI clipping. We were unable to find a suitable alignment that avoided the OFI clipping and pitched the beam up enough to make it through the center of the SQZ apertures.
The procedure was:
- Pick an SR3 pitch value in the unclipped range we found yesterday
- Re-center the beam through the OFI by adjusting SR2 pitch and finding the clipping points
- Measure the offset at the SQZ aperture
| SR3 slider value |
SR2 aperture clipping points |
Vertical offset as SQZ aperture (mm) |
| 500 |
270 and 620 |
-17 |
| 600 |
-540 and -70 |
-12 |
| 800 |
-1900 and -1480 |
-10 |
| 1000 |
-3290 and 2930 |
-7 |
SR3 pitch of 1100 was causing clipping yesterday so we stopped here. We tried to improve on -7mm by pitching ZM2 but this railed before being able to sufficiently correct it. The beam going into HAM6 had an angle of 7mrad toward the SQZ aperture (The beam dropped ~5mm over ~68.6cm) which is too much for ZM2.
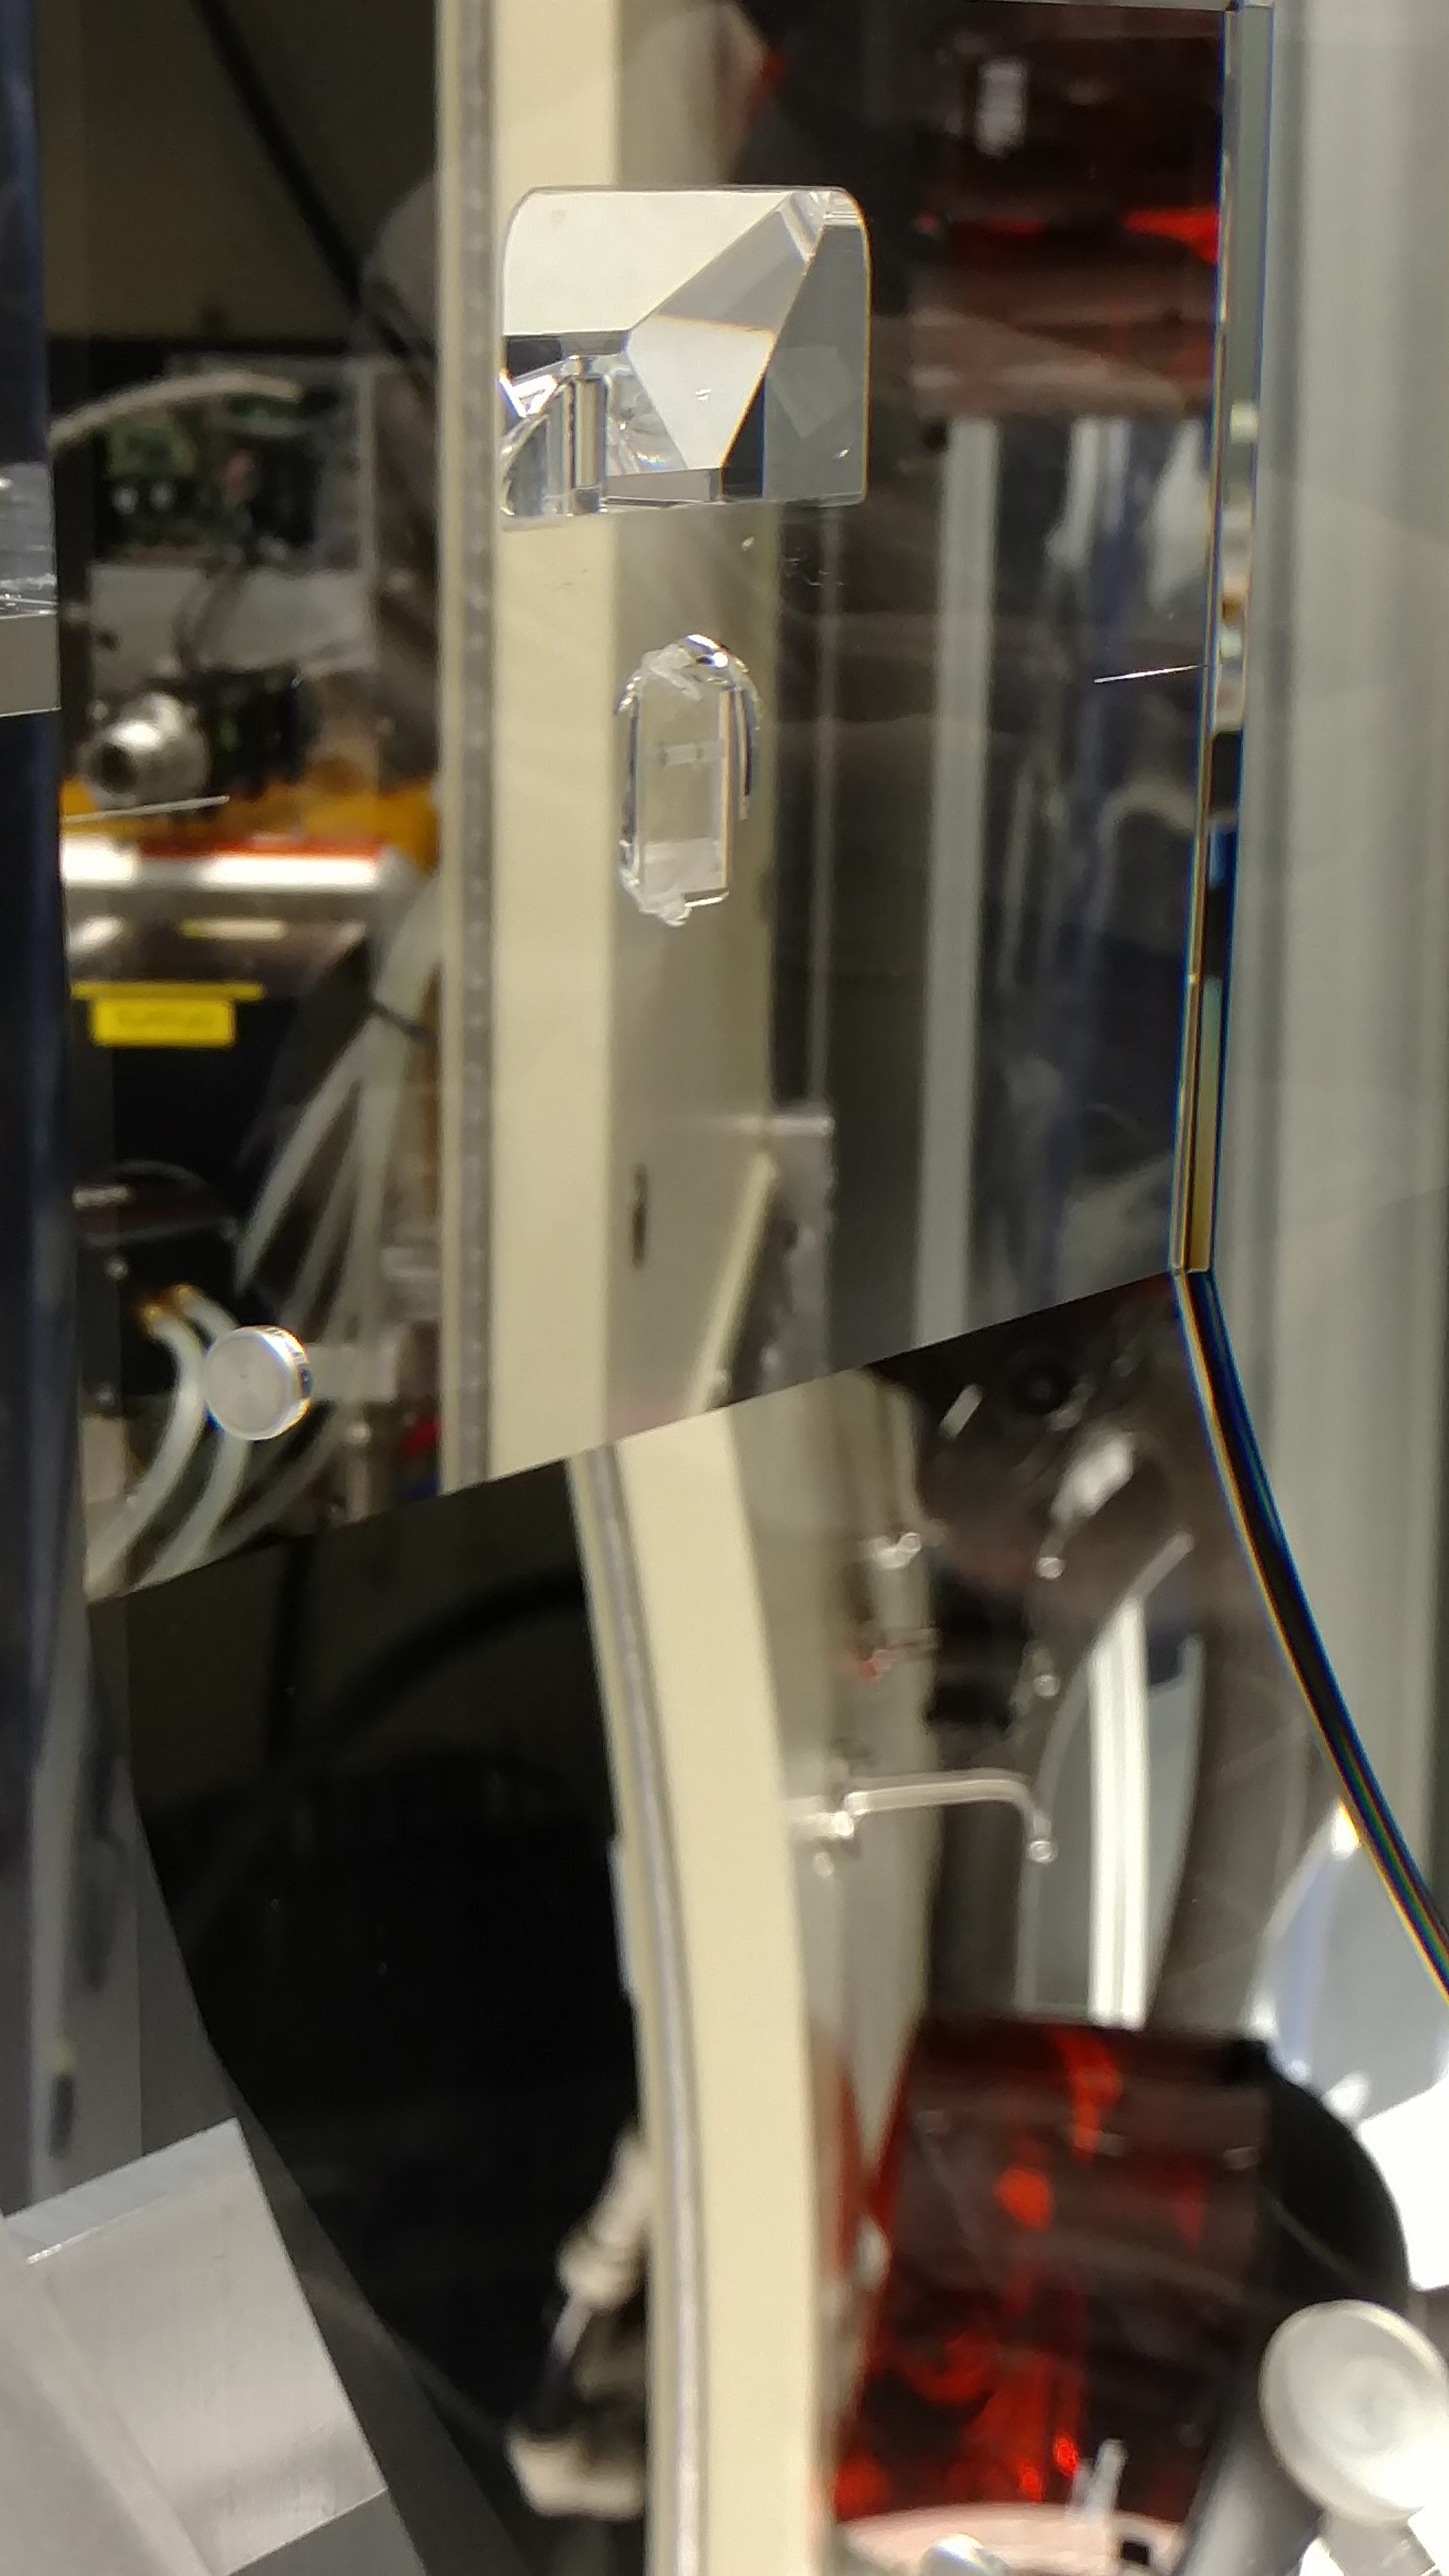
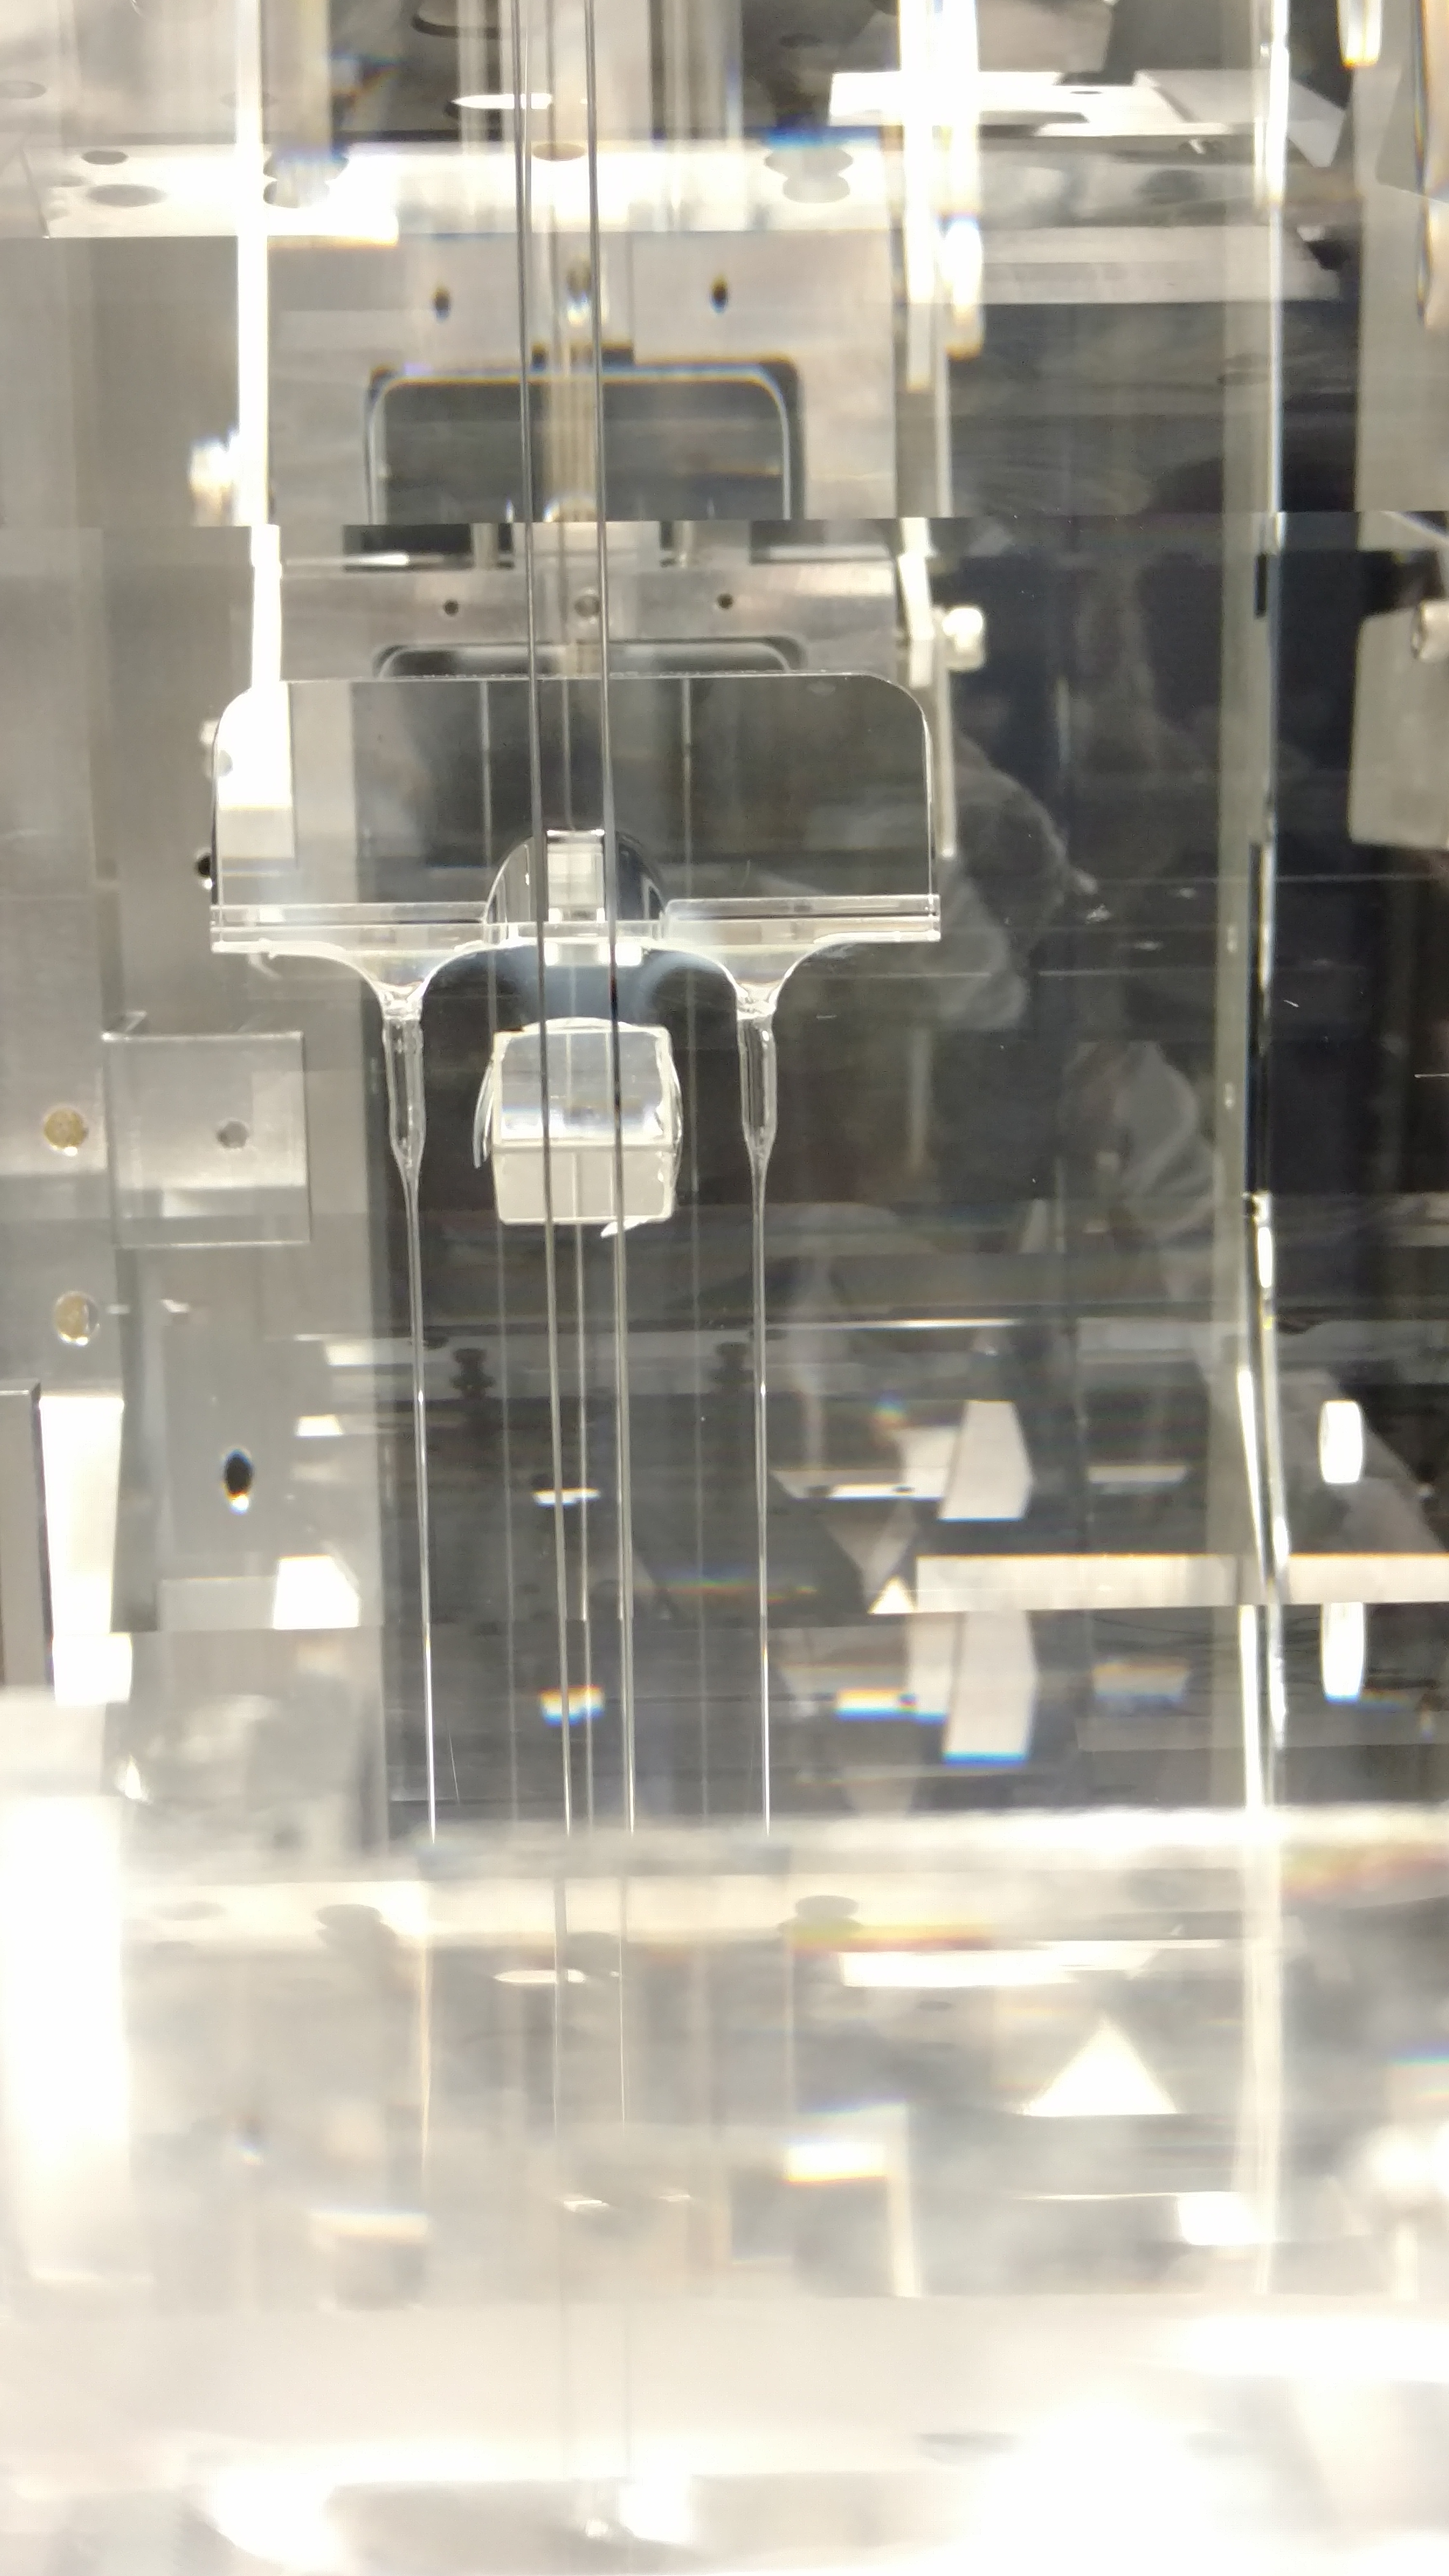
Shelia and Terry have gone back into HAM6 to look at alignment further.