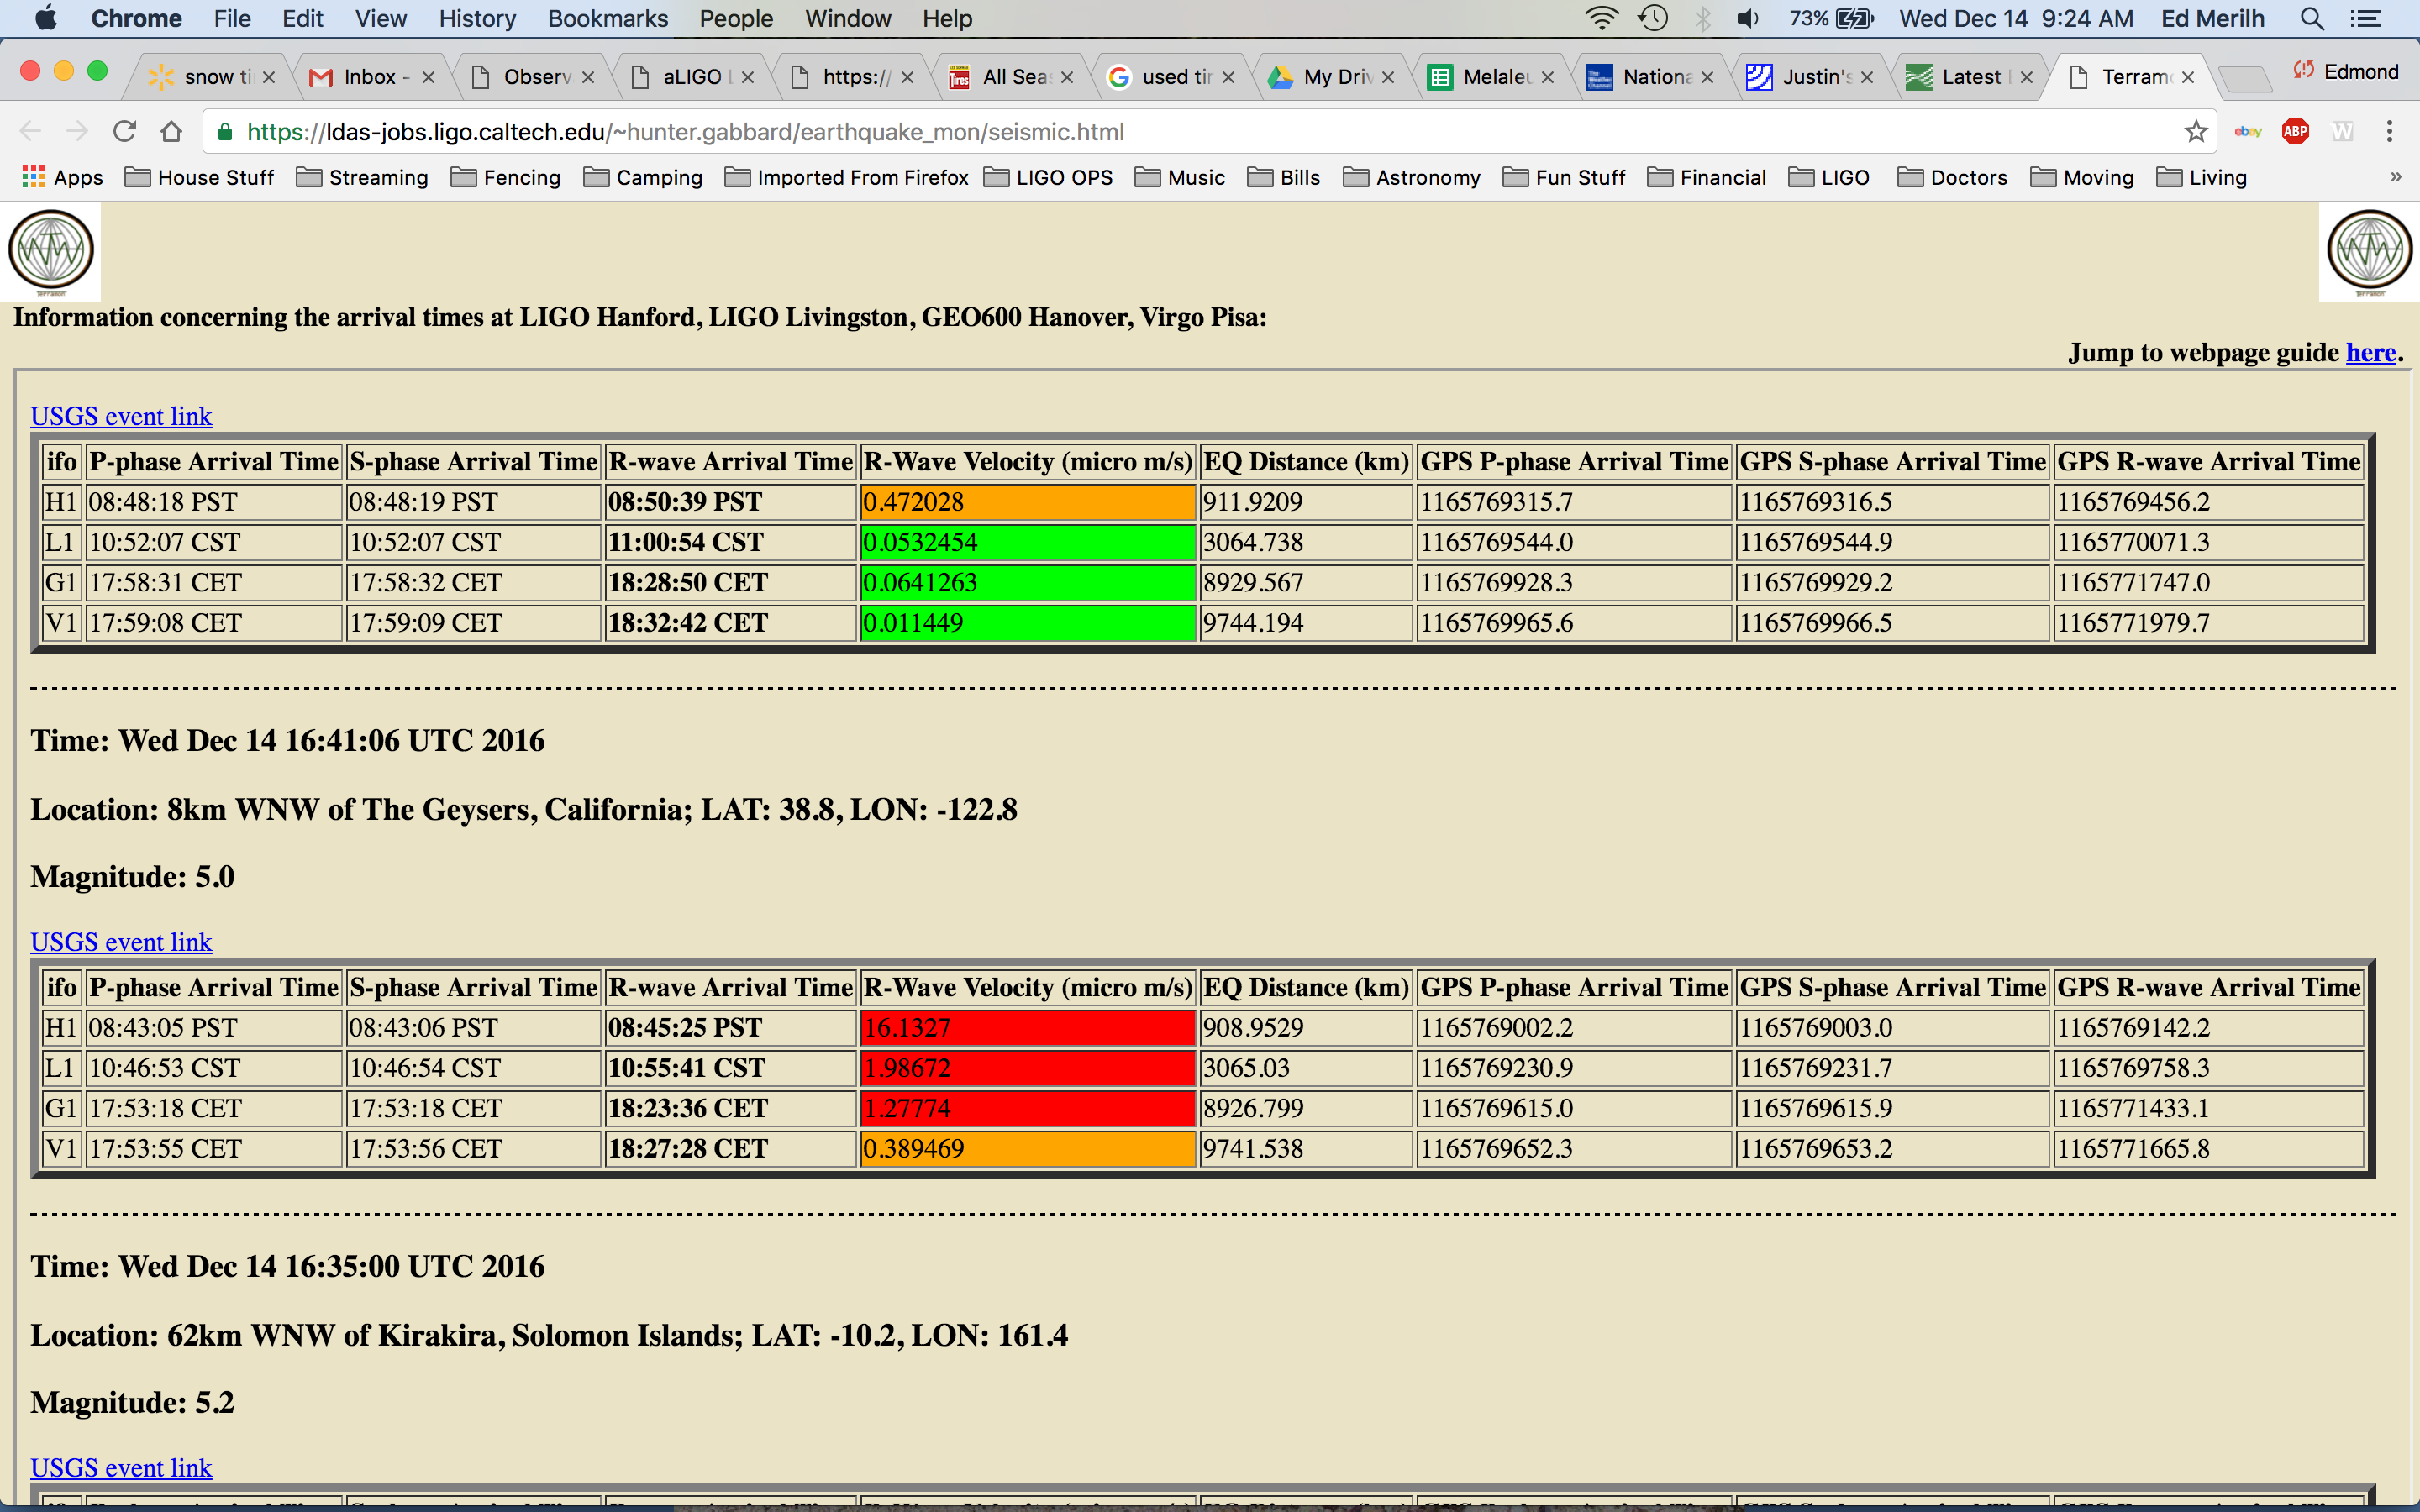
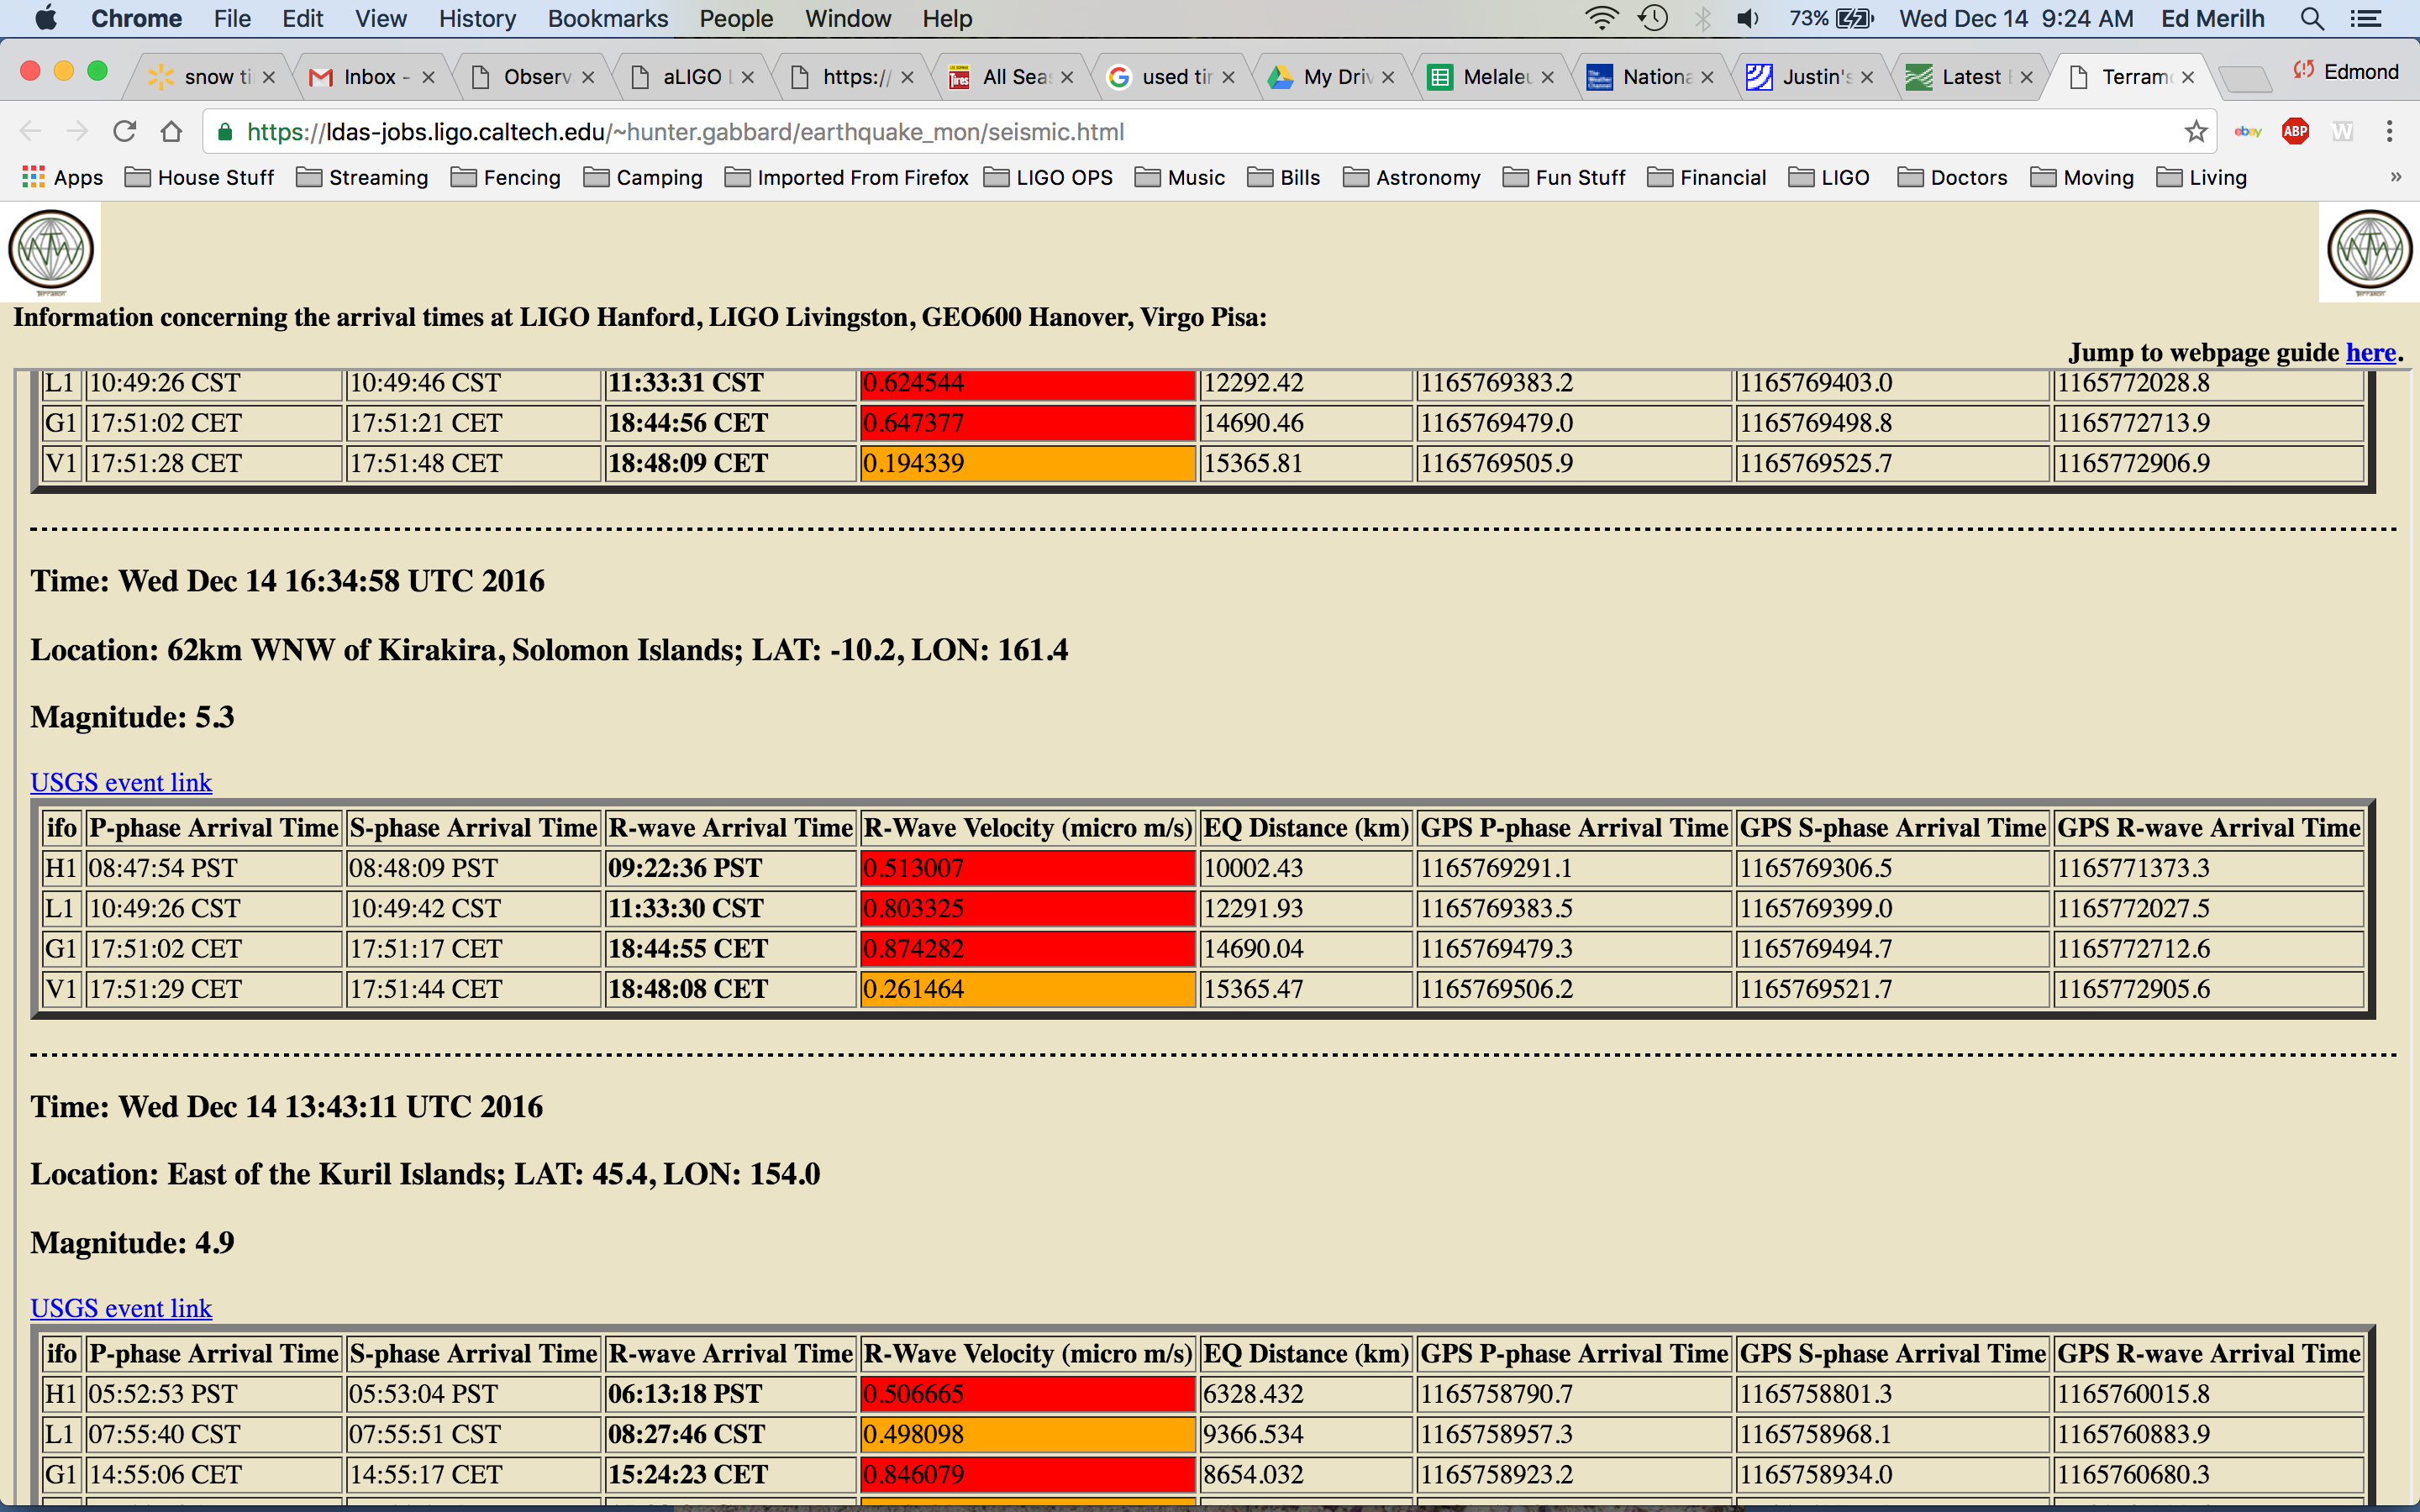
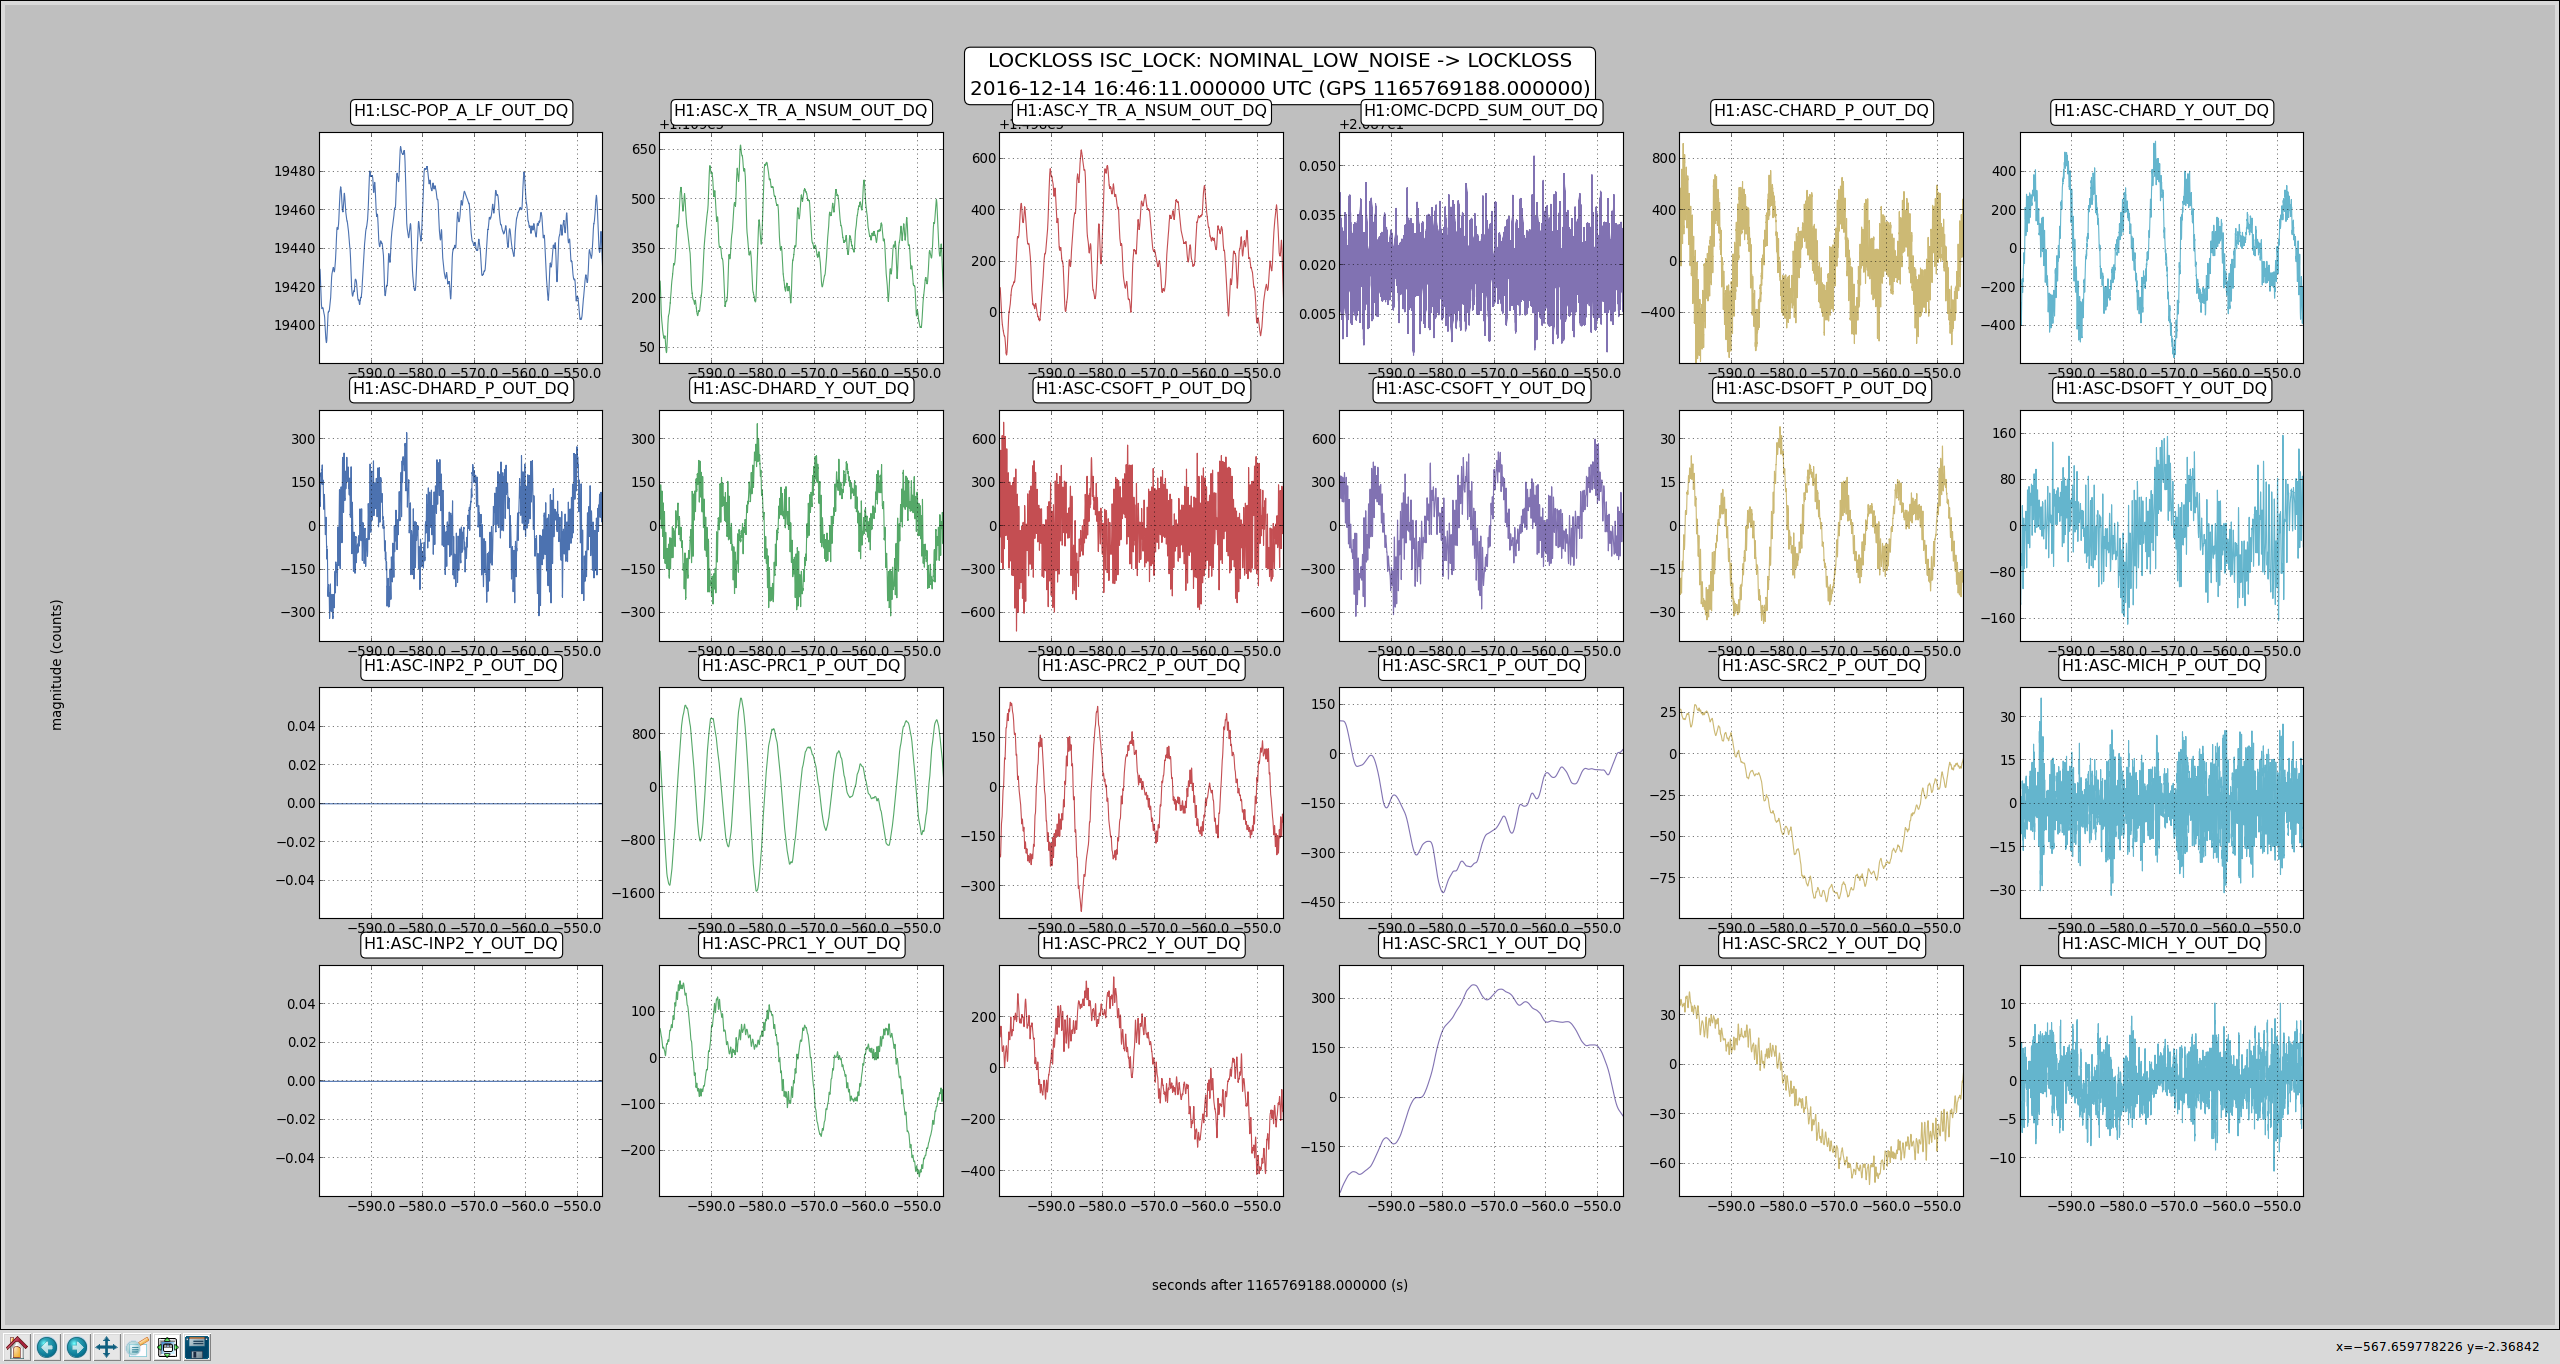
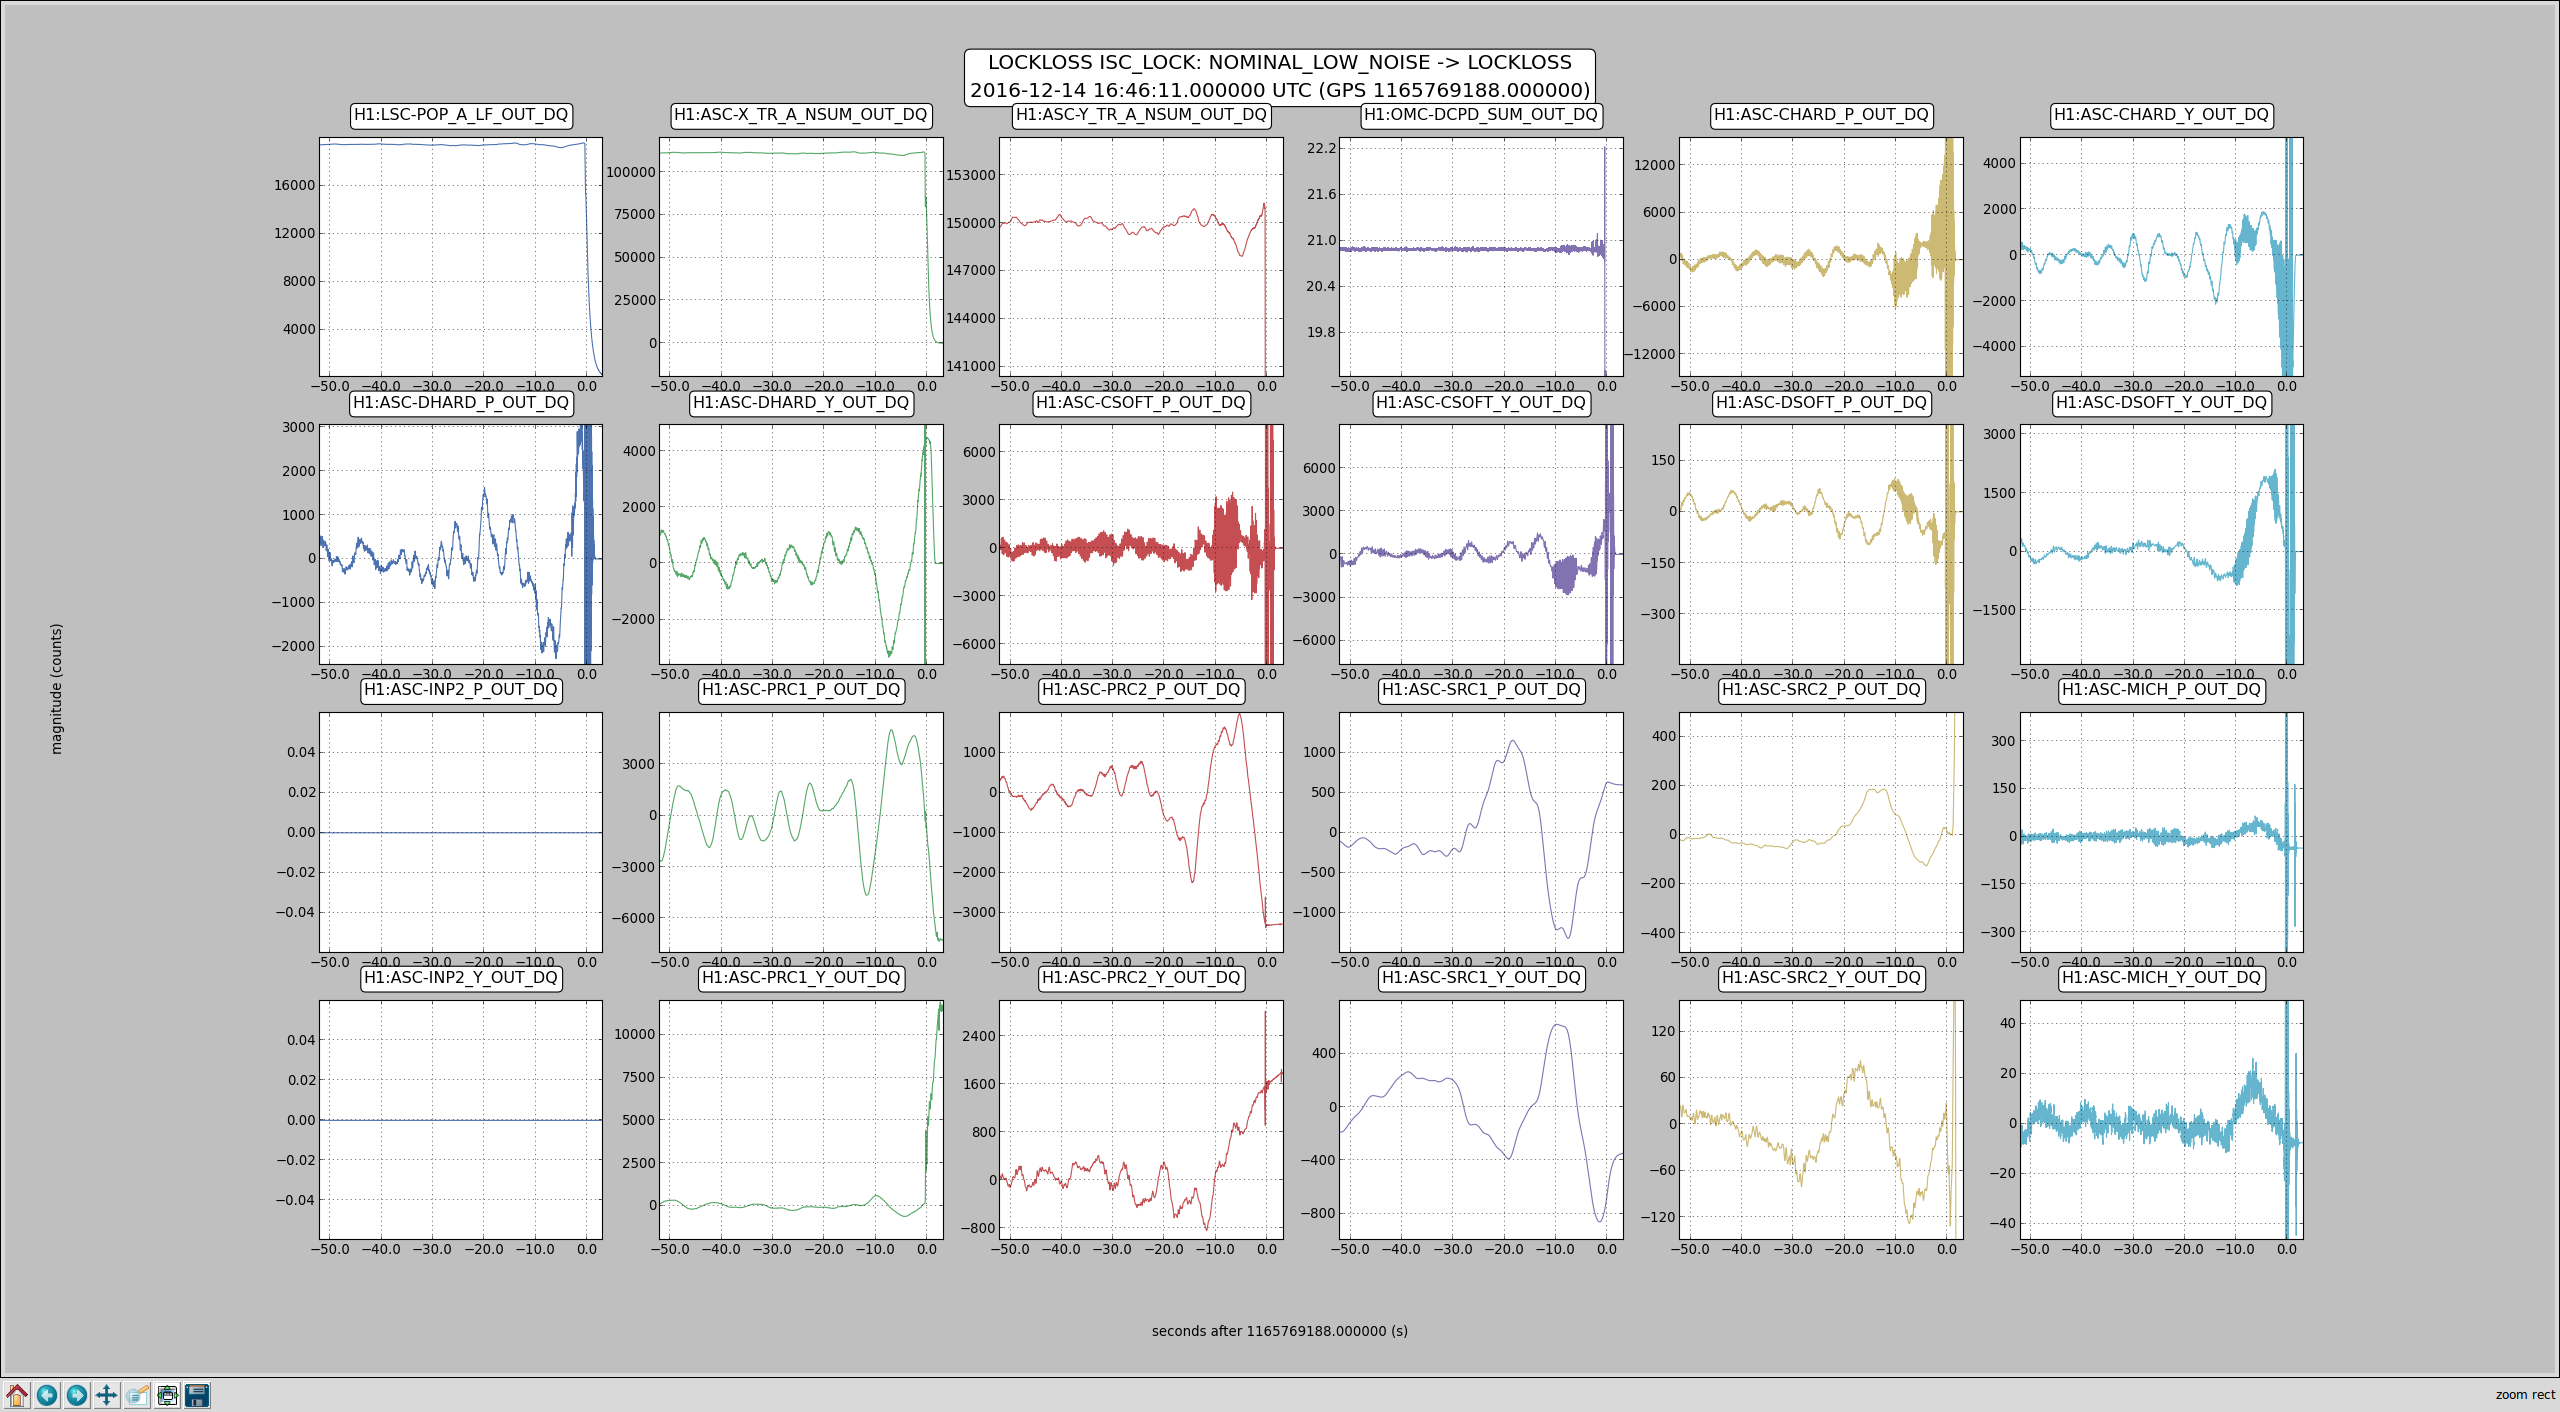
Figure 1 shows the “before” to “after” improvement in DARM. In addition, the figure shows the large decrease in jitter in the IMC WFSs. Both are included because the coupling to DARM varies, but the jitter signal is consistent.
Figure 2 shows the original and the new mounts for the piezo mirror. The main mechanical changes are: 1) the collar is glued into the U200 mount instead of pressed by the usual single set screw. This stiffens the pitch and yaw motion of the piezo and collar around the connection to the U200 mount. 2) I added a “flying buttress”, bolted to the alternate U200 connection point on the side (inset photo). This is to stiffen and damp the pitch and yaw degrees of freedom around the single connection screw between the U200 mount and the base. 3) I added damping material to the new mount. 4) We shortened the lever arm of the massive mirror, while keeping the mirror in the same place, by moving the U200 attachment point forward to an alternate threaded hole in the base.
The main resonance moved from 260 to 350 where it overlapped with the largest resonance of the top periscope mount, so we brought it back down about 15 Hz by adding moment of inertia with damped clamps. It is now much damped and lying on top of one of the lower amplitude modes of the top mount.
In addition, we noticed that the beam was very close to the edge of the safety tube (second page of Figure 2). We moved the beam further from the edge by reducing the length of the tube by a couple of inches (the tube is angled relative to the beam) and by shimming the inner tube in the telescoping assembly. We replaced the white clean room tape, that was locking the telescoping assembly, with Kapton tape. The safety tube is a couple of inches shorter but still extends over the edge of the table (see figure).
Kiwamu I., Rick S., Robert S.
Betsy, Keita, Daniel
As part of the LVEA sweep, prior to the start of O2, this morning, we spent over an hour doing a cleanup of misc cables and test equipment in the LVEA and electronics room. There were quite a few cables dangling from various racks, here's the full list of what we cleaned up and where:
| Location | Rack | Slot | Description |
| Electronics Room | ISC C2 | Found unused Servo controller/cables/mixer from top of rack. Only power was connected, but lots of dangling cables. Removed entire unit and cables. | |
| Electronics Room | ISC C3 | 19 | D1000124 - Port #7 had dangling cable - removed and terminated. |
| Electronics Room | ISC C4 | Top | Found dangling cable from "ALS COM VCO" Port 2 of 6. Removed and terminated. |
| Electronics Room | Rack next to PSL rack | Dangling fiber cable. Left it... | |
| LVEA near PSL | ISC R4 | 18 | ADC Card Port stickered "AO IN 2" - Dangling BNC removed. |
| LVEA near PSL | ISC R4 | 18 to PSL P1 | BNC-Lemo with restor blue box connecting "AO2" R4 to "TF IN" on P1 PMC Locking Servo Card - removed. |
| LVEA near PSL | ISC R4 | 20 | T'd dangling BNC on back of chassis - removed T and unused BNC. |
| LVEA near PSL | Disconnected unused O-scope, Analyzer, and extension cords near these racks. | ||
| LVEA | Under HAM1 south | Disconnected extension cord running to powered off Beckhoff Rotation stage termination box thingy. Richard said unit is to be removed someday altogether. | |
| LVEA | Under HAM4 NE cable tray | Turned off via power cord the TV monitor that was on. | |
| LVEA | HAM6 NE corner | Kiwamu powered off and removed power cables from OSA equipment near HAM6 ISCT table. | |
| LVEA | Unplugged/removed other various unused power strips and extension cords. |
I also threw the main breaker to the OFF position on both of the free standing unused transformer units in the LVEA - one I completely unplugged because I thought I could still hear it humming.
No monitors computers appear to be on except the 2 VE BECKHOFF ones that must remain on (in their stand alone racks on the floor).
We'll ask the early morning crew to sweep for Phones, Access readers, lights, and WIFI first thing in the morning.
Final walk thru of LVEA was done this morning. The following items were unplugged or powered off:
Phones
1. Next to PSL Rack
2. Next to HAM 6
3. In CER
Card Readers
1. High Bay entry
2. Main entry
Wifi
1. Unplugged network cable from patch panel in FAC Rack
Added this to Ops Sticky Notes page.
Maintenance Log: 7:20am - 12:06pm
[Richard, Fil, Kawabe, Marc]
See ALOG 31948
Replaced I&Q Demod Chassis (D0902796) S1000977 with S1001002. We removed the 0 ohm bypass resistors from channels 1 and 2 and installed filters from the old chassis into the new chassis.
Channel 1 = MCL PLP-21.4+ (21.4Mhz Low Pass Filter)
Channel 2 = MCL PHP-100+ (100MHz High Pass Filter)
This new chassis also had the power supply cable installed upside down, we fixed this. The +15V LED lead was not fully seated into the connector housing, we fixed this as well.
We do not have spare filters in stock or we would have replaced these, Fil will order some replacements.
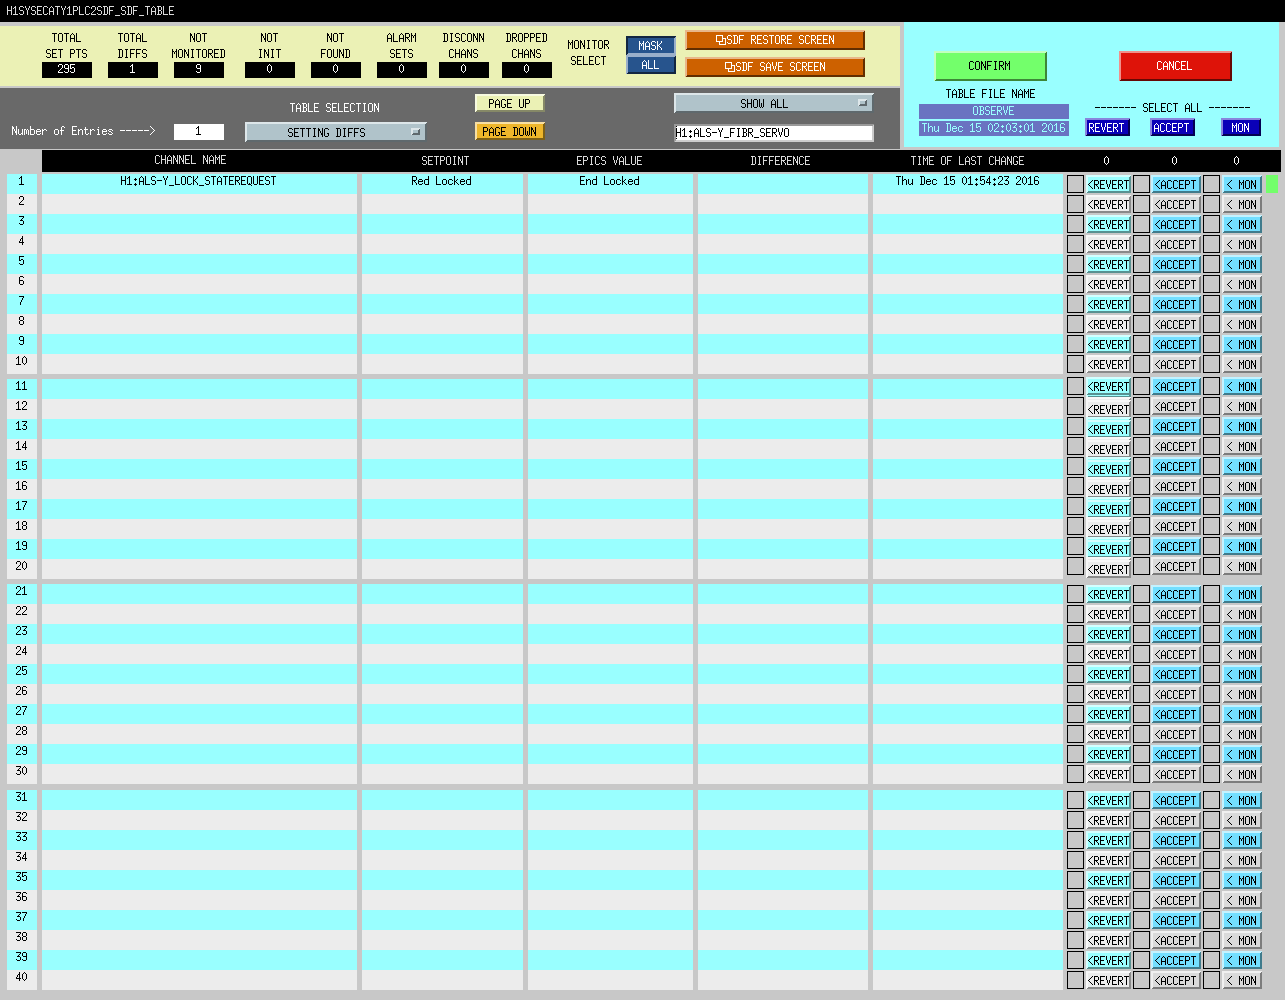
LO monitor level increased by about 0.7dB for POPAIR_B 19 and 90, but not that much for REFLAIR_B 27 and 135, ans as a result POPAIR_B_RF18 was vommiting an error (H1:LSC-POPAIR_B_RF18_DEMOD_ERROR_CODE) and POPAIR_B_RF90 was close. I just increased the nominal LO level by 1dB and accepted in SDF for safe.
H1:LSC-POPAIR_B_RF18_DEMOD_LONOM=23 (was 22)
H1:LSC-POPAIR_B_RF90_DEMOD_LONOM=21 (was 20).
This chassis served POPAIR90, POPAIR18, REFLAIR27 and REFLAIR135, so I have re-set the demod phases for all of these. The POP 18 & 90 I adjusted the phases to maximize the I-phase signal while in DRMI_LOCKED. The REFL 27 and 135 I adjusted also in DRMI_LOCKED, so while we're locked on these 3f signals, by driving PRM in length at 132Hz and minimizing the line in the Q-phase.
I also redid the dark offsets for these channels (although the REFLair ones will get set every acquisition), as well as for AS90 which looked like it needed it.
Kyle R., Gerardo M., Richard M. (completes WPs #6332 and #6360) Initial pressure indication shortly after being energized was 3 x 10⁻³ torr (PT180 is a "wide-range" gauge). If real, this would be higher than expected for the ~17 hrs. of accumulation -> "burped" the accumulated gas into the connected pump setup while Gerardo monitored its pirani gauge -> it gave no indication of a change and remained steady at 1.9 x 10⁻³ torr which is as expected. Neither gauge is calibrated in this pressure region of interest. Noted PT180 responded as expected to being combined with local turbo -> Isolated temporary local pump setup, valved-in (exposed/combined) PT180 to site vacuum volume, vented locally mounted turbo and removed from PT180 hardware -> Installed 1 1/2" O-ring valve and 2.75" CF to NW40 adapter in place of the turbo and pumped to rough vacuum the space between the two 1 1/2" pump port valves.
I was informed that the laser had tripped this morning. Not sure exactly why the laser tripped as TwinCAT indicated
that the EPICS alarm was triggered. At first glance it looks like the flow in head 3 caused the trip. It reached
the trip value (0.4 lpm) roughly 2 seconds before heads 1 and 2.
Attached are other trends of the laser power(s) versus the flow rate in head 3. There is some evidence to
suggest that the NPRO might have tripped first, triggering the power watchdog for the front end (mis-named
Head2NPROa.png).
Summary:
Average range: 70 Mpc
Duty Cycle: 35% (commissioning activities reduced observing time)
1080Hz glitching continuing
Mysterious noise at 10-30Hz for ~2 hours on Tuesday (22nd)
Hardware injections during observing time on Wednesday (1 CBC, 10 detchar safety injections)
Full DQ Shift report: https://wiki.ligo.org/DetChar/DataQuality/DQShiftH120161121
Hoping for a light Maintenance (since many activities done yesterday) & aiming for ending at noon. Cheryl handed over a locked H1 & it stayed locked for quite a while into Maintenance before dropping out....
H1 PSL appeared to trip (causing lockloss). Peter & Jeff B addressed and are looking into why it dropped out.
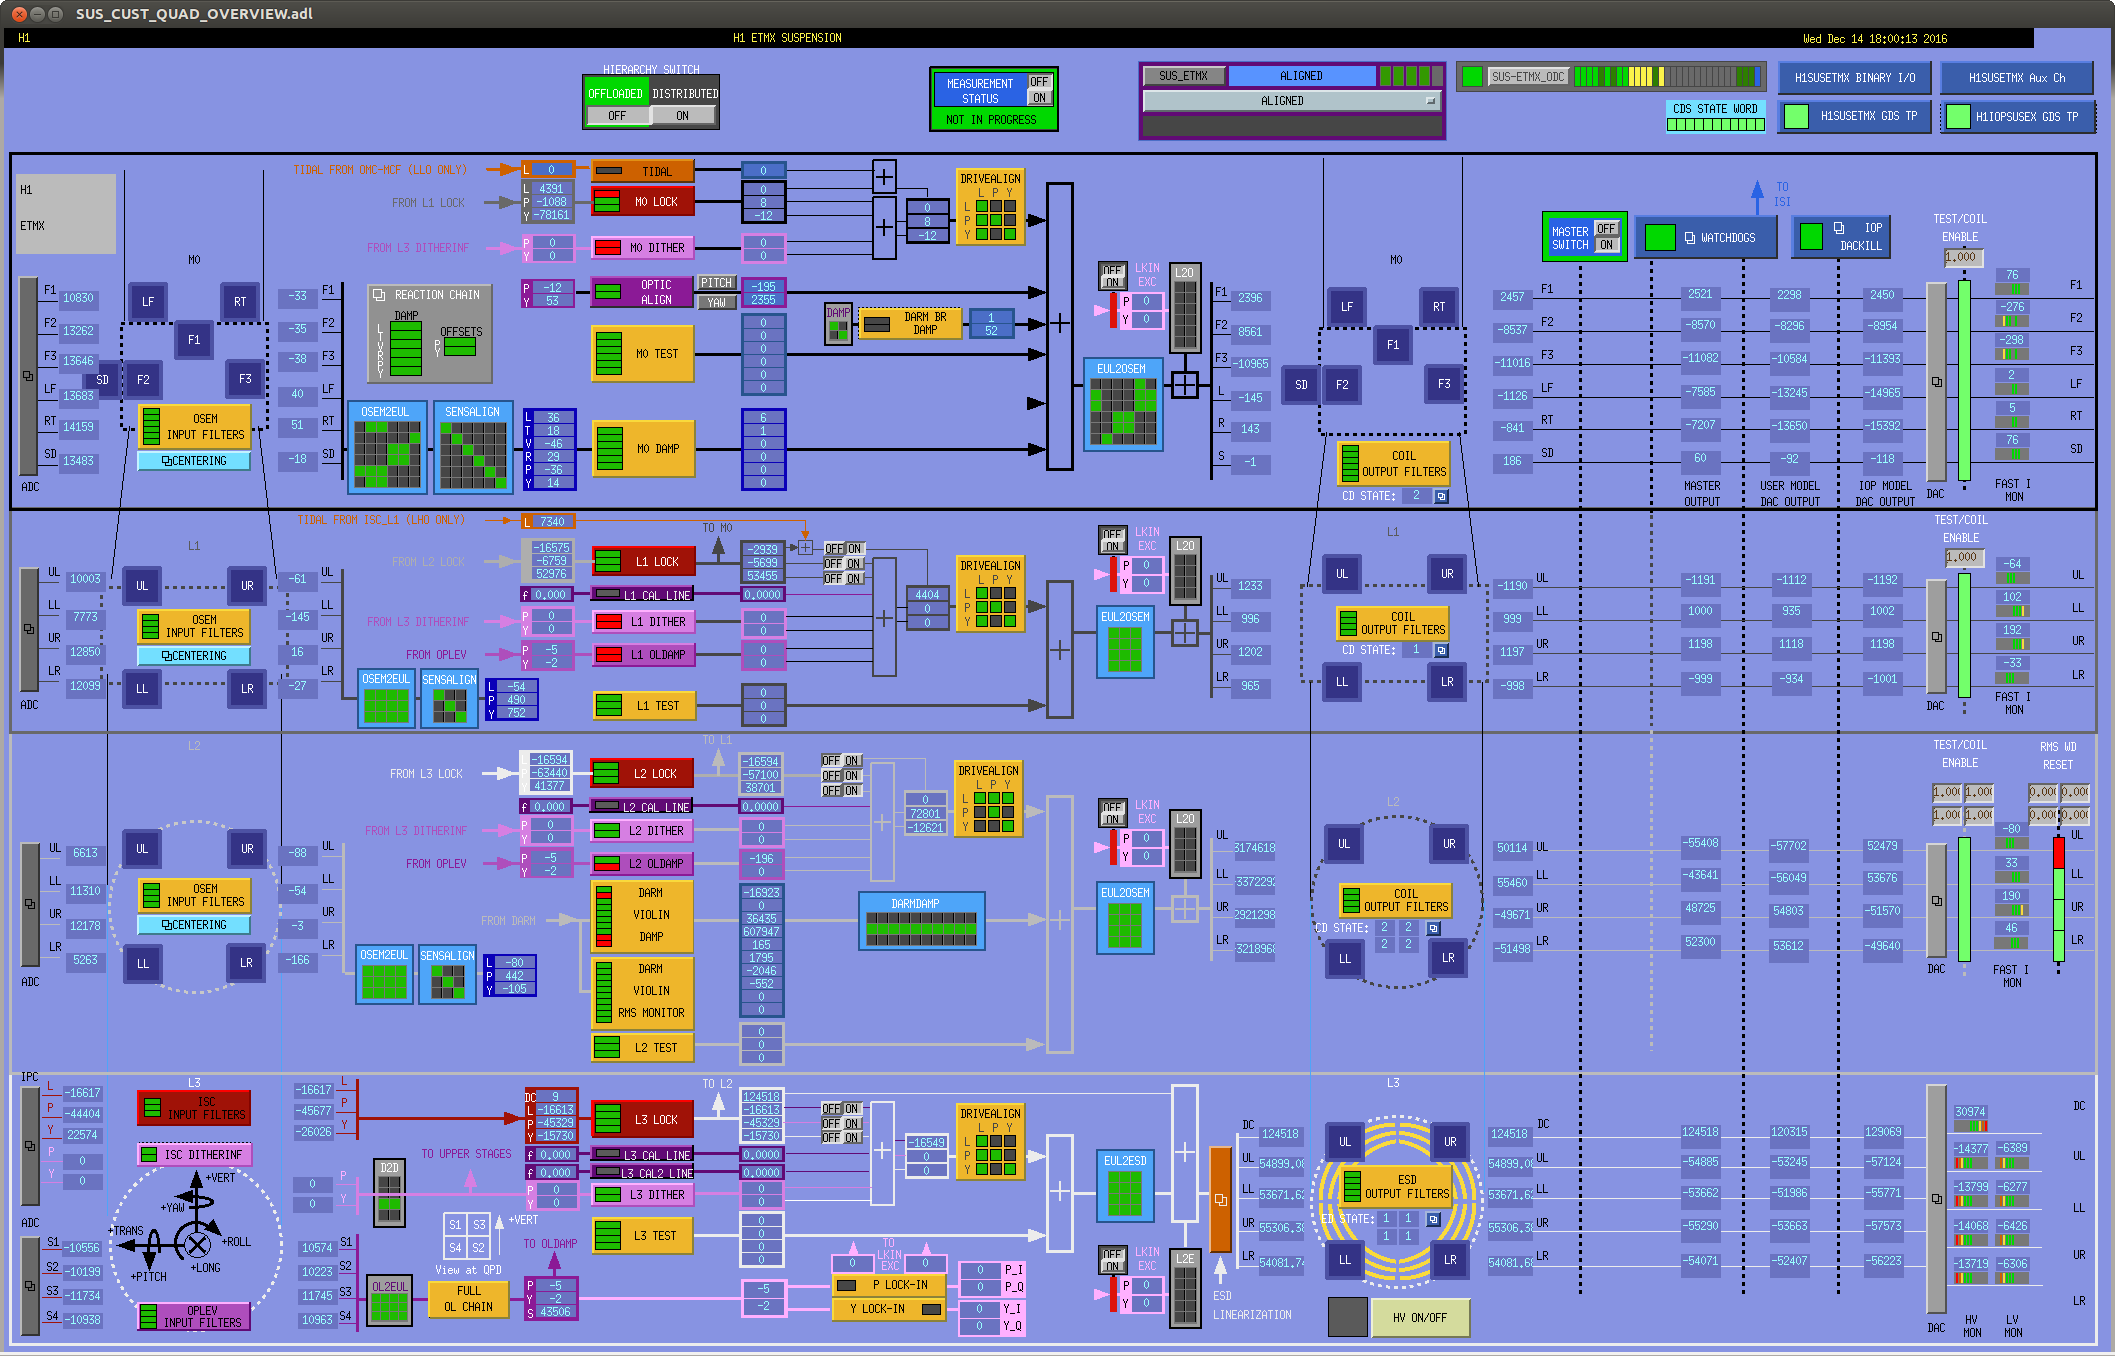
I have added MEDM overview screens for H1 SUS ETMX, ETMY to the CDS web screen shots pages.
This morning when the interferometer was down, I went to the ISCT6 table and removed the temporary digital camera or CAM17 (that was for the SRC Gouy phase measurement, see for example 29389). The beam for this camera is currently dumped by an additional razor blade dump on the table. The ethernet cable was re-routed and plugged to the OMCR camera which is the nominal cabling configuration. Additionally, I have left the base plate for the camera untouched in case we want to revisit the same measurement.
State of H1: locked in NLN in Observe
Commissioners: Sheila, Jenne (early in the shift)
Activities:
Violin Mode Damping:
Noise Tunings:
a2l:
Observe:
14:31UTC: H1 is in Observe
Manually put IMC_LOCK in ISS_DC_DECOUPLED, then H1 into Observe
Noise Tunings attachments:
Significant exhaust temperature response (<-30C) 47 seconds after changing the manual mode %open value of the LLCV (liquid level control valve) from its as-found valve of 17 to 50 -> restored this value back to 17 following this exercise.
Here is the temp trend (in seconds). Not sure why the dip prior to fill. First I've seen that.
I trended CP3 exhaust TC temp gauges over 30 days to see if the dips noted above have always been there. Looks like it started on Nov. 15th. The only change to CP3 noted was a Dewar fill while LLCV was set high to 21%. LN2 was coming out the exhaust so I lowered to 16% while the LN2 truck was still filling Dewar. The previous day on the 14th I had filled CP3 by setting LLCV to 100% and noted this was too much flow. Is this an instability in pump reservoir where it burps every 20-40 minutes? Note that from Nov. 19-21 signal was smoother. Could be a function of LLCV setting and how full exhaust line is. Fills lately have been really fast.
CP3 exhaust is also noisy since Nov. 21st.
Following up on the DetChar report of ETMx oplev laser glitching causing problems, I confirmed (using the DetChar summary pages) that the laser was indeed showing signs of glitching. I also noticed the ETMy laser was also showing signs of glitching. I increased the power for both lasers to hopefully get them into a thermal state they are happy with. I used the Current Monitor (outputs a voltage to monitor the current delivered to the laser diode) port on the back of each laser as a guide. The changes were:
Seeing as I had to open the cooler for both lasers they will both need 4-6 hours to return to thermal equilibrium. At that point a determination can be made as to whether or not this helped at all. The attached 3 hour trend of the oplev SUM for both optical levers gives hope; after the power increase the SUM signal is quieter for both oplevs. I will leave WP 6348 open for now as more adjustment may be necessary to fix the glitching.
Further power adjustment for both lasers this morning as both were still showing signs of glitching (better than yesterday morning, but not gone). Changes are:
As before these lasers will need ~4 hours to return to thermal equillibrium before I can assess whether or not this latest tweak helped.