Since there have been a few uncommitted commissioning changes to filter files and guardian code, Dave and Sheila confirmed it was time to commit them all to the svn since the IFO is running ~well for E7. Dave and I are working to clear house in all subsystems. I have committed:
All SUS.txt filter files
All 2 ASC filter files - H1ASC.txt, H1ASCIMC.txt
All 2 ASC filter files -H1ALSEX.txt, H1ALSEY.txt
All LSC.py guardian scripts
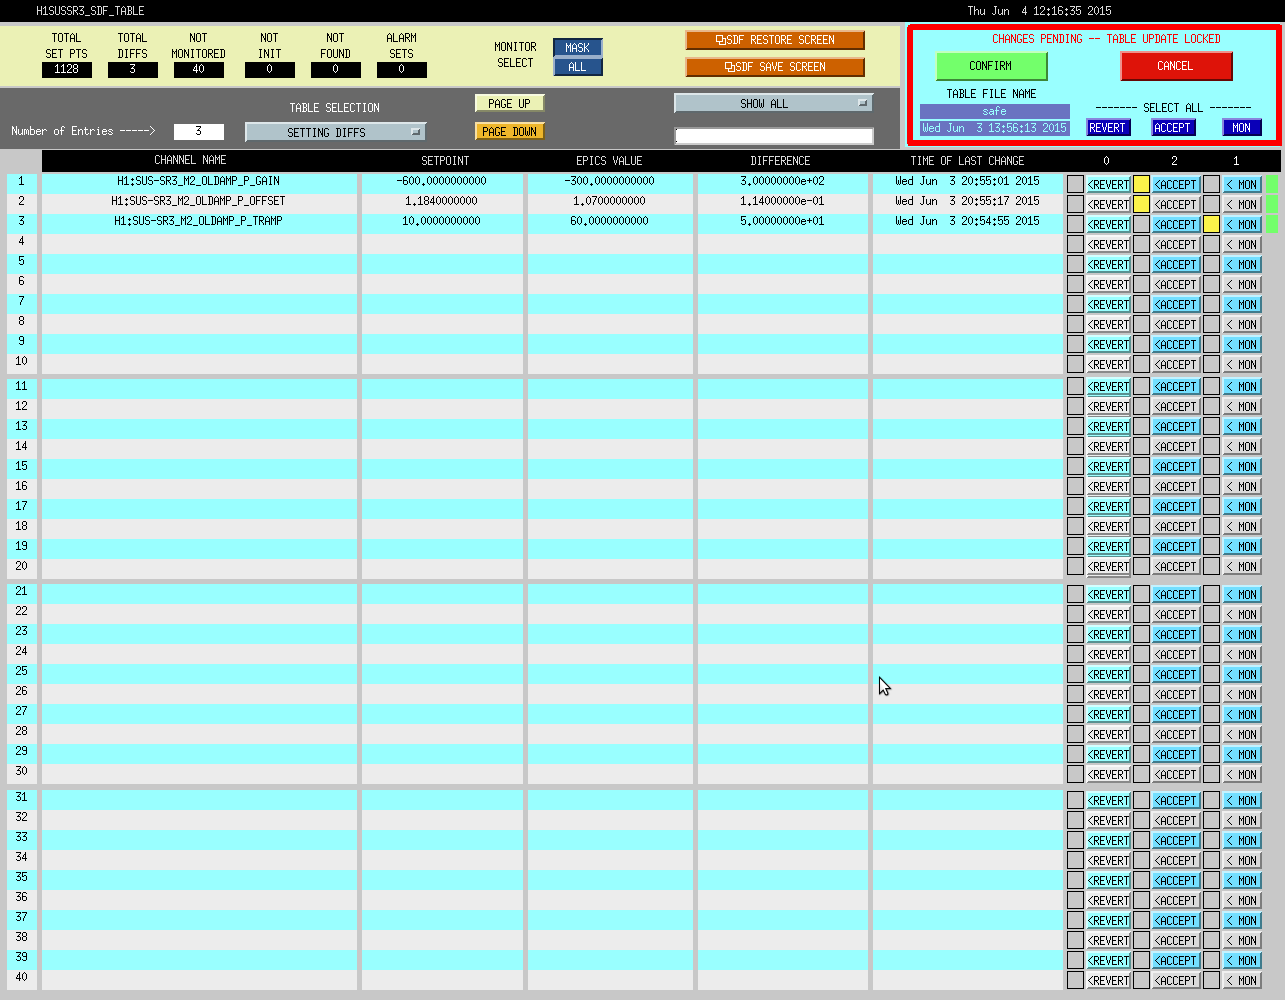
Note, all SUS guardians are up-to-date in the SVN.
When we ent to commit H1SUSMC2 it failed with an error stating file is "out of date". So, we copied the file to a backup and did a work around:
betsy.bland@operator1:/opt/rtcds/userapps/release/sus/h1/filterfiles$ cp H1SUSMC2.txt H1SUSMC2.txtbak
betsy.bland@operator1:/opt/rtcds/userapps/release/sus/h1/filterfiles$ svn up H1SUSMC2.txt
Conflict discovered in 'H1SUSMC2.txt'.
Select: (p) postpone, (df) diff-full, (e) edit,
(mc) mine-conflict, (tc) theirs-conflict,
(s) show all options: ^Csvn: Caught signal
betsy.bland@operator1:/opt/rtcds/userapps/release/sus/h1/filterfiles$ svn revert H1SUSMC2.txt
Reverted 'H1SUSMC2.txt'
betsy.bland@operator1:/opt/rtcds/userapps/release/sus/h1/filterfiles$ svn up H1SUSMC2.txt
U H1SUSMC2.txt
Updated to revision 10745.
betsy.bland@operator1:/opt/rtcds/userapps/release/sus/h1/filterfiles$ cp H1SUSMC2.txtbak H1SUSMC2.txt
This however caused the FE DAQ status to show the error that the filter file had changed. Indeed to file changed name, and then back, but we confirm that the contents of the file are the same, so we will have to hit the LOAD COEFF button on MC2 to clear the FE alarm.


The IFO was down, so we hit the load coeff on MC2 during it's walk back up to LSC_FF lock. The IFO didn't waiver so all seems fine.