Ibrahim, Oli, Rahul
As part of our final round of BBSS work, we:
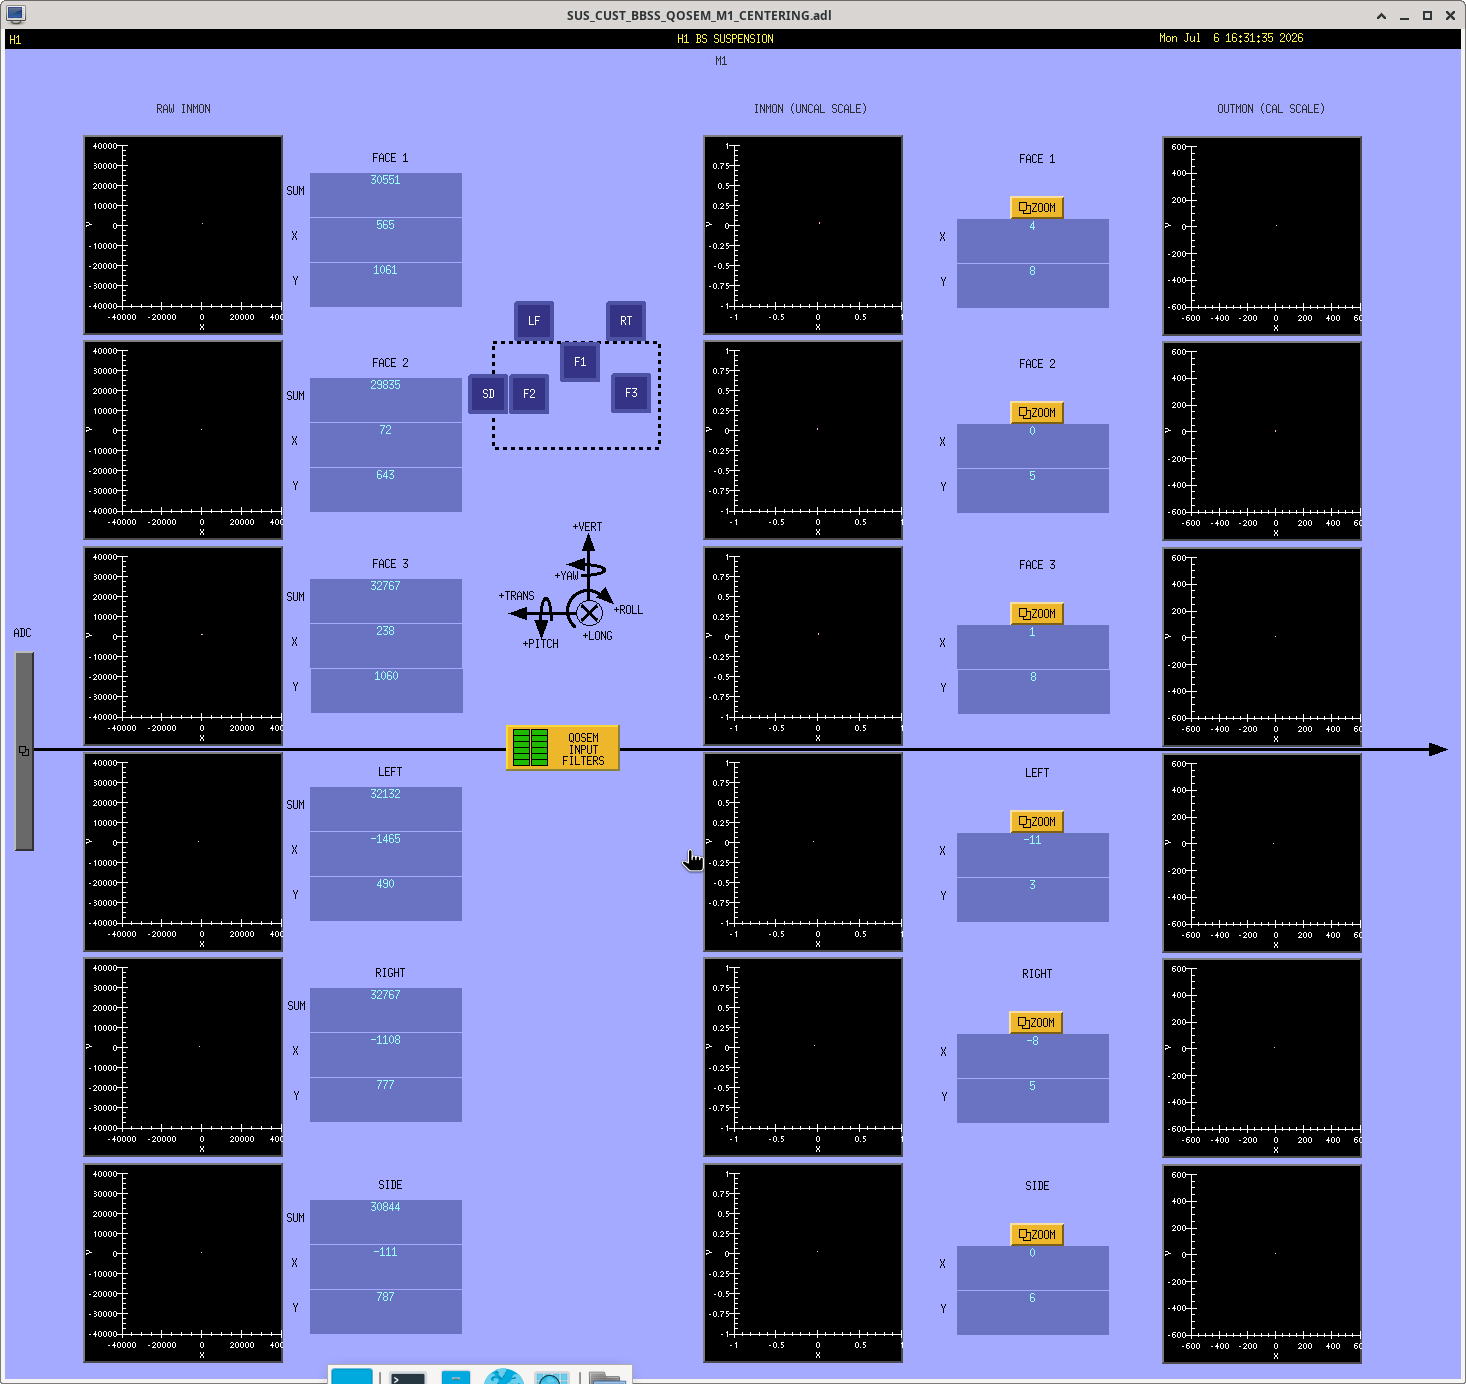
Now, I'm taking transfer functions to confirm BBSS is still happy
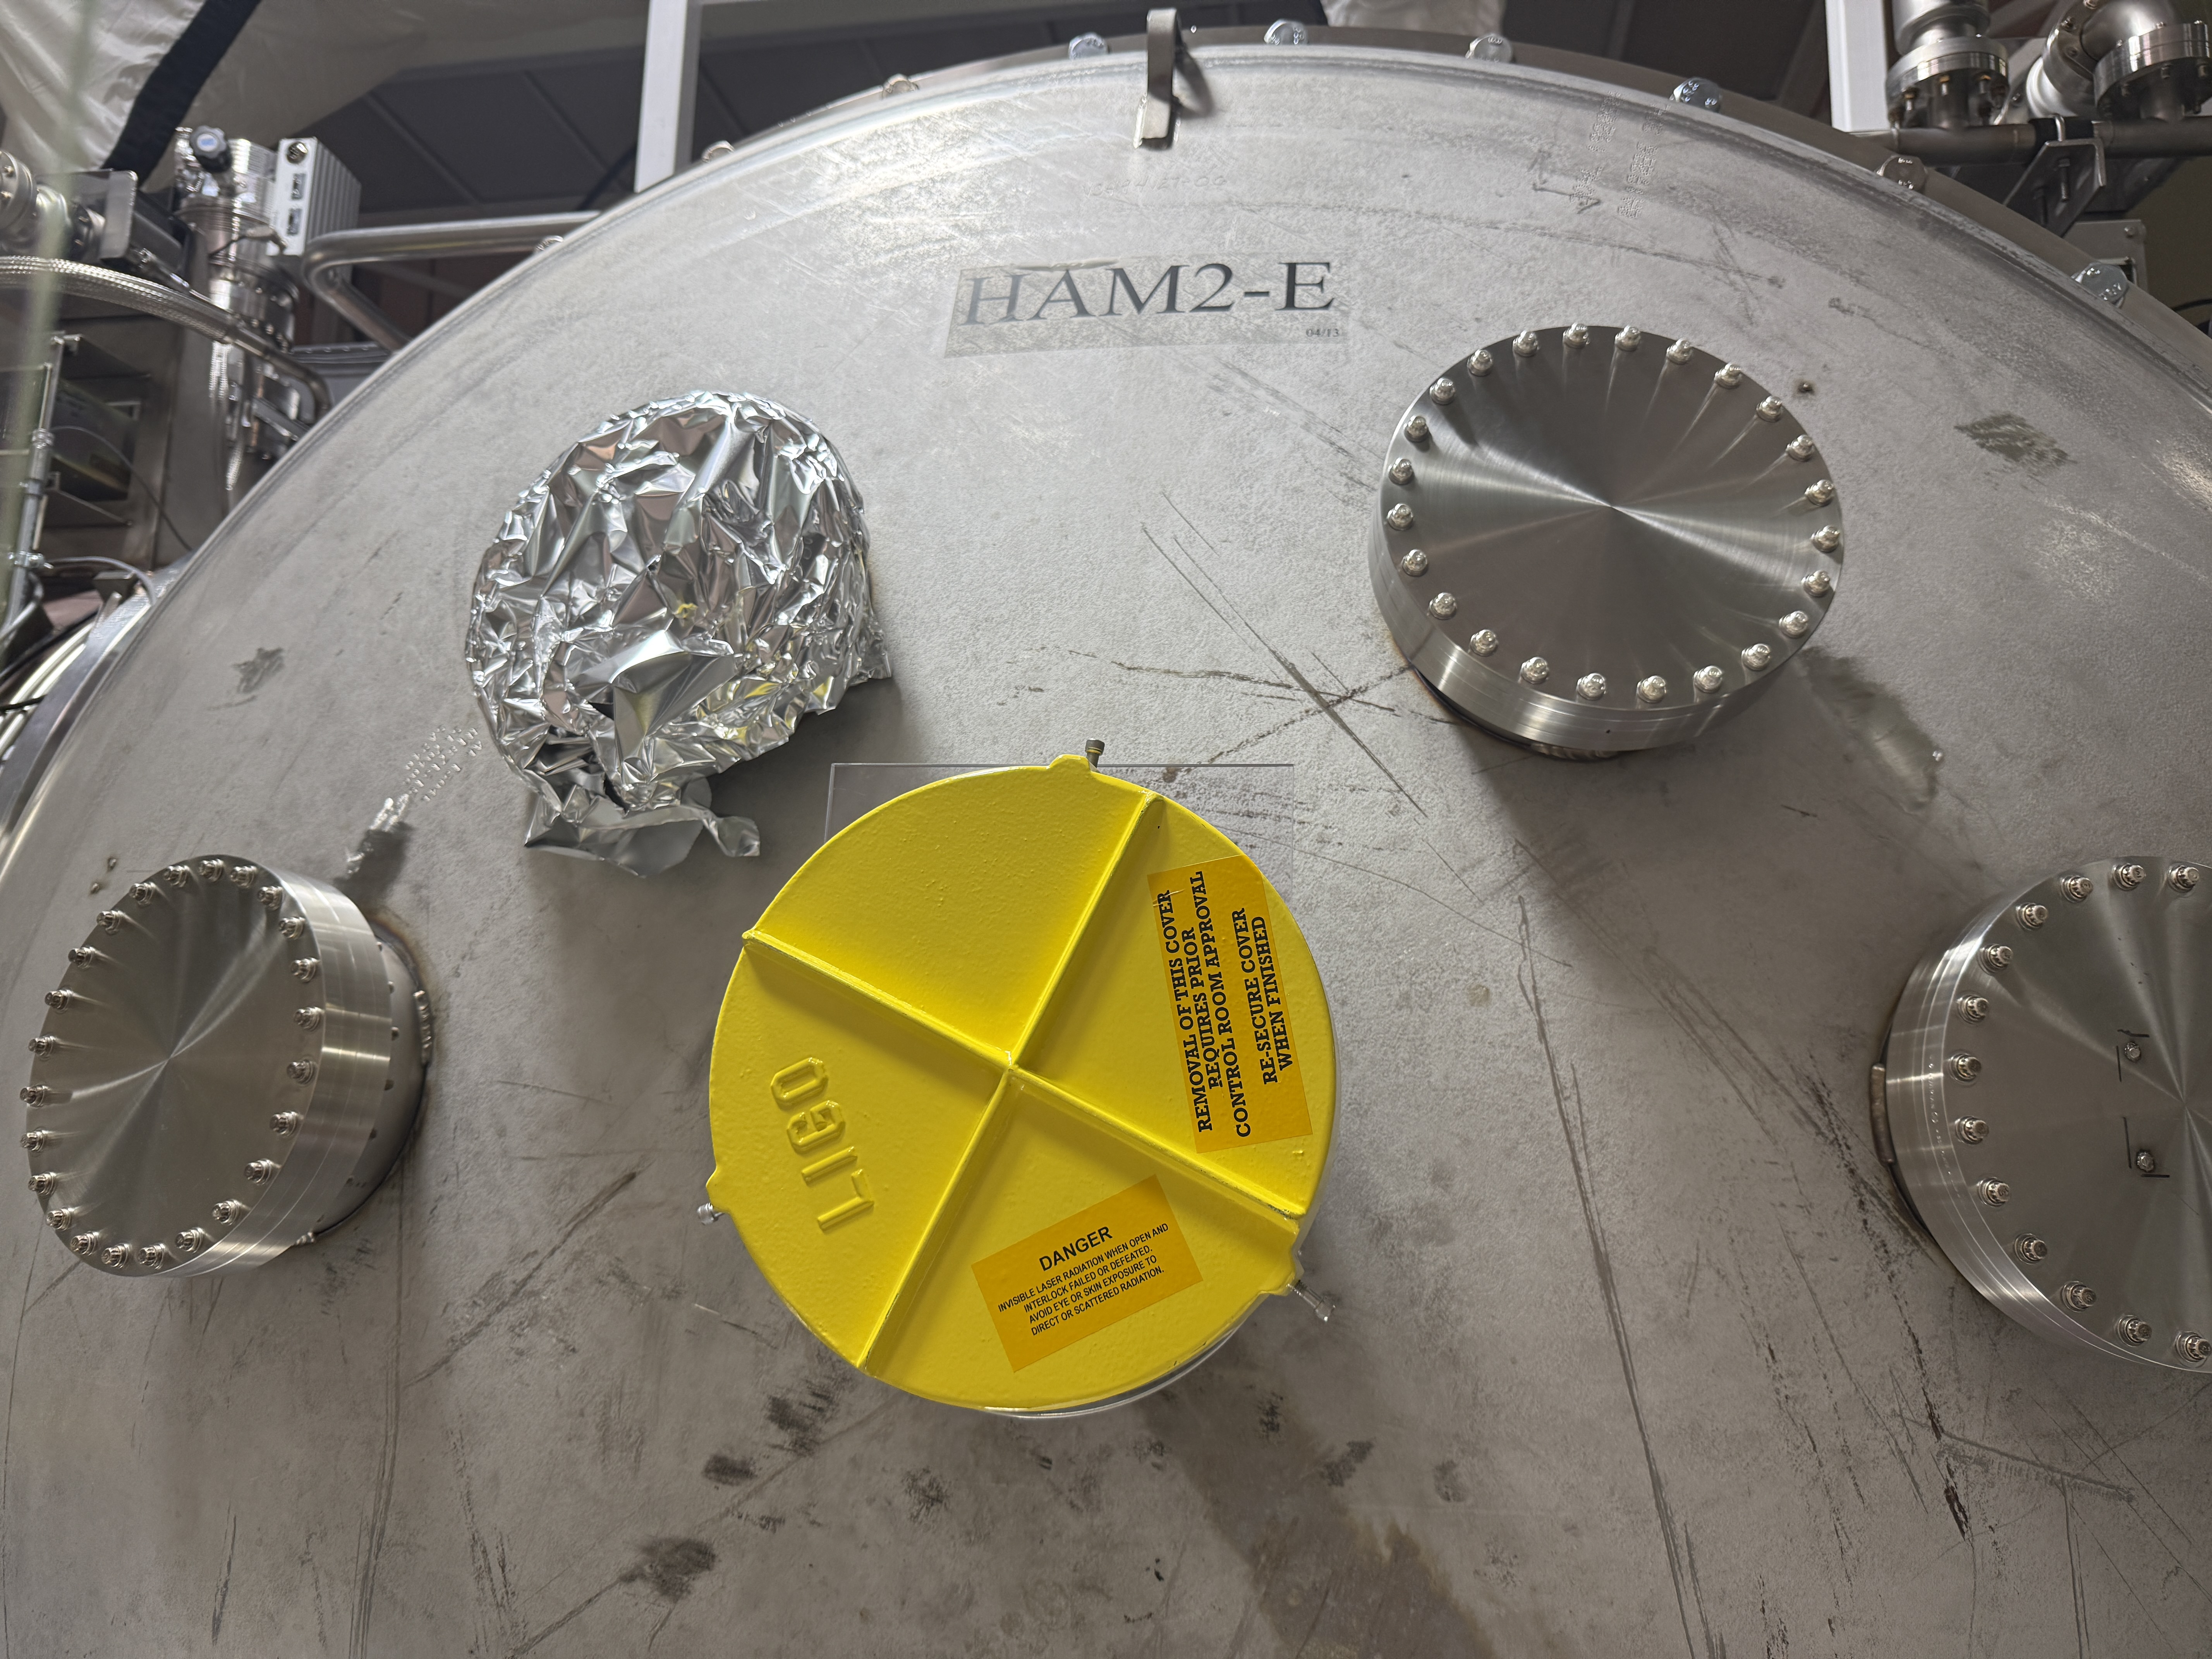
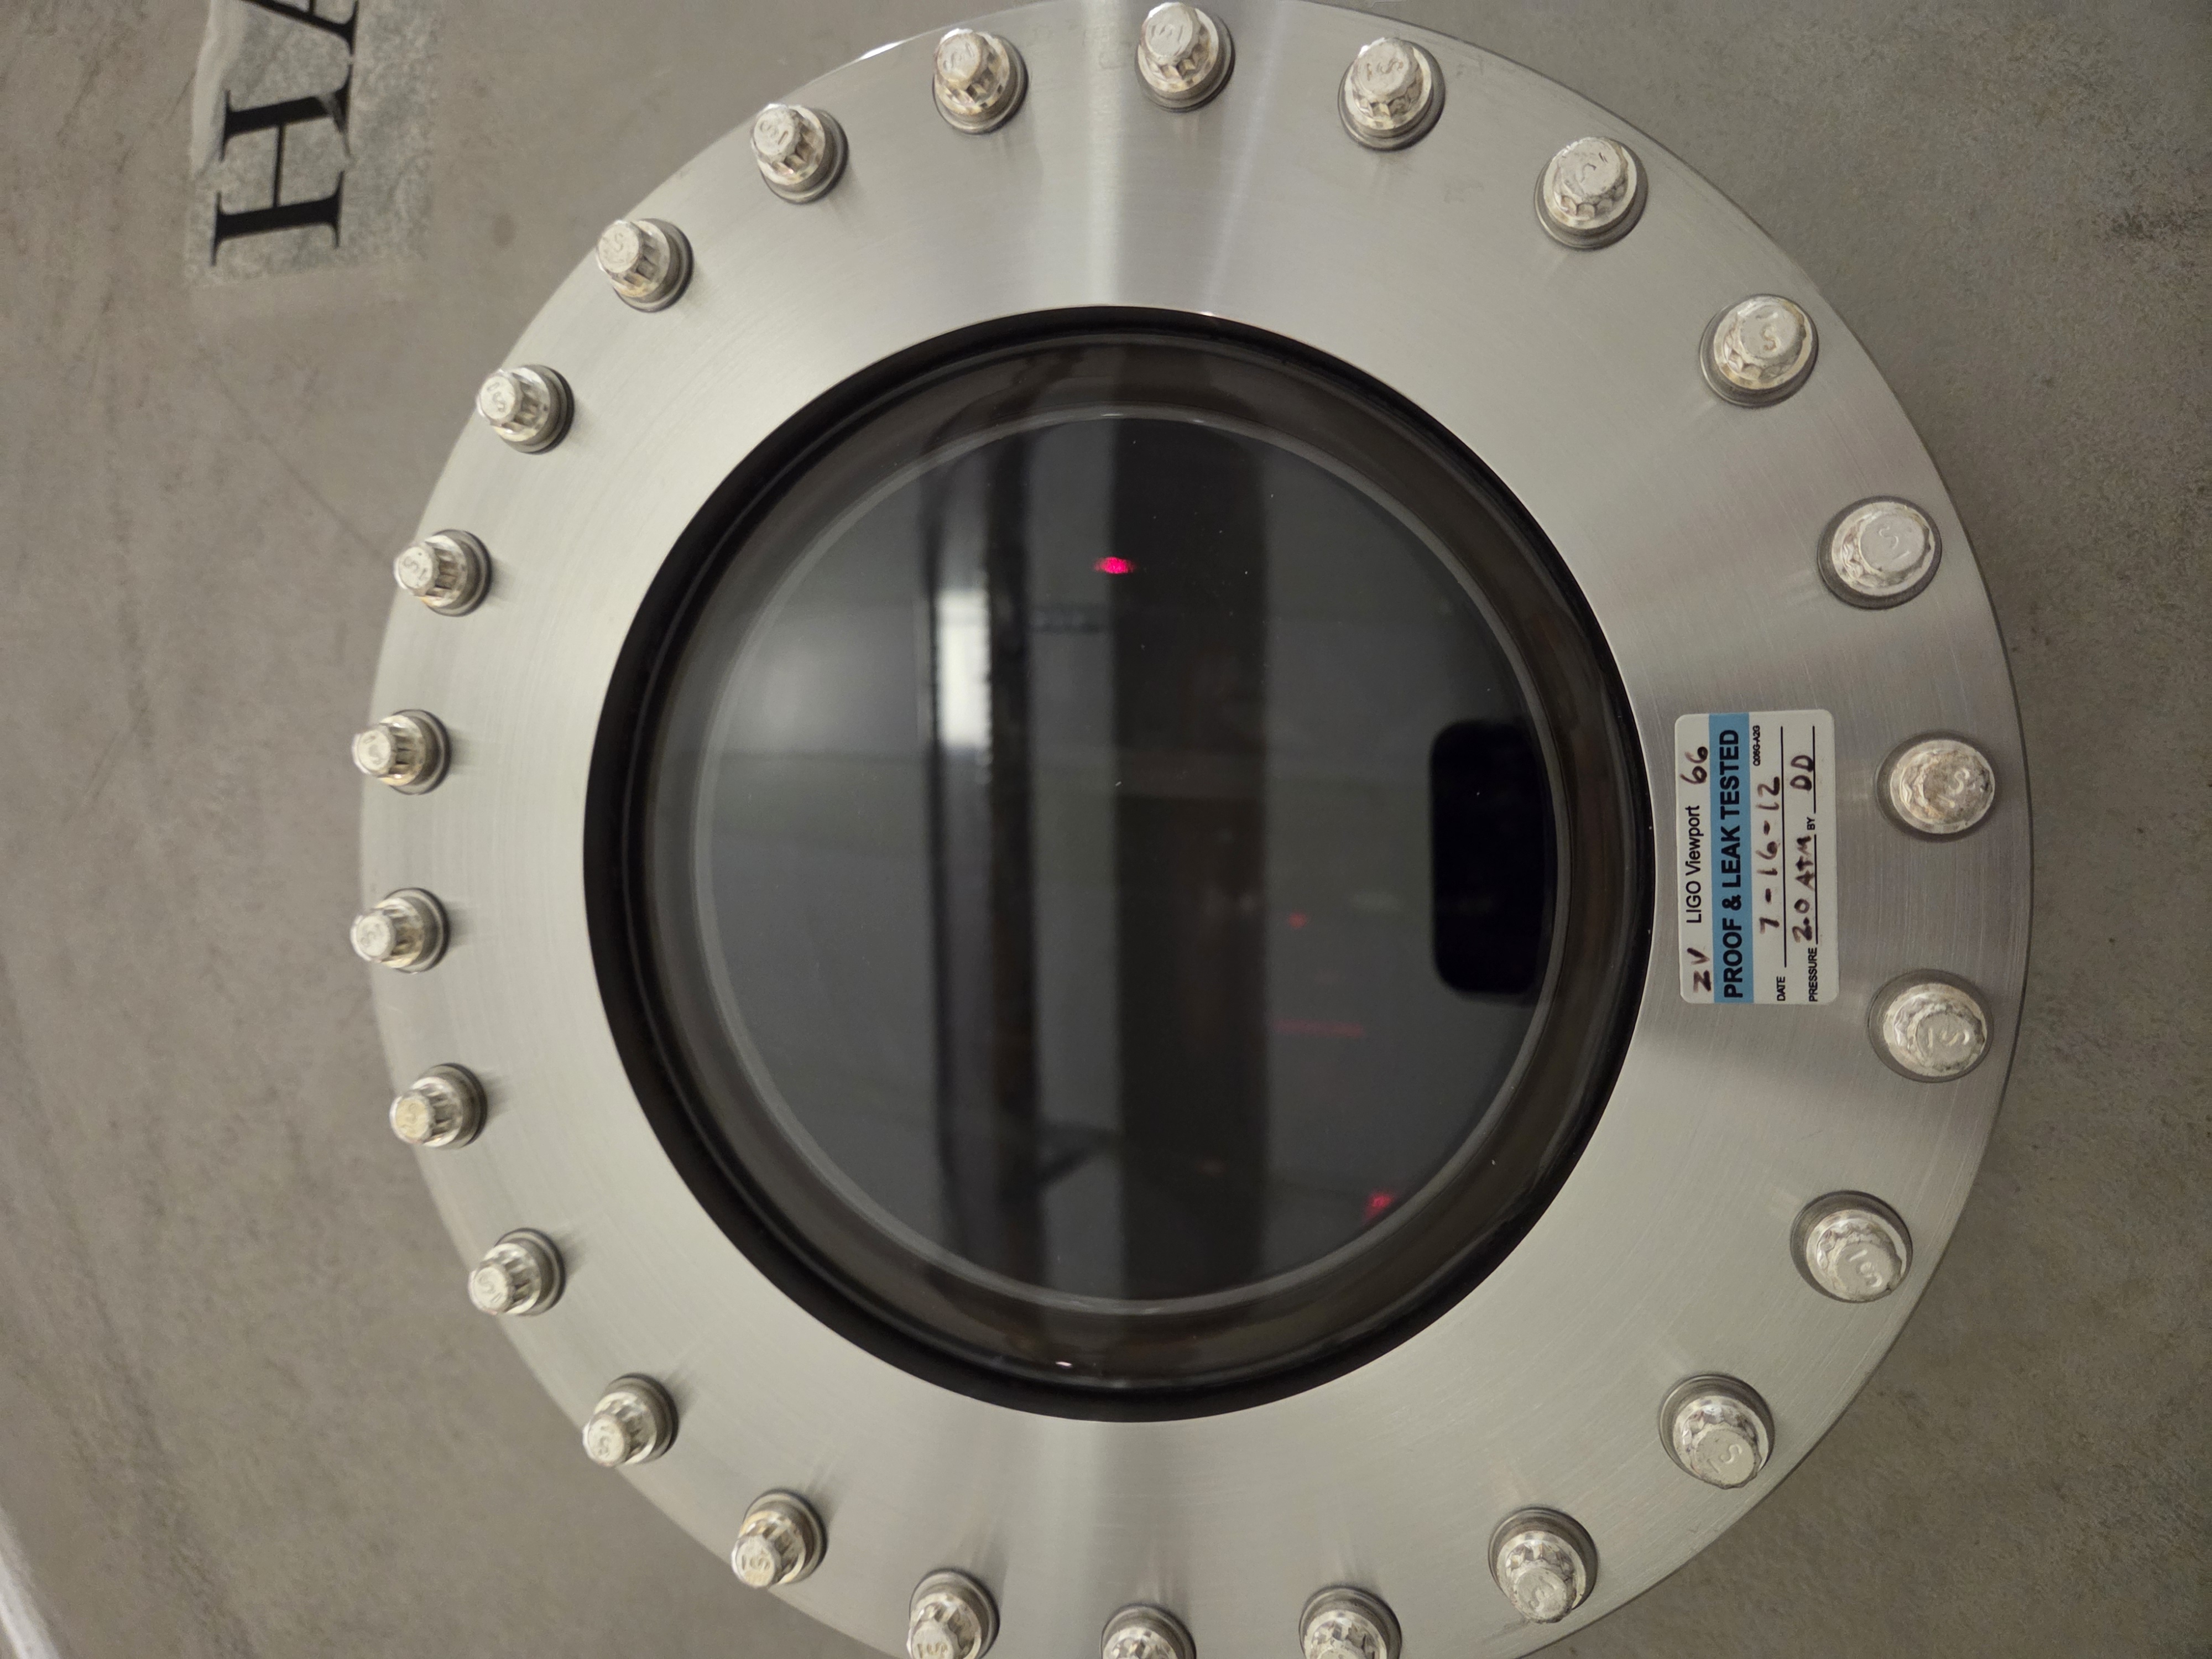
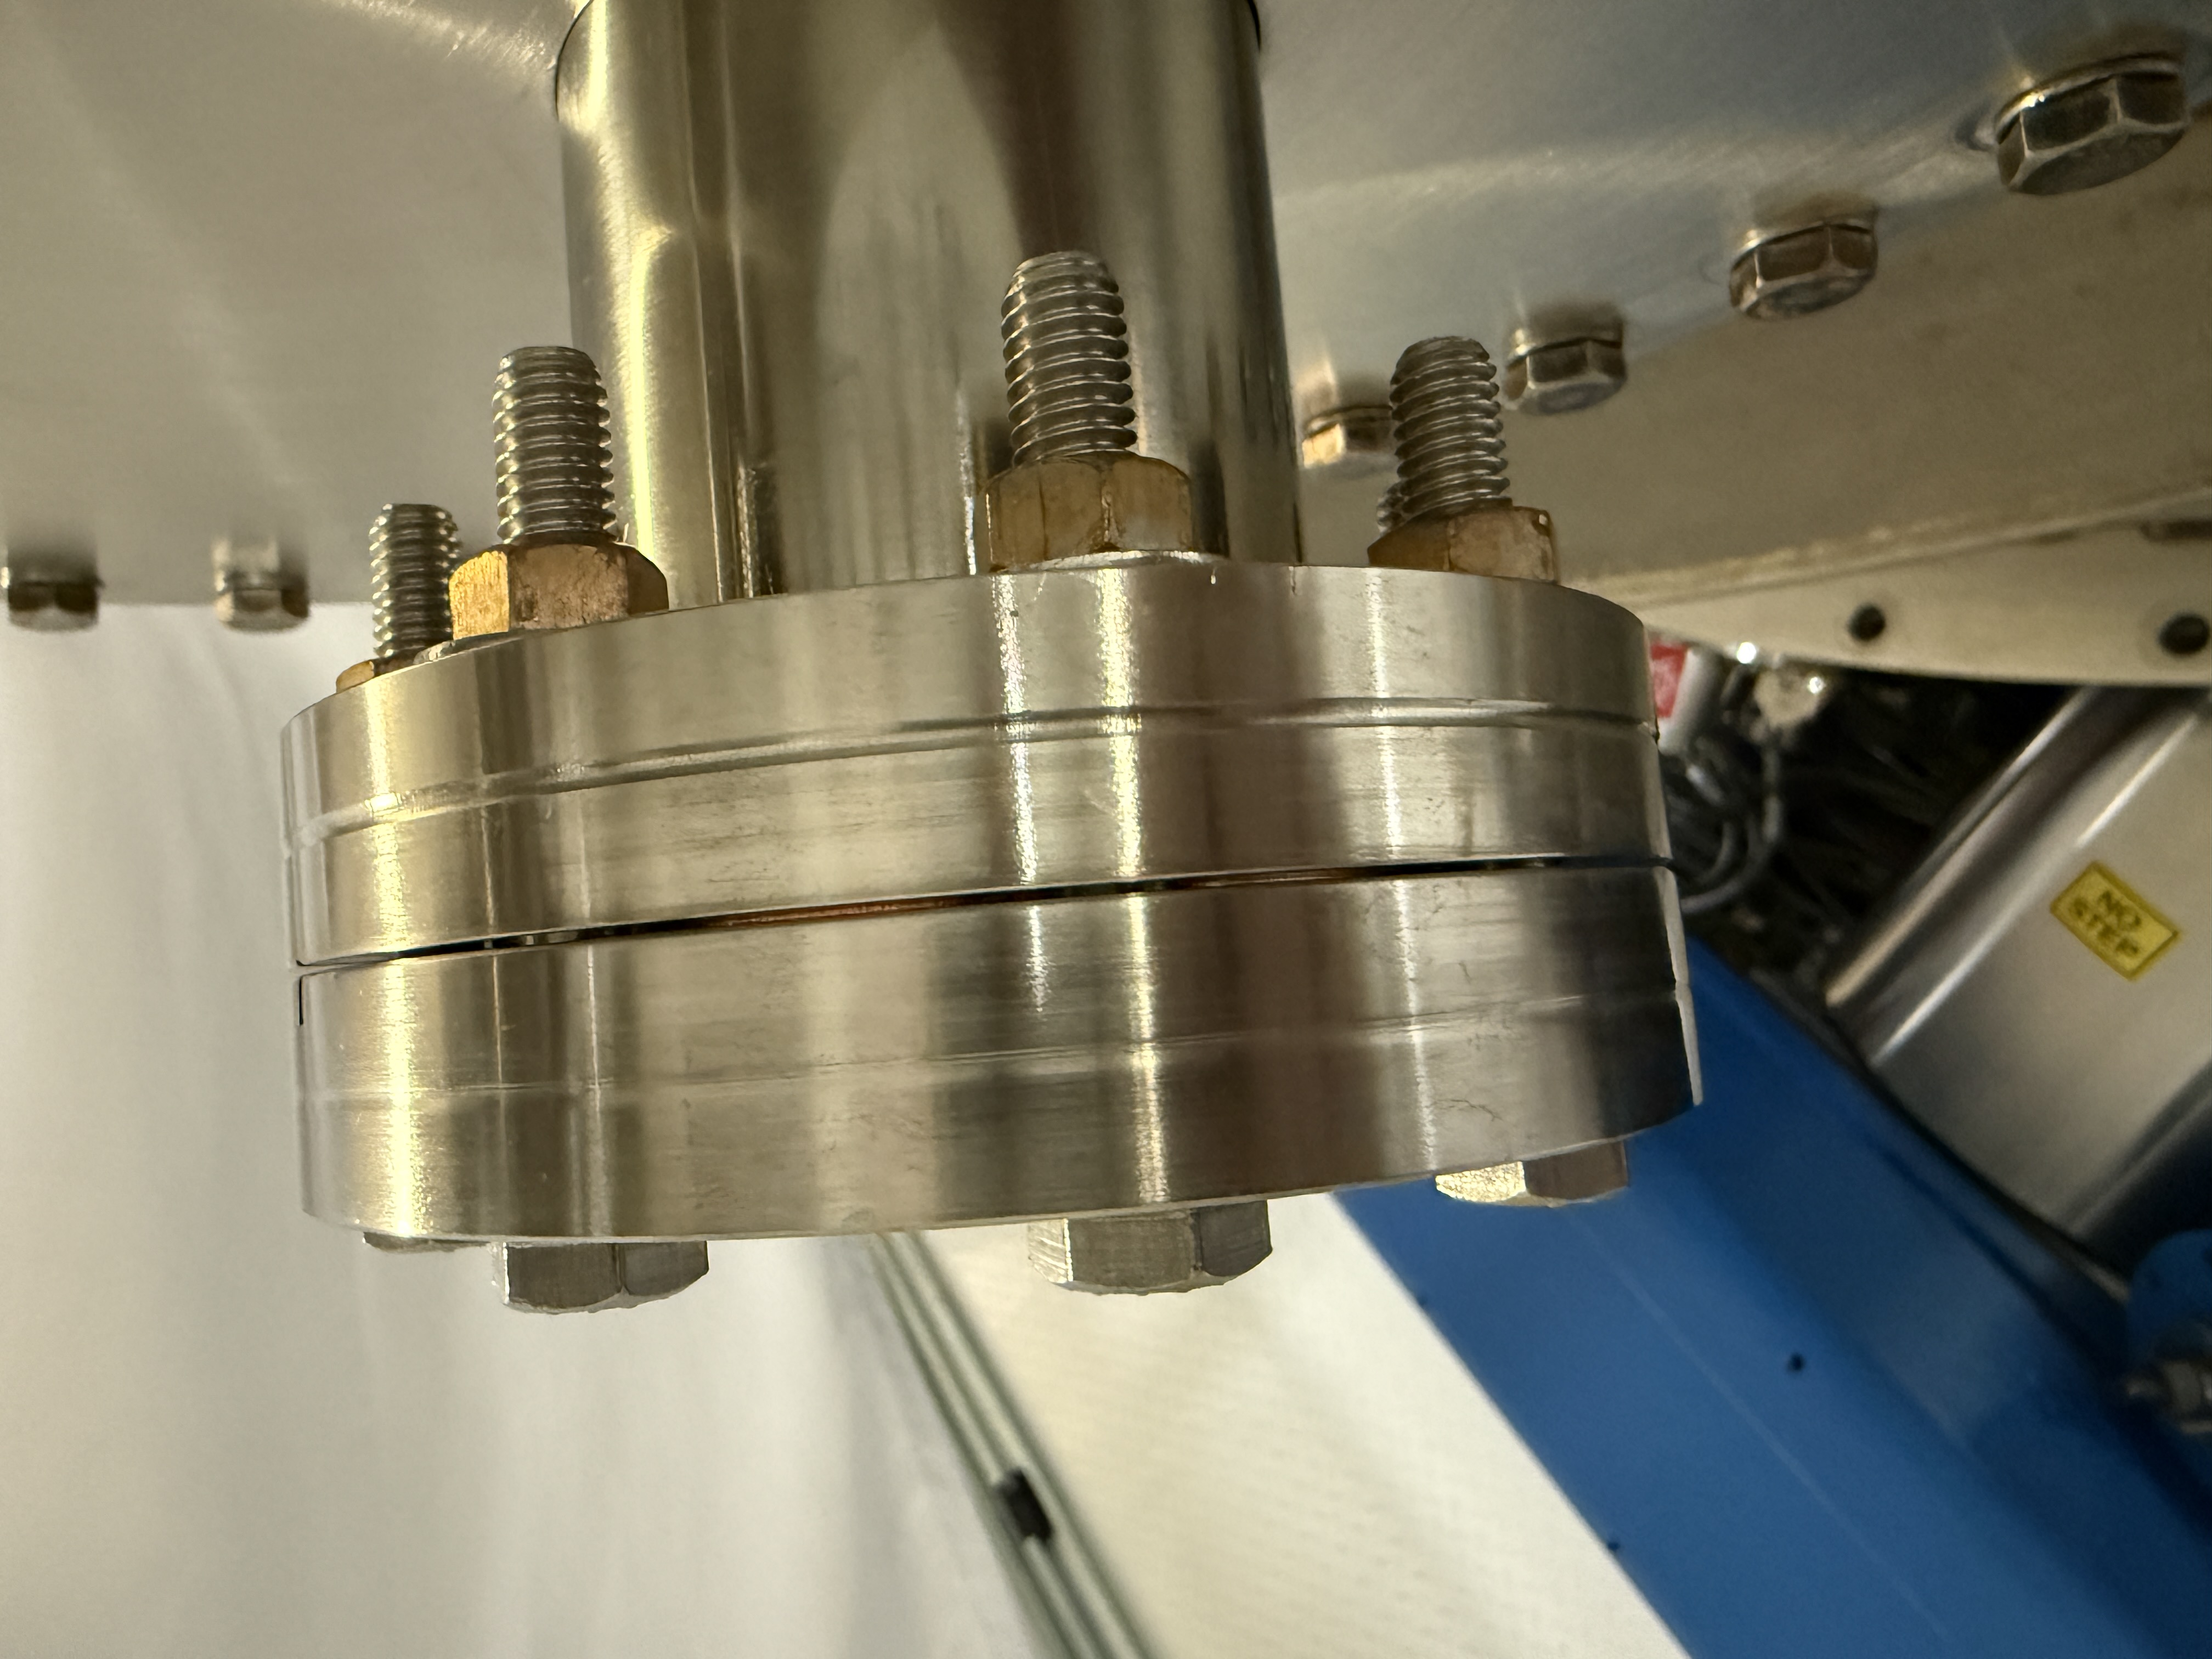
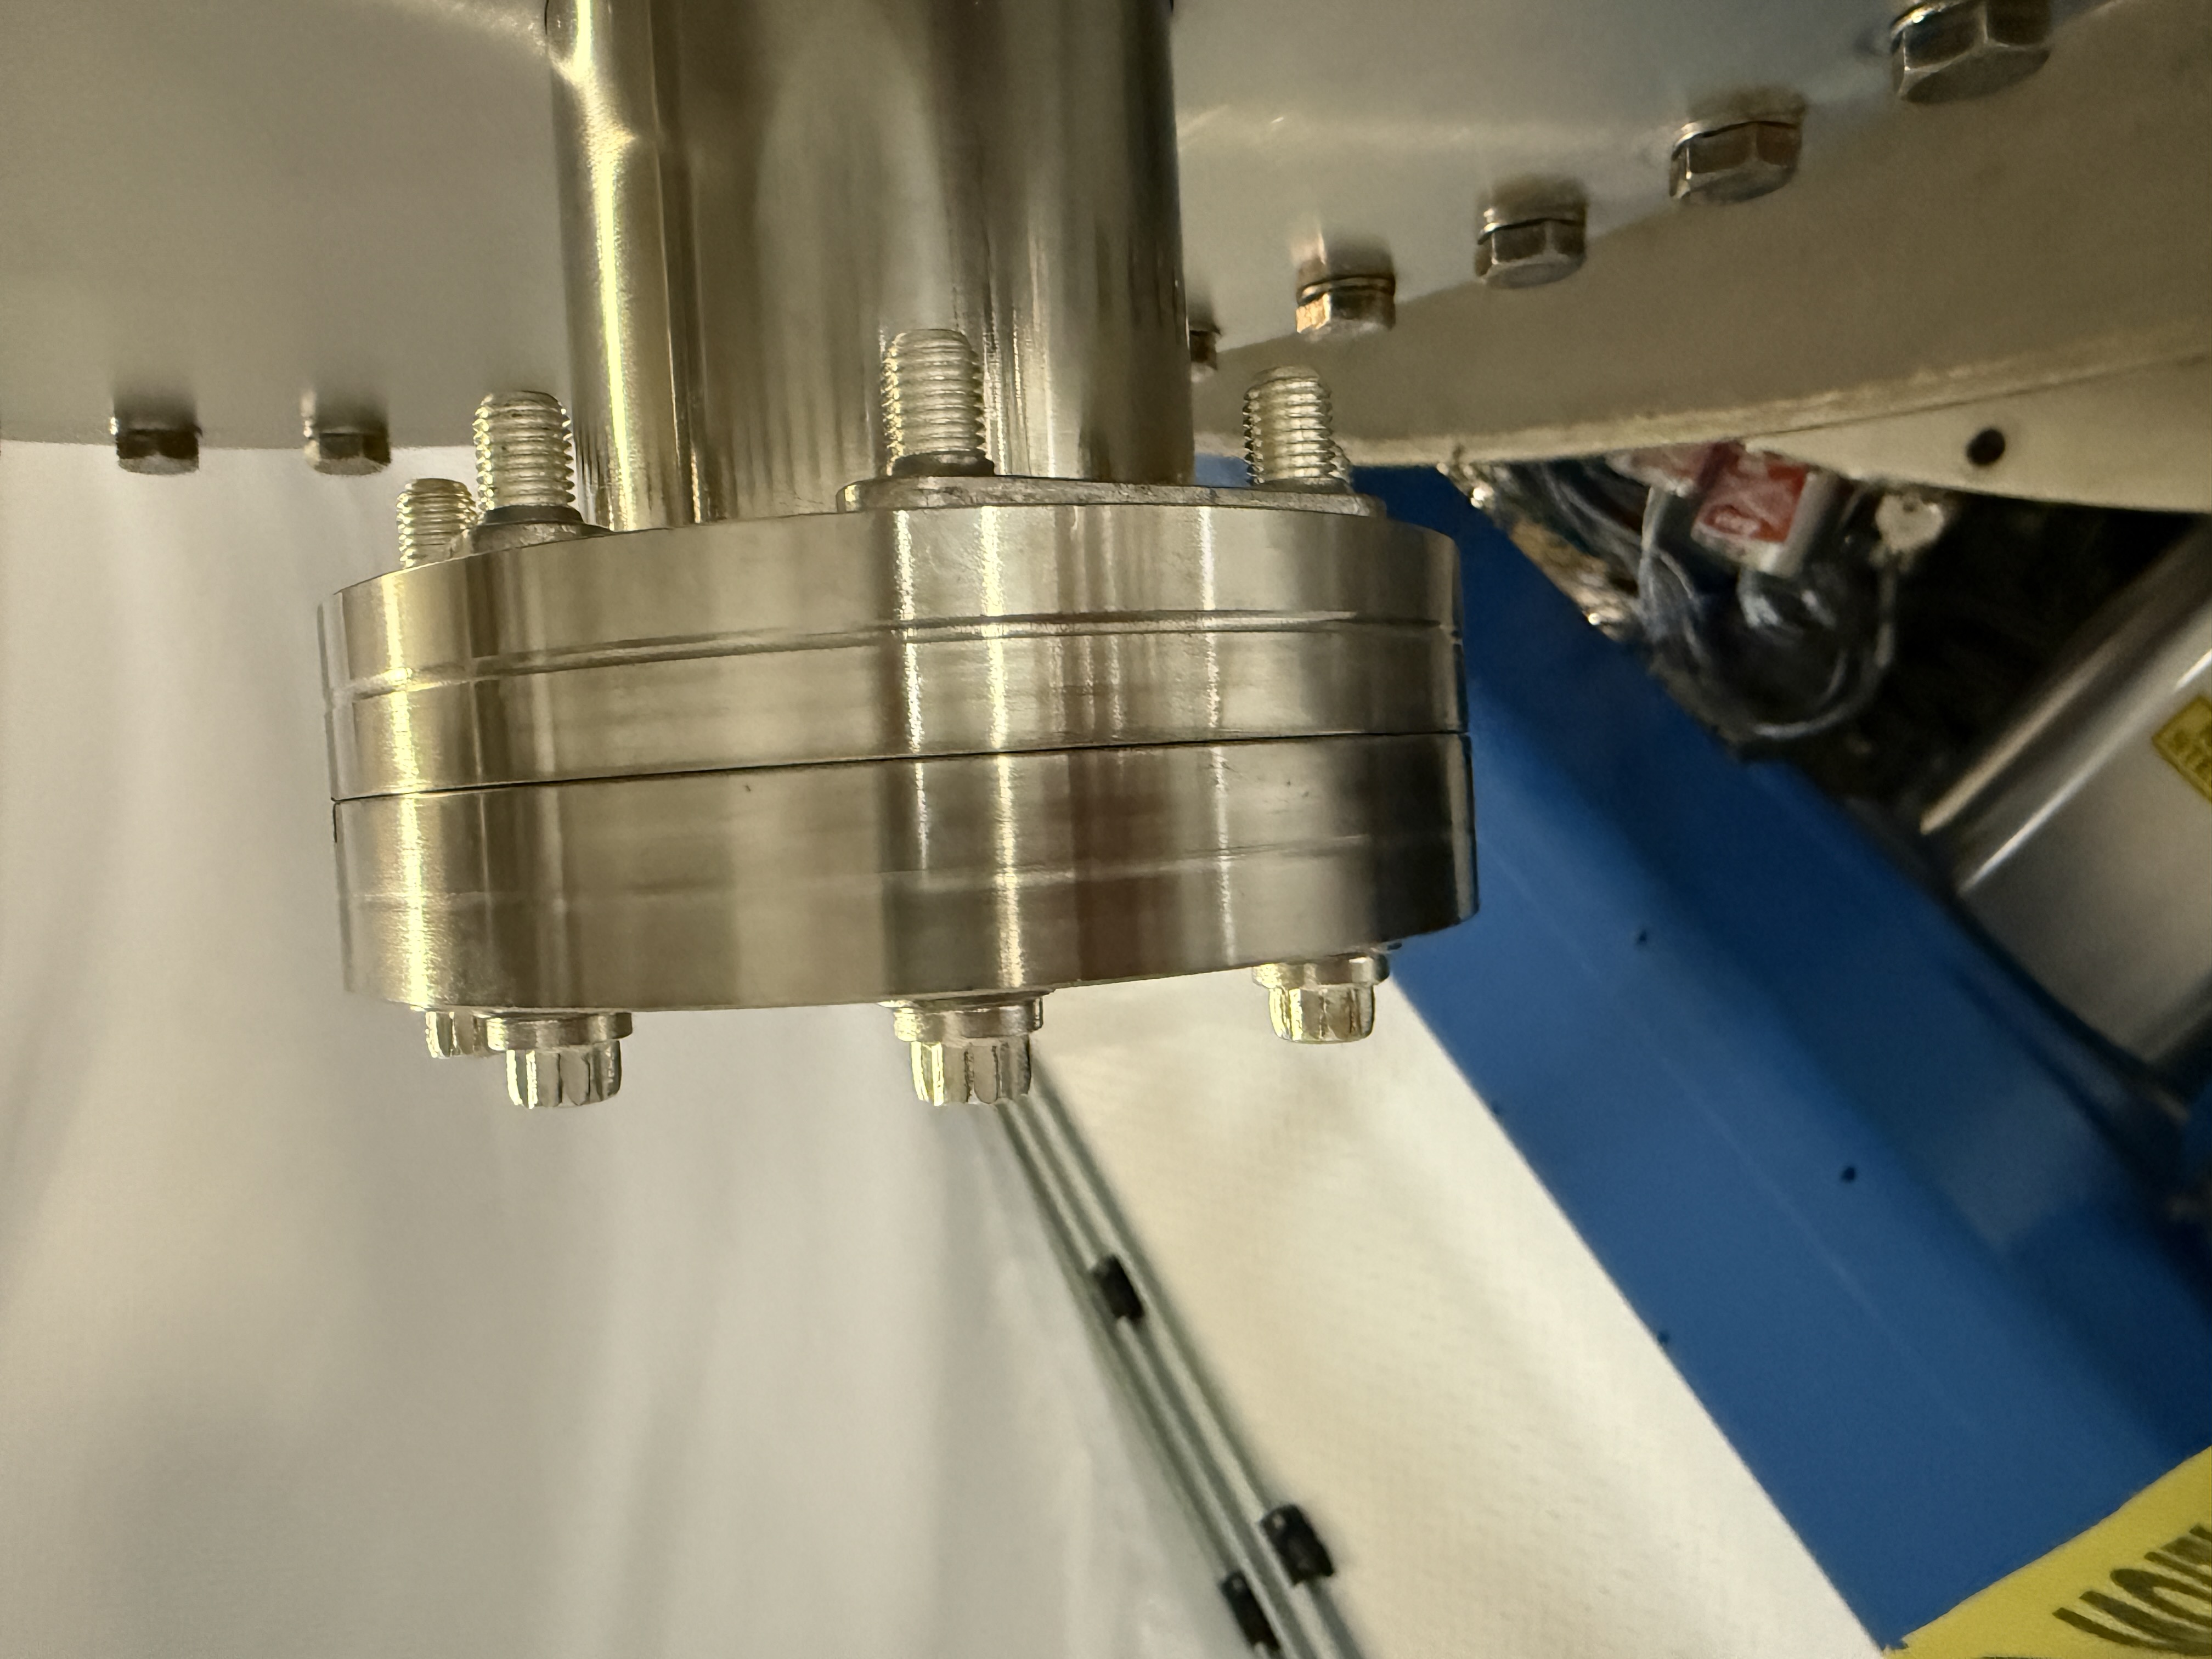
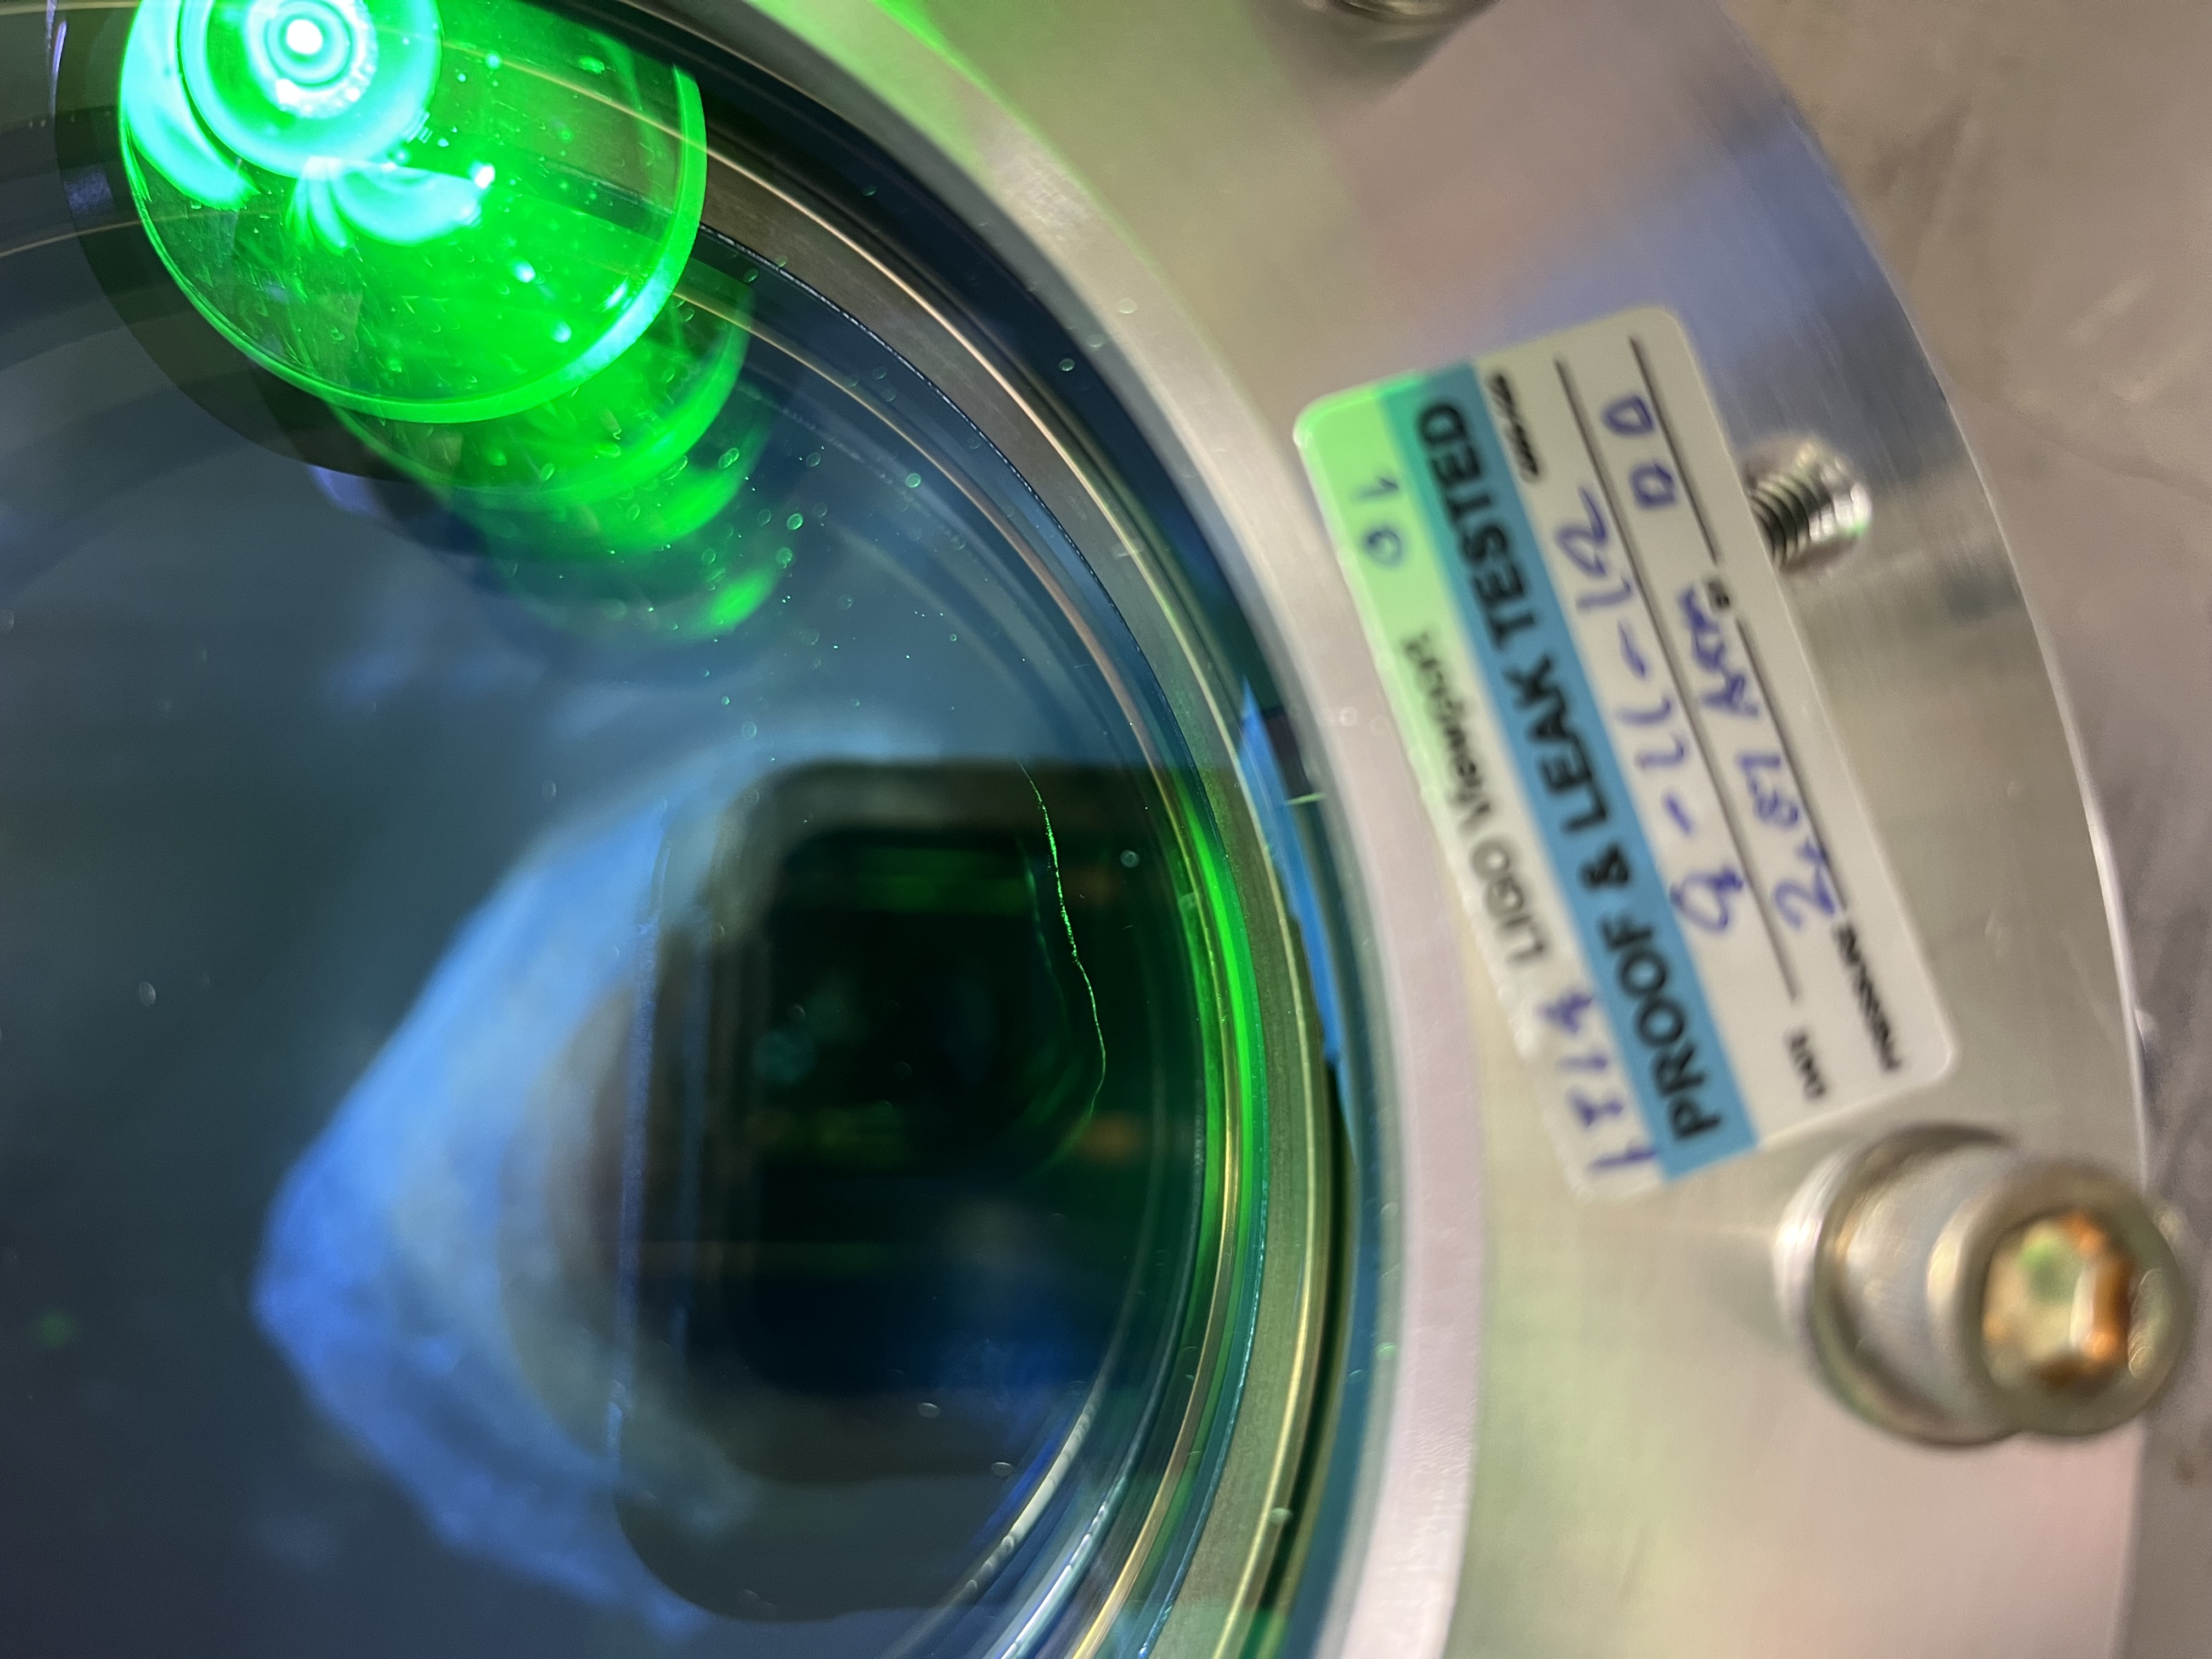
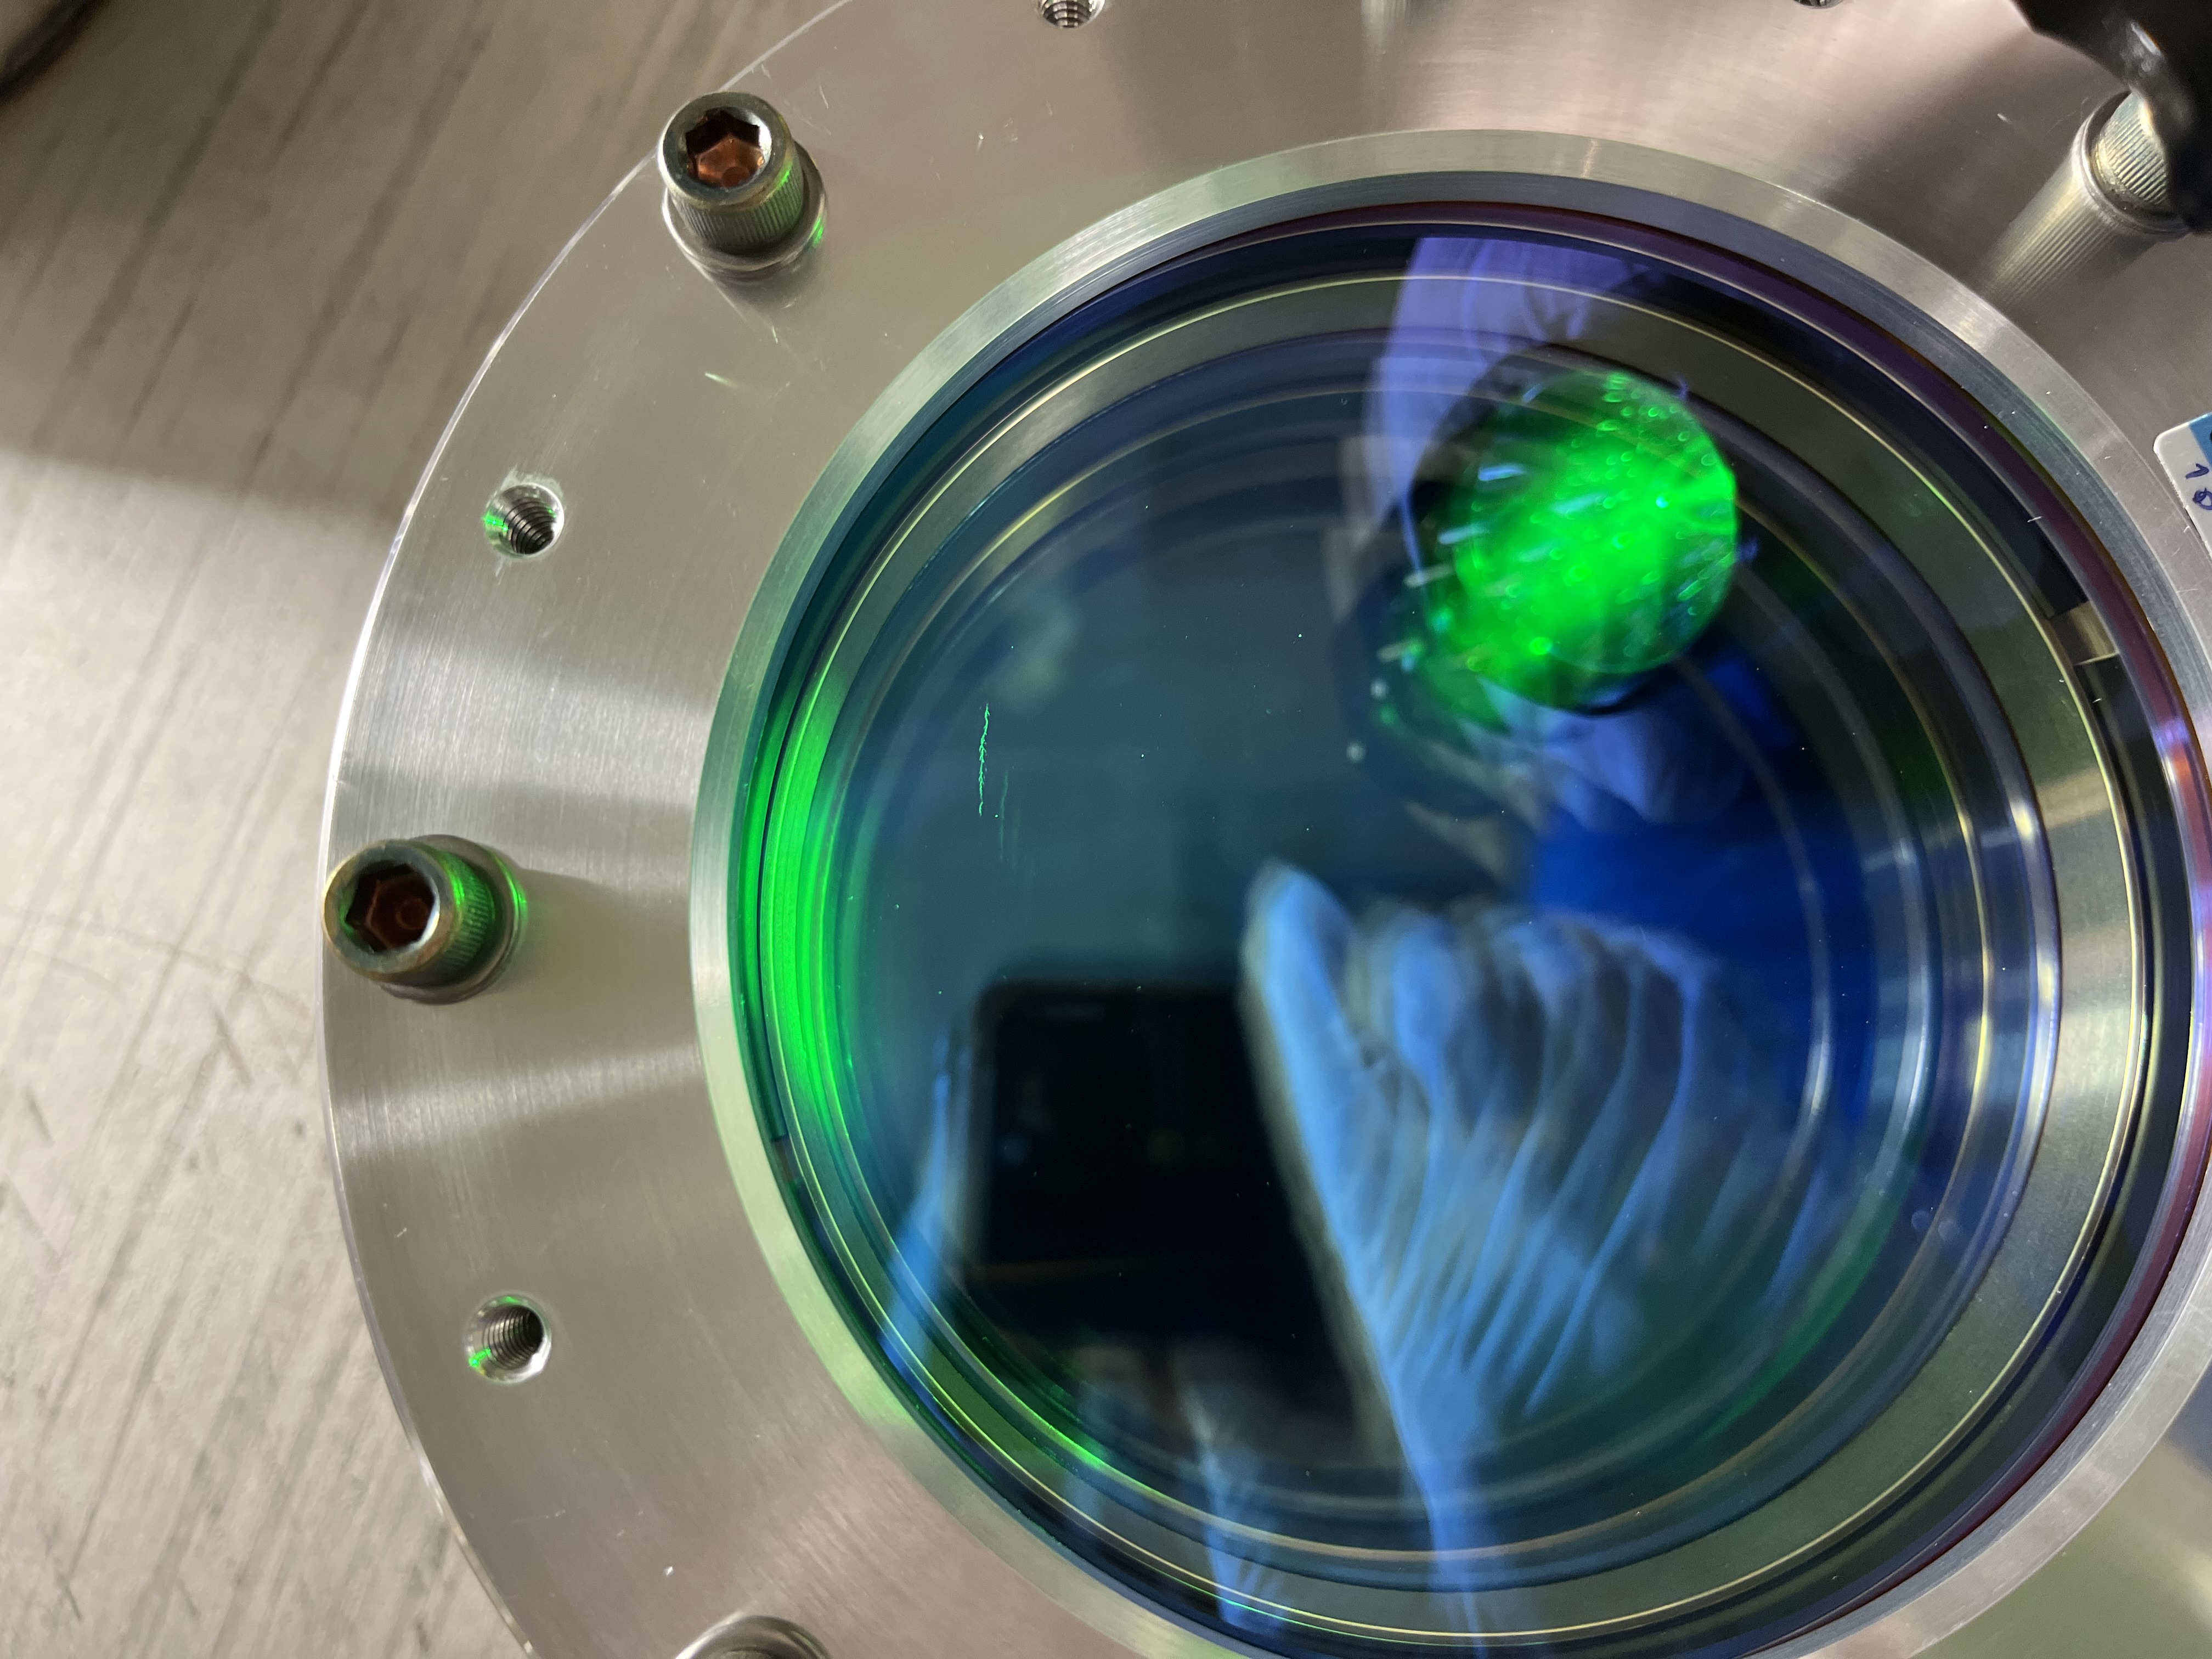
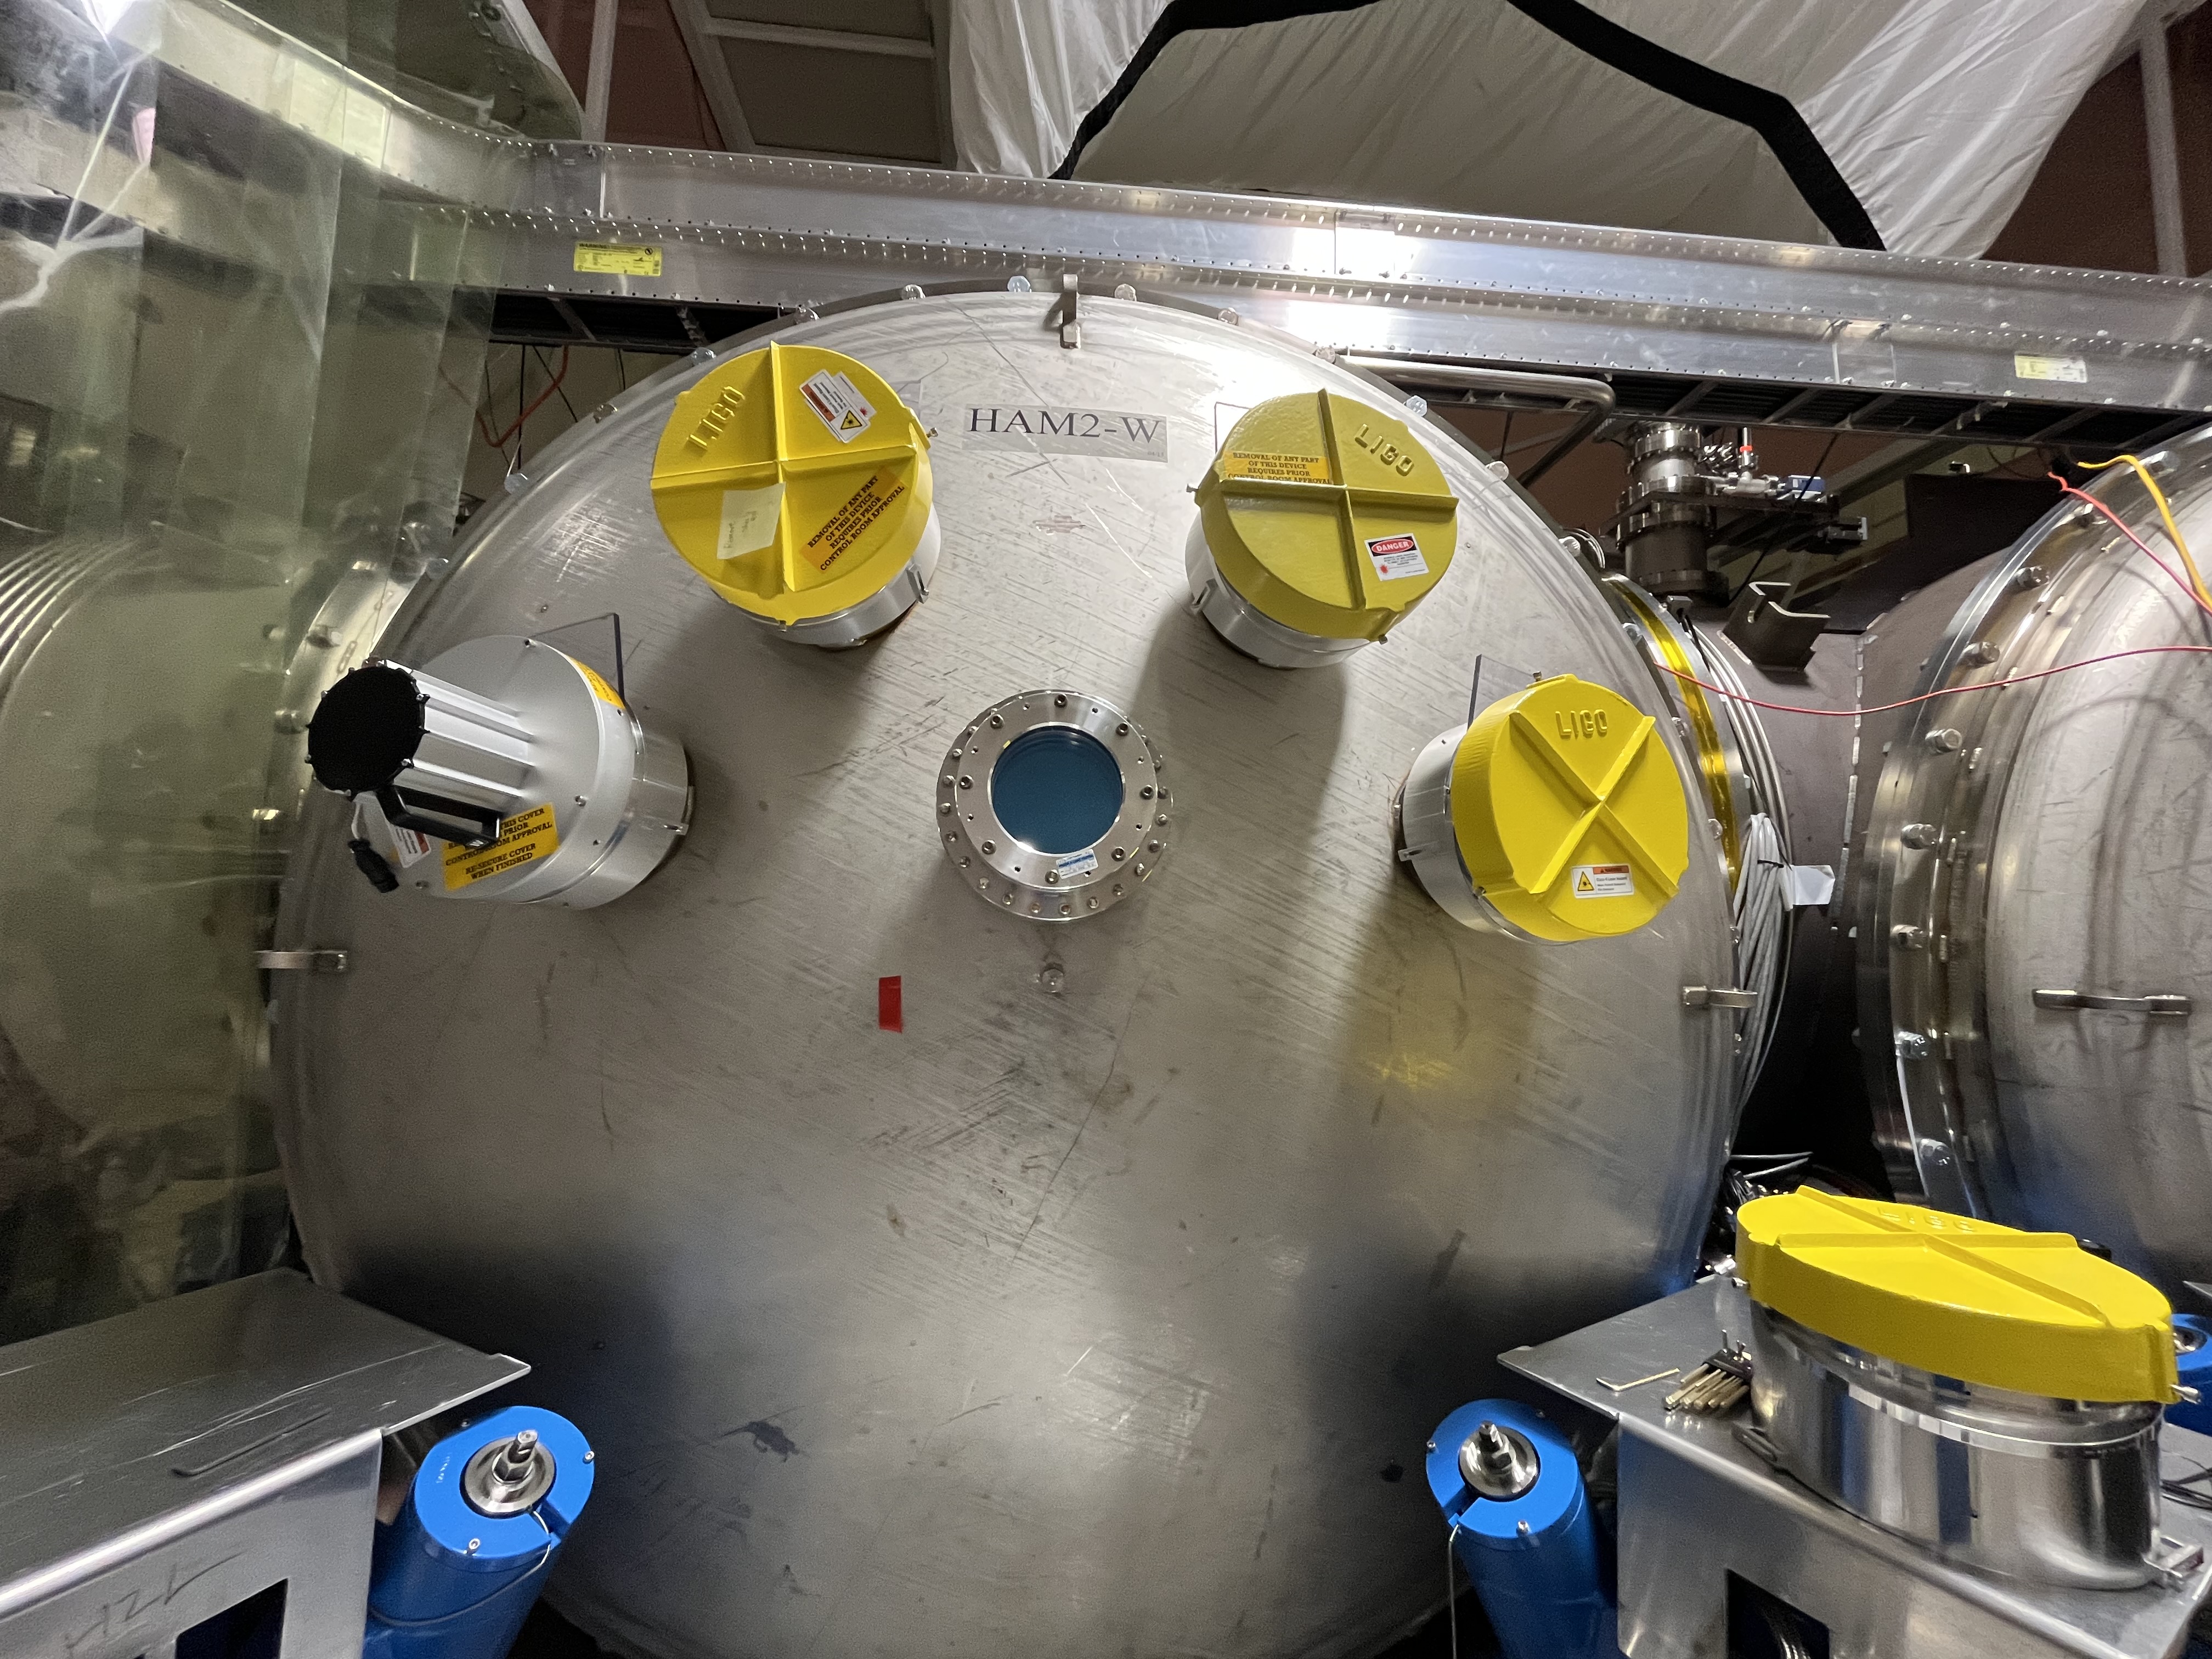
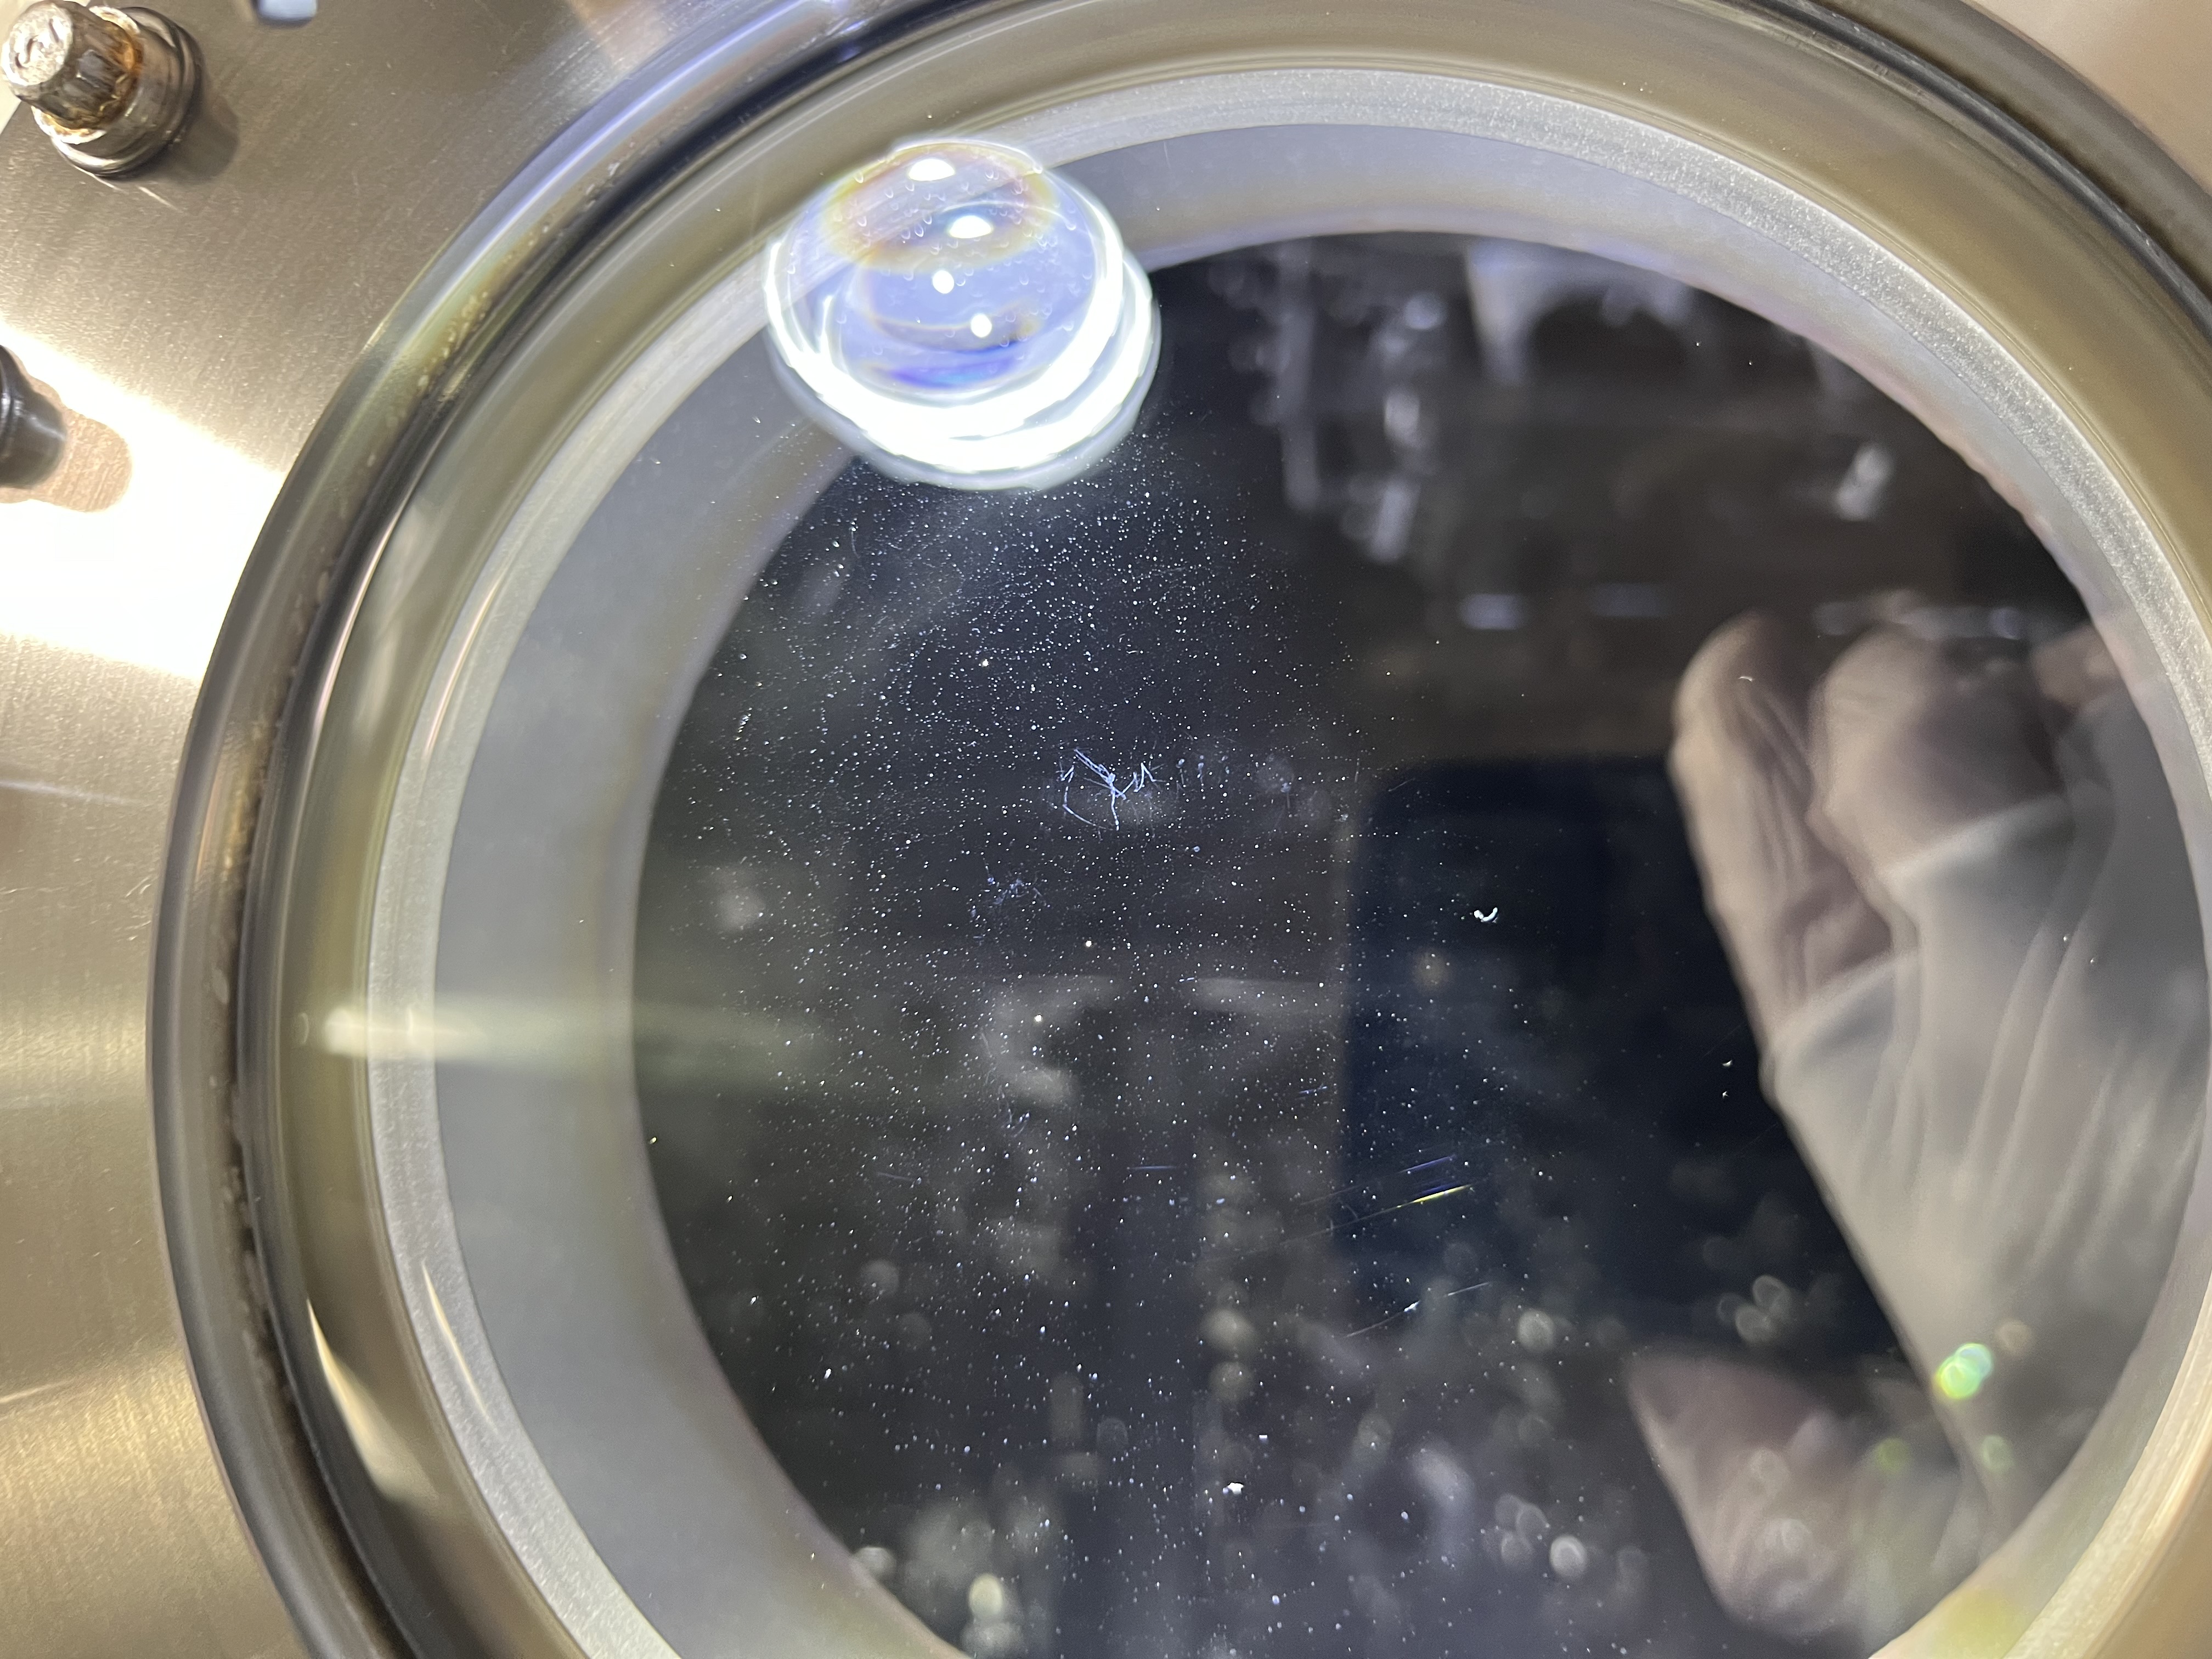
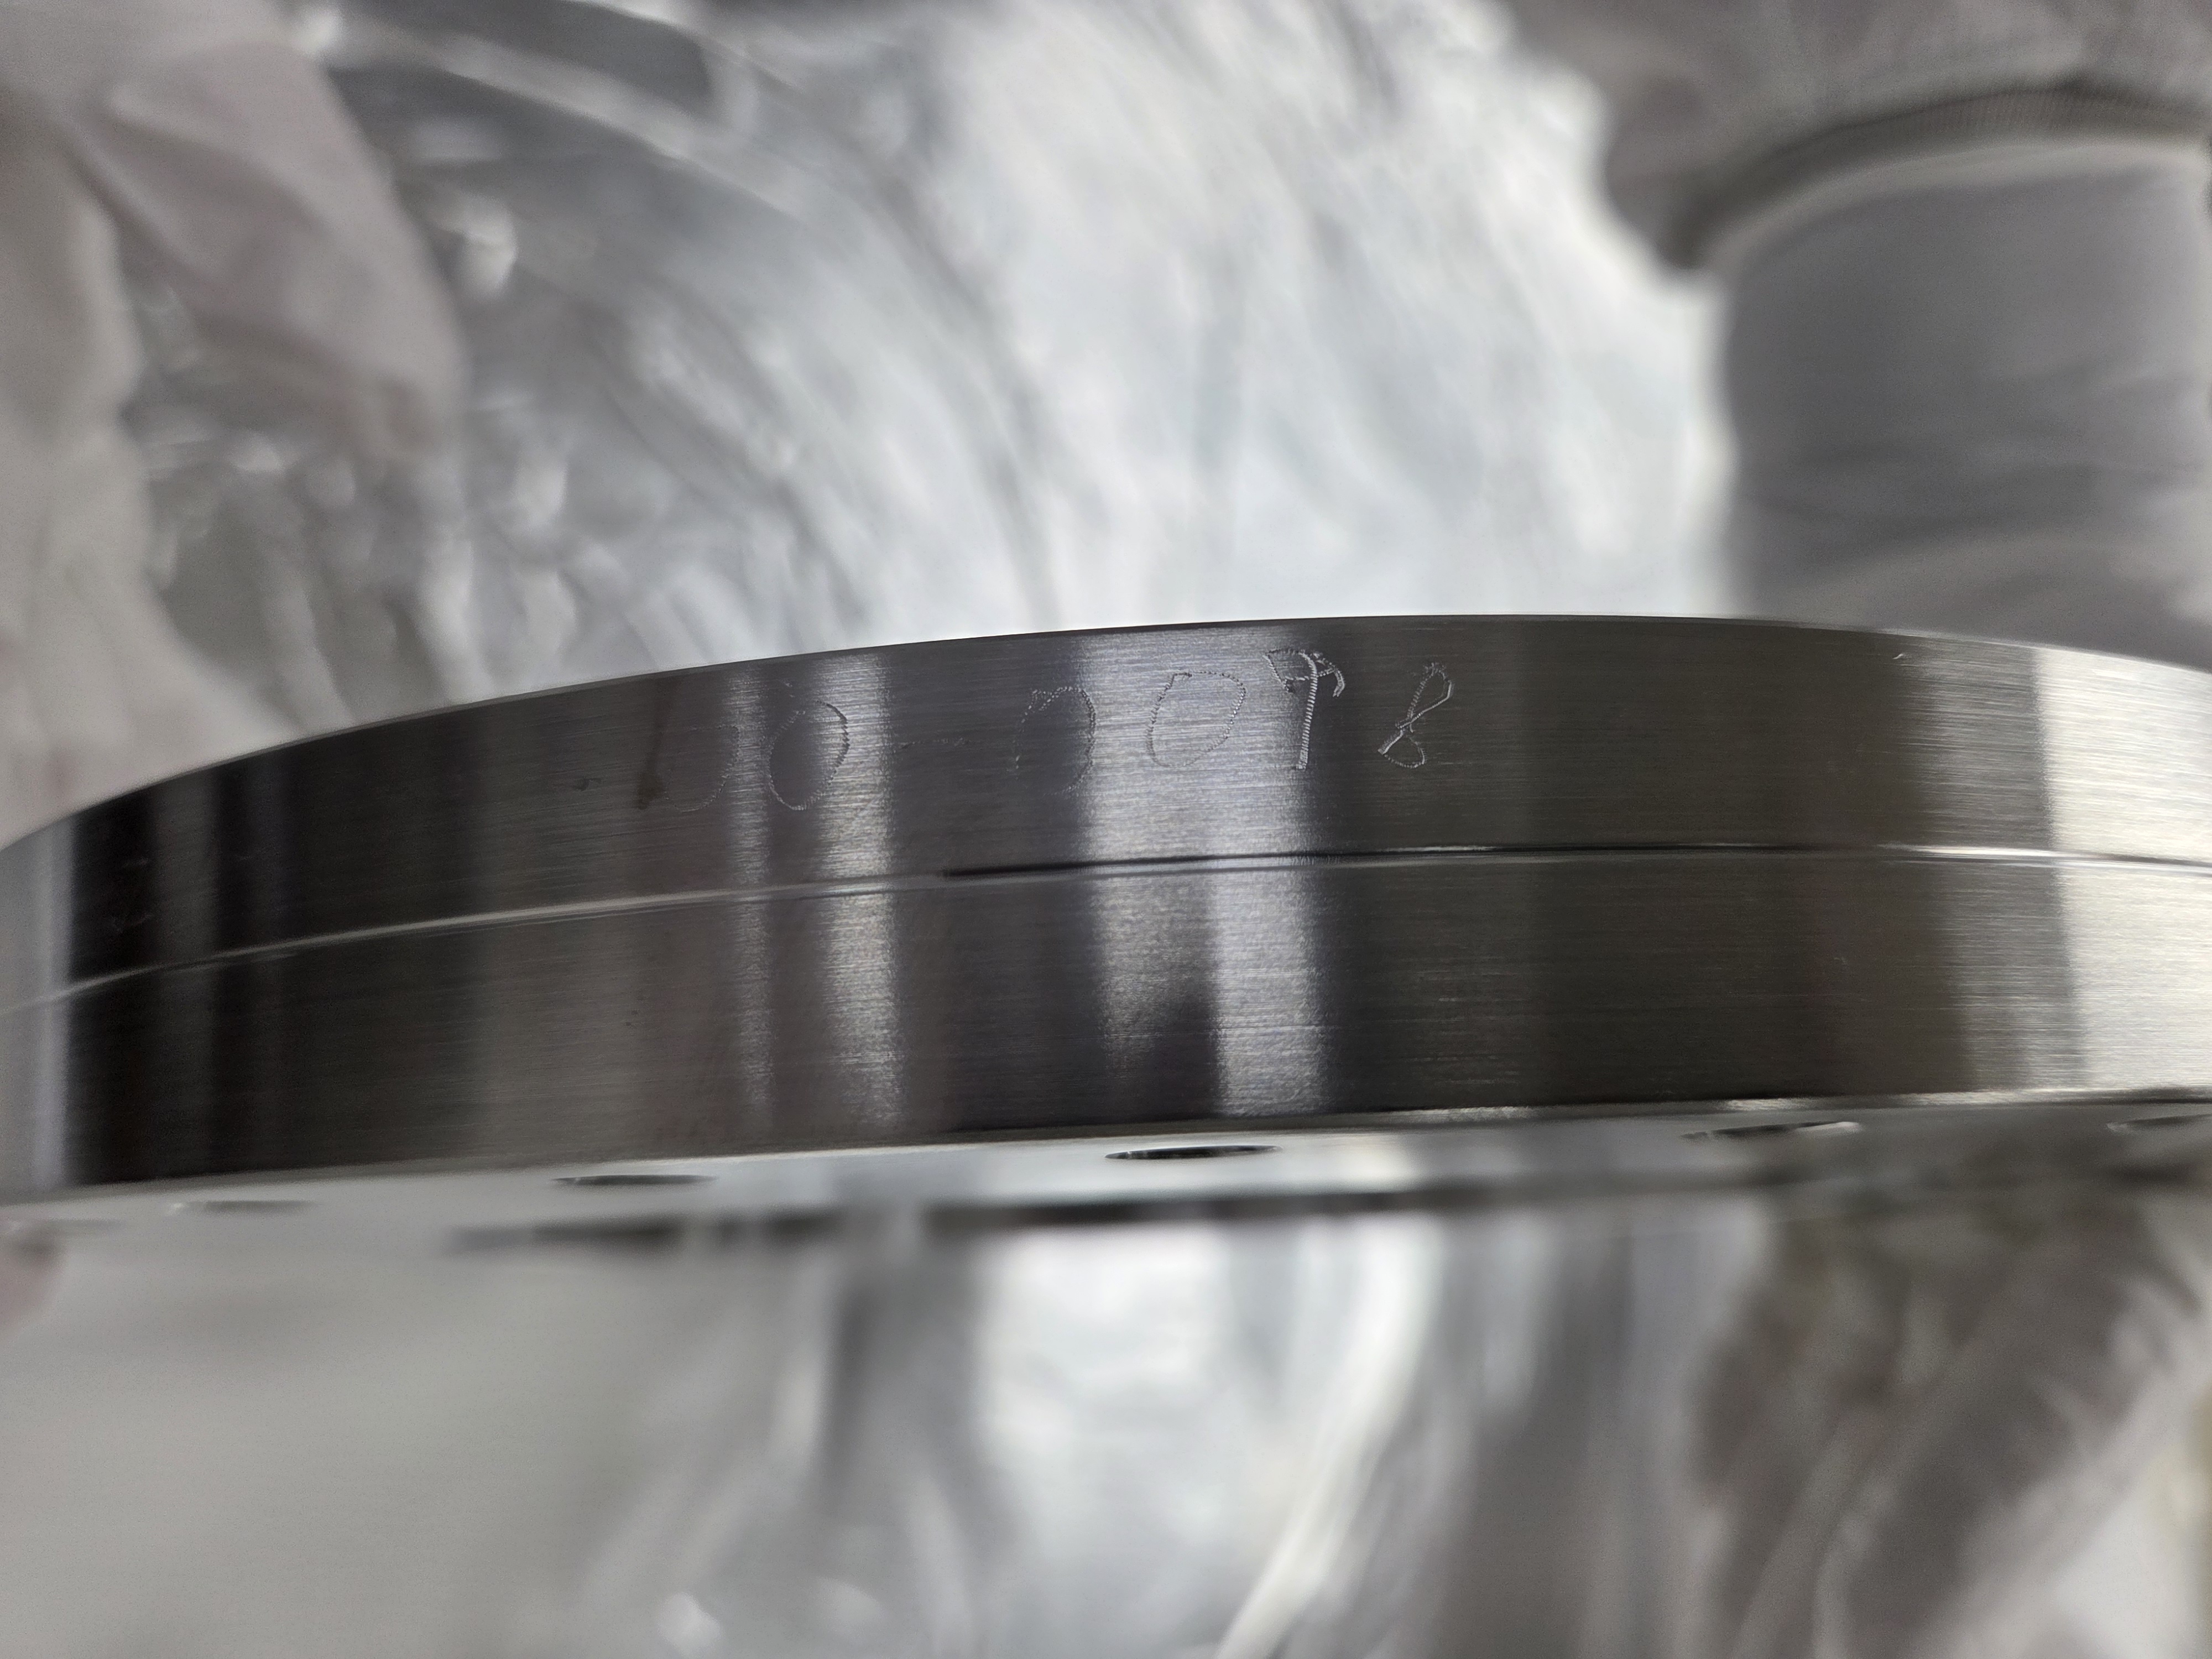
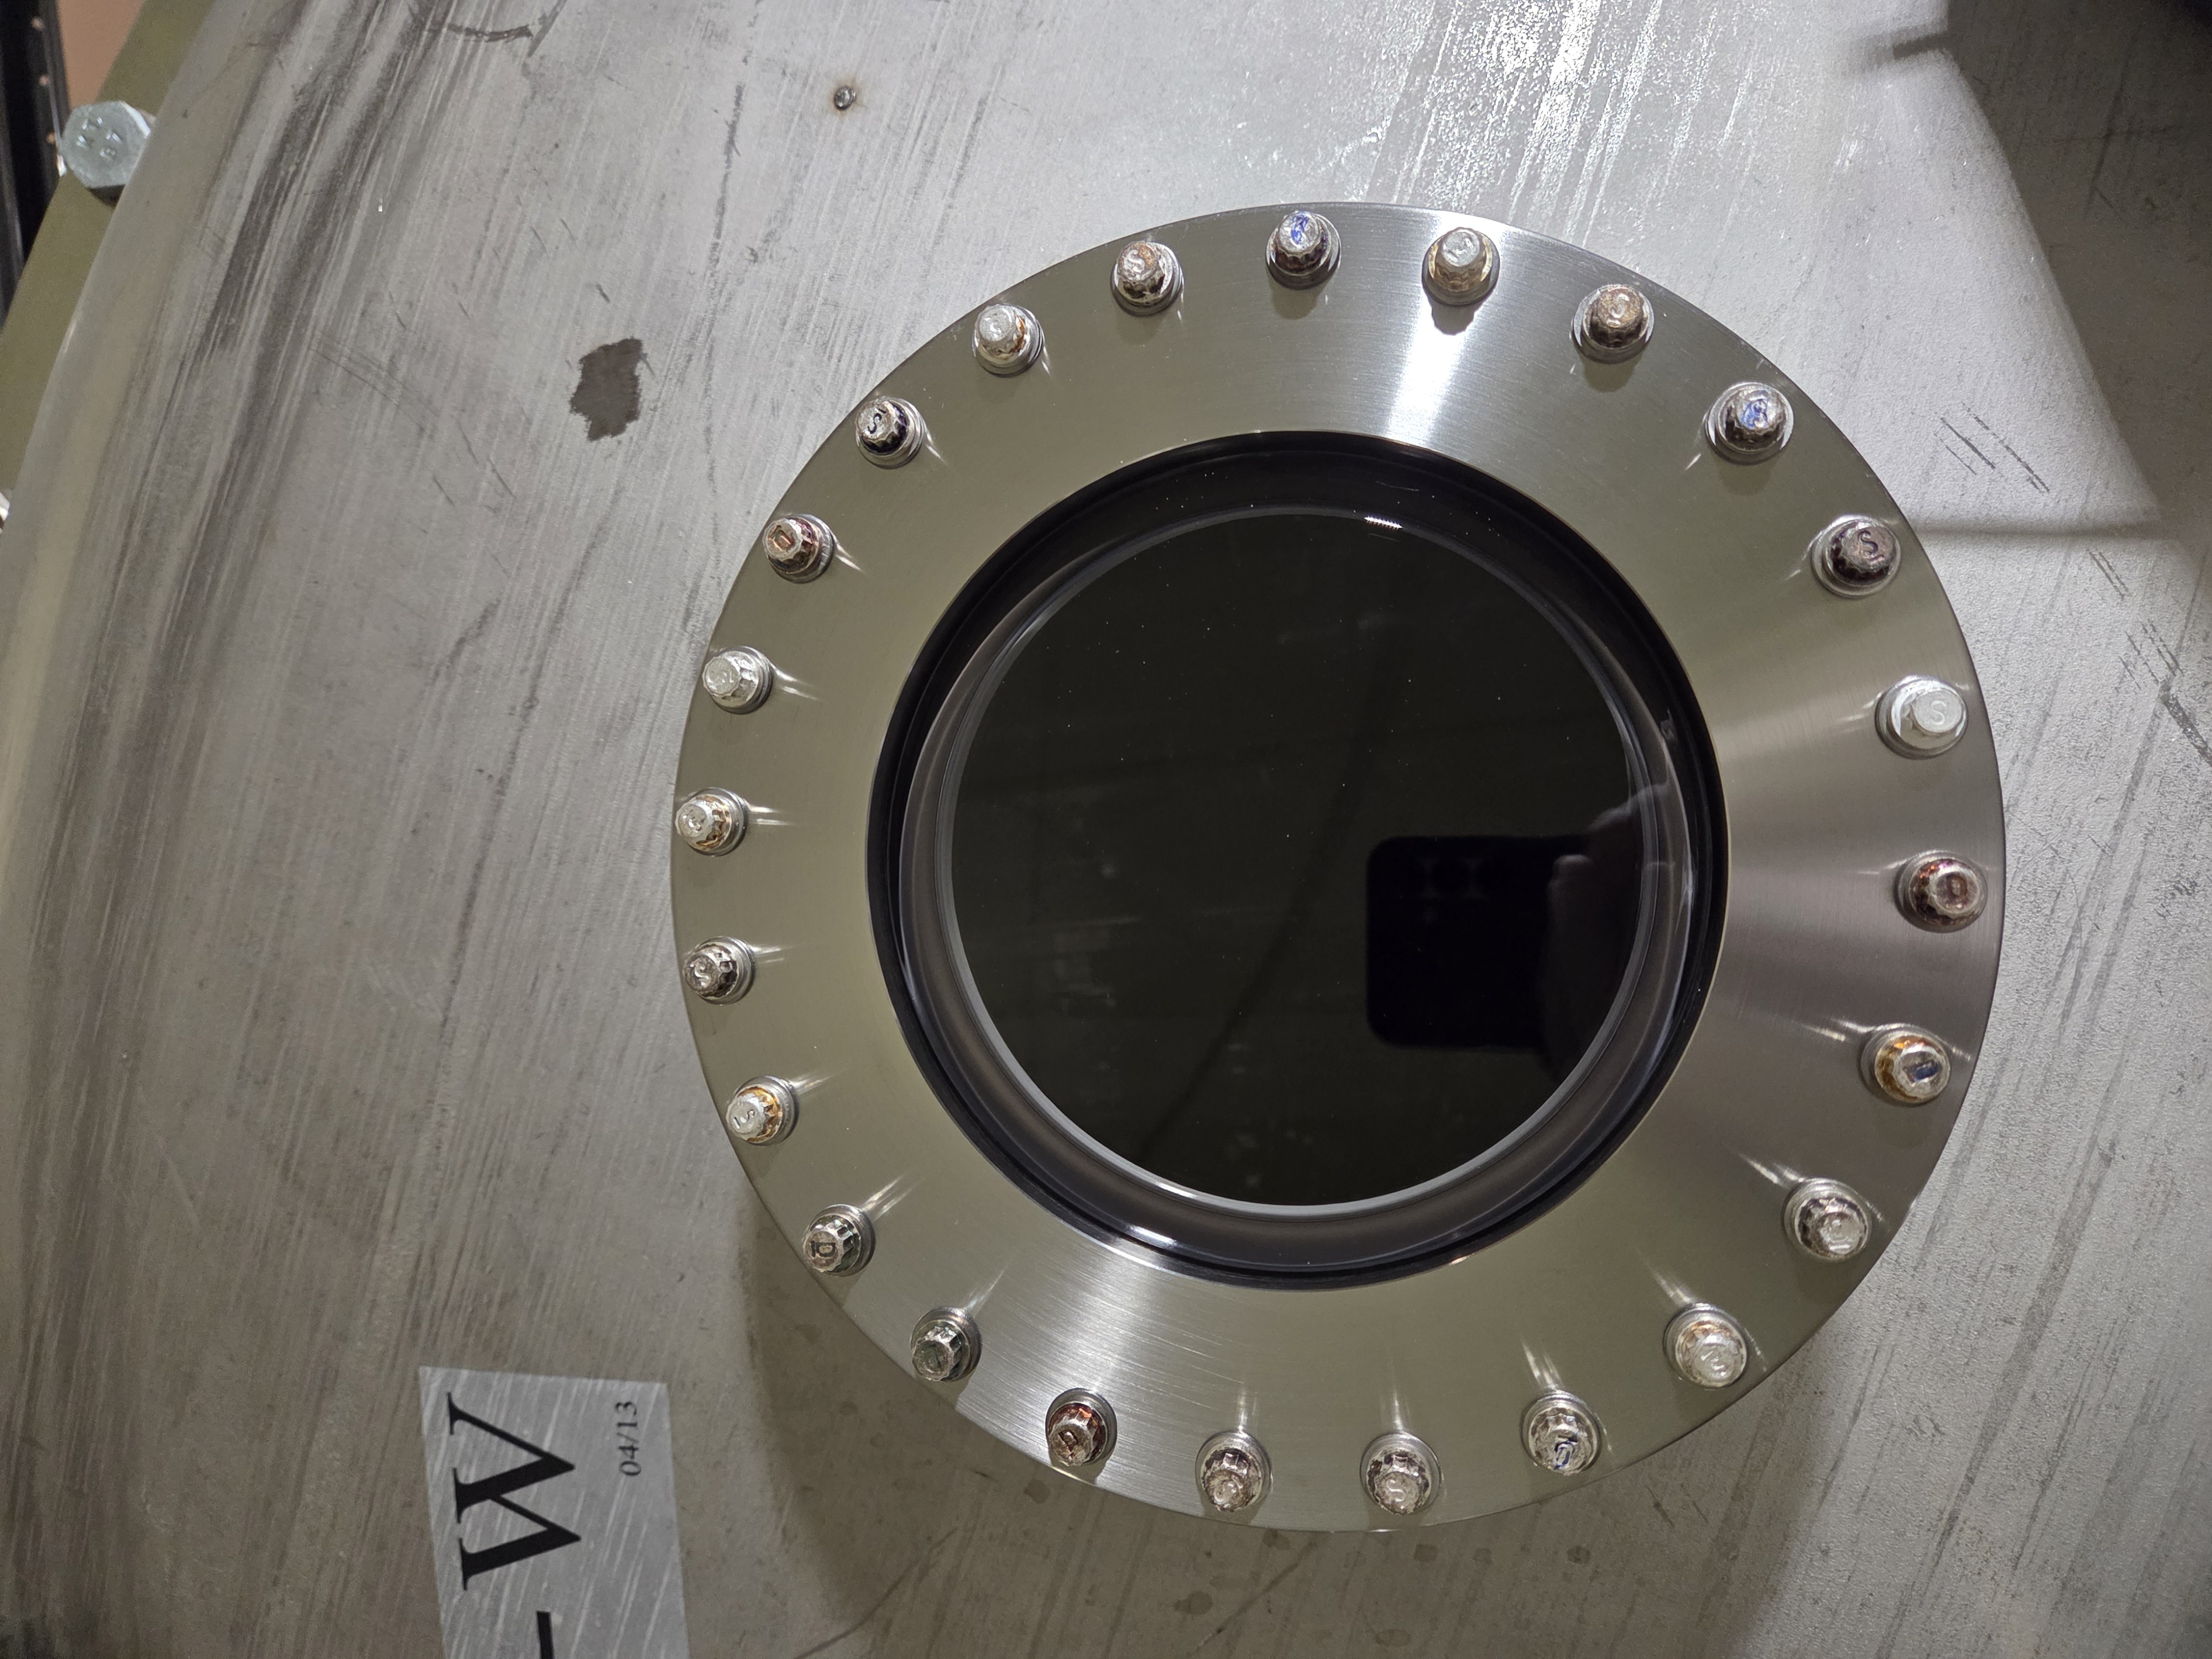


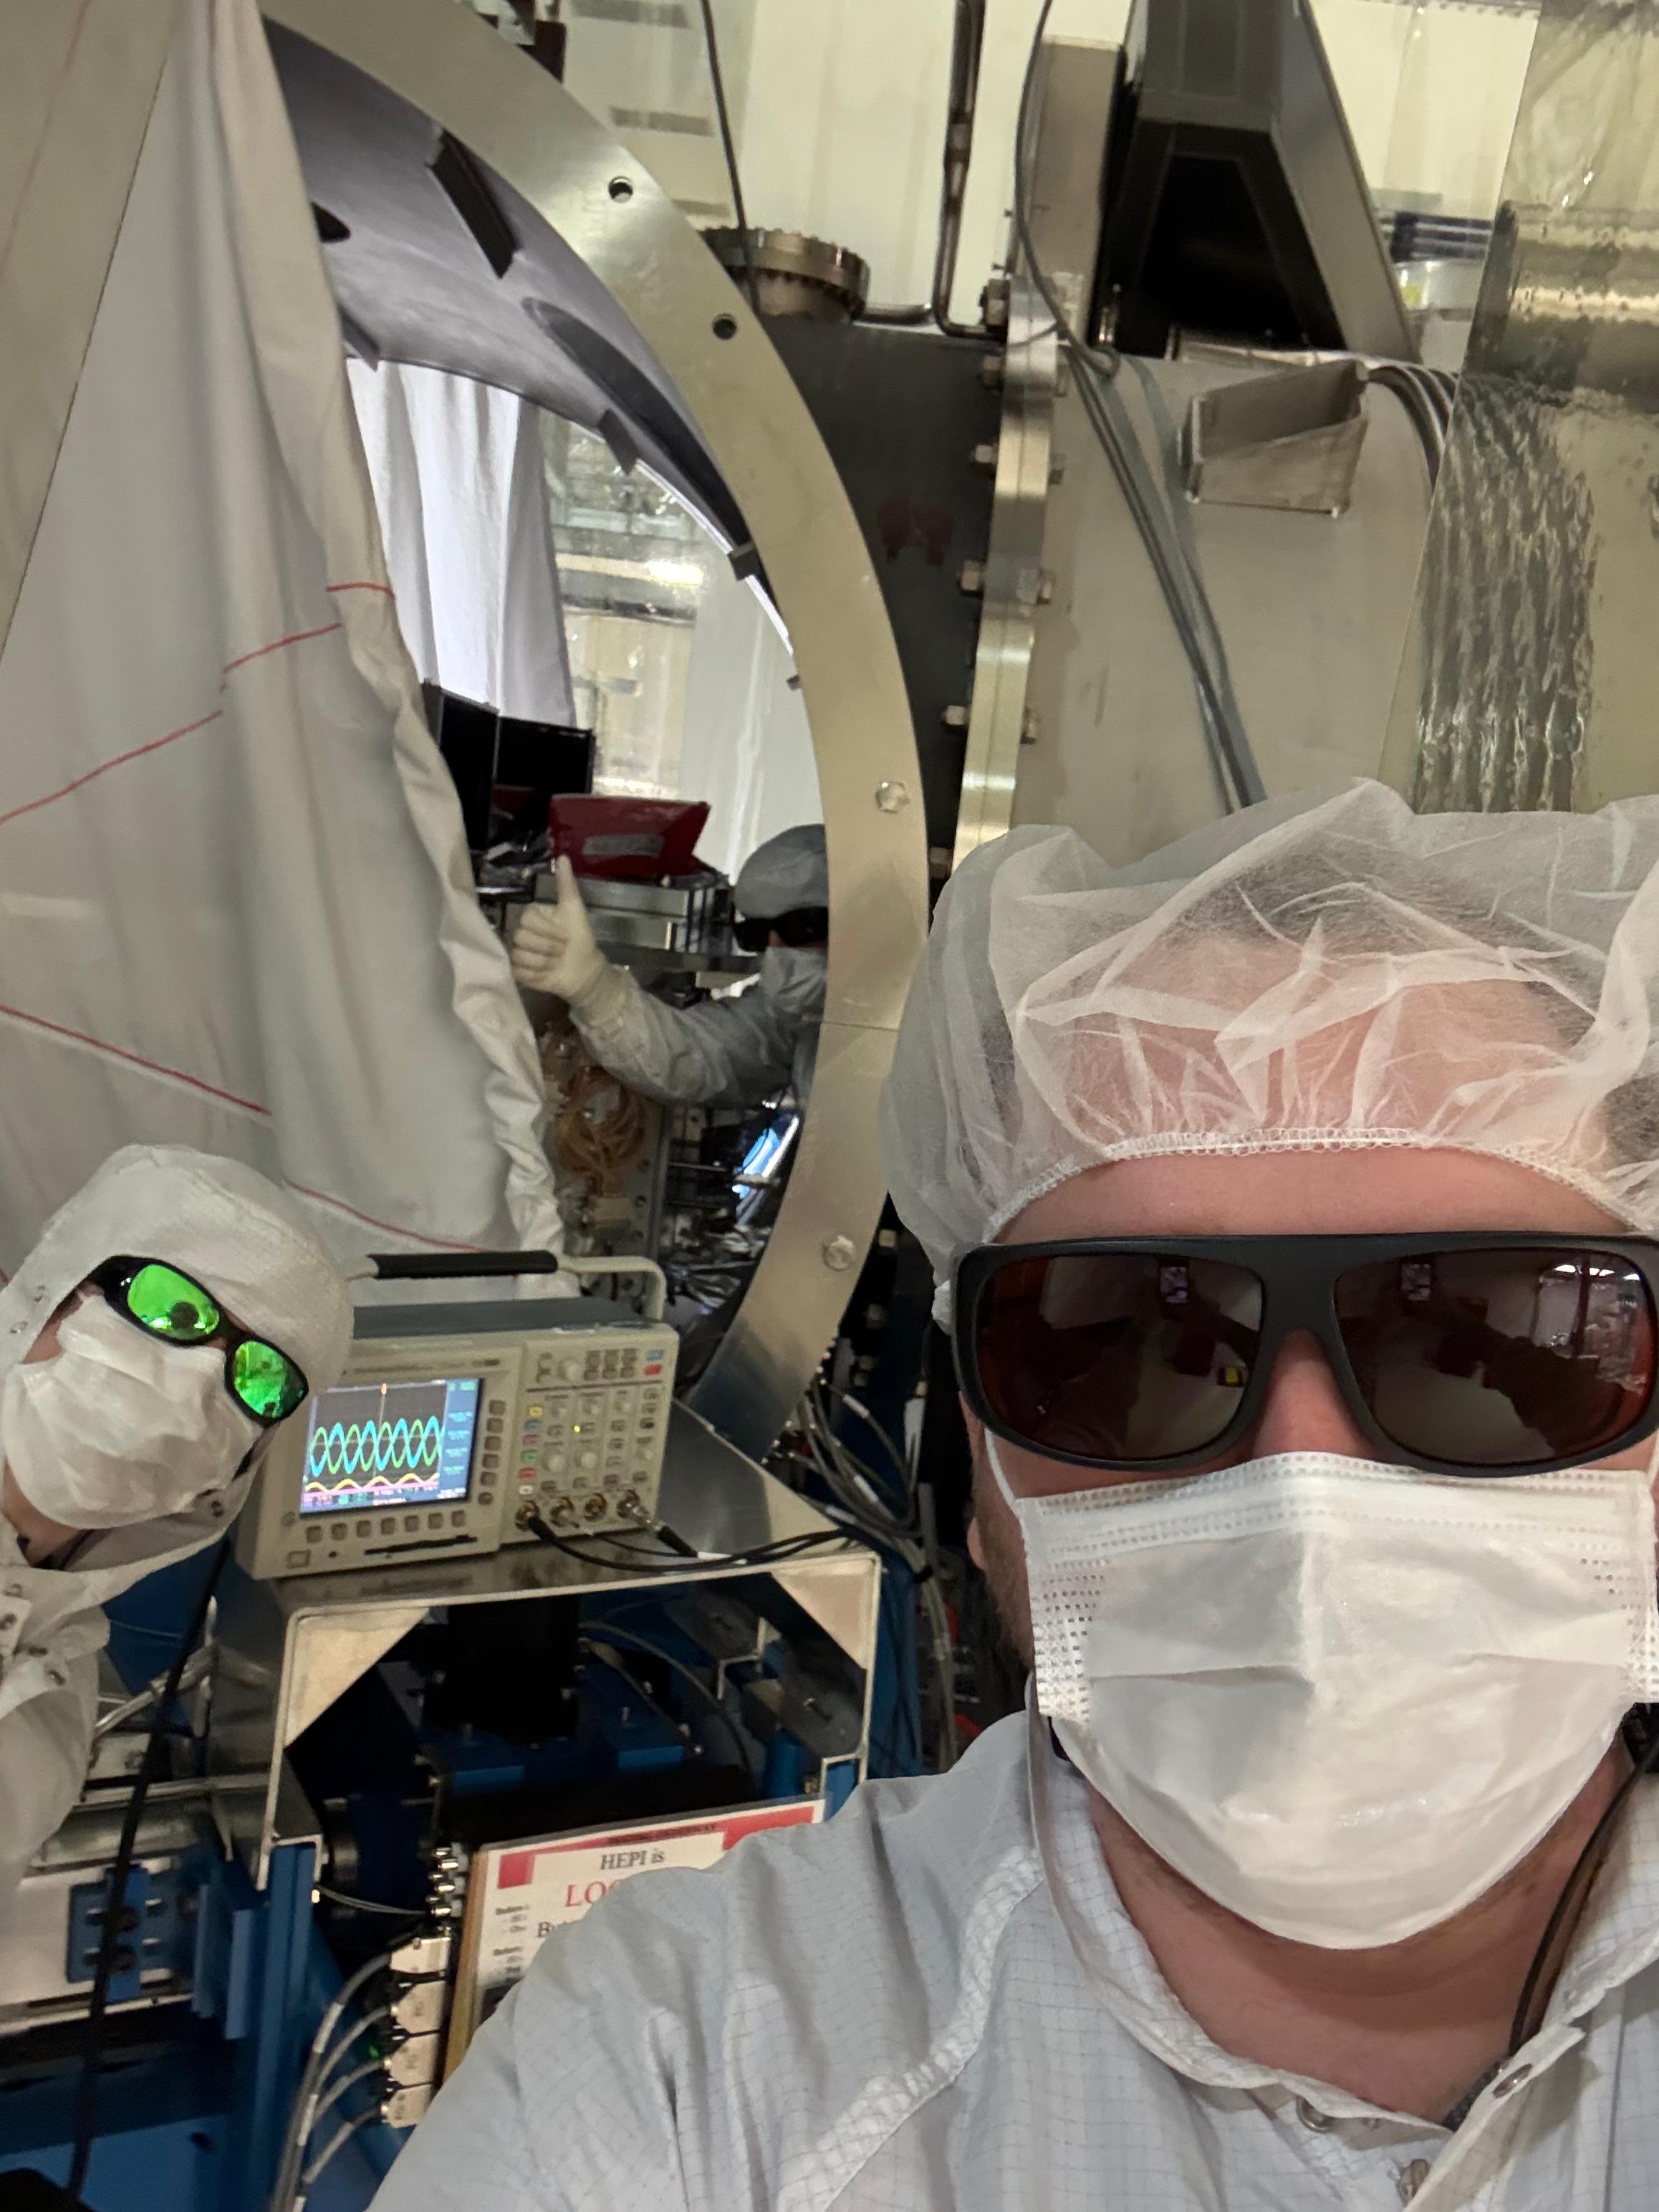
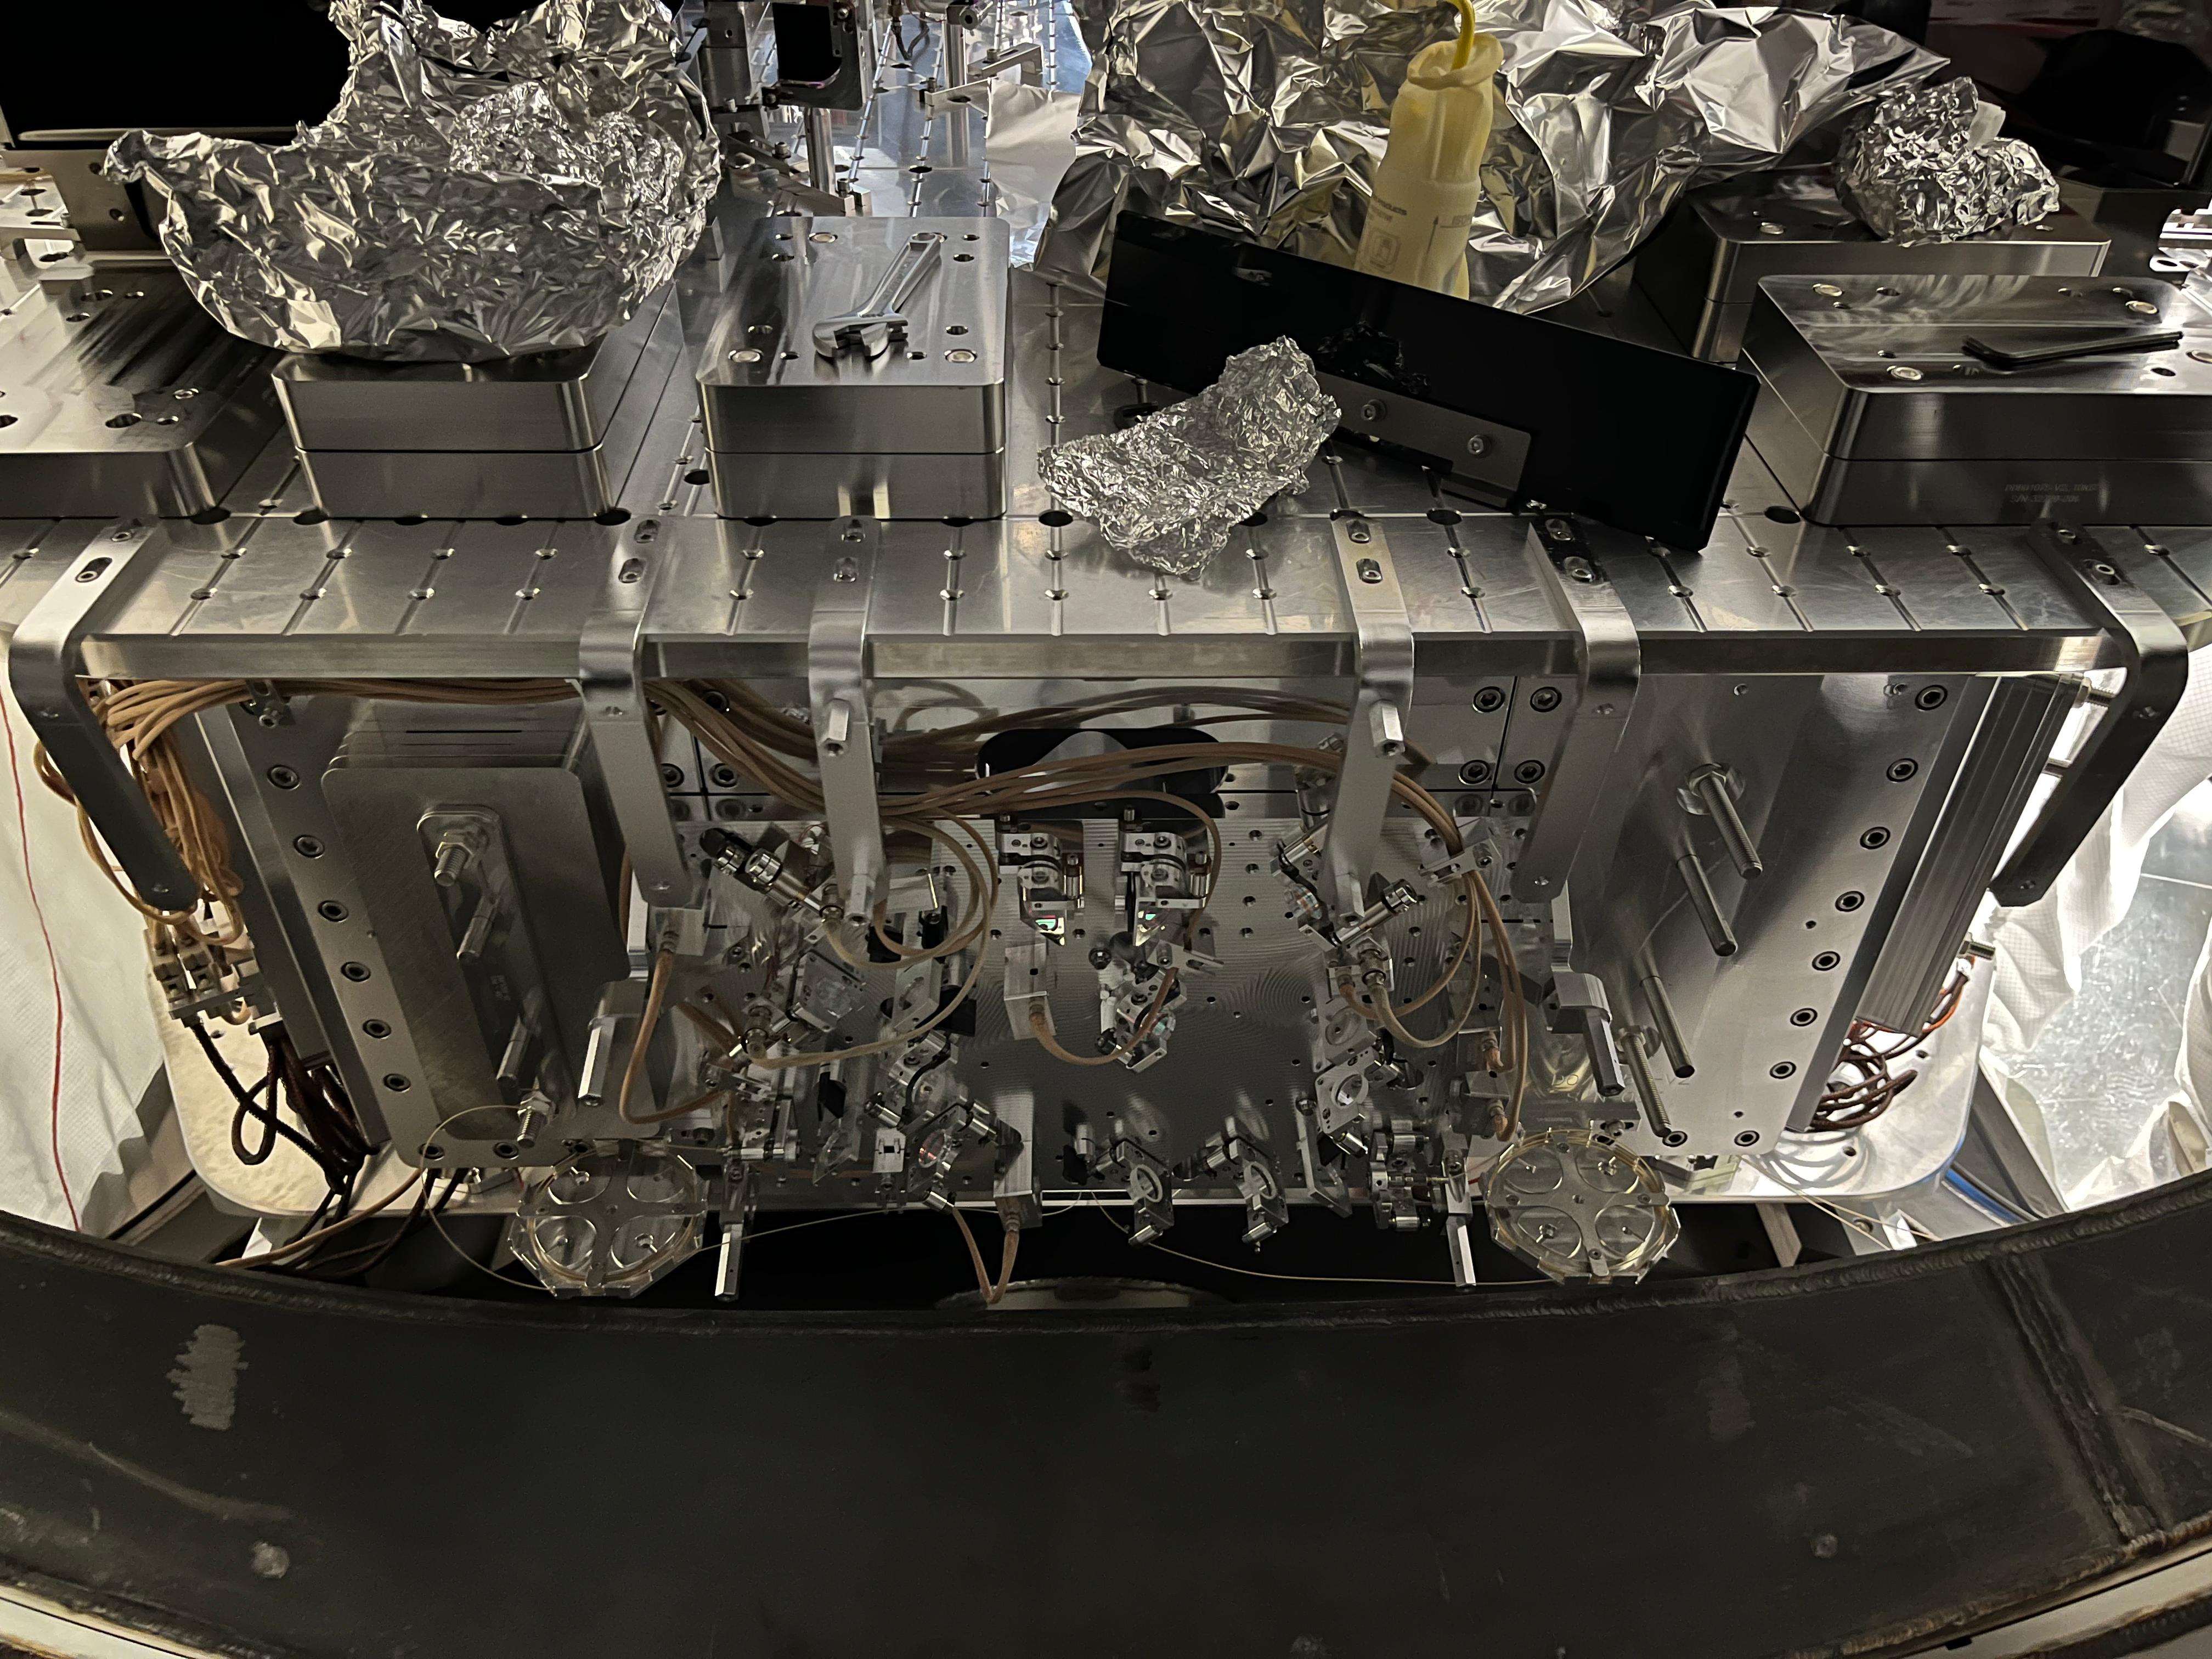
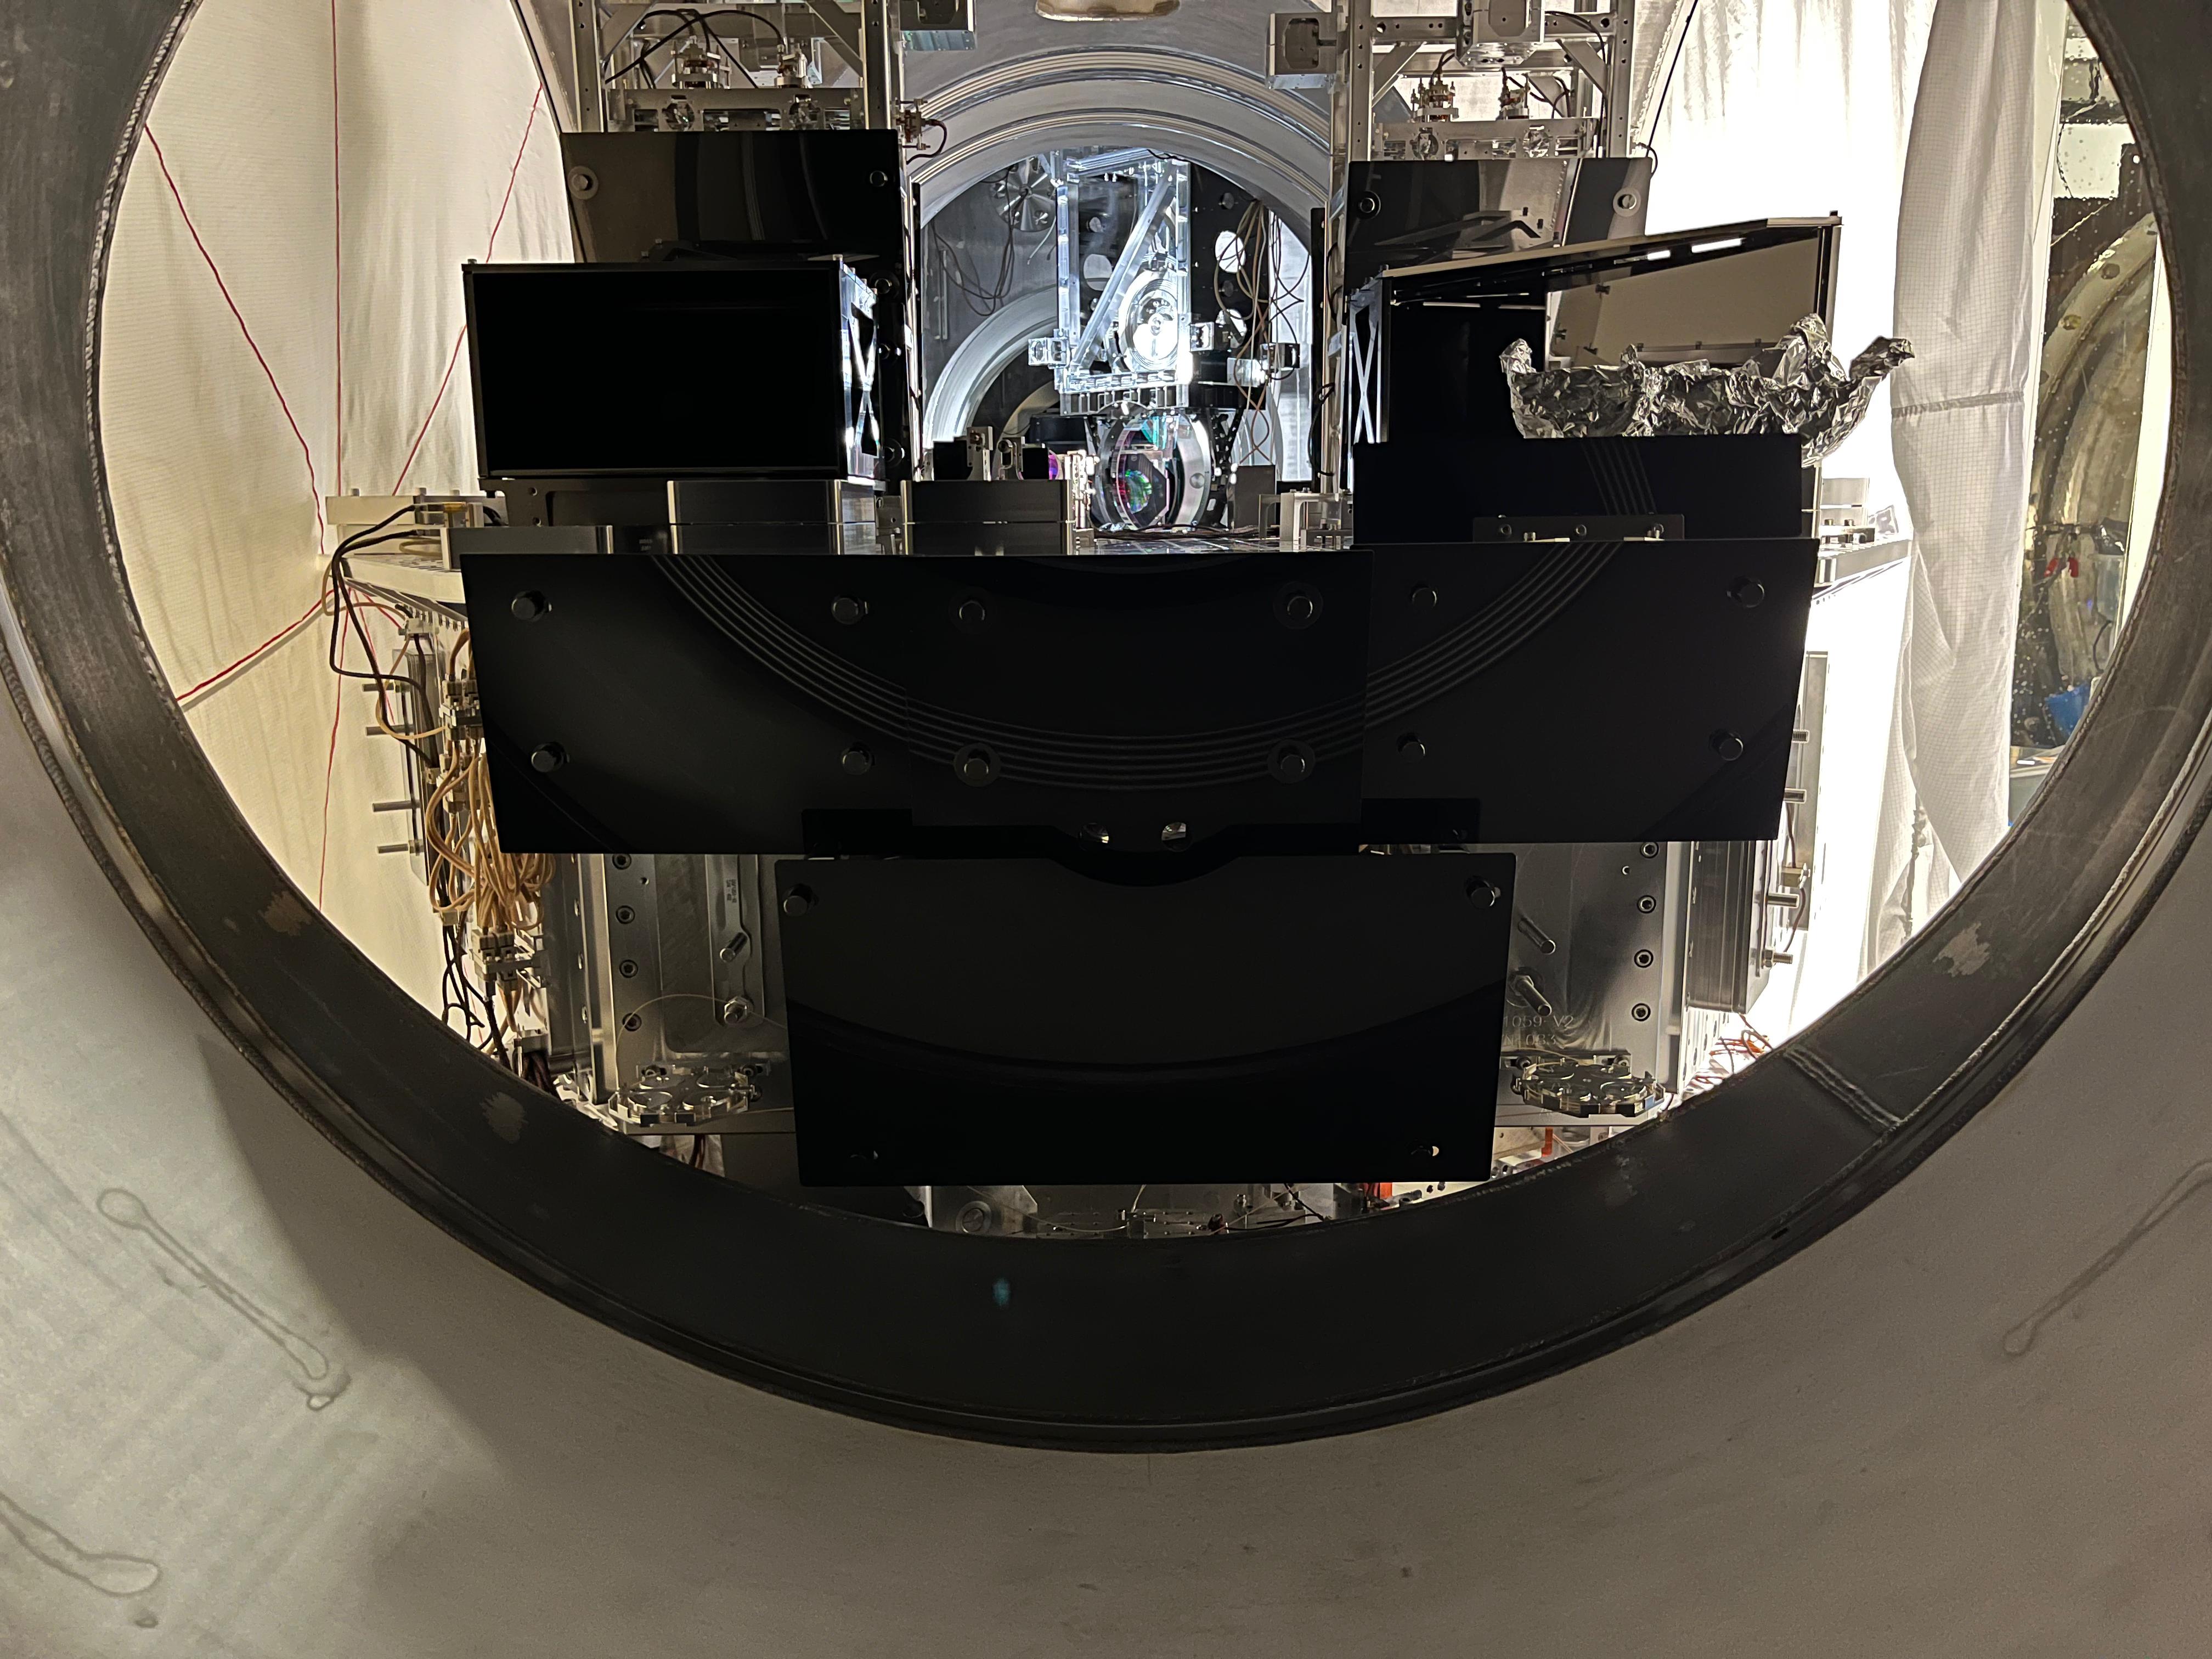
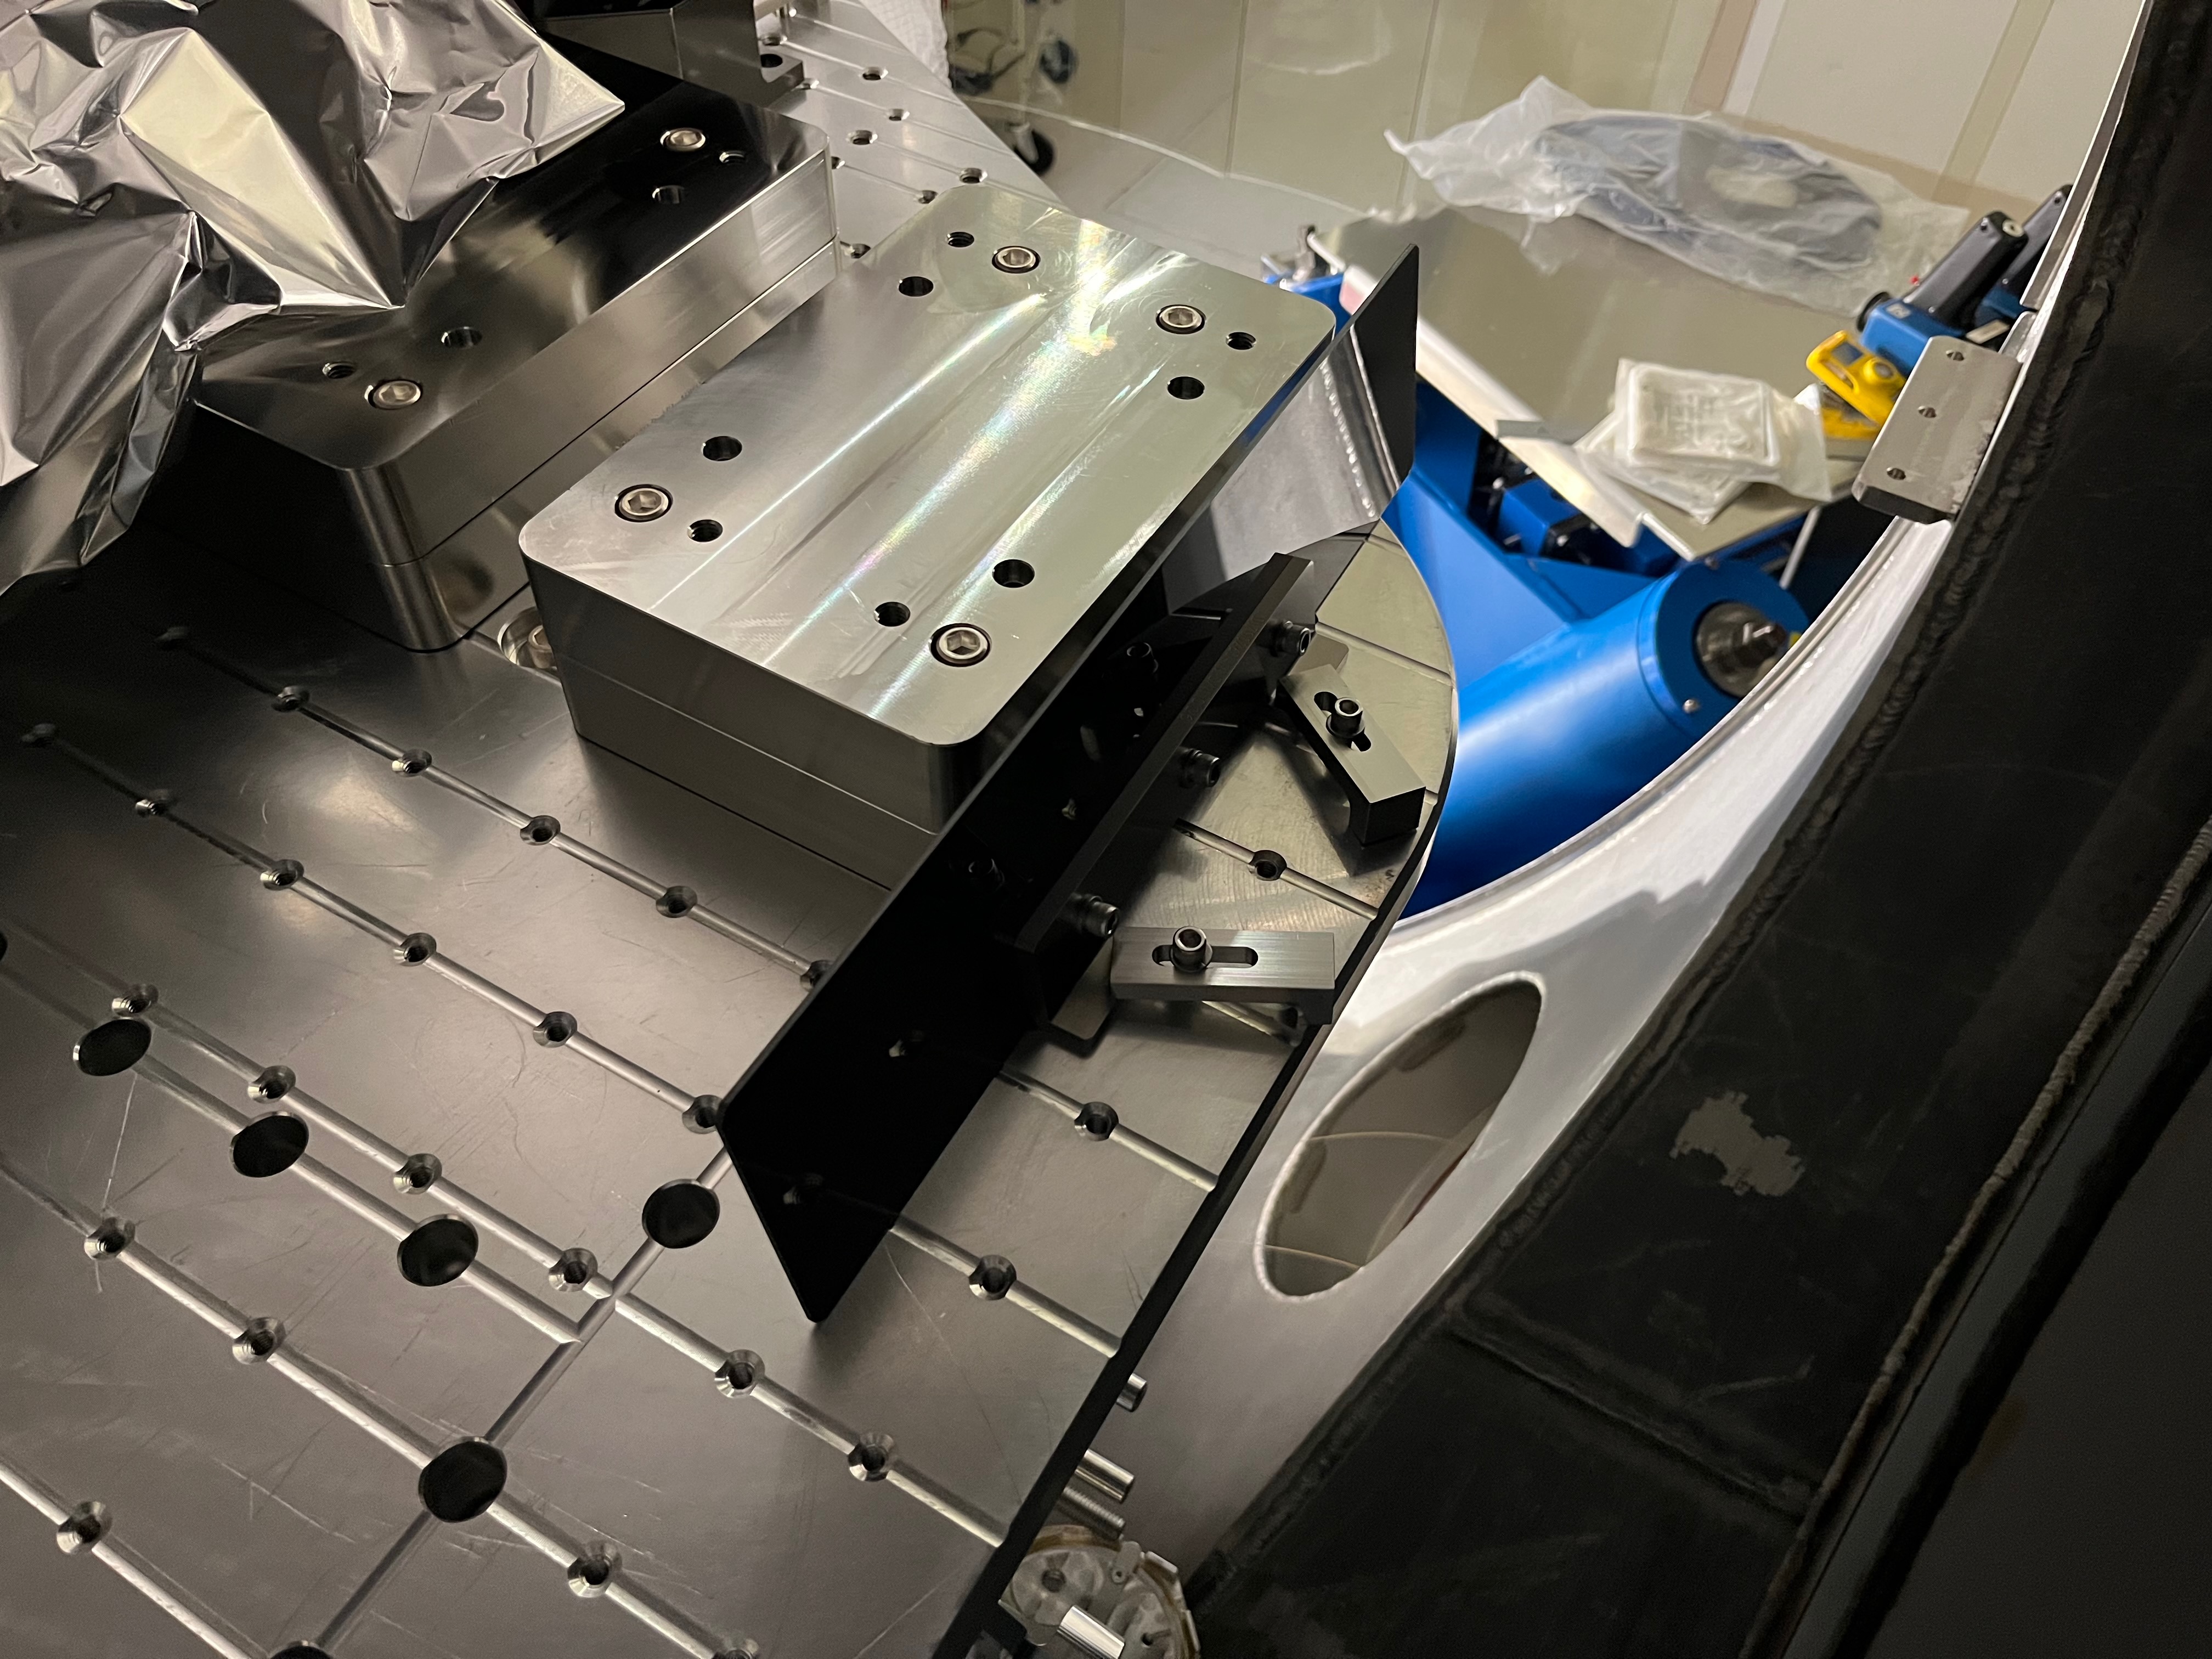
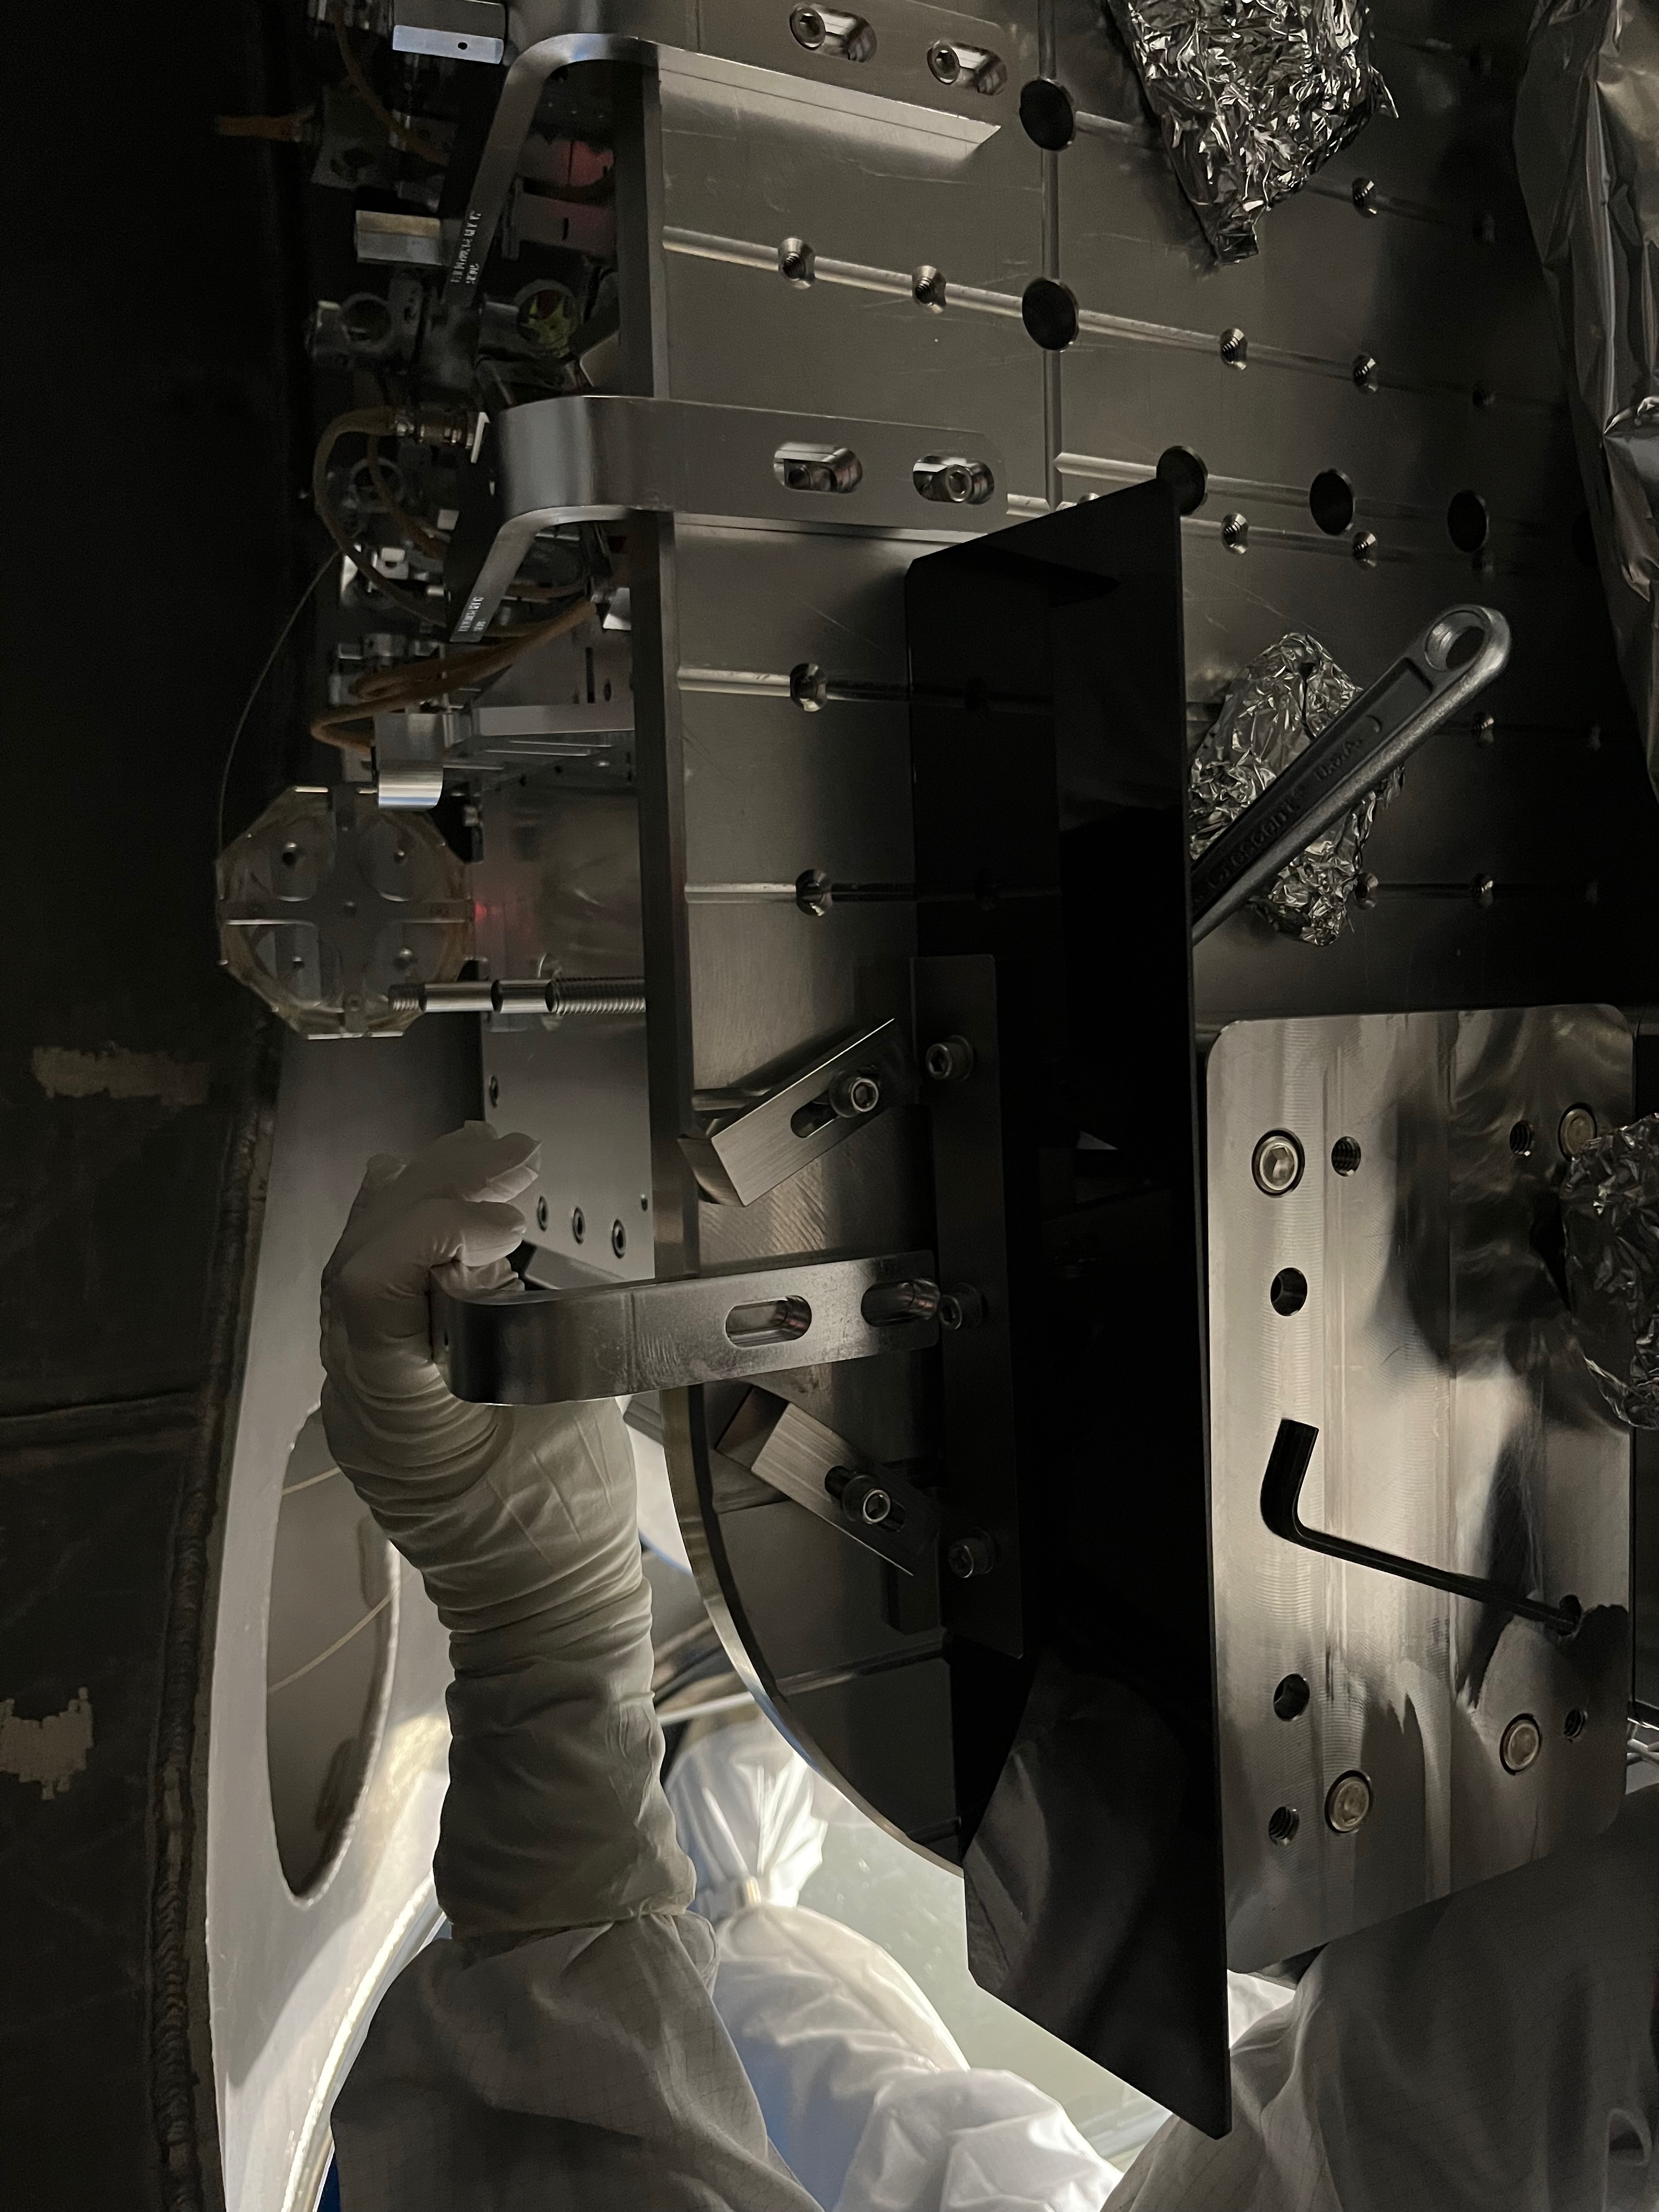
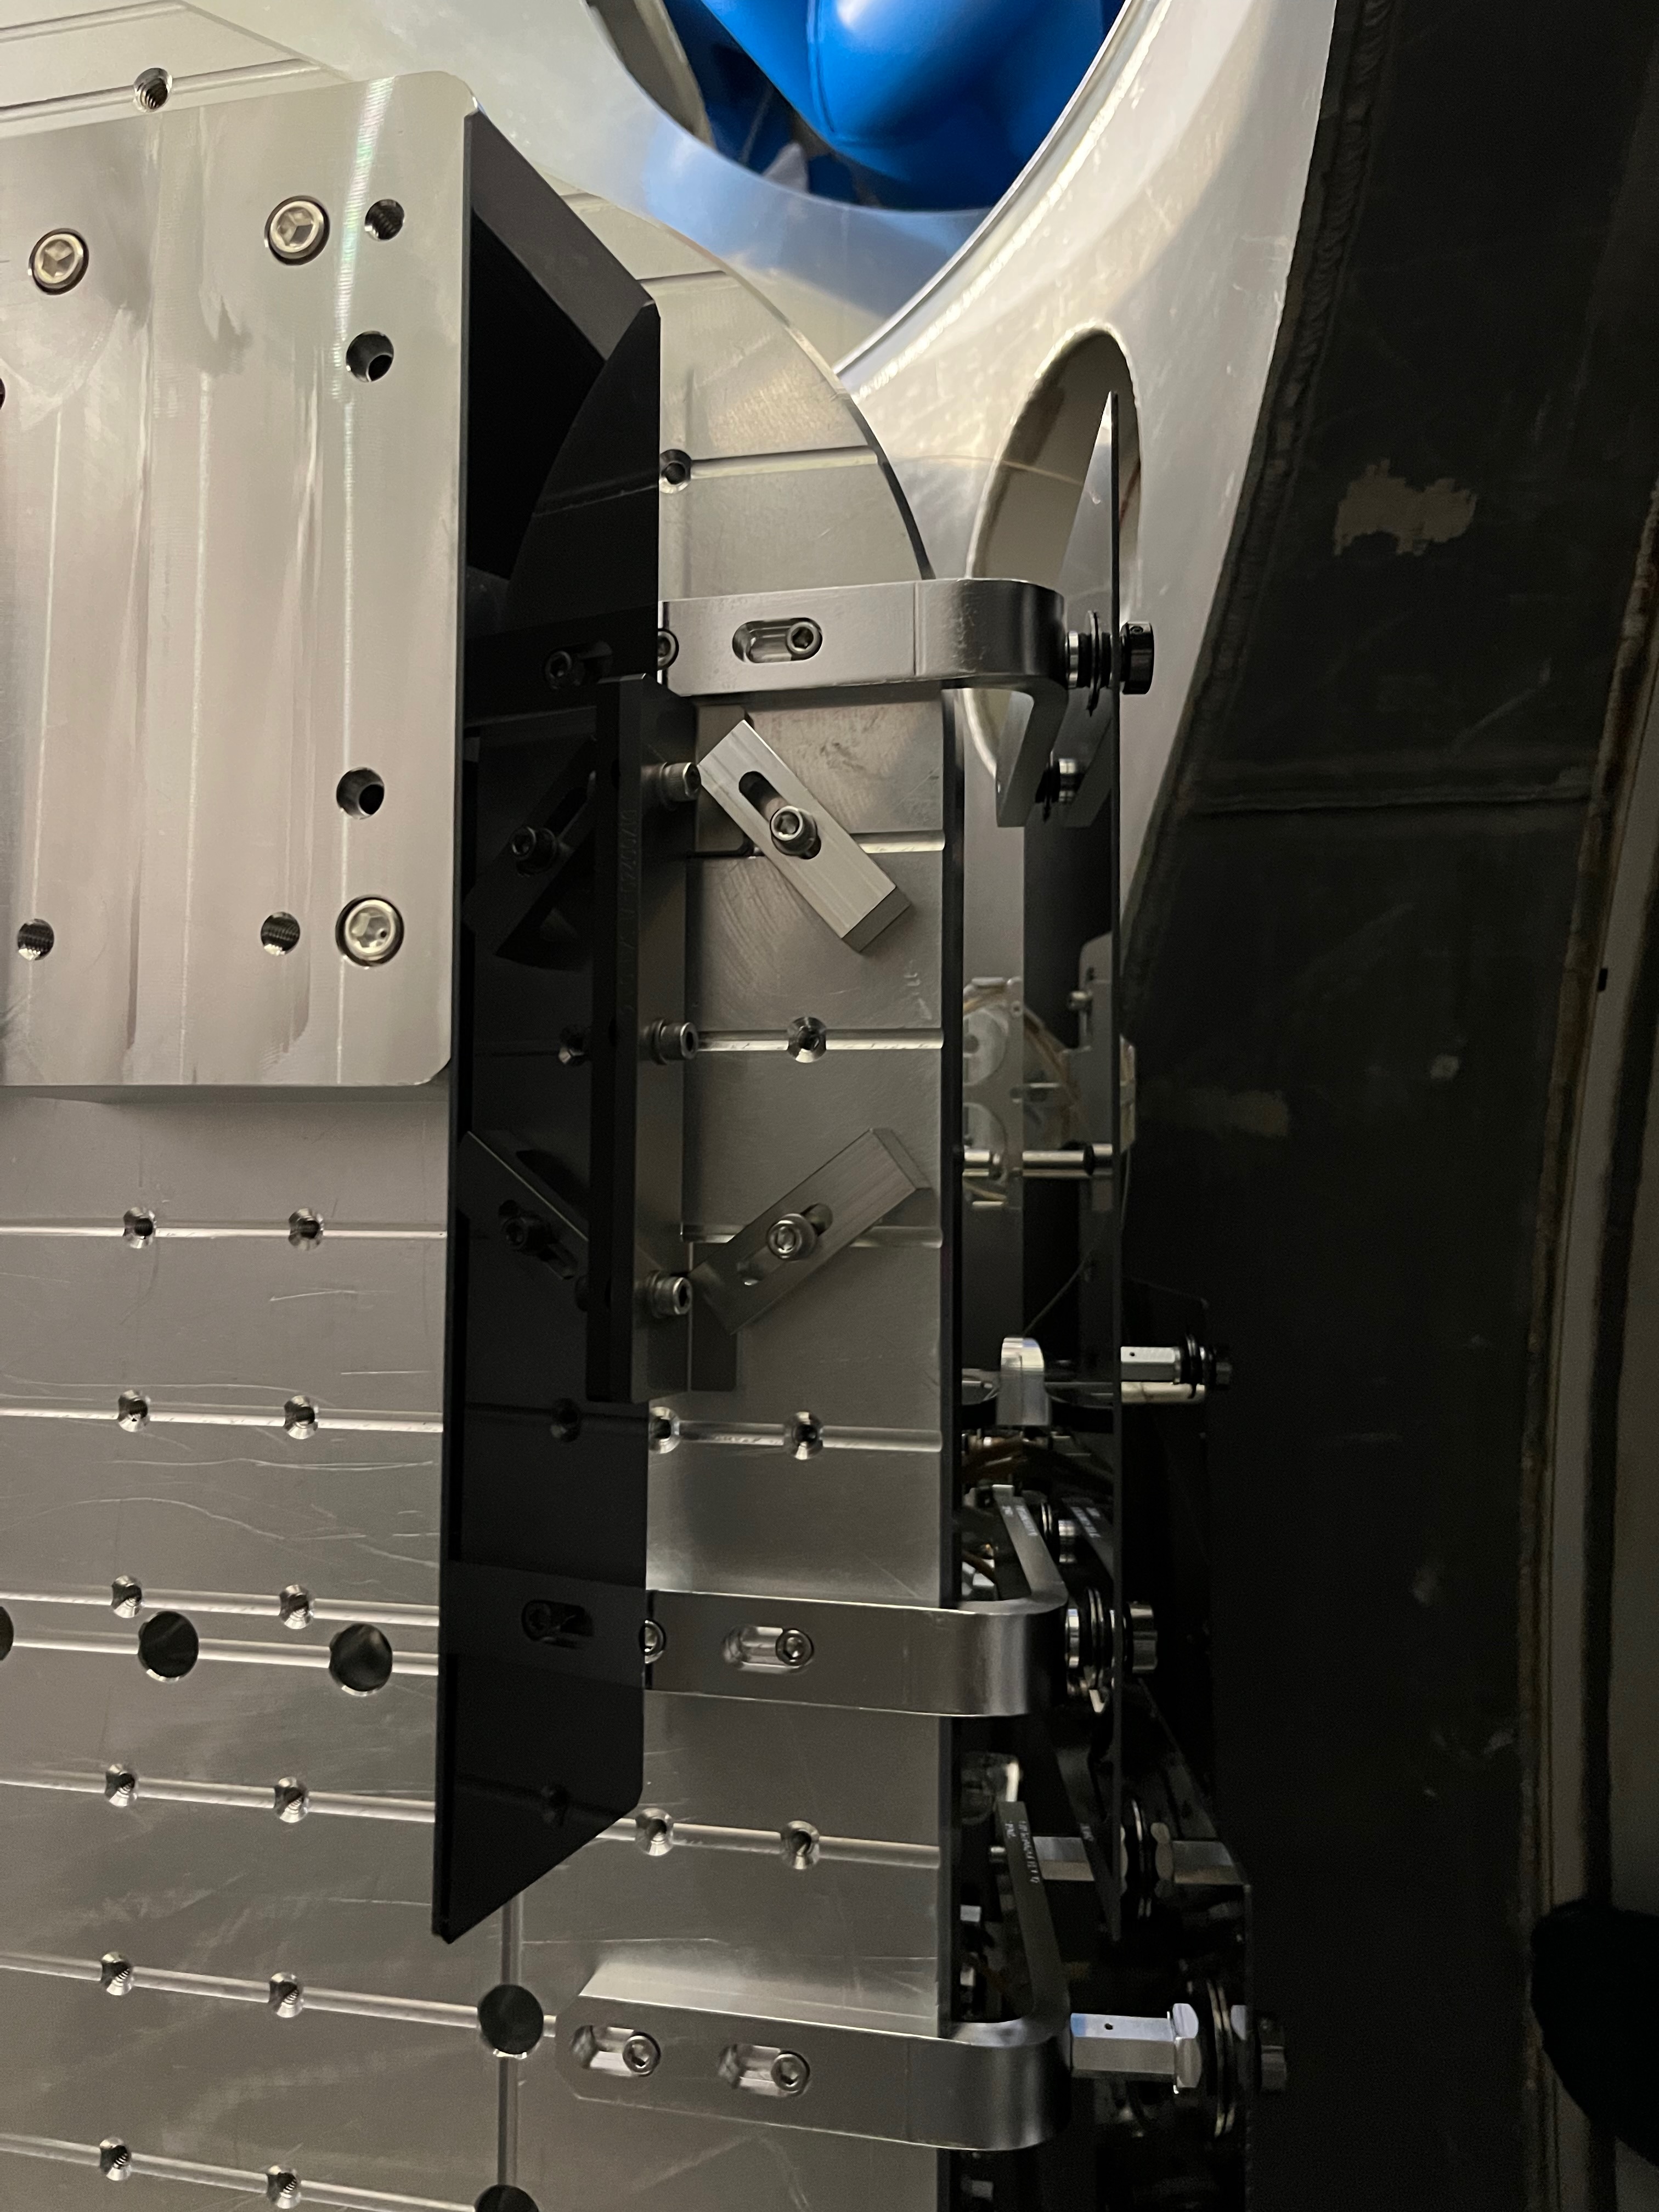
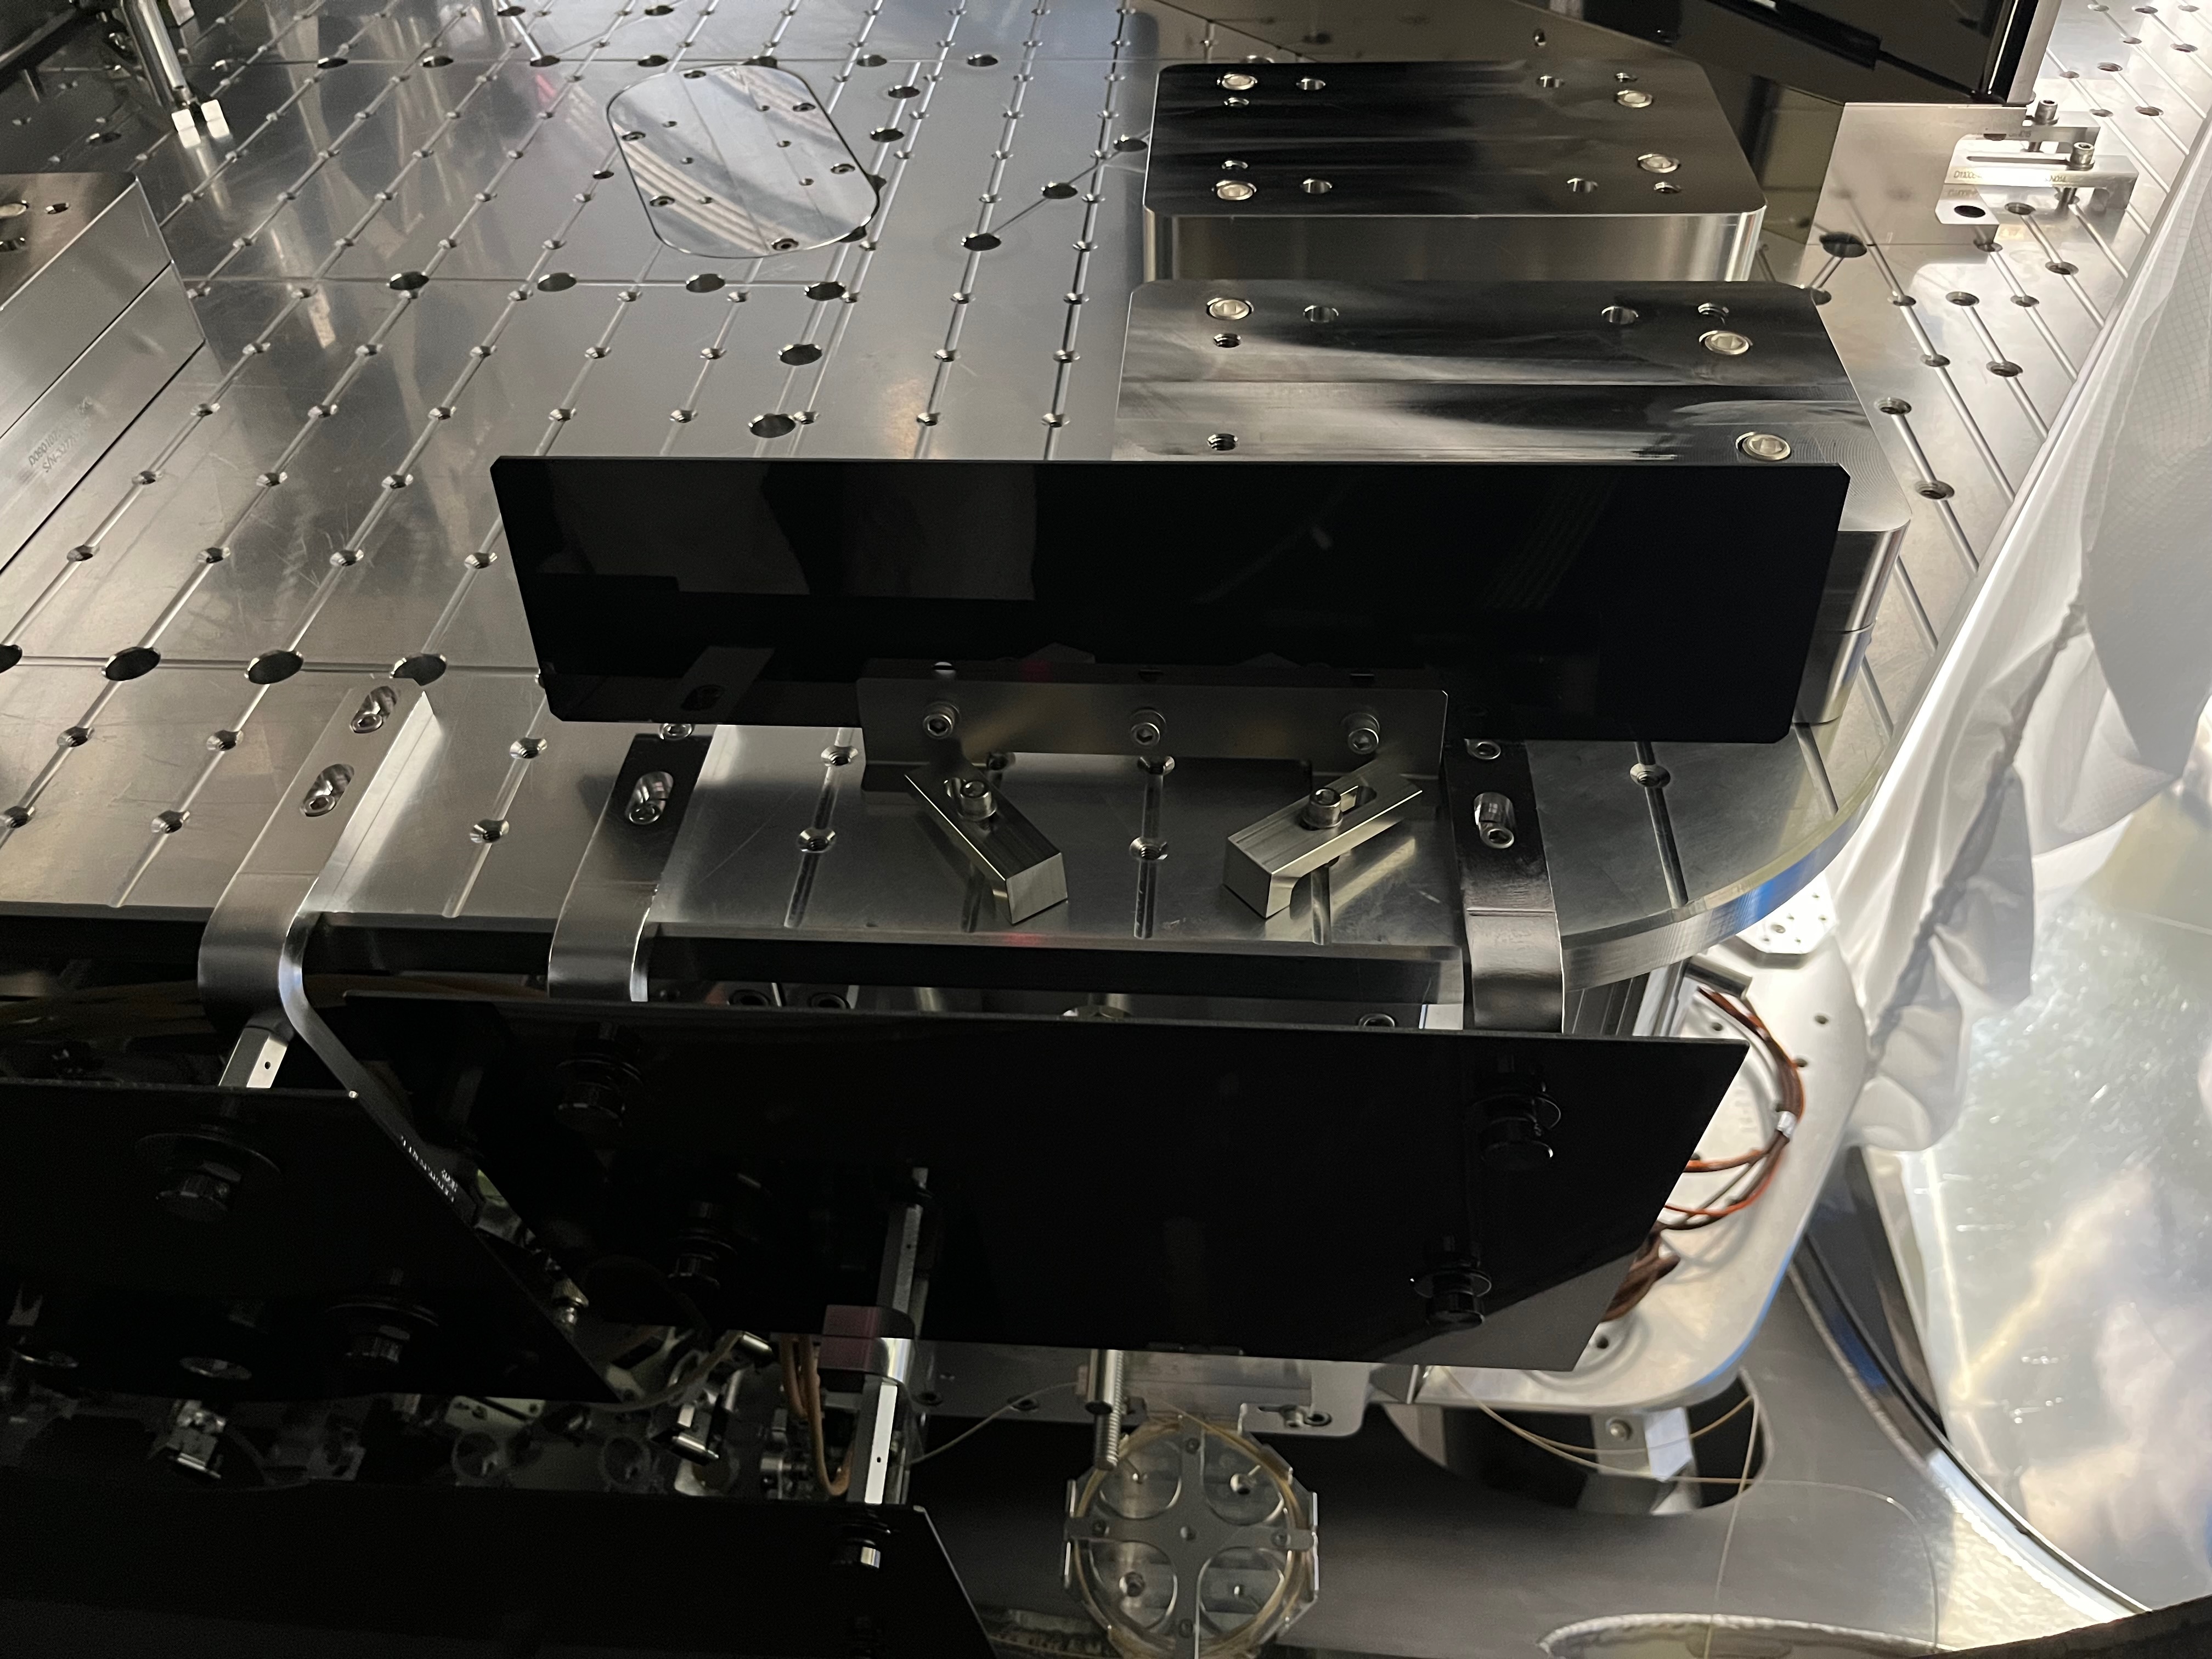
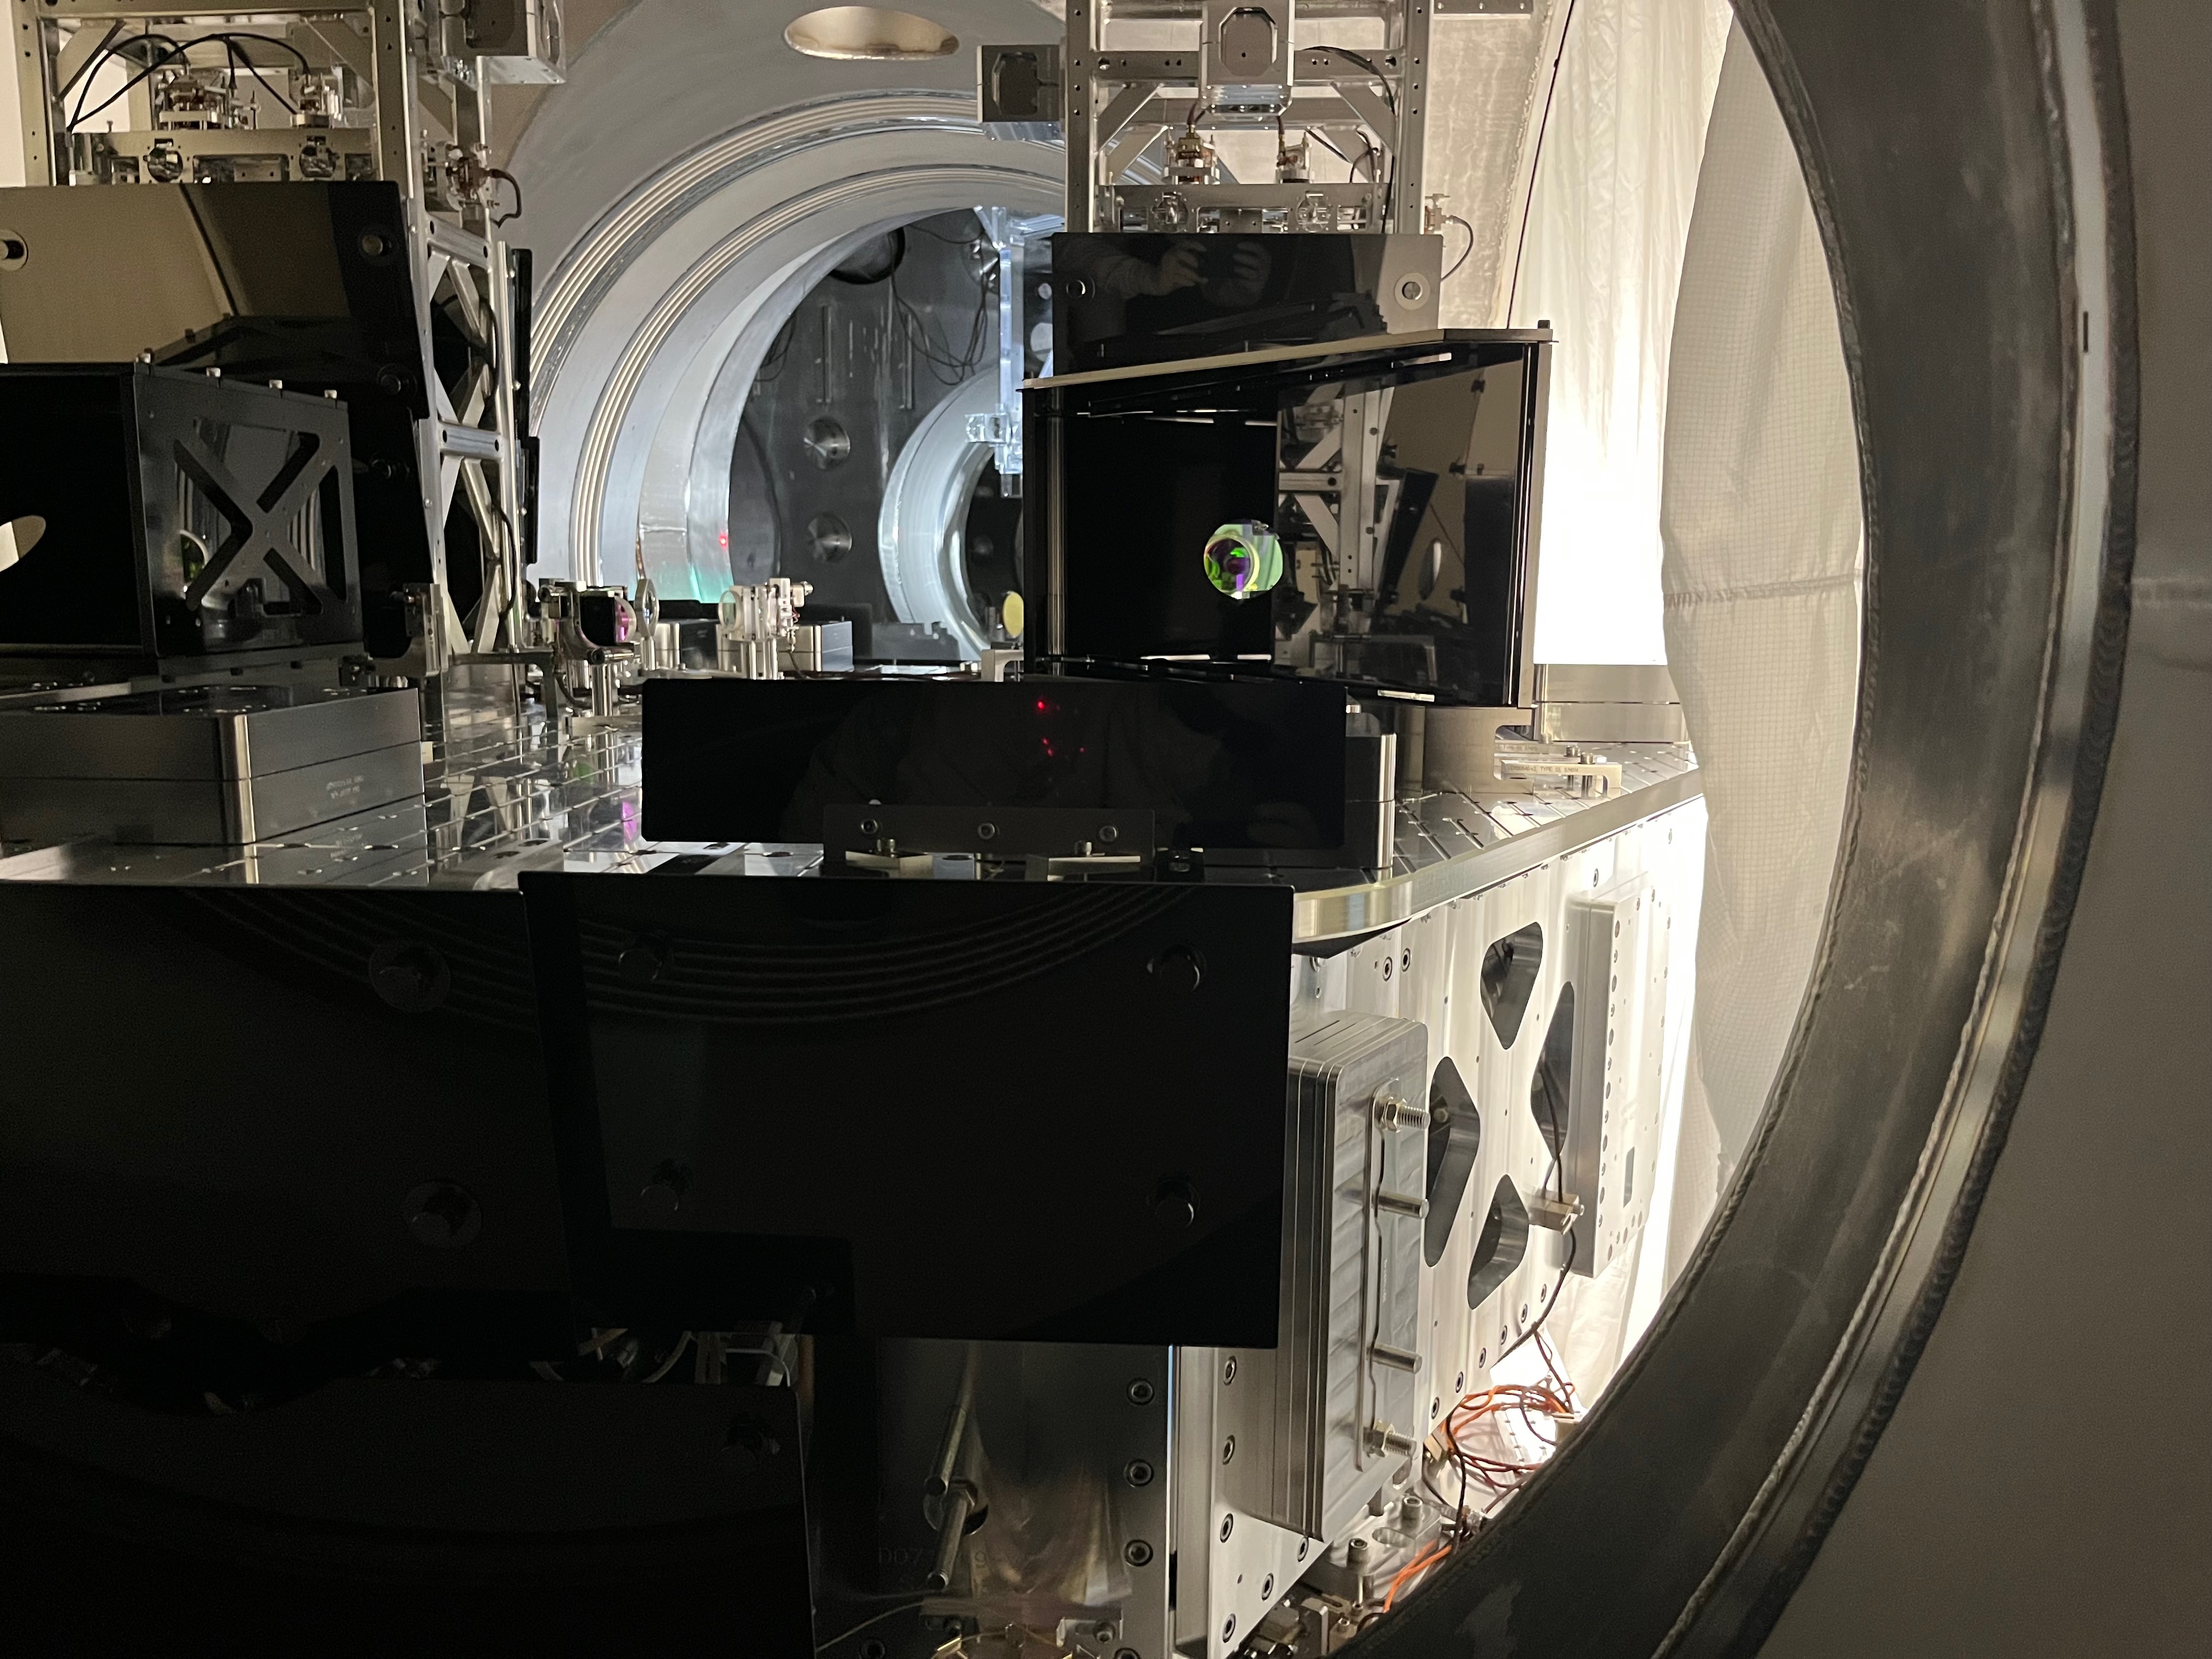
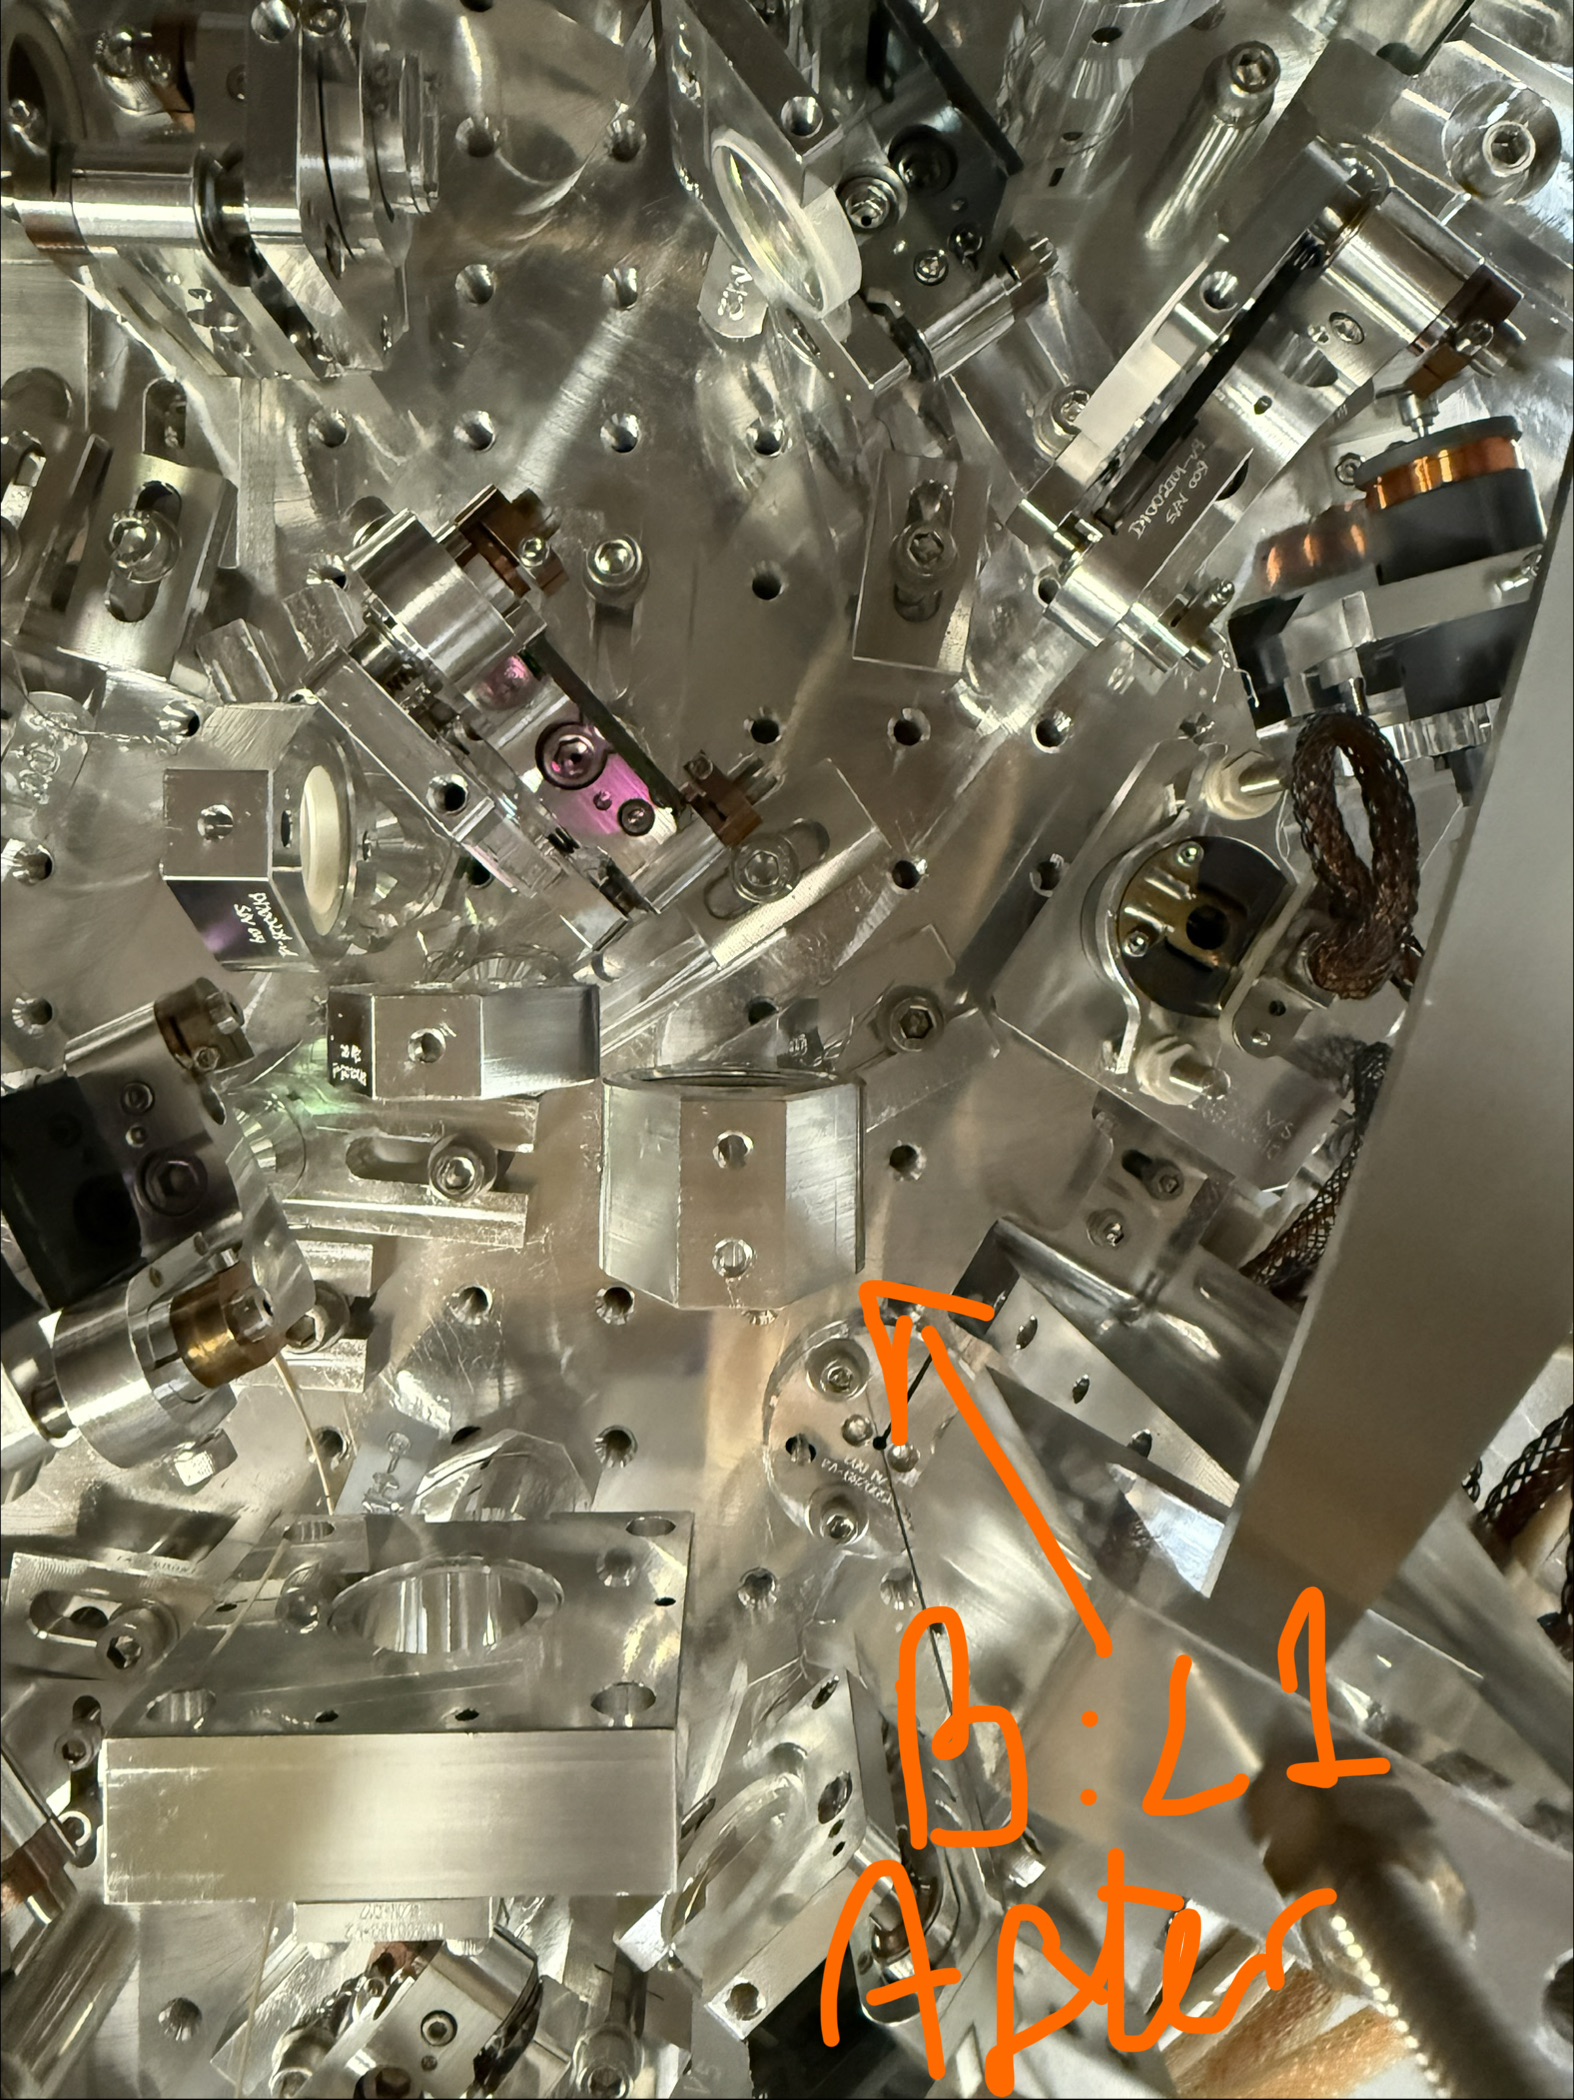
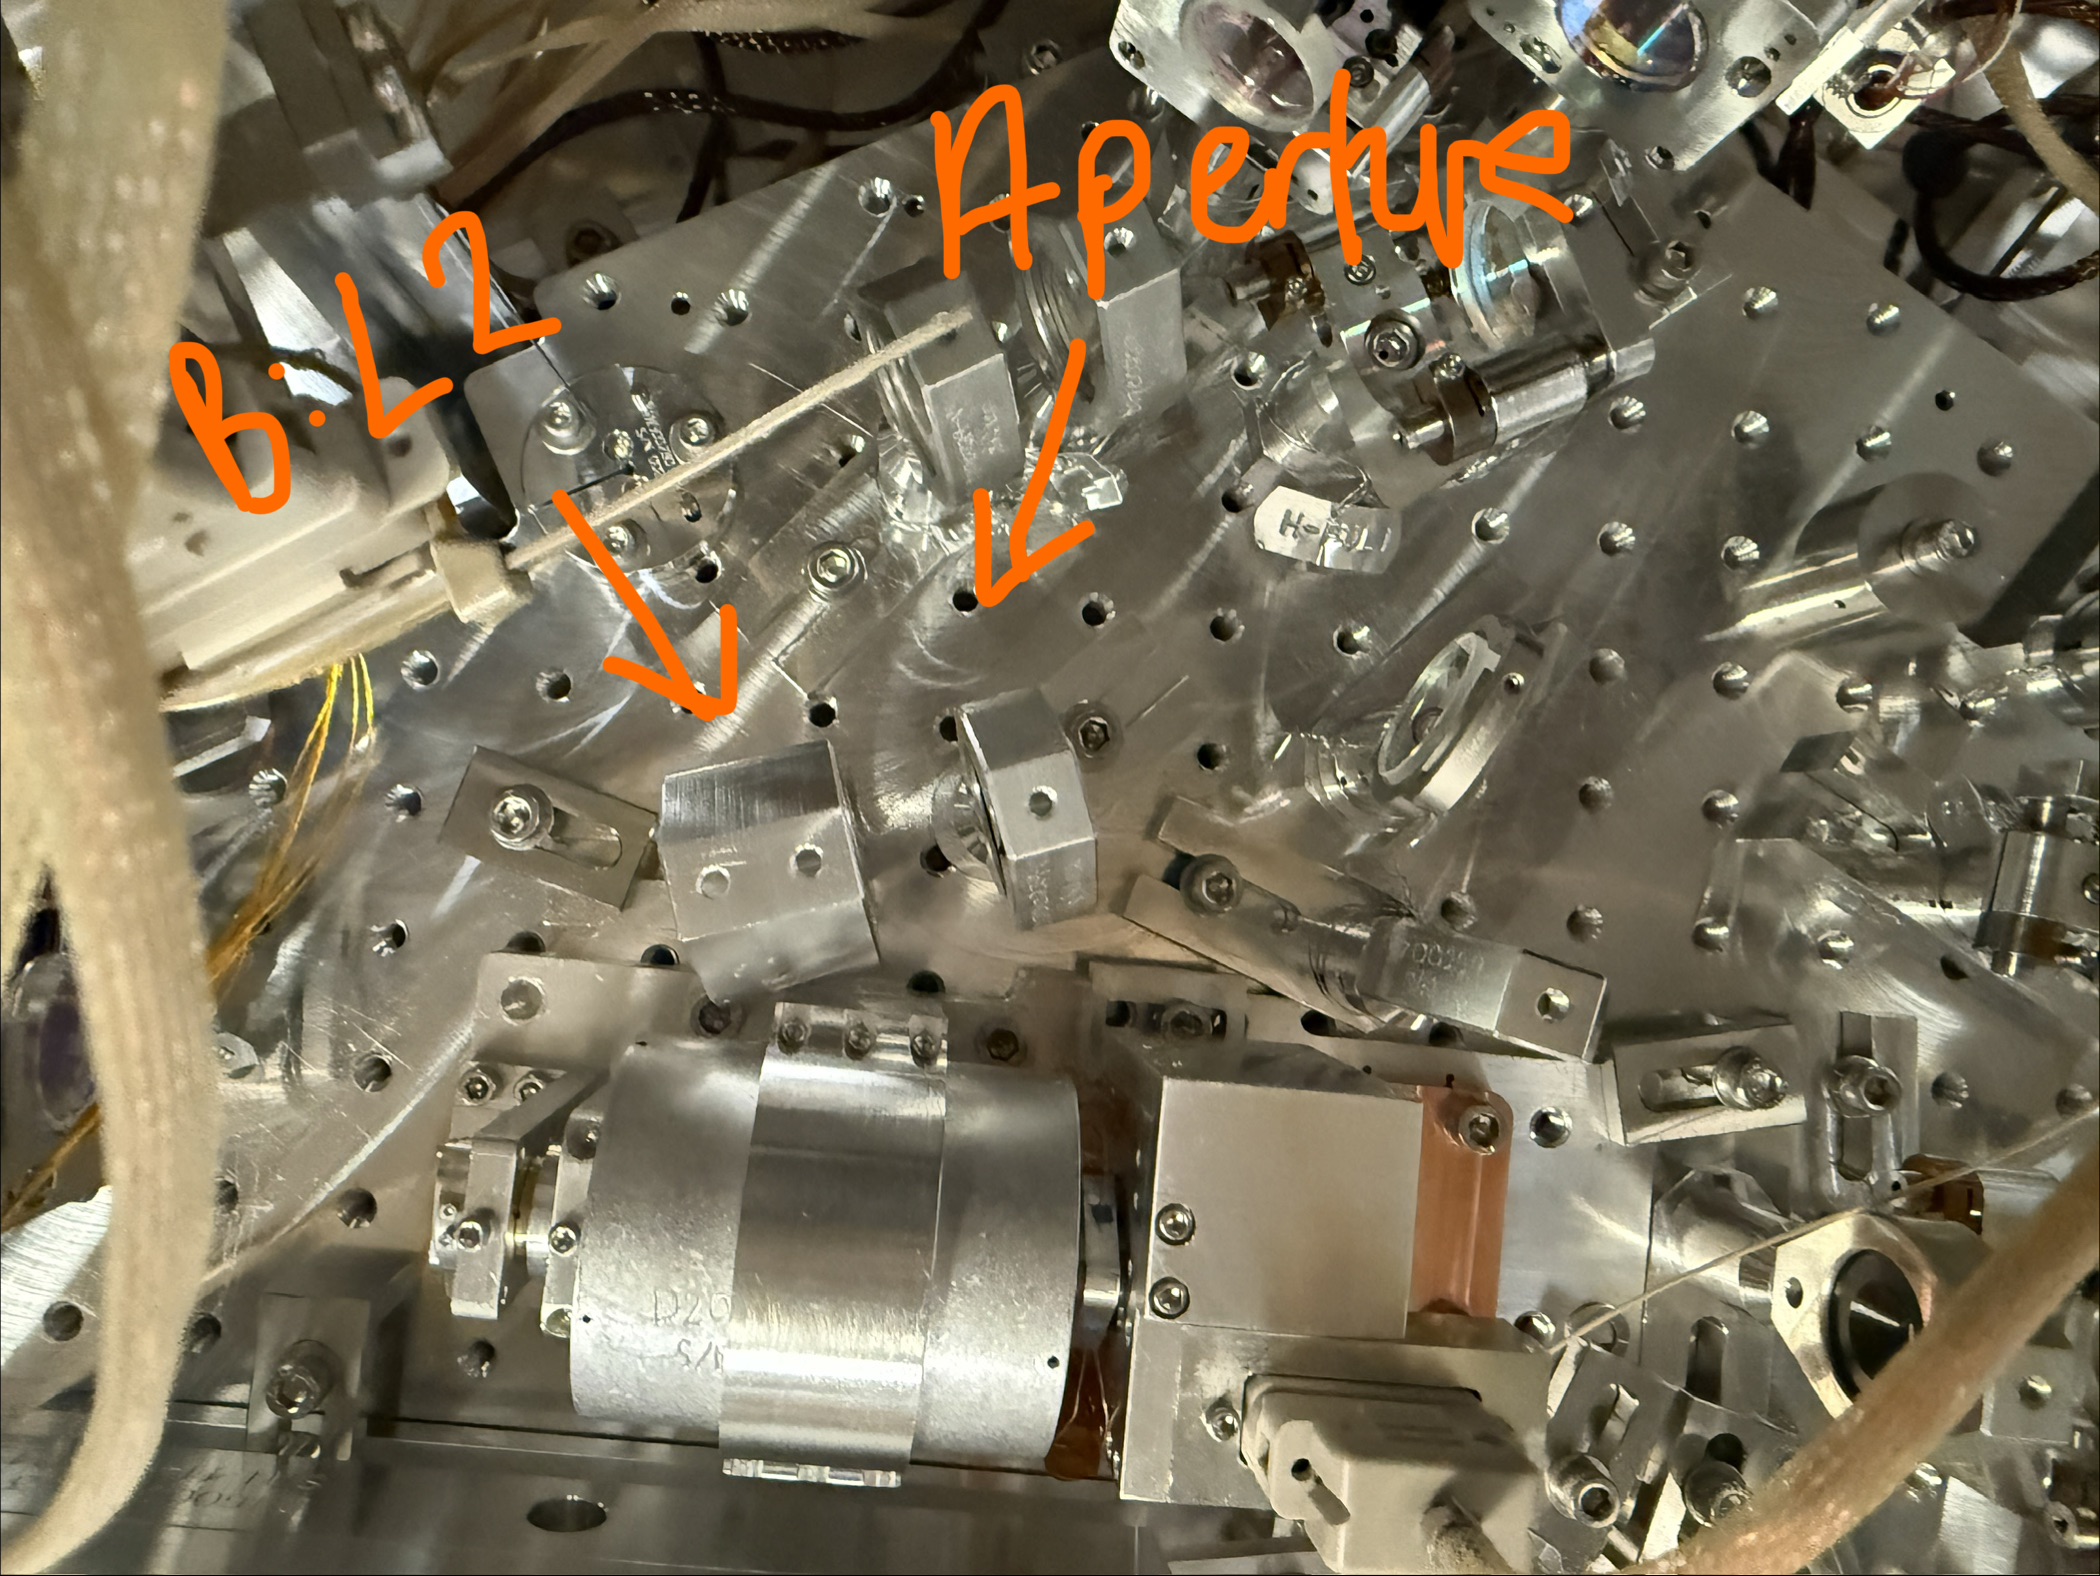
The HAM2 East door A2F4 viewport failed inspection last week and was removed. It was replaced with a re-inspected ZV-800 that was removed from HAM5 earlier this month. See pics for SN, etc.
The FCT bellows that was disconnected at the beginning of the vent was reattached to BSC3 port.
Today we also installed a viewport on the A2F1 port of HAM2, this viewport (ZV-800 Uncoated SN66) was removed from the west door of HAM2 (see alog 90780) and re-inspected on the bench. No issues found.
Small correction: Viewport SN 66 came off of HAM2 A2F2 East door (same door as where it ended up). This follows with FRS 38164 and inventory lists.
HAM2 A2F2 SN 66 → removed, inspected, moved to → HAM2 A2F1
Filing a late report, last week I measured the resistance of the strain gauge on the PSAMS for ZM5 suspension in HAM7 chamber. This is to investigate the inconsistent behavior (voltage drop/open loop issues) of the strain gauge attached to the PSAMS on ZM5 - details posted in LHO alog 90783.
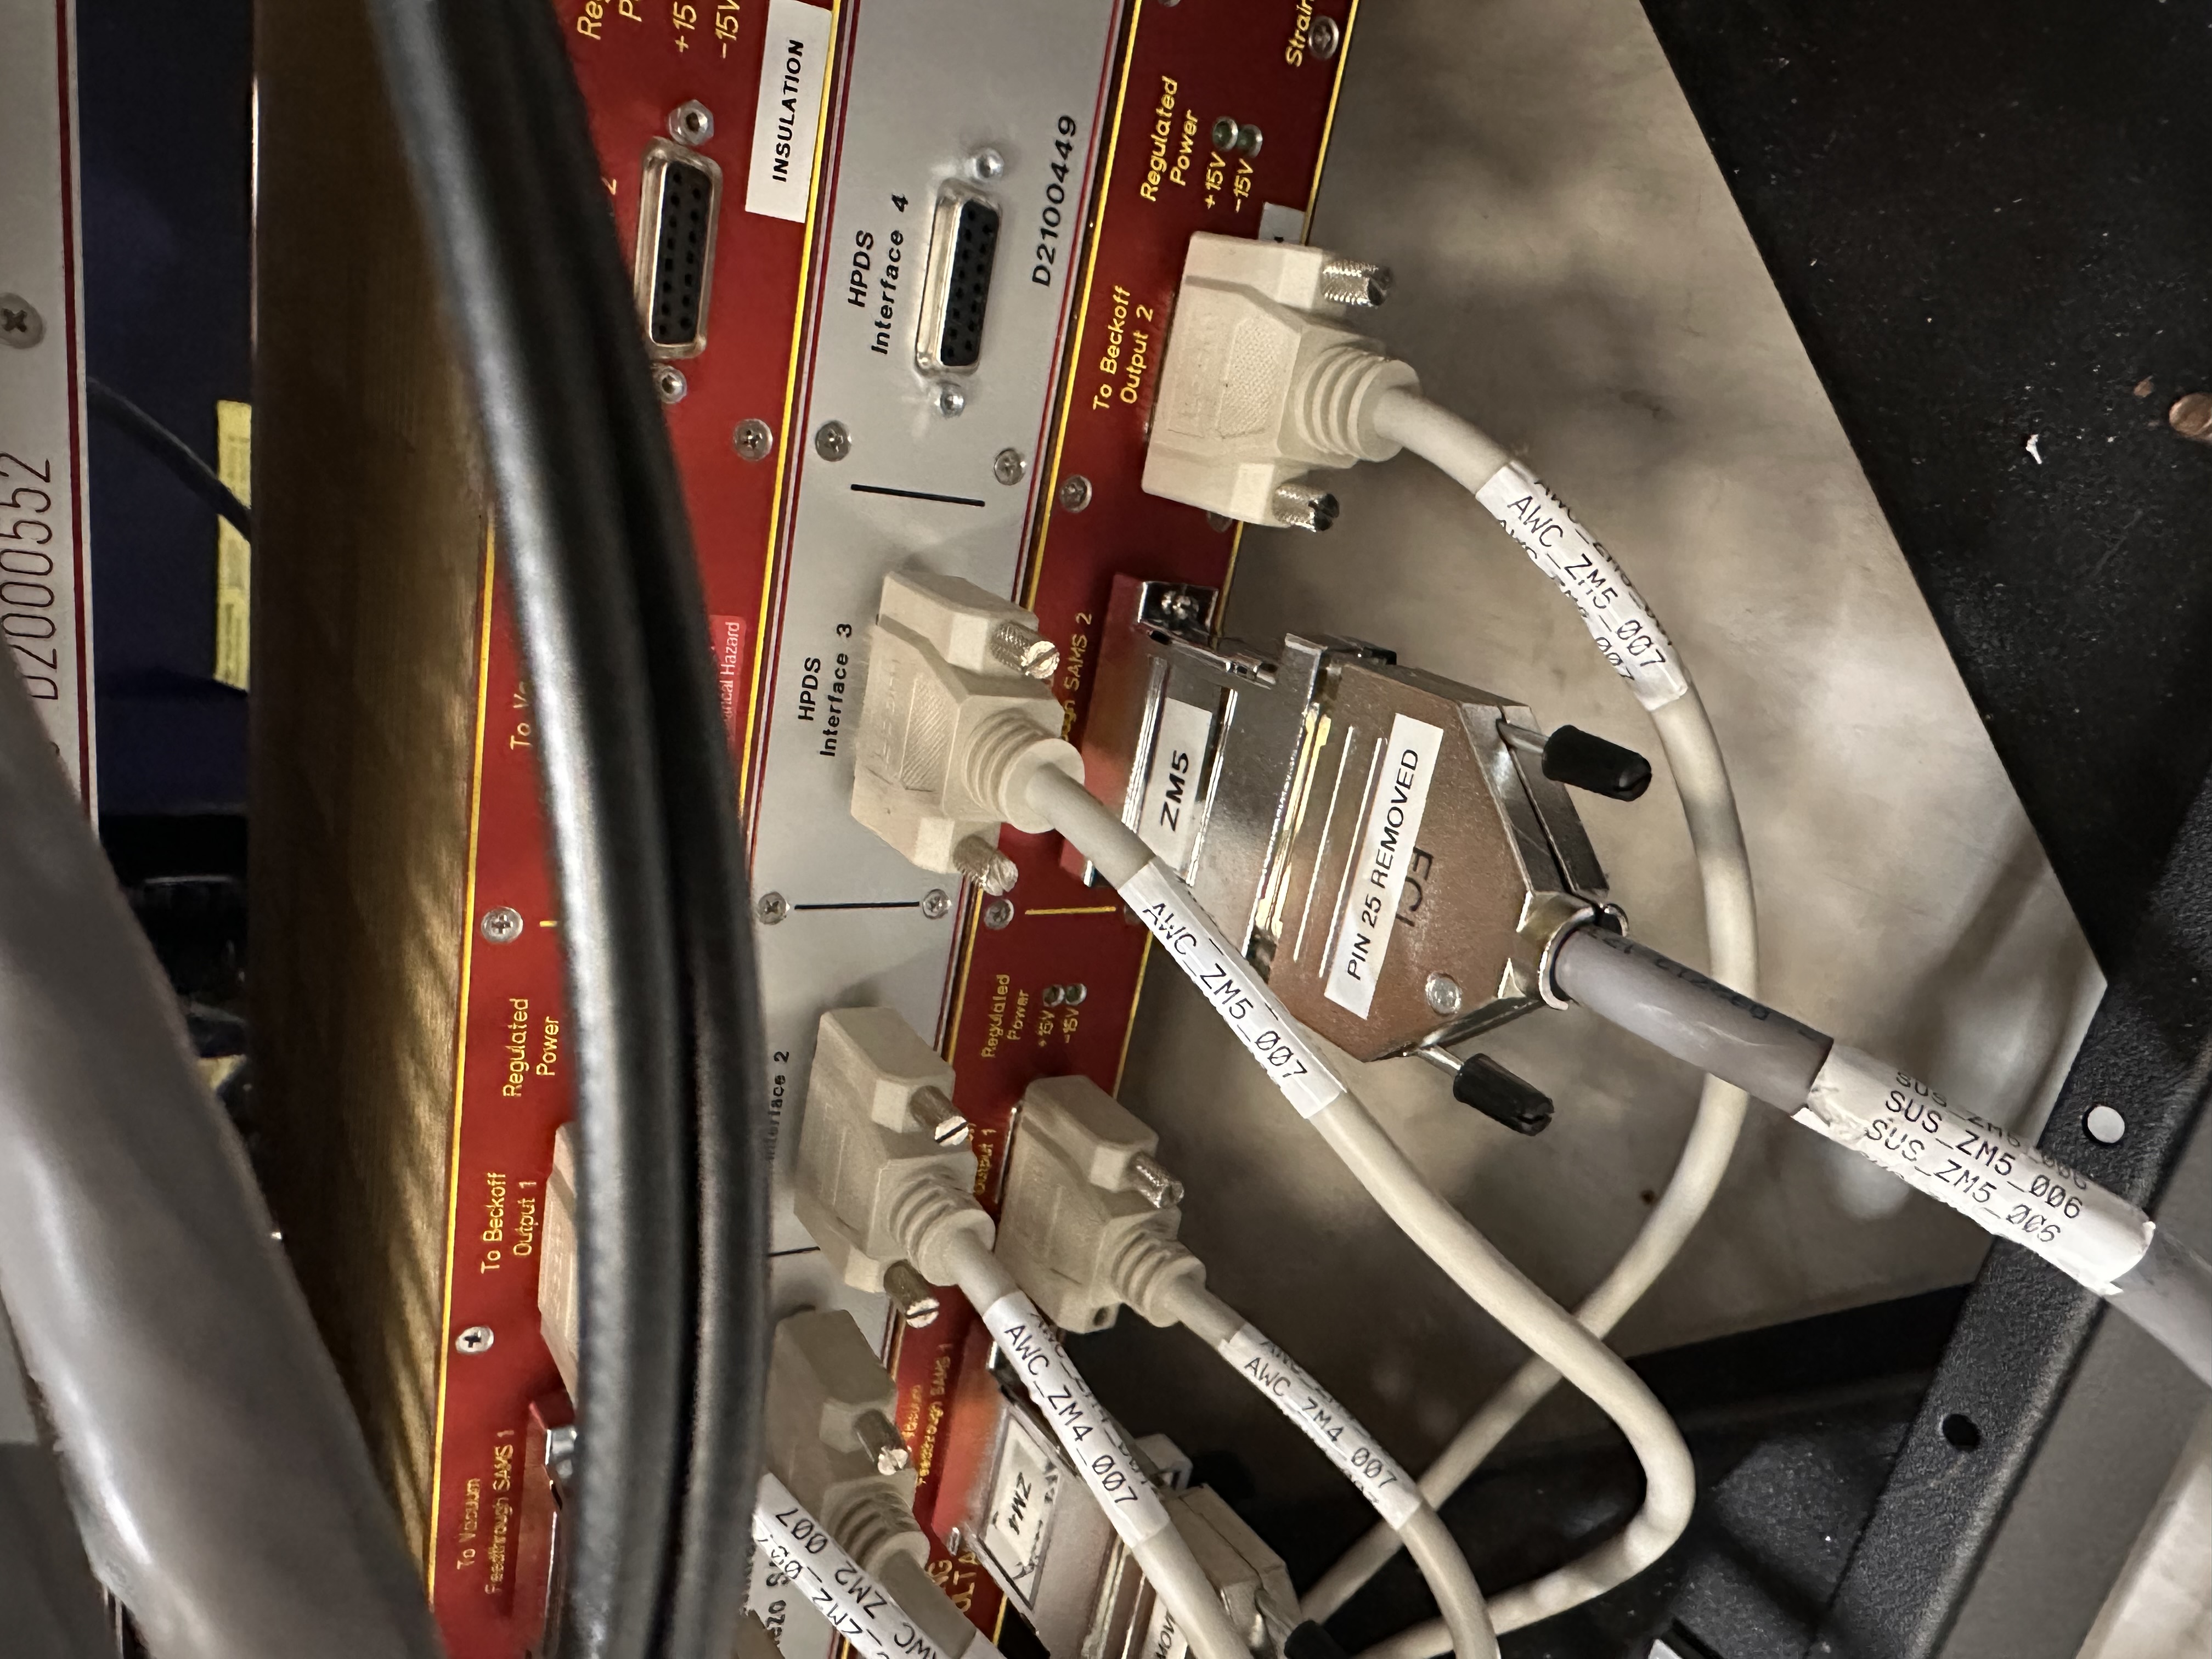
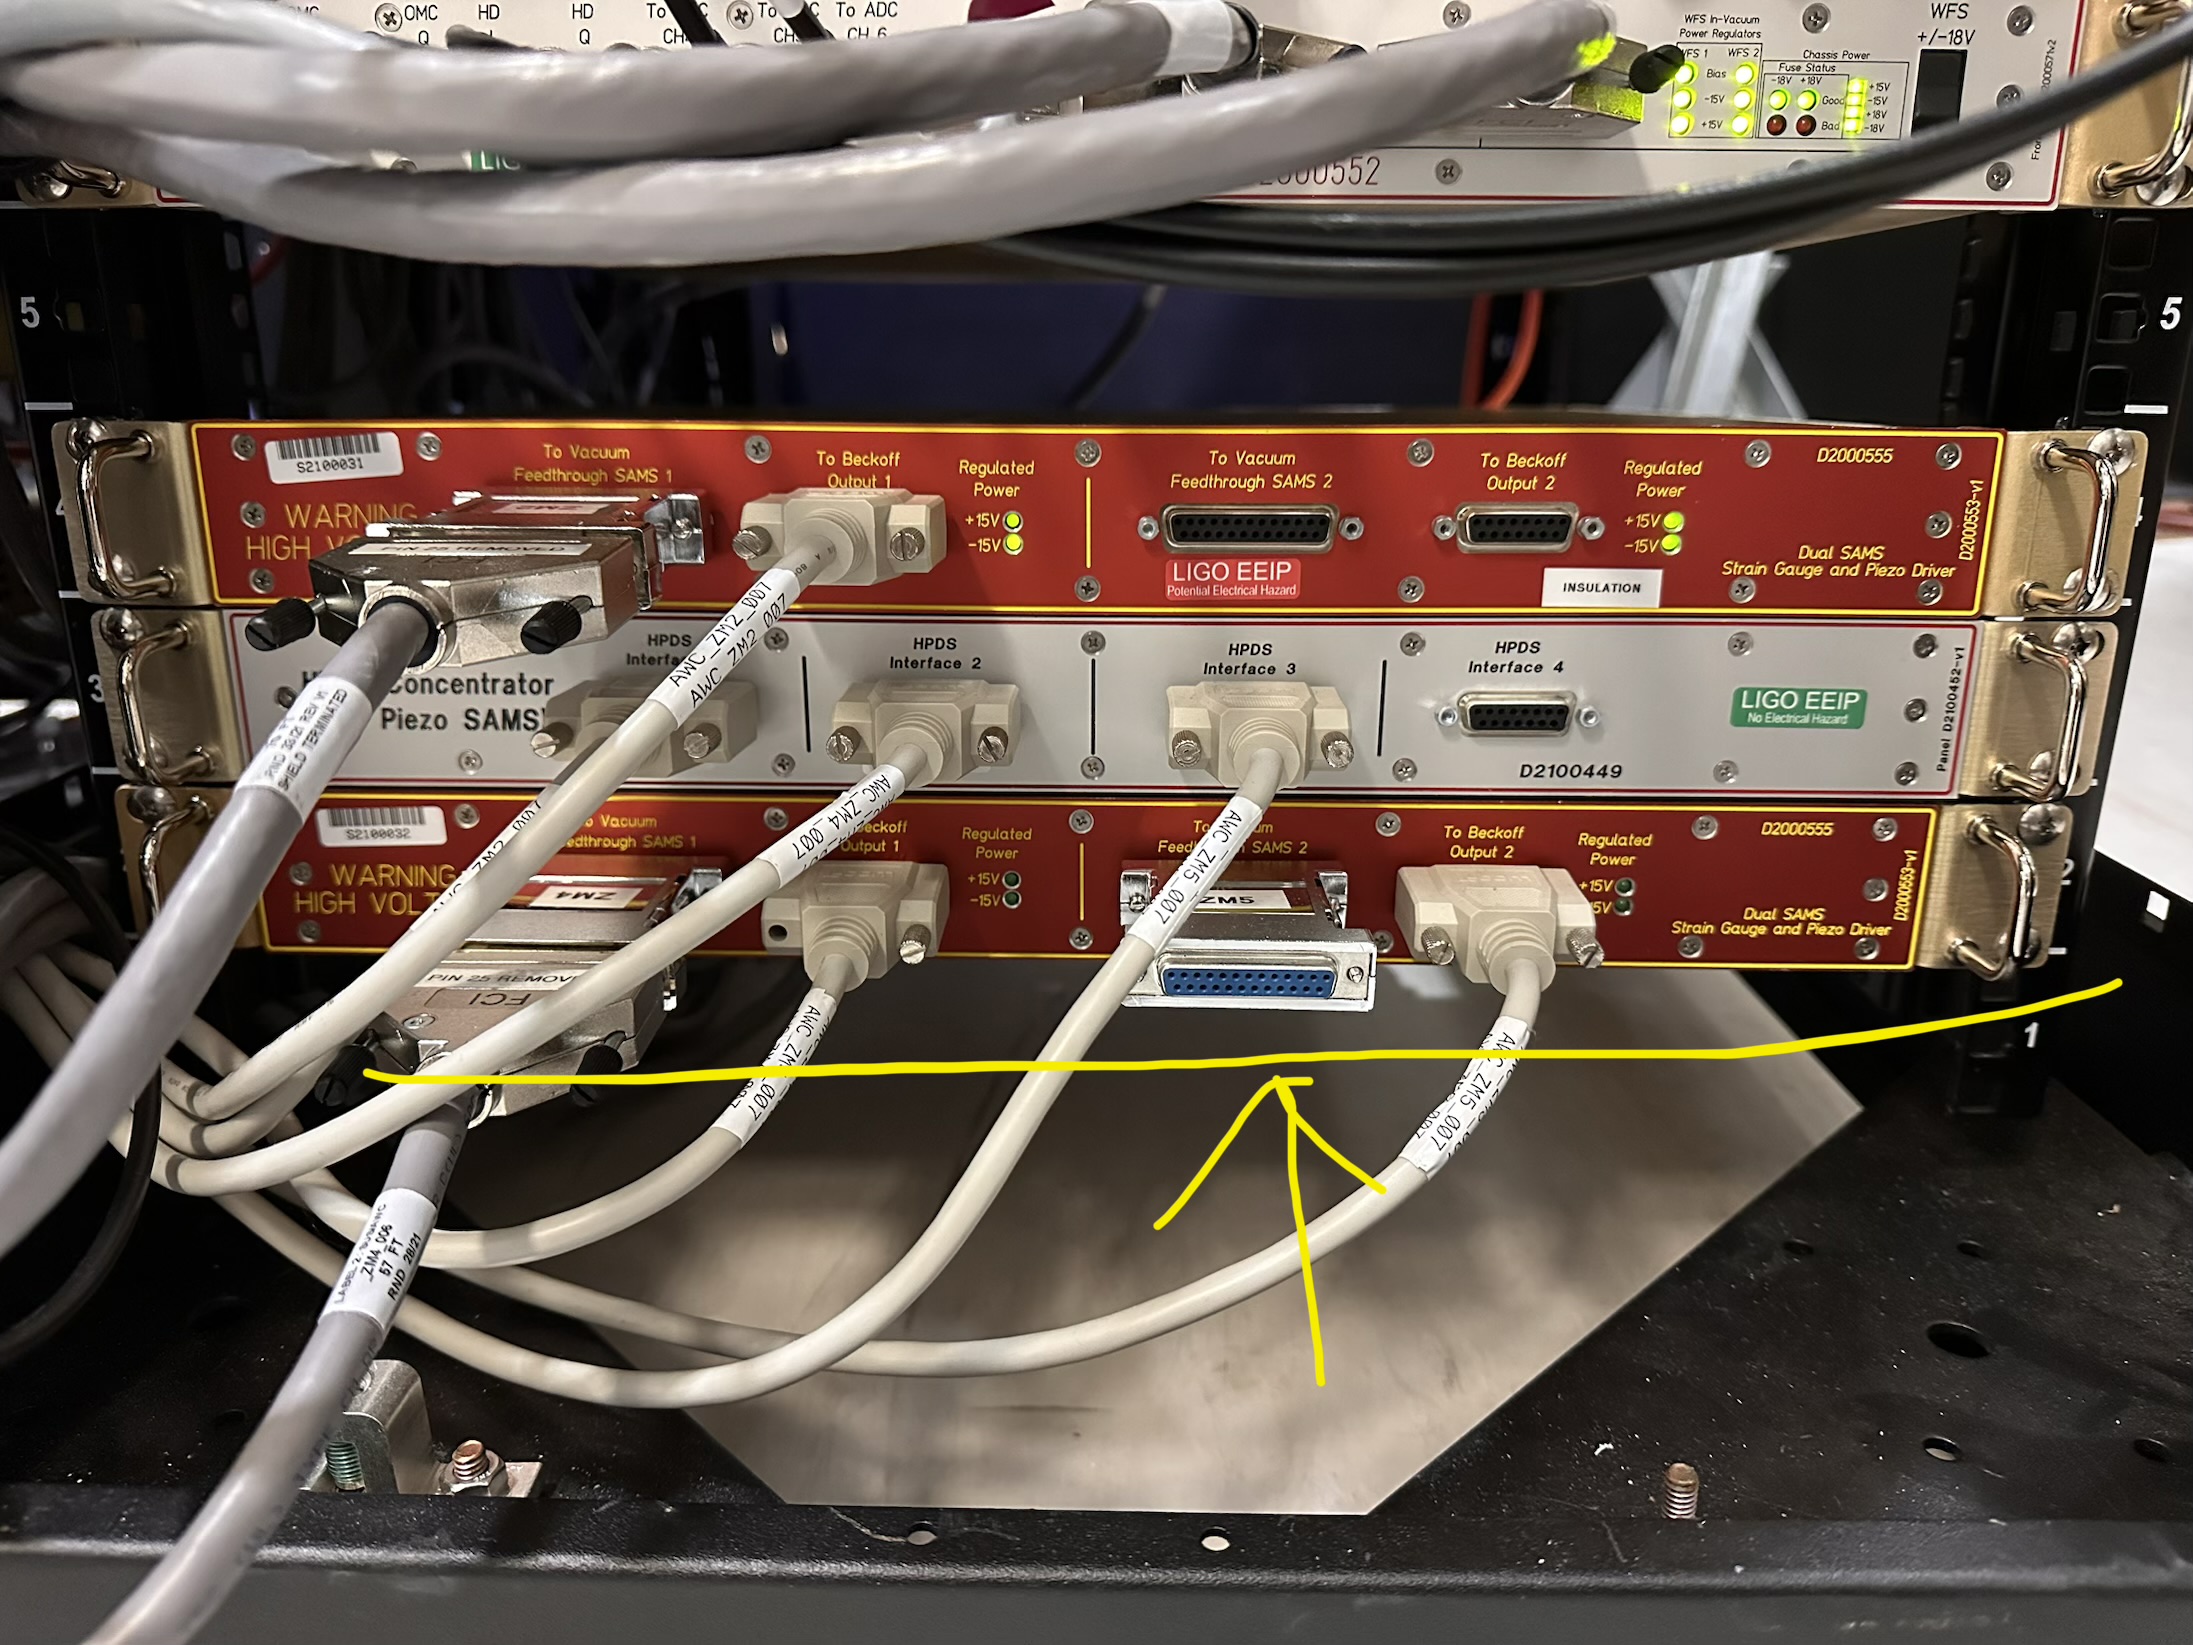
To measure the resistance of the strain gauge and confirm if anything is broken, I decided to check it chamber side (on the racks in the LVEA). To locate the chassis in the LVEA I referred to the A+ SUS HAM 7 (sush7) System Wiring Diagrams (D2000202_V12), page 04 (ZM5, M2 PSAMS). This document pointed me towards SQZ-R1, Slot U2, where the chassis D2000555 was located. At first, I switched off the chassis and then unplugged cable no 6 which was connected to the JIG Box (J8-Metal PCB Jumper Box DB25 Male female). Then I connected a breakout board to cable no 6. For measuring the resistance of the strain gauge, I looked into D2000383 to find the correct pins (Camille Makarem (CIT) also talked to the vendor and sent me the pin number, as given in E2500225). This is as follows,
700 Ohms between Ex+ and Ex-
350 Ohms between signal+ and Ex-.
From the pinouts in https://dcc.ligo.org/LIGO-E2500225, this should be
700 Ohms between pins 1 and pins 3/2
350 Ohms between pins 6 and pins 2/3
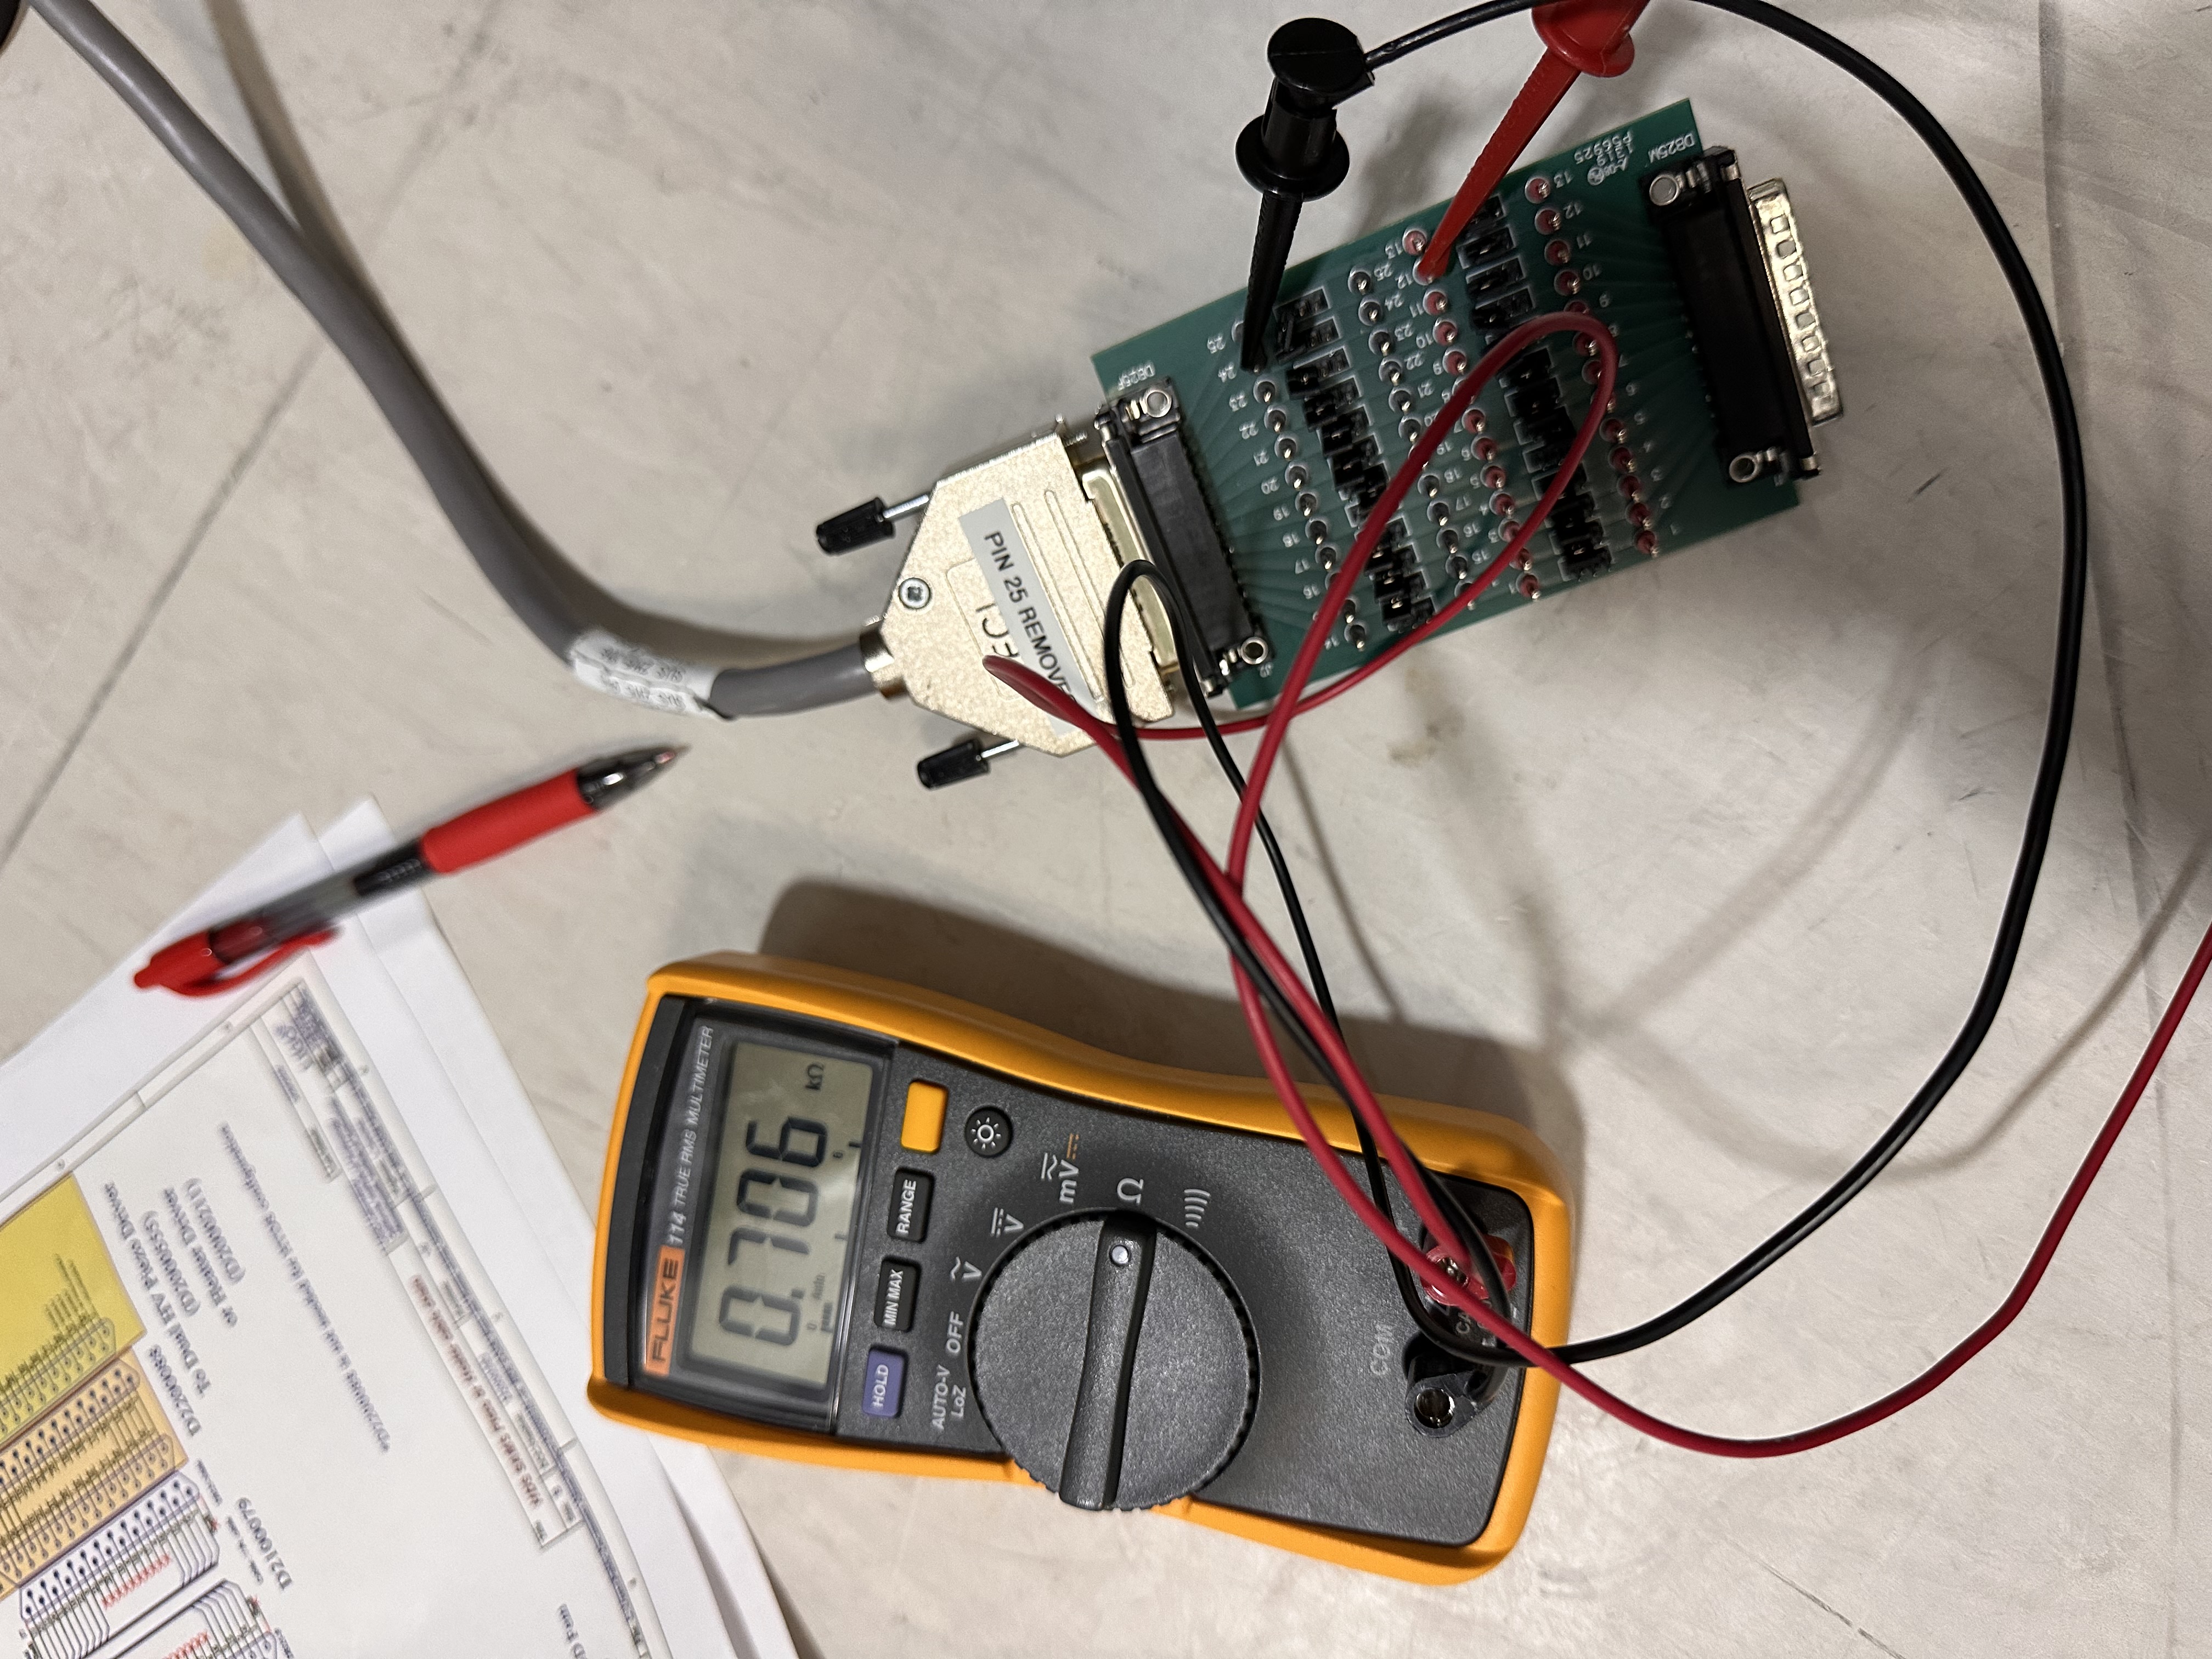
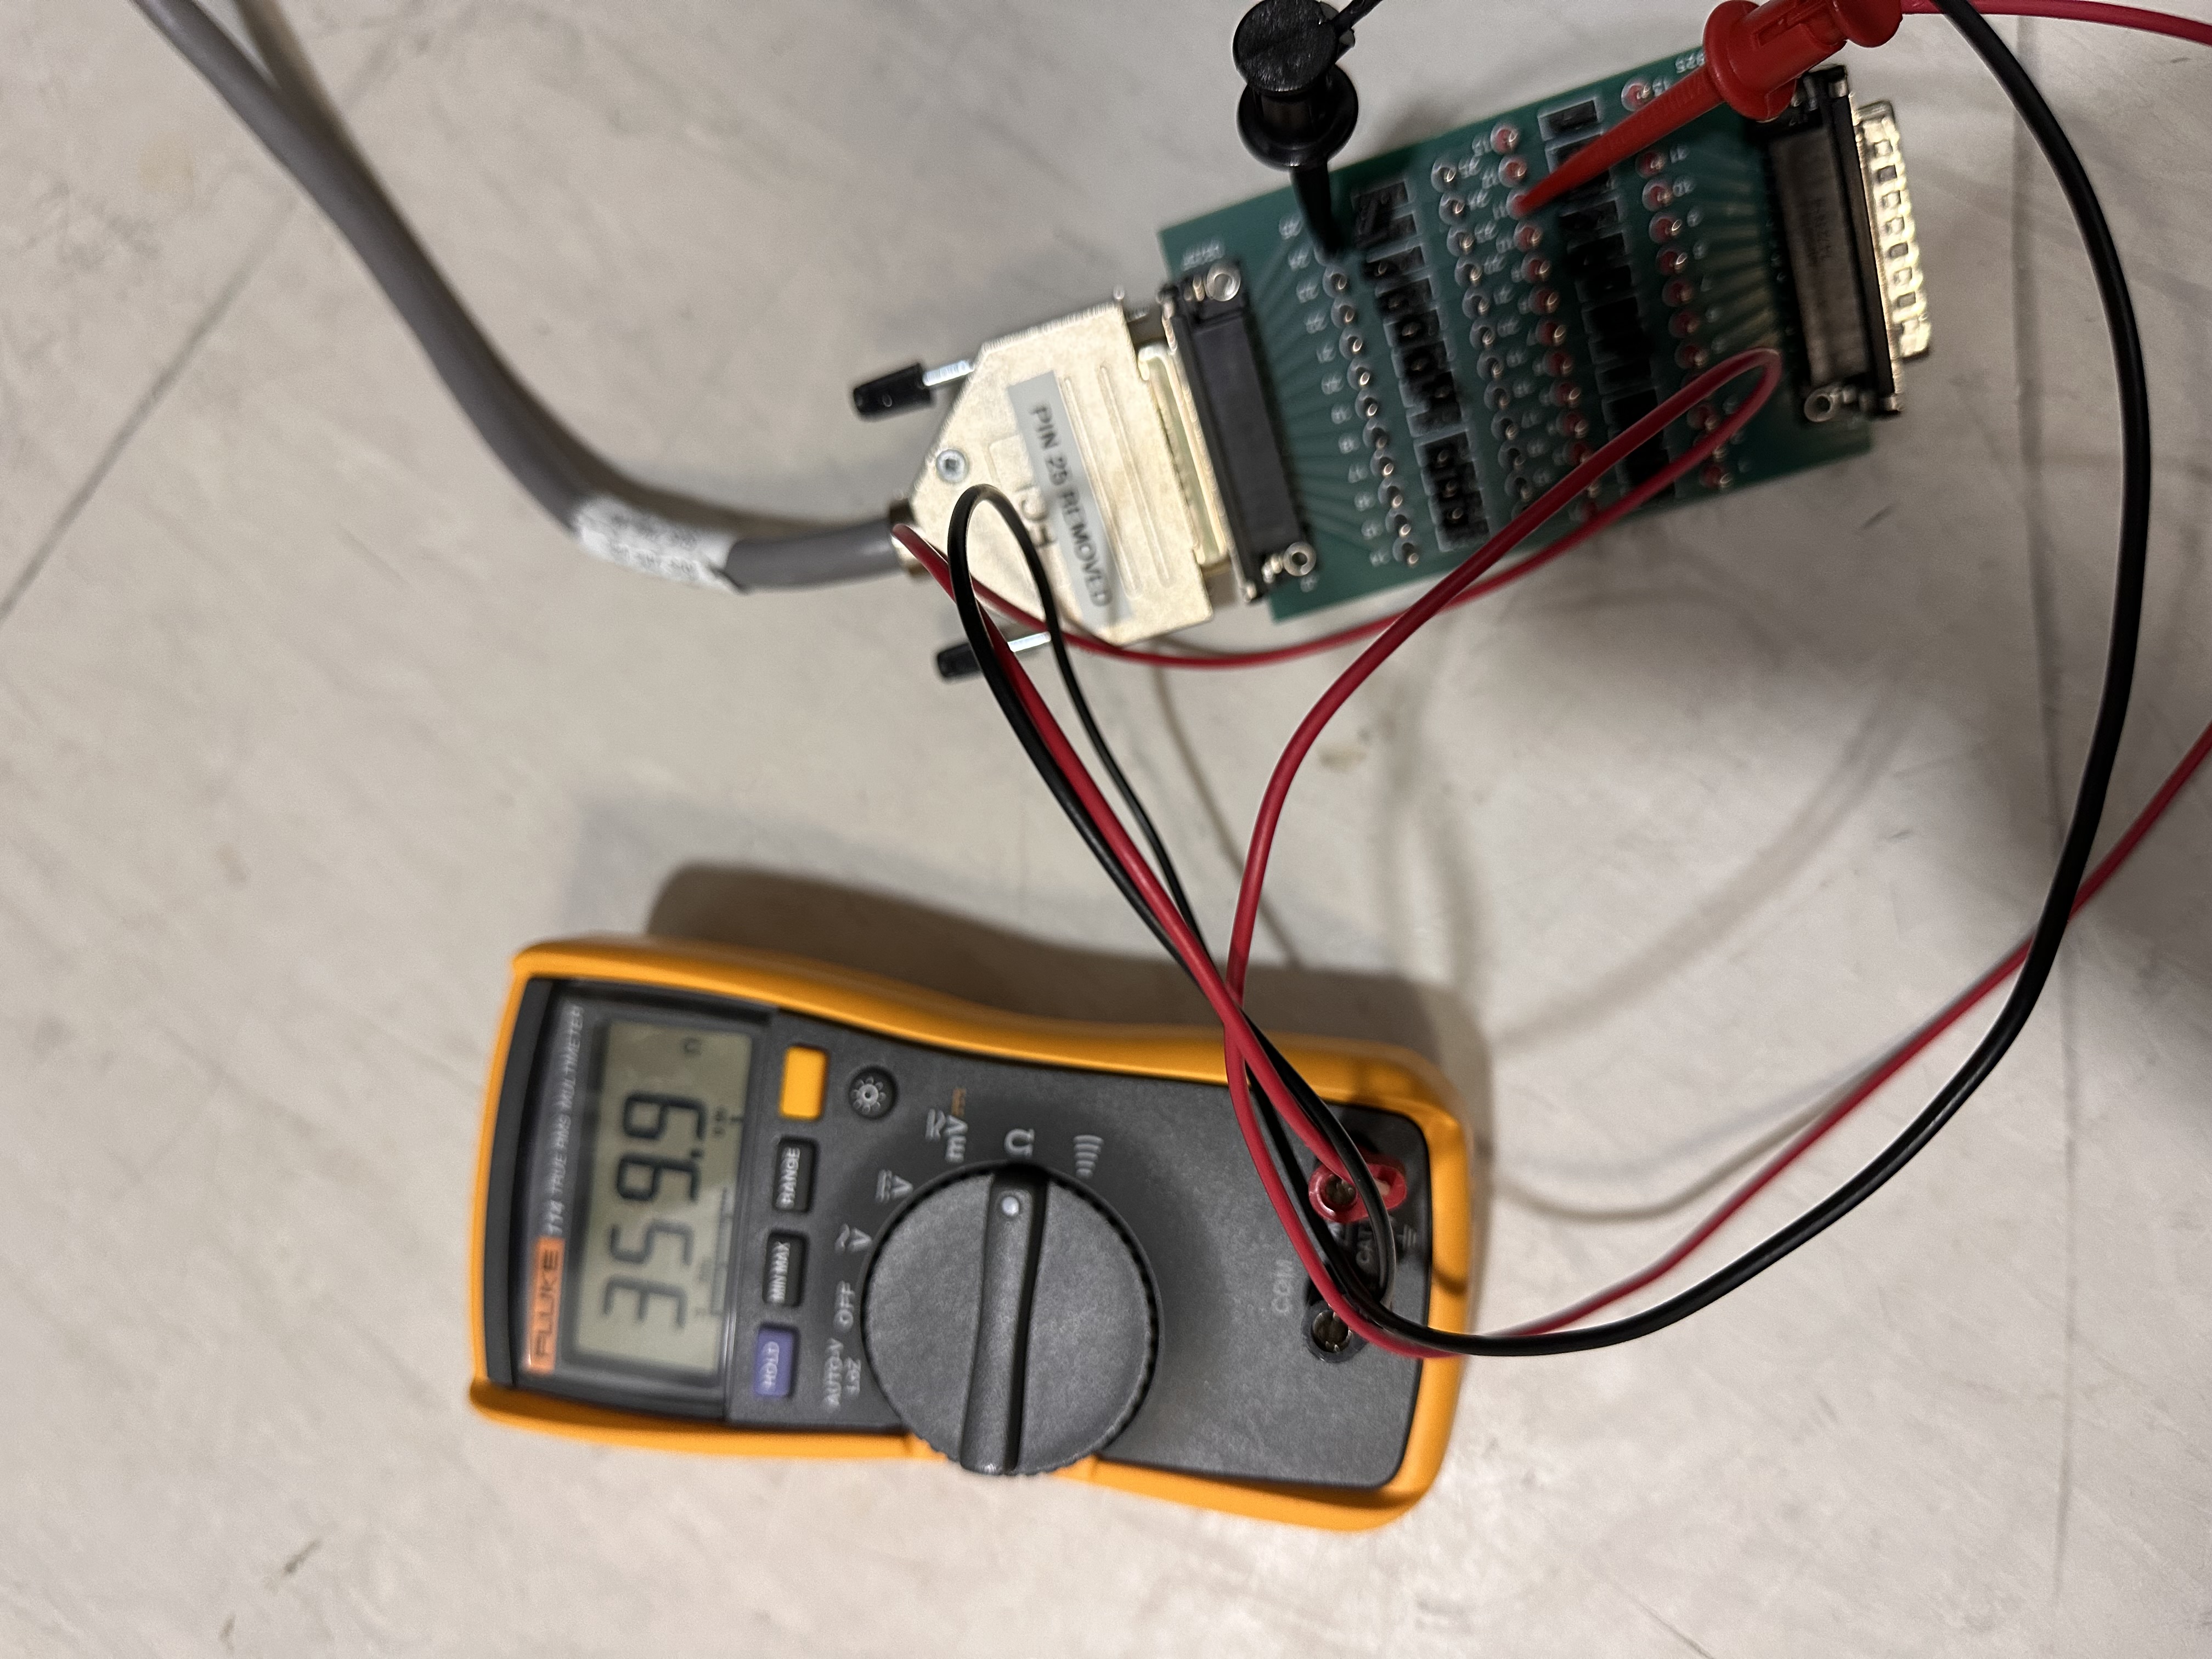
Chamber side this comes to be pin 12 & 25 and pin 11 & 25. Using a multimeter, I got the following readings,
Pin 12 & 25 = 706 Ohms (looks good)
Pin 11 & 24 = 360.5 Ohms (looks good)
The chassis was powered on after the measurements were complete and cable 06 reconnected to the JIG box and secured using two screws (which were missing). The above measured numbers are as per the strain gauge manufacturer. However, It could be possible that the soldering is coming off and giving us open loop sometimes, if not all times. We will continue to investigate this issue and if we are not able to fix it then the plan is to replace it with a spare unit. A spare ZM5 PSAMs unit is currently being prepared by Camille Makarem and should be shipped to LHO within a day or two. We will then start working on swapping out the faulty unit with spare one, in-situ.
Typo above - correct pins are 12 & 24 = 700 ohm
and pin 11 & 24 = 360ohms
WP 13381
The CRS laser was tied to the site safety interlock system. The local e-stop button on rack TCS-R2 was removed.
Once HAM3 is balanced, and the ISI sensors and plants are checked, we'd like to take a 1mHz resolution Ry to Ry transfer function of the CRS to verify its response, and infer if the Center of Mass is below the Rotation Point. The measurement consists in driving Ry of the ISI and normalizing the CRS response to the Ry drive with the CPS response to that same drive (which is flat in the 1mHz - 1Hz region)
A template for this measurement was created under the folder :
/ligo/svncommon/SeiSVN/seismic/HAM-ISI/H1/HAM3/CRS/CRS_tilt_TF_070626.xml
Ideally those measurements would look like the ones we measured at MIT (see https://alog.ligo-la.caltech.edu/SEI/index.php?callRep=2564)
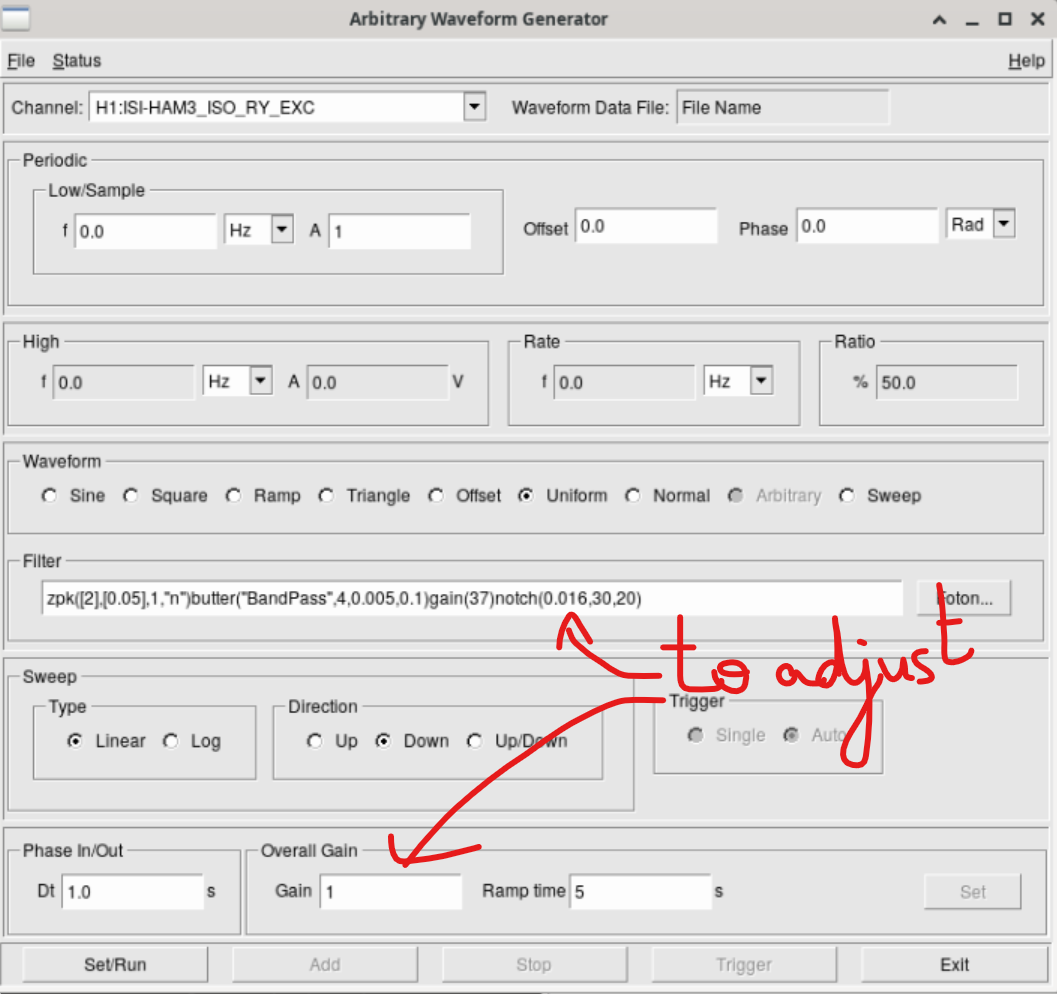
The excitation is running through the RY ISO exc point with the ISI damped with the following awggui template :
/ligo/svncommon/SeiSVN/seismic/HAM-ISI/H1/HAM3/CRS/ry_exc.txt
(open awggui from this folder ->File->Open Configuration-> Select ry_exc.txt)
The first number in the notch filter notch(0.016,30,20) will need to be adjusted to the actual CRS frequency. The excitation gain in the 'overall Gain' will also need to be adjusted to minimize saturation, and maximize coherence with the CRS.
"configure channels for plot" on the right-click popup menu is working with scatter plots. There's a new column that shows which channel is the X axis channel. You can click on the column to switch the X axis to a different channel.
TITLE: 07/06 Day Shift: 1430-2330 UTC (0730-1630 PST), all times posted in UTC
STATE of H1: Planned Engineering
OUTGOING OPERATOR: None
CURRENT ENVIRONMENT:
SEI_ENV state: MAINTENANCE
Wind: 13mph Gusts, 8mph 3min avg
Primary useism: 0.03 μm/s
Secondary useism: 0.08 μm/s
QUICK SUMMARY:
Dust alarm was going off and HPI PUMP EX Pressure Diff PSI is saying it's invalid
Mitchell, Robert
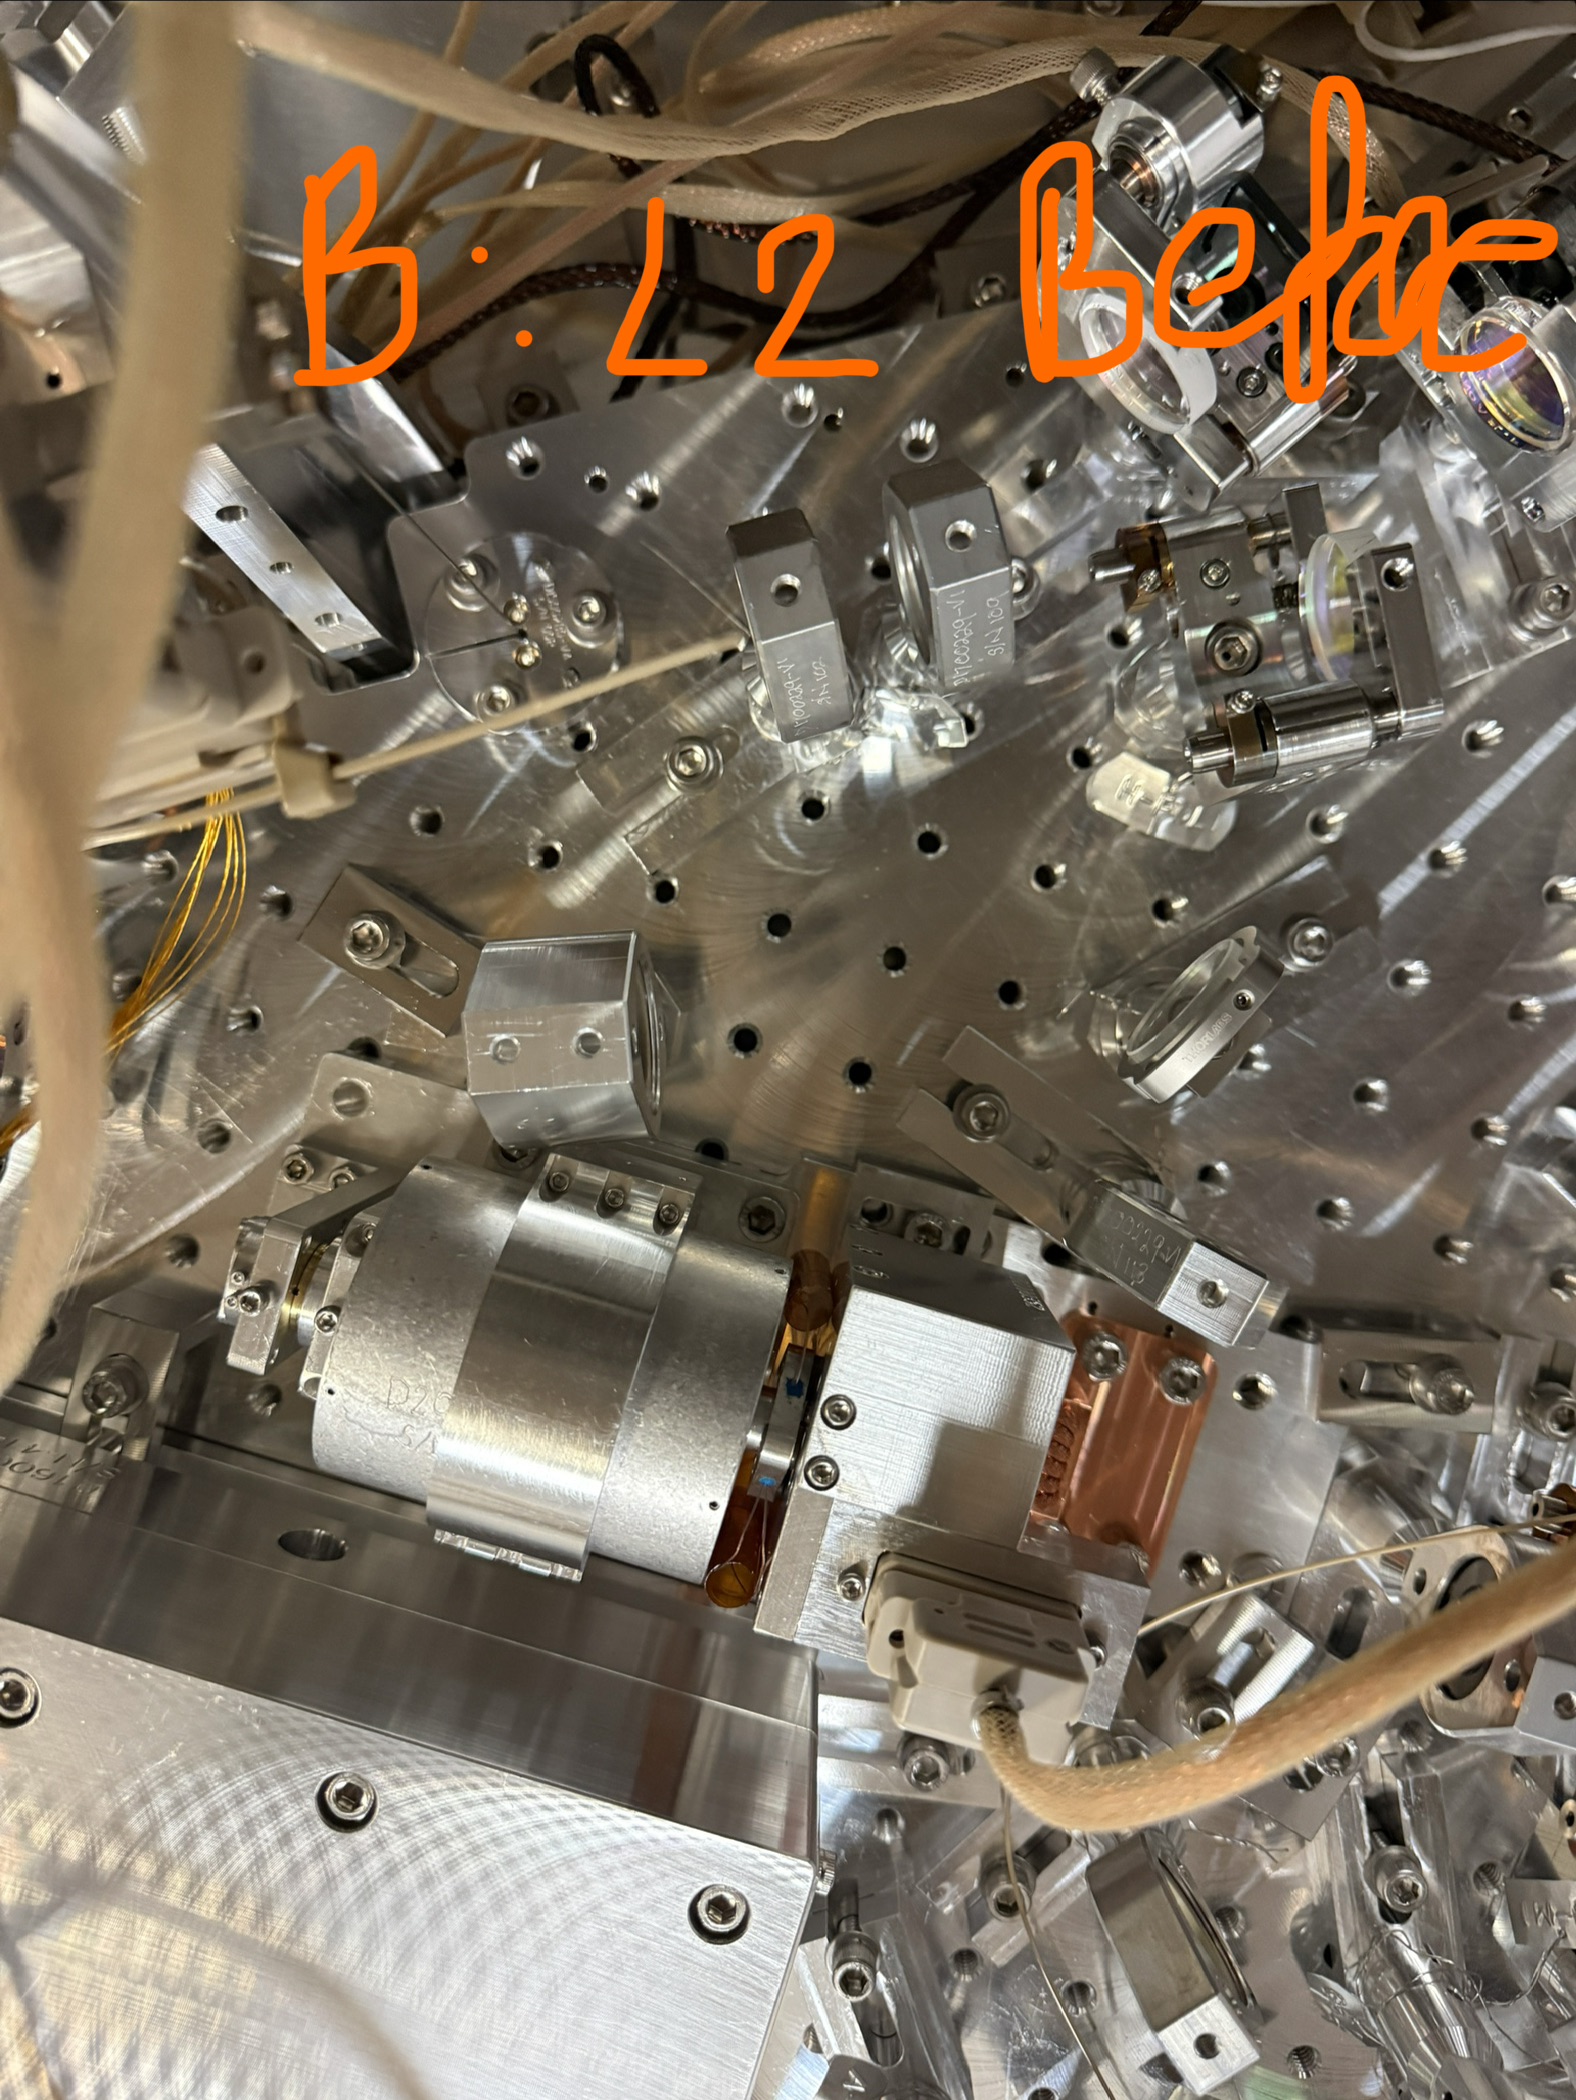
Mitchell and I completed our baffling work on HAM3 on Thursday. This included installing and aligning baffles on the +X and -X sides of HAM3 and baffle extensitons of the PR2 scraper baffle. In addition, we fixed a retroreflection of light scattered from the PRM by an optic on the POP path (90193) and we "baffled" two of the SPI baffle bracket ends that were retroreflecting light to the BS (90787). The figure shows "before" and "after" these two fixes. Alignment was checked with beamspot photos from PRM, PR3, MC1 and 2 and BBS. I also checked the baffling of the CRS, and I found no significant problems. I have examined the photos, but most of the figures are not finished and will have to be in a subsequent log.
Patrick upgraded the EX HEPI Pump Controller system this week, which resulted in a name change for its EPICS channels and an EDC disconnect count of 276. For the long weekend I've added these missing channels to the edc_green_ioc which has greened up the EDC and removed the disconnect count alarm. Next Tuesday we will restart the DAQ with the latest H1EPICS_HEPIPUMPEX.ini file to trend the new channels.
-Flexures installed SN 21, SN 22, they have survived throughout the day (I haven't unlocked the CRS since moving to the table, but visually they look fine)
- I re-balanced the CRS so there is now a new distribution of masses on the proof mass
-The CRS is semi-bolted on the table, we haven't put any dog clamps down, but there is one place where the CRS can be bolted directly into the table
-Temperaraly put baffles on, on baffle SN 001 had to remove one of the bolts to fit it around a pre-existing optic on the table
-Fil, Mitchell and I got the out of vacuum fiber all cabled up, however, later in the day when we tested the laser power at each point of the chain, it looked like light wasn't making it through the fiber. We have been using this fiber for testing chamberside so if it's an issue with the fiber it started today.
-We turned on the laser briefly to look at the power at each point along the chain:
OUT OF LASER: 20.5mW
OUT OF VAC FIBER: 7um
Which means there's either a issue with the 27m out of vac fiber, or the connector between the laser and the fiber
The plan for Monday is to first switch out the connector and hope that was the issue. If that doesn't fix it, I'll look for another temperary fiber to use to at least get the HoQIs aligned and deal with the broken fiber later.
We did use the long 27m patch fiber for chamberside testing, and it worked well.
There is an other 5m PM fiber on the cart nearby you can use to verify if it's a problem with the connector or the fiber itself.
I would also inspect the fiber ferrules of the long fiber with a fiber microscope to check for damages.
Very good news:
The issue was the connector, it looks like the issue was from the fibers not sitting flush with eachother, most likely due to where we were placing the connector (in between some holes in the rack, but once removed and re-connected power traveled through the fiber perfectly (tested with the 5m fiber and got the same results). In the the power reading for the out of vac fiber is:
OUT OF VAC FIBER: 18.86mW
I've turned off the laser to let the crew working in HAM3 right now do so without glasses and once they are done I'll go back into HAM3 and test the rest of the chain and start aligning the HoQIs
We finished getting all the cables and fibers connected and tested. Both HoQIs give data and are connected to the right channels (left HoQI=HoQI1, right HoQI=HoQI2).
The in vacuum fiber splitter is very difficult to work with, when trying to get it to spool or lay neatly on the table it would constantly stick to every other table component just due to static, and is insanely difficult to keep organized and out of the way so in the future having something dedicated to spool the fiber around is necessary
The power at each end of the spilter is:
HoQI 1 (Left): 5.2mW
HoQI 2 (Right): 4.7mW
The HoQI themselves are still roughly aligned, with HoQI 1 averaging a fringe visibility of ~71% and HoQI 2 ~82%, I didn't finish aligning them this evening, but I'll do it first thing tomorrow morning before doing the final balancing and doing transfer functions tomorrow night.
The CRS laser is OFF
TITLE: 07/02 Day Shift: 1430-2330 UTC (0730-1630 PST), all times posted in UTC
STATE of H1: Planned Engineering
INCOMING OPERATOR: None
SHIFT SUMMARY:
LVEA is Now Laser Hazard!
BSC2 Bolts are now on!
VAC team is getting ready to close up BSC2.
ITMS ISI's are balanced
ITMY Hardware watchdog trip immenant 19:09:00 UTC
ITMY Hardware watchdog trip 19:12:59 UTC
HEPI pump at EX alarmed after Fil told me he was gonna Fiddle around with it at EX.
Vacuum at EX was taken down by Fil's EX HEPI work the same way as yesterday's EY HEPI, VAC Power glitch issue.
CRS team is still inside HAM3.
End X is now Laser Safe again and the TCS team is heading back to the corner.
LOG:
| Start Time | System | Name | Location | Lazer_Haz | Task | Time End |
|---|---|---|---|---|---|---|
| 15:20 | OPS | TJ | CR | n | Reservation test | 15:48 |
| 15:30 | JOT | Camilla | Prep LAB | n | Jack of all trades work | 16:30 |
| 15:31 | FAC | Kim | LVEA | N | Technical cleaning and resupply | 17:58 |
| 15:51 | PCAL | Tony | PCAL lab | y | checking on meas. | 15:51 |
| 16:02 | FAC | Tyler | PrepLab | N | Drilling Holes in the Jot Lab | 16:47 |
| 16:23 | CPS | Jim | LVEA HAM3 | N | CPS Install work | 20:08 |
| 16:47 | VAC | Gerardo | LVEA | N | Working on CP1 and other VAC stuff | 19:47 |
| 16:54 | VAC | Jordan & Travis | LVEA | n | taking down AUX carts from HAM1&2 Anualus | 17:28 |
| 16:56 | CHEETA | Camilla | PREP Lab | N | First contacting ZnSe | 17:58 |
| 16:59 | Safety | Mc Carthy + 3 | Roof | N | Firelook out and other Roof viewing. | 17:31 |
| 17:02 | CRS | Shoshana | LVEA HAM3 | N | Installing CRS | 20:08 |
| 17:13 | SEI | Jim | LVEA | N | BSC1 and 3 New balance! | 20:13 |
| 17:17 | PEM | Robert, Shrey, Carlos | End X | N | PEM work | 18:58 |
| 17:47 | IFO | Betsy | LVEA | n | Coordinating with crews on the LVEA floor & walk about | 00:09 |
| 18:07 | BCS | TJ | LVEA | N | balanceing the BSCs | 20:31 |
| 18:55 | TCS | Camilla | PREP Lab | N | First contact ZnSe | 19:09 |
| 20:07 | VAC | Jordan & Gerardo | LVEA HAM2 | N | Checking View ports. | 21:07 |
| 20:15 | VAC | Travis | LVEA | N | BSC2 dome Bolts! | 22:41 |
| 20:15 | CPS | Mitchell | LVEA HAM3 | N | Installing CPS | 20:48 |
| 20:19 | EE | Fil | EX | N | HEPI Beckhoff | 22:19 |
| 20:29 | PEM | Robert | LVEA HAM3 | N | Baffling work | 00:39 |
| 20:35 | PEM | Ibriham | LVEA | N | Cleaning up first contact | 21:57 |
| 21:08 | SUS | Rahul | Output arm | N | Measurements on ZM5 | 21:59 |
| 21:11 | OMC | Disha & Keita | LVEA HAM6 | N | making measurements. | 22:00 |
| 21:15 | Cheeta | Camilla | Prep lab | N | First contacting | 23:15 |
| 21:17 | Safe tea | Richard Gerardo | LVEA | N | Checking on some safety Items. | 21:27 |
| 21:22 | SEI | TJ & Jim | LVEA BSC3 | N | Balancing ISI's and shaking SUS ITMX | 23:22 |
| 21:28 | CPS | Mitchell | LVEA HAM3 | N | Installing CPS | 23:20 |
| 22:36 | VAC | Jordan & Gerado | LVEA | N | Setting up annulus pump | 22:41 |
| 22:37 | TCS | Camilia Madie | EX | yes | Working on Hartmann | 00:42 |
| 22:57 | CRS | Shoshana | LVEA | n | quick in and out to push buttons | 23:12 |
| 23:08 | VAC | Jordan | LVEA | N | Parts hunt | 23:14 |
| 23:36 | CRS | Shoshana | LVEA | Yes | CRS work | 00:36 |
The bolts for the BSC2 dome were torqued. The annulus system is being pumped by a small turbo and the tiny pump station which is up on the E-module.
While I was up there, I also replaced a gasket and torqued a 4.5" blank on the gauge adapter ports metal-to-metal. The blank was very gappy, so we wanted to eliminate the possibllity of any leaks. See pics for before and after. Yet another flange that will need to be leak tested.
ECR E2200043
A RIB2401D relay was installed at EY for monitoring the HEPI reservoir level on 7/1/2026. The same scheme is used in the corner station. The RIB2401D relay is enabled by the reservoir level sensor. The outputs of the RIB2401D will be used to enable the motor control panel and status readback signal of the level sensor. The EL1094 terminal was replaced with EL1004.
While installing the new RIB2401D relay we glitched the 24V. This caused the Vacuum Beckhoff computer to reboot. See alog 90866.
D. Barker, F. Clara, P. Thomas, J. Vanosky
Same work completed at EX. Vacuum Beckhoff computer glitched, same as EY.
[Jim, Shoshana]
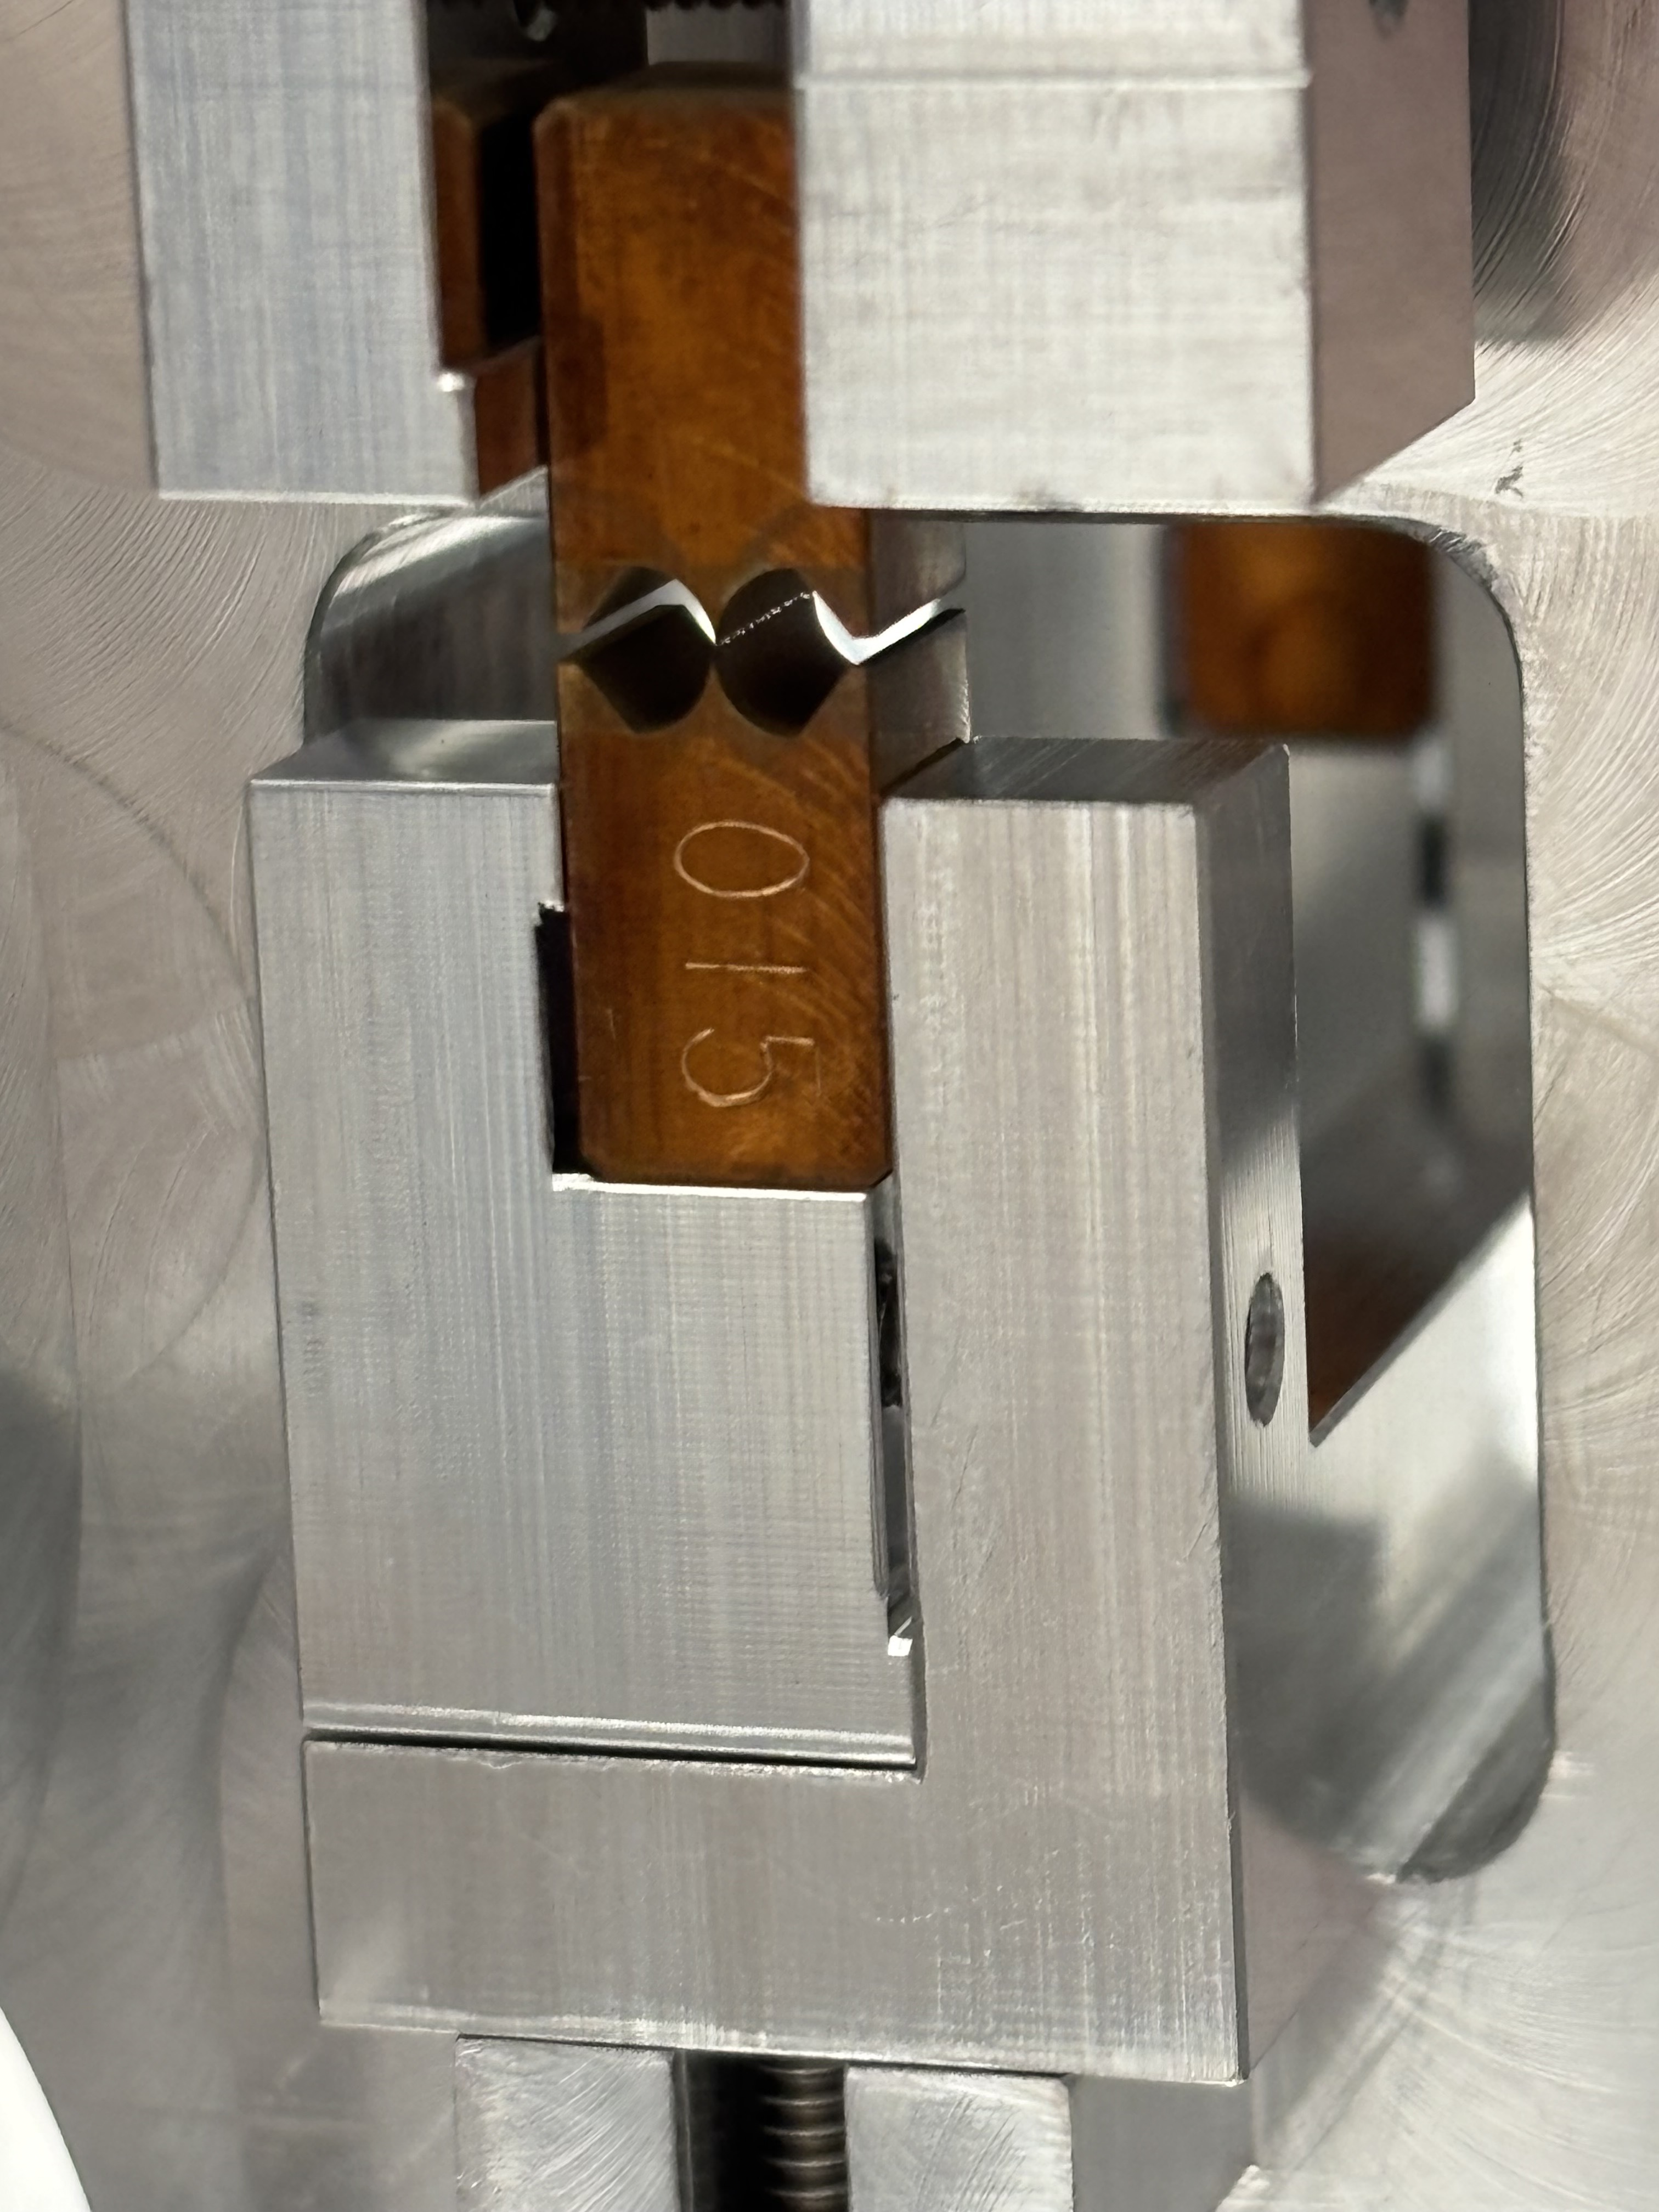
Yesterday when I went to put the cover on the CRS to get it ready to move to the clean area right next to HAM3, I noticed one of the flexures (SN 15) was broken [picture attached]. It's unclear how this flexure broke as it had been locked since last Wednesday (?), and it is strange that only one flexure broke.
We decided that it would be better to install a new pair of flexures and re-suspend next to the chamber rather than in the temporary clean room to reduce the risk of them breaking again. So today we wheeled the table the CRS is on to the space next to HAM3 and I re-suspended the CRS there and roughly balanced it.
Following the procedure outlined in E2600210 and work permit 13356, we moved the CRS to the table and lined everything up so that the CRS baseplate can be bolted directly to the table in one spot.
We installed the fiber feedthrough, and dealt with all the cabling (fiber and DB25) that required Jim to be physically inside the chamber and we'll install the rest of the cable clamps which we can reach from outside the chamber tomorrow and finish connecting all the cables and dog clamping the CRS down (hopefully)
(Jordan, Gerardo)
We inspected the 5 viewports on the west door of HAM2.
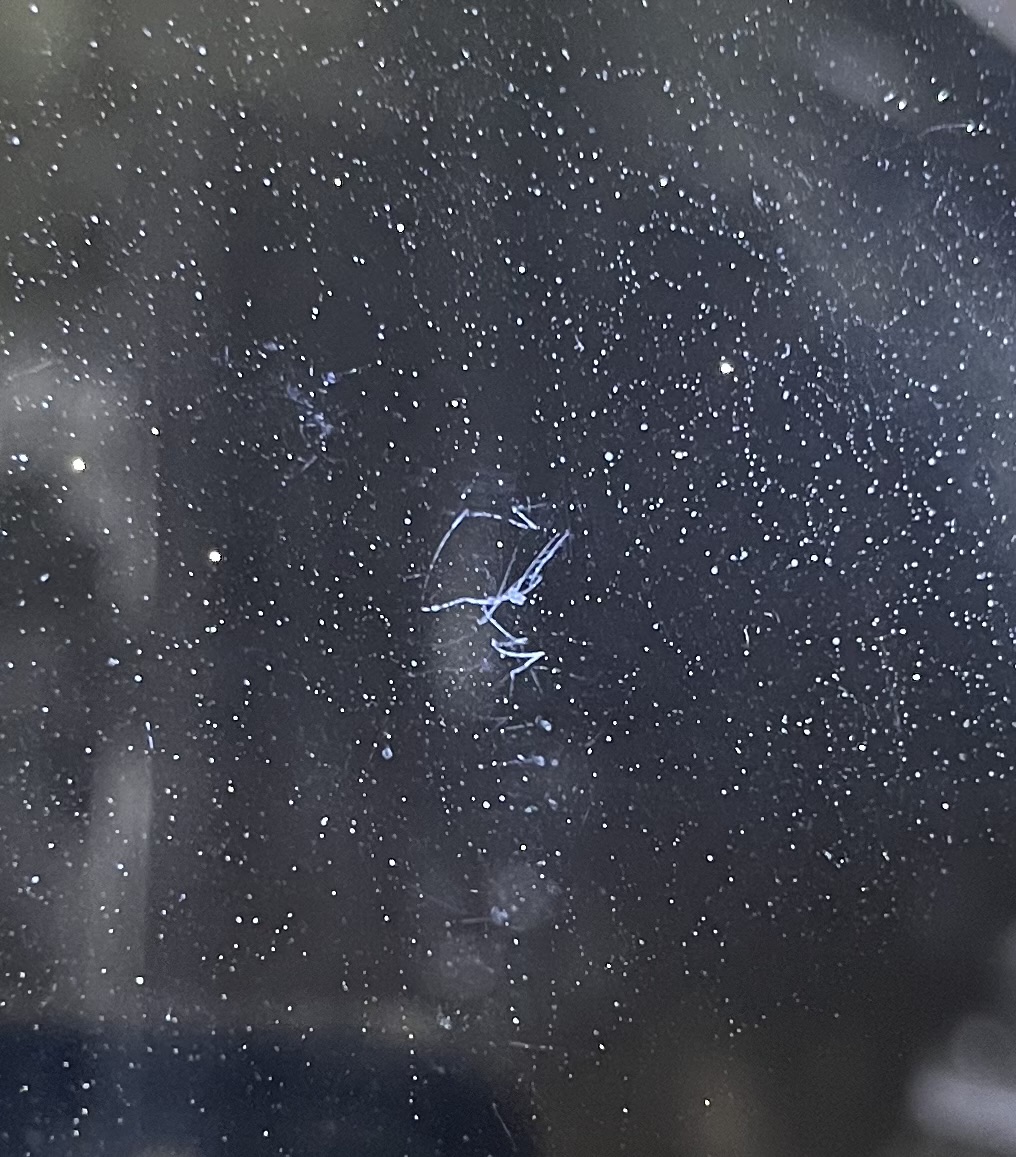
We found on viewport A1F4 the typical smudge or print left by first contact the print appears to be on the inside, but not the vacuum side (this VP has two windwos). We also noted a scratch on the outside window (not under vacuum), around 1 O'clock and about 3/4" away from the edge, we contacted Keita who was walking by the area and we asked him if the location of the smude/scratch were on the path of beam, no they are not. BTW, VP4 is a high quality wedged viewport, a double window, type D1101714.
Then on A1F2 ZV-800 viewport we noted some scratches, something was dancing on the window, since it appears as a single scratch with multiple turns. This viewport was removed and replaced with a spare ZV-800 type. SN of new unit is 0098, old scratched and full of particulate viewport serial number 63.
All other viewports nothing to report, A1F1, A1F3, A1F5.
(Jordan, Gerardo)
Both viewports were removed to get a closer look on the bench, both have several scratches on both surfaces (vacuum side and air side), we are trying to quantify the defects. More on the inspection on the next couple of days. Locations of viewports are A2F1 and A2F4. The rest of the ports have blanks.
Pictures of the A2F1 (ZV800 SN 80 Uncoated) and A2F4 (ZV-800 SN81 Uncoated) viewports on HAM2 for reference. Full inspection report will be made and posted to the DCC now that the viewports are removed. We are evaluating potential replacements.
Jennie W, Jeff K, Josh F, TJ S,
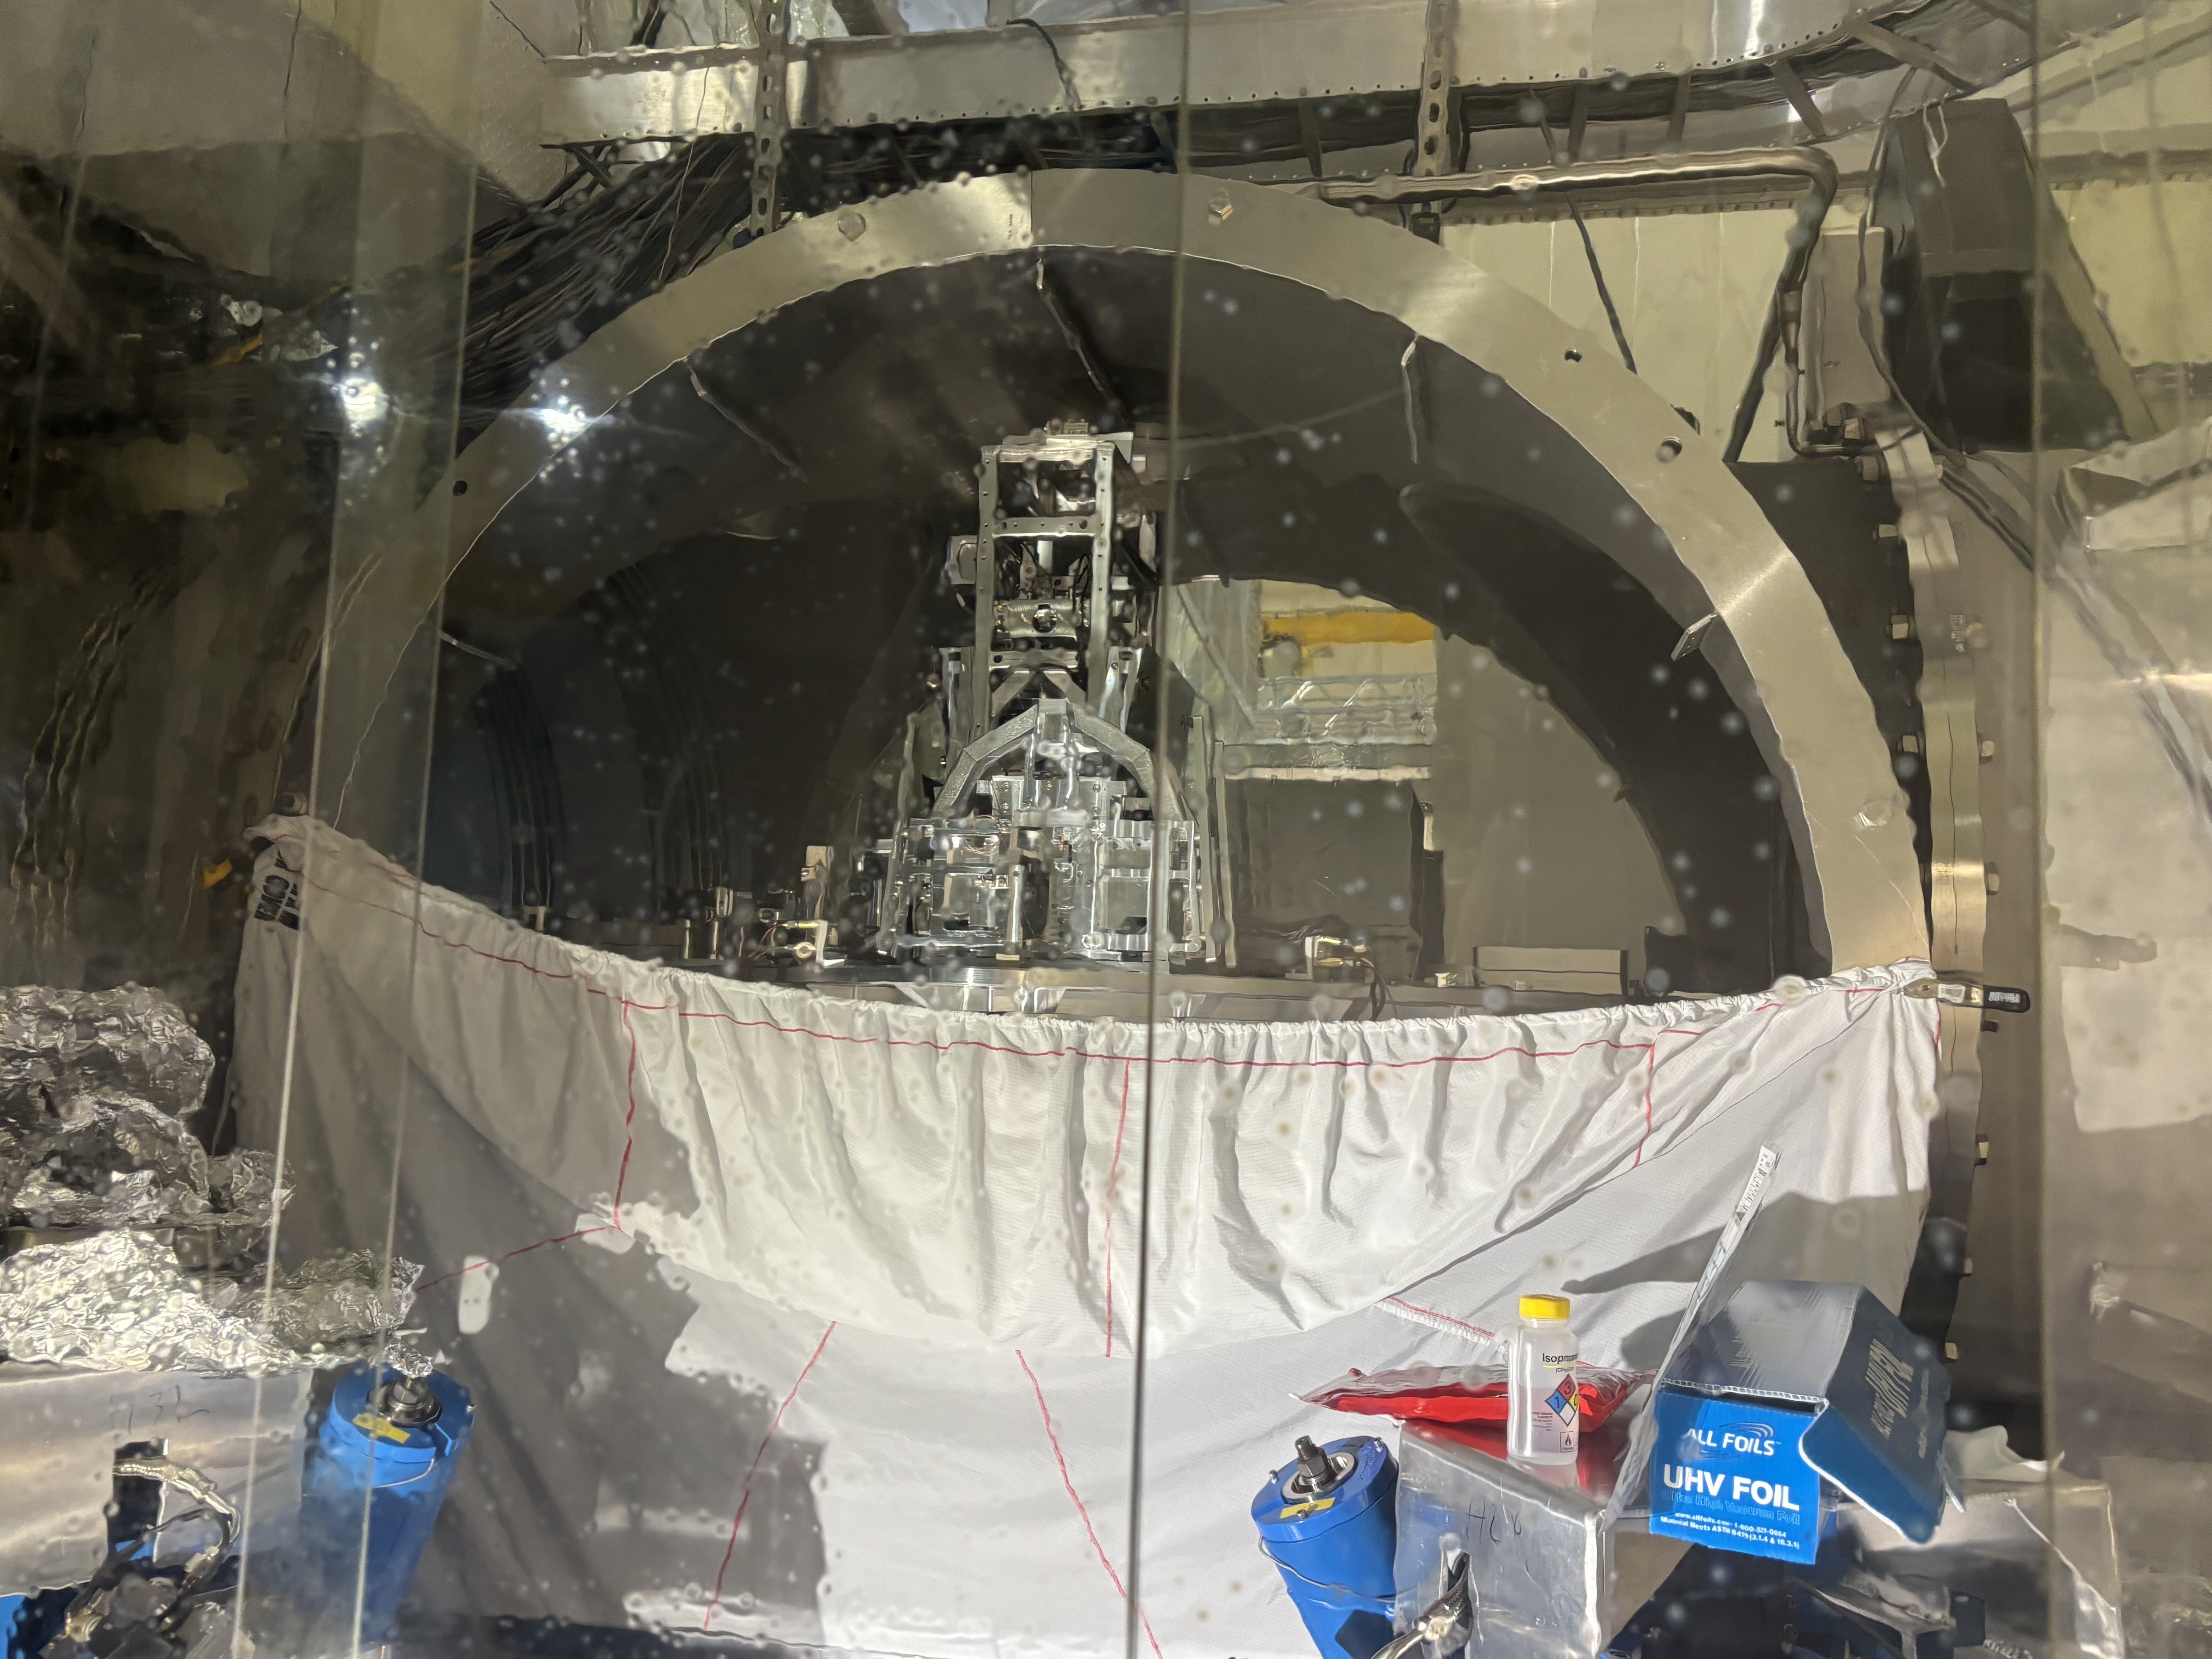
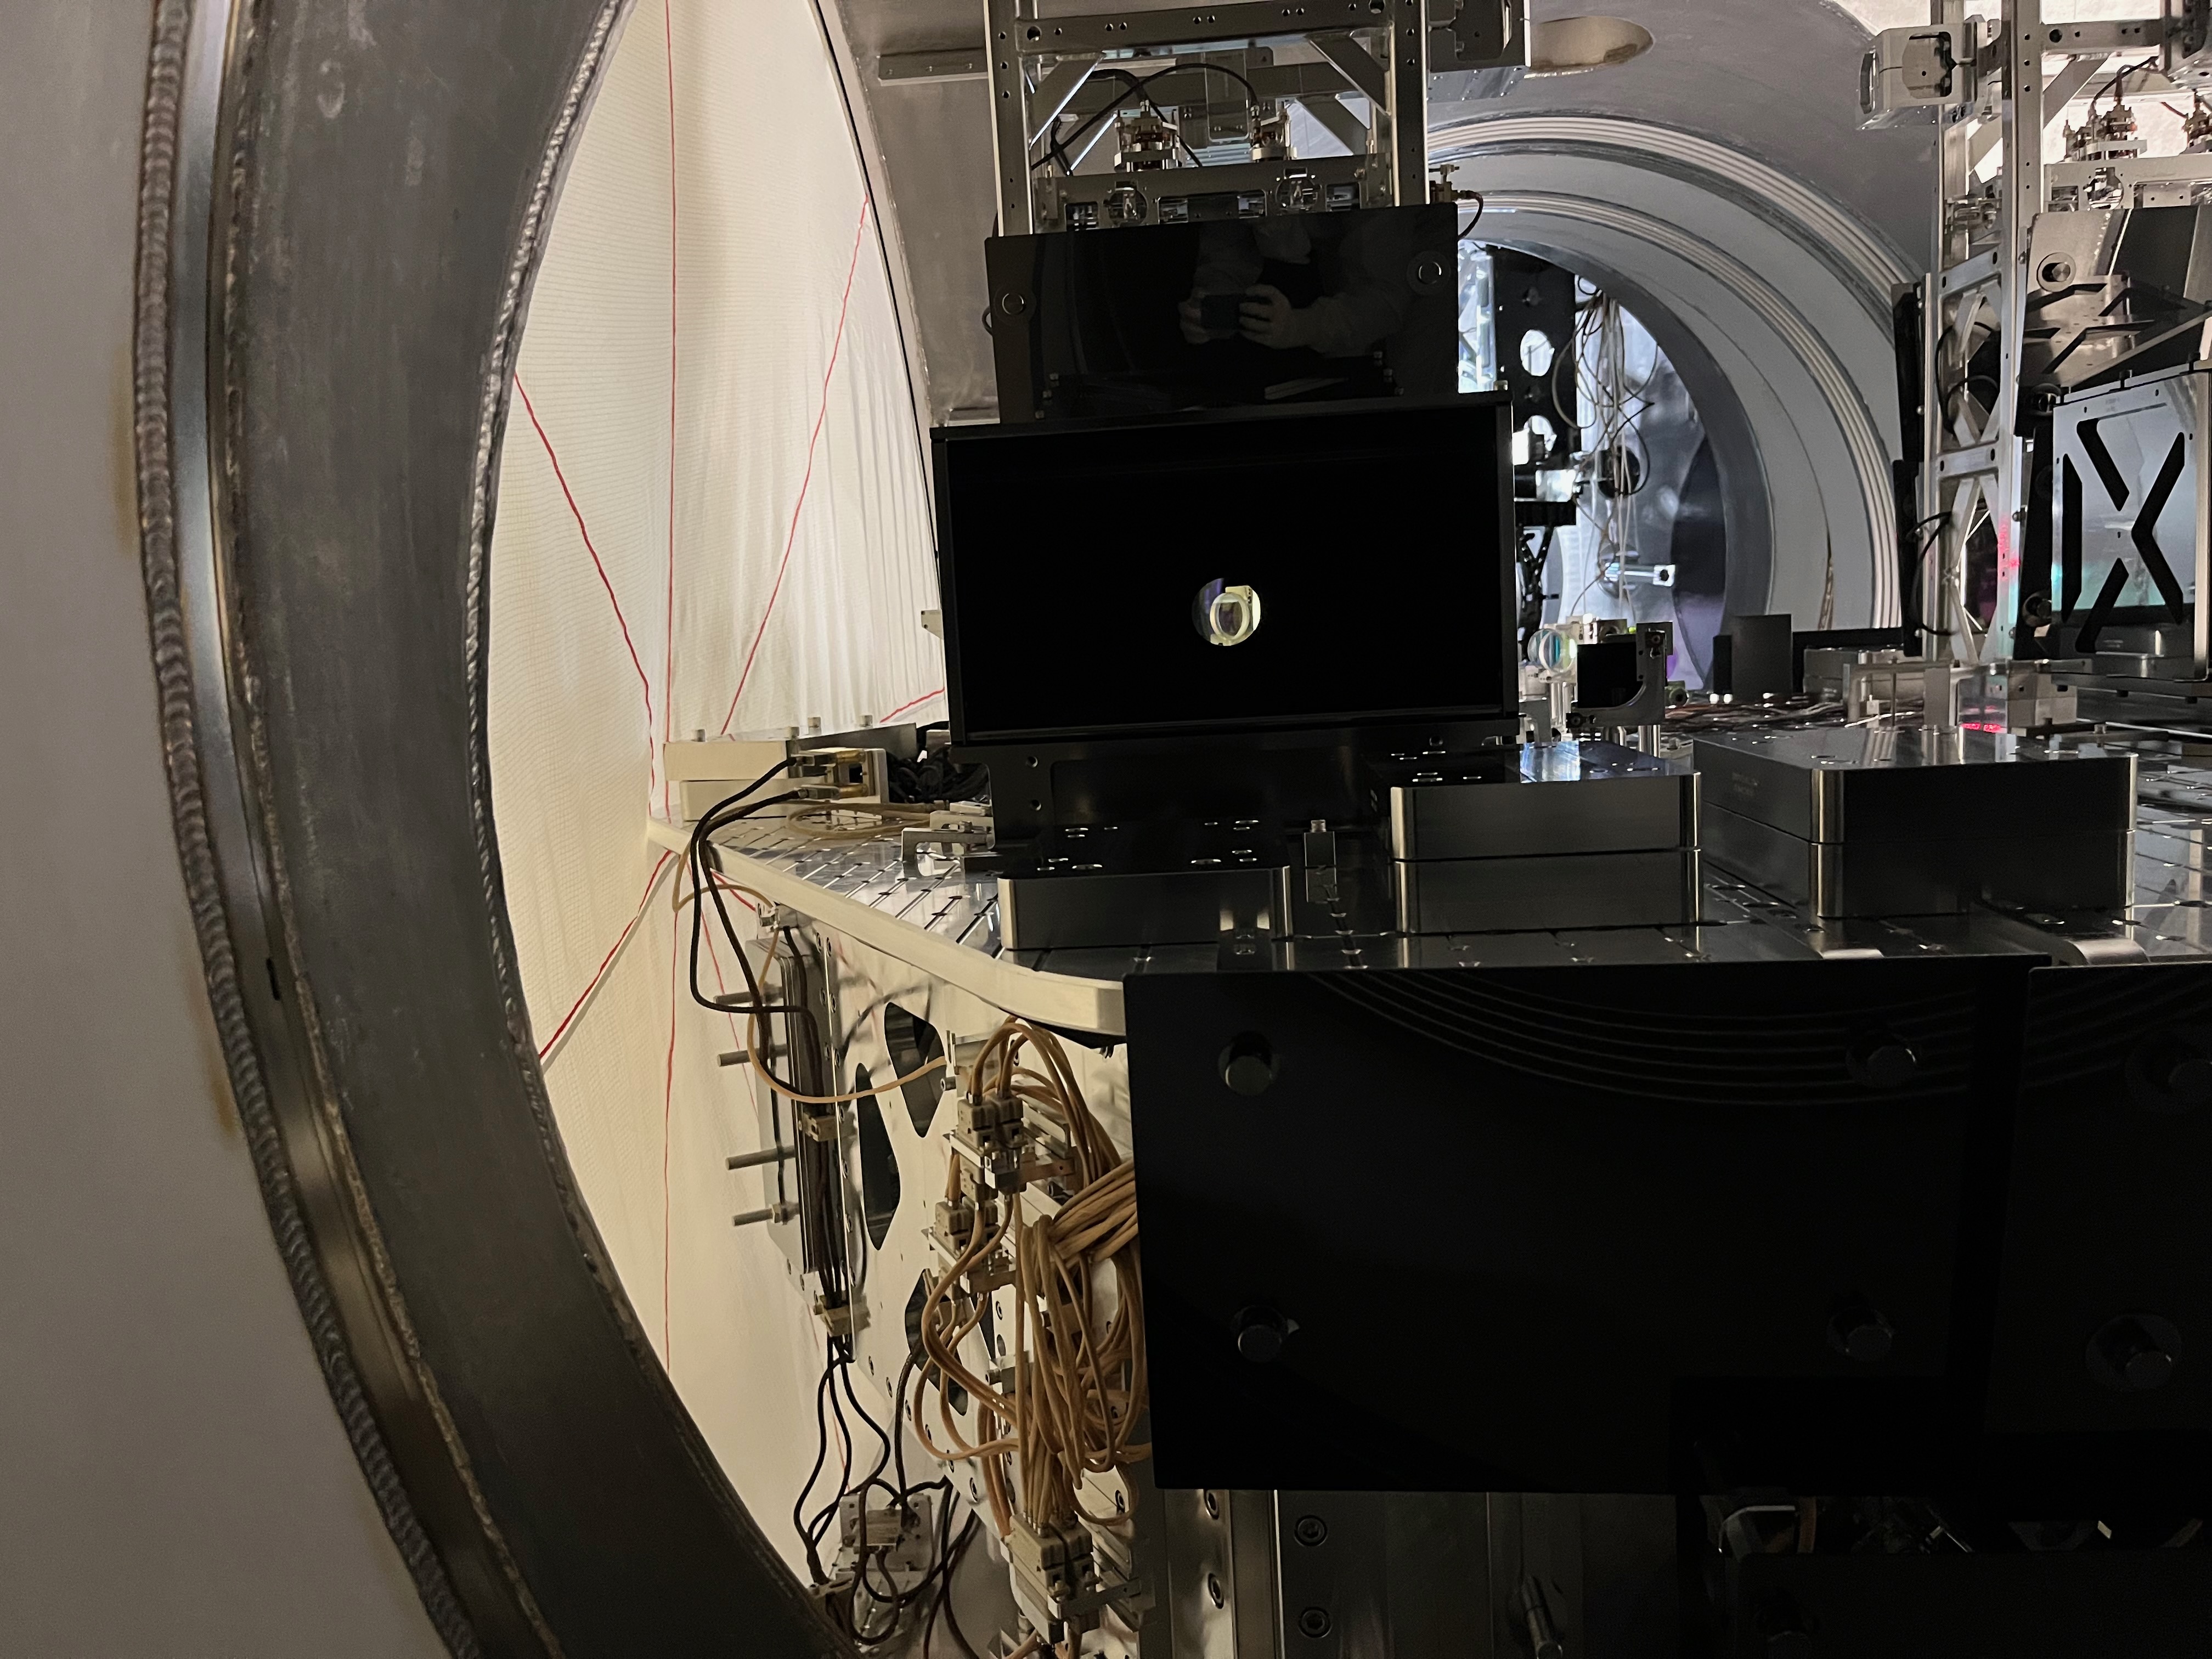
Summary: SPI interferometers aligned, shroud installed successfully. One stray beam and possible clipping on shroud to investigate/deal with but otherwise all problems were solved. Obligatory success photo taken by Josh.
Today we:
More details regarding the baffle installation:
When placing the below table baffle brackets, there was a ballast mass baffle (D1700262) that was blocking the angle bracket for the furthest -Y bracket. The bracket could not slide under the ballast mass baffle (bmb), so we decided to move the bmb in the +Y direction a few inches and I had to loosen the baffle panel within the feet to slide it up a few mm and then reclamp. This allowed the bracket to slide under the baffle just to the side of the feet, but the move partially exposed a corner of the shiny ballast mass stack.
The lower baffle shroud that covers the breadboard needed the fiber spools to be moved. We moved them over one set of bolt holes, but they are quite close to chamber edge, I'd guess around 1/2". Jeff then centered the two aperatures to the SPI beam, and we called it good. We still need to B&K the whole area.
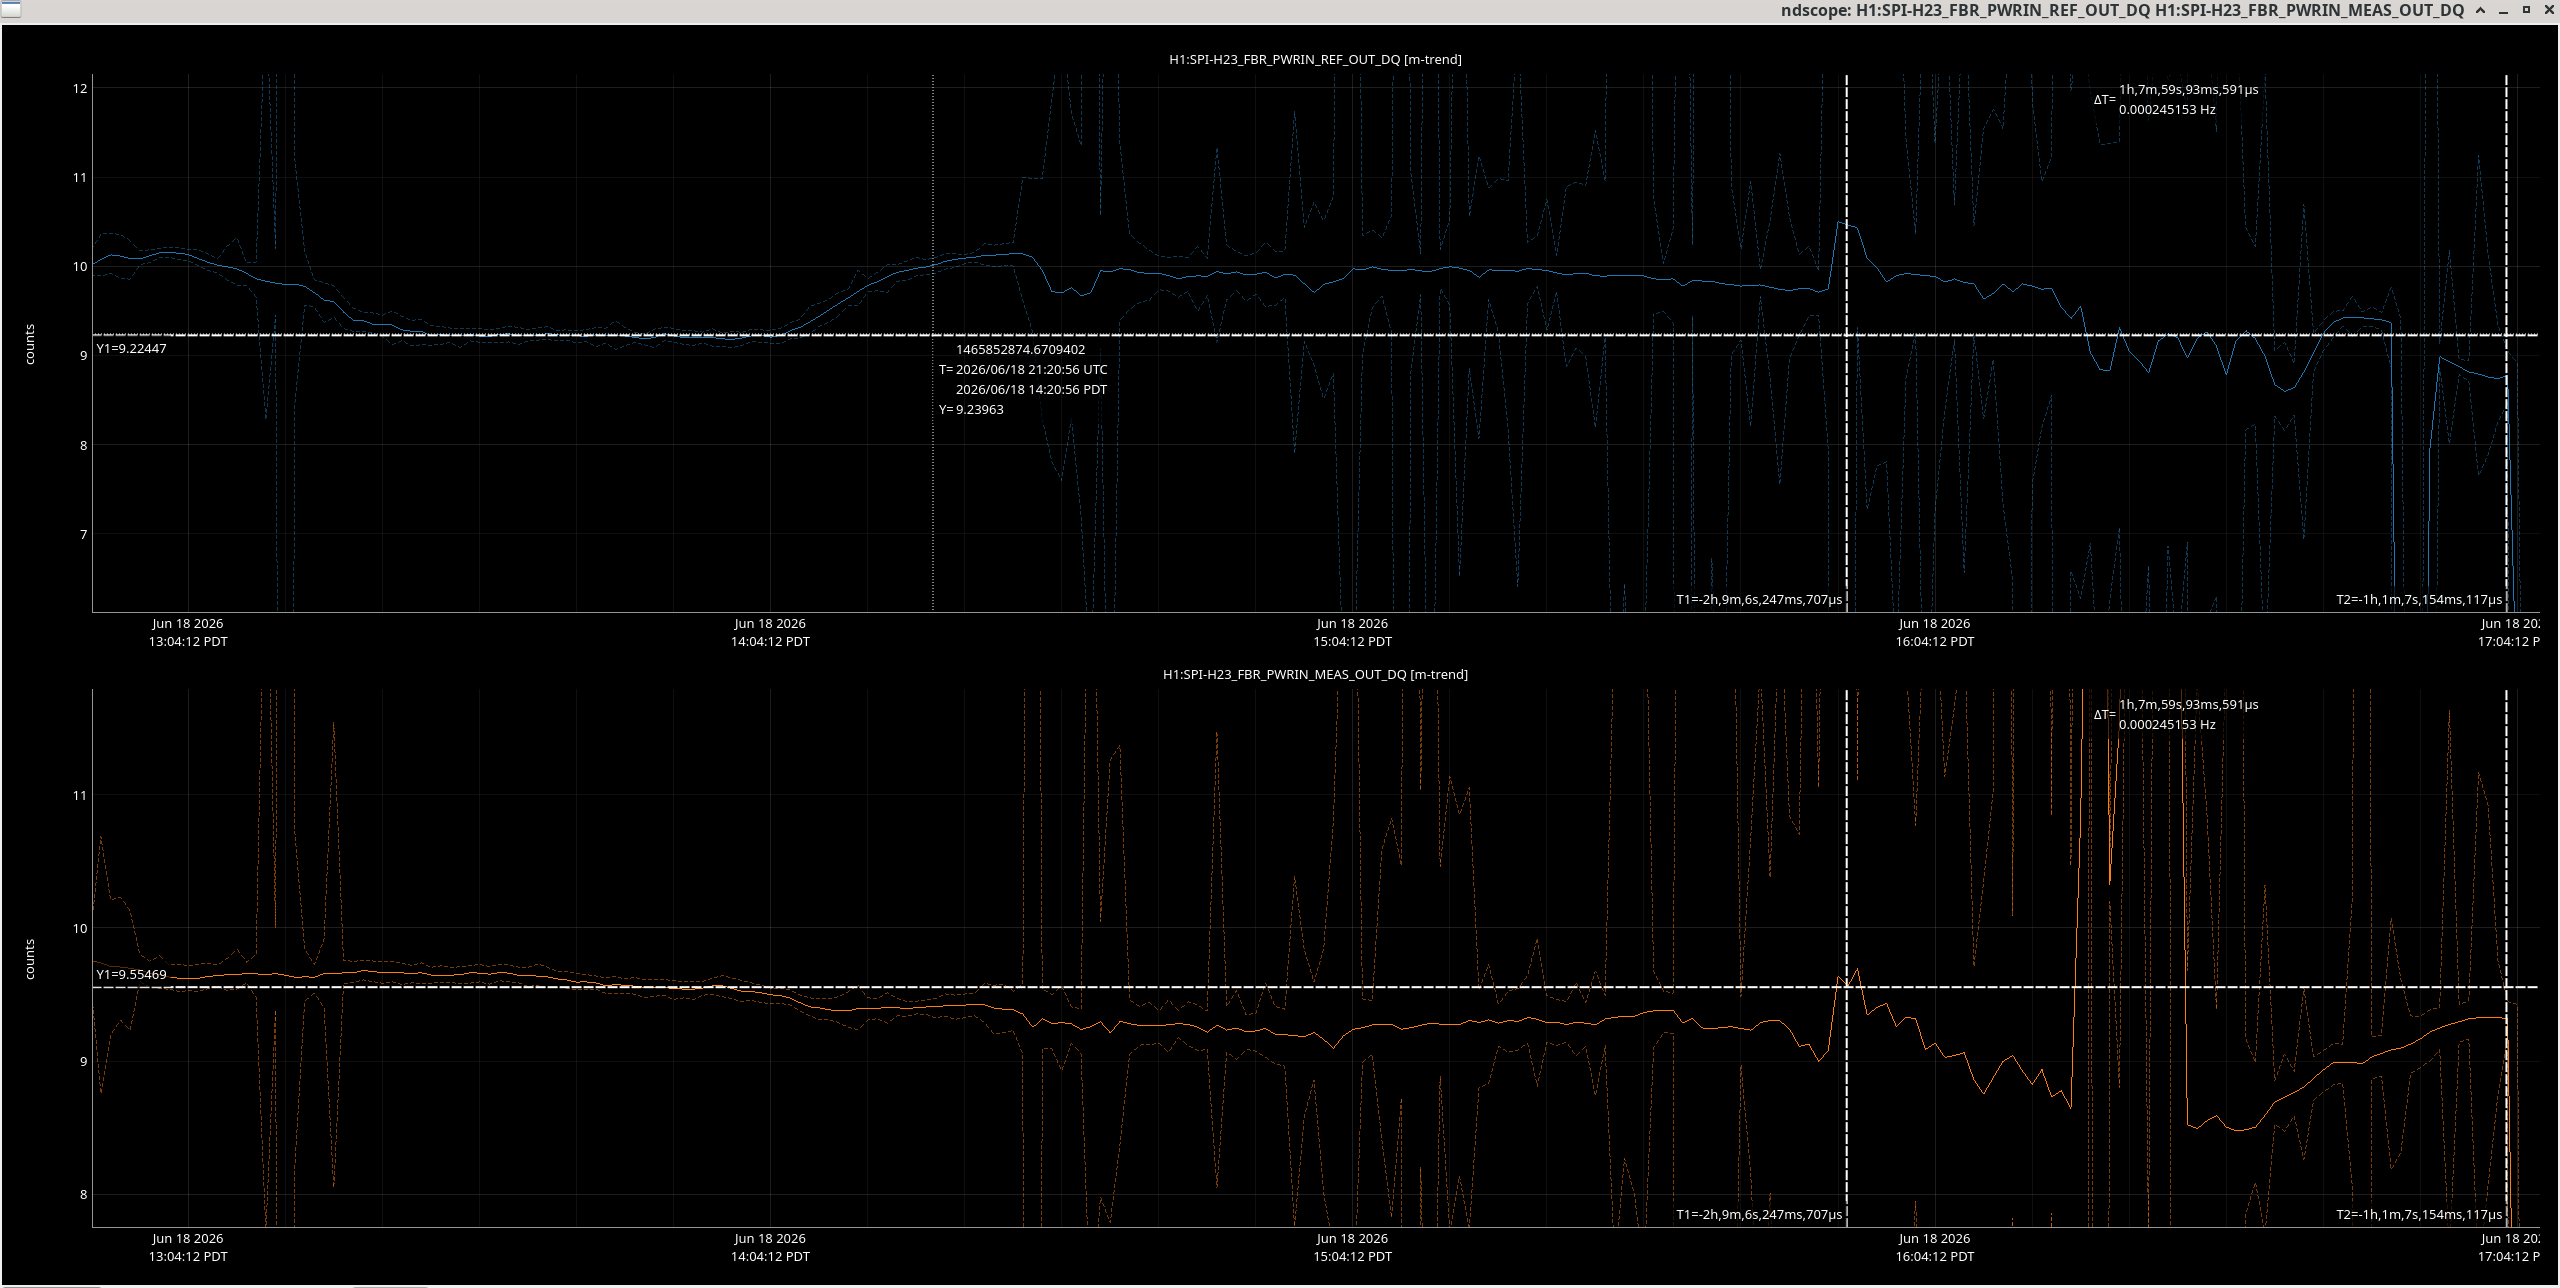
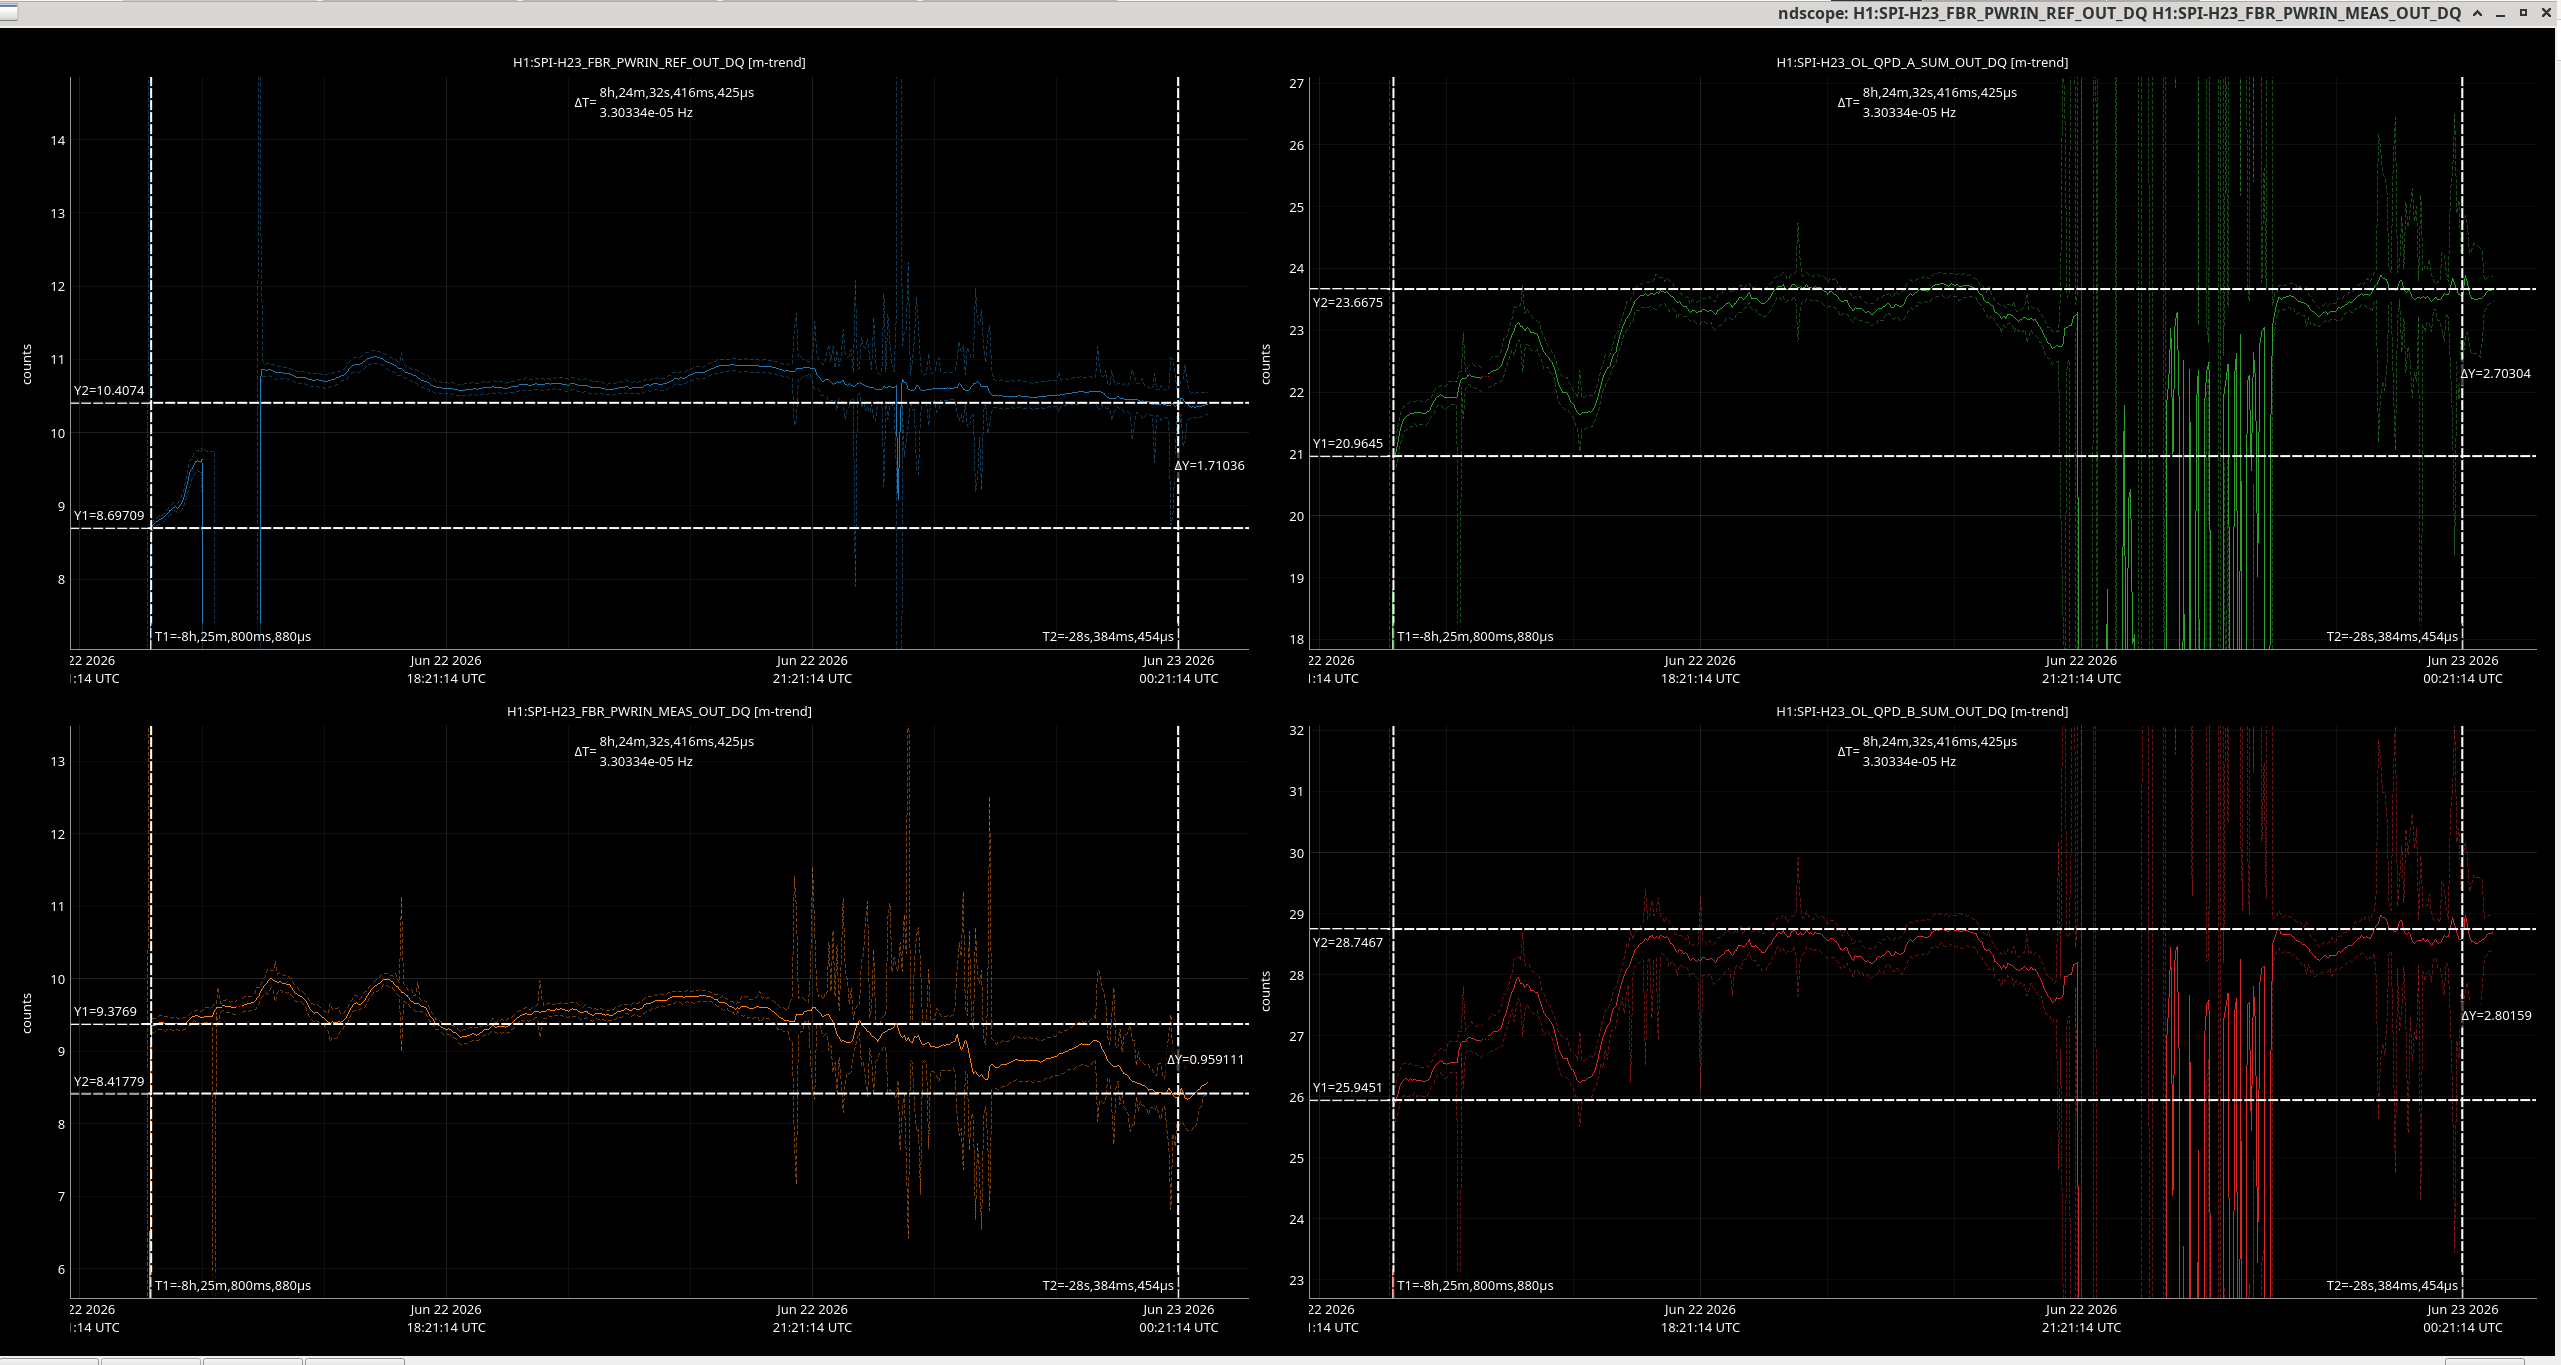
Just did an 8 hour trend of the fiber power monitor channels for REF and MEAS channels (left two plots) and the optical lever QPDs (right two plots) to check whether we expect variations on the order of ~2V on the QPDslike we saw on Thursday before and after baffle installation.
From this trend the power appears to drift more than this for two hours after unshuttering the laser (around 15:56 UTC), but once it reaches a steady state both QPDs were only drifting by 1V and the fiber power input monitor PDs by 1V or less.
Conclusion: I think we would have seen a dramatic power drop on Thursday when we installed the shroud, that I would expeact to have been much larger than the trends I saw today.
Note mentioned in the summary of activities in the main entry -- per LHO:90667, we re-installed all the ballast or balance mass discussed during this 2026-06-18 day's session. See attached "after" picture.
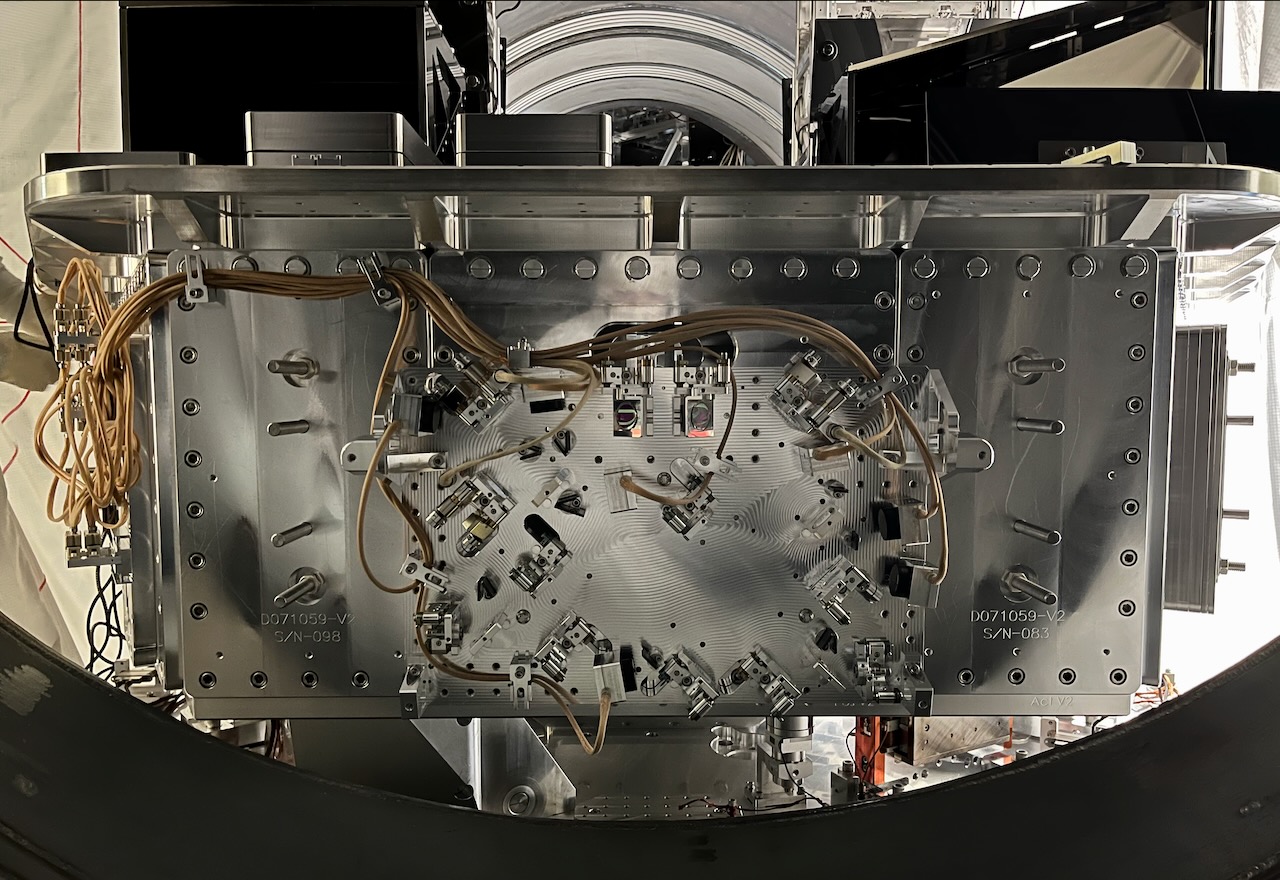
Here's another picture of the SPI breadboard on HAM3 prior to the baffle installation. Photo credit is ?? maybe Jeff?
Camilla Sheila