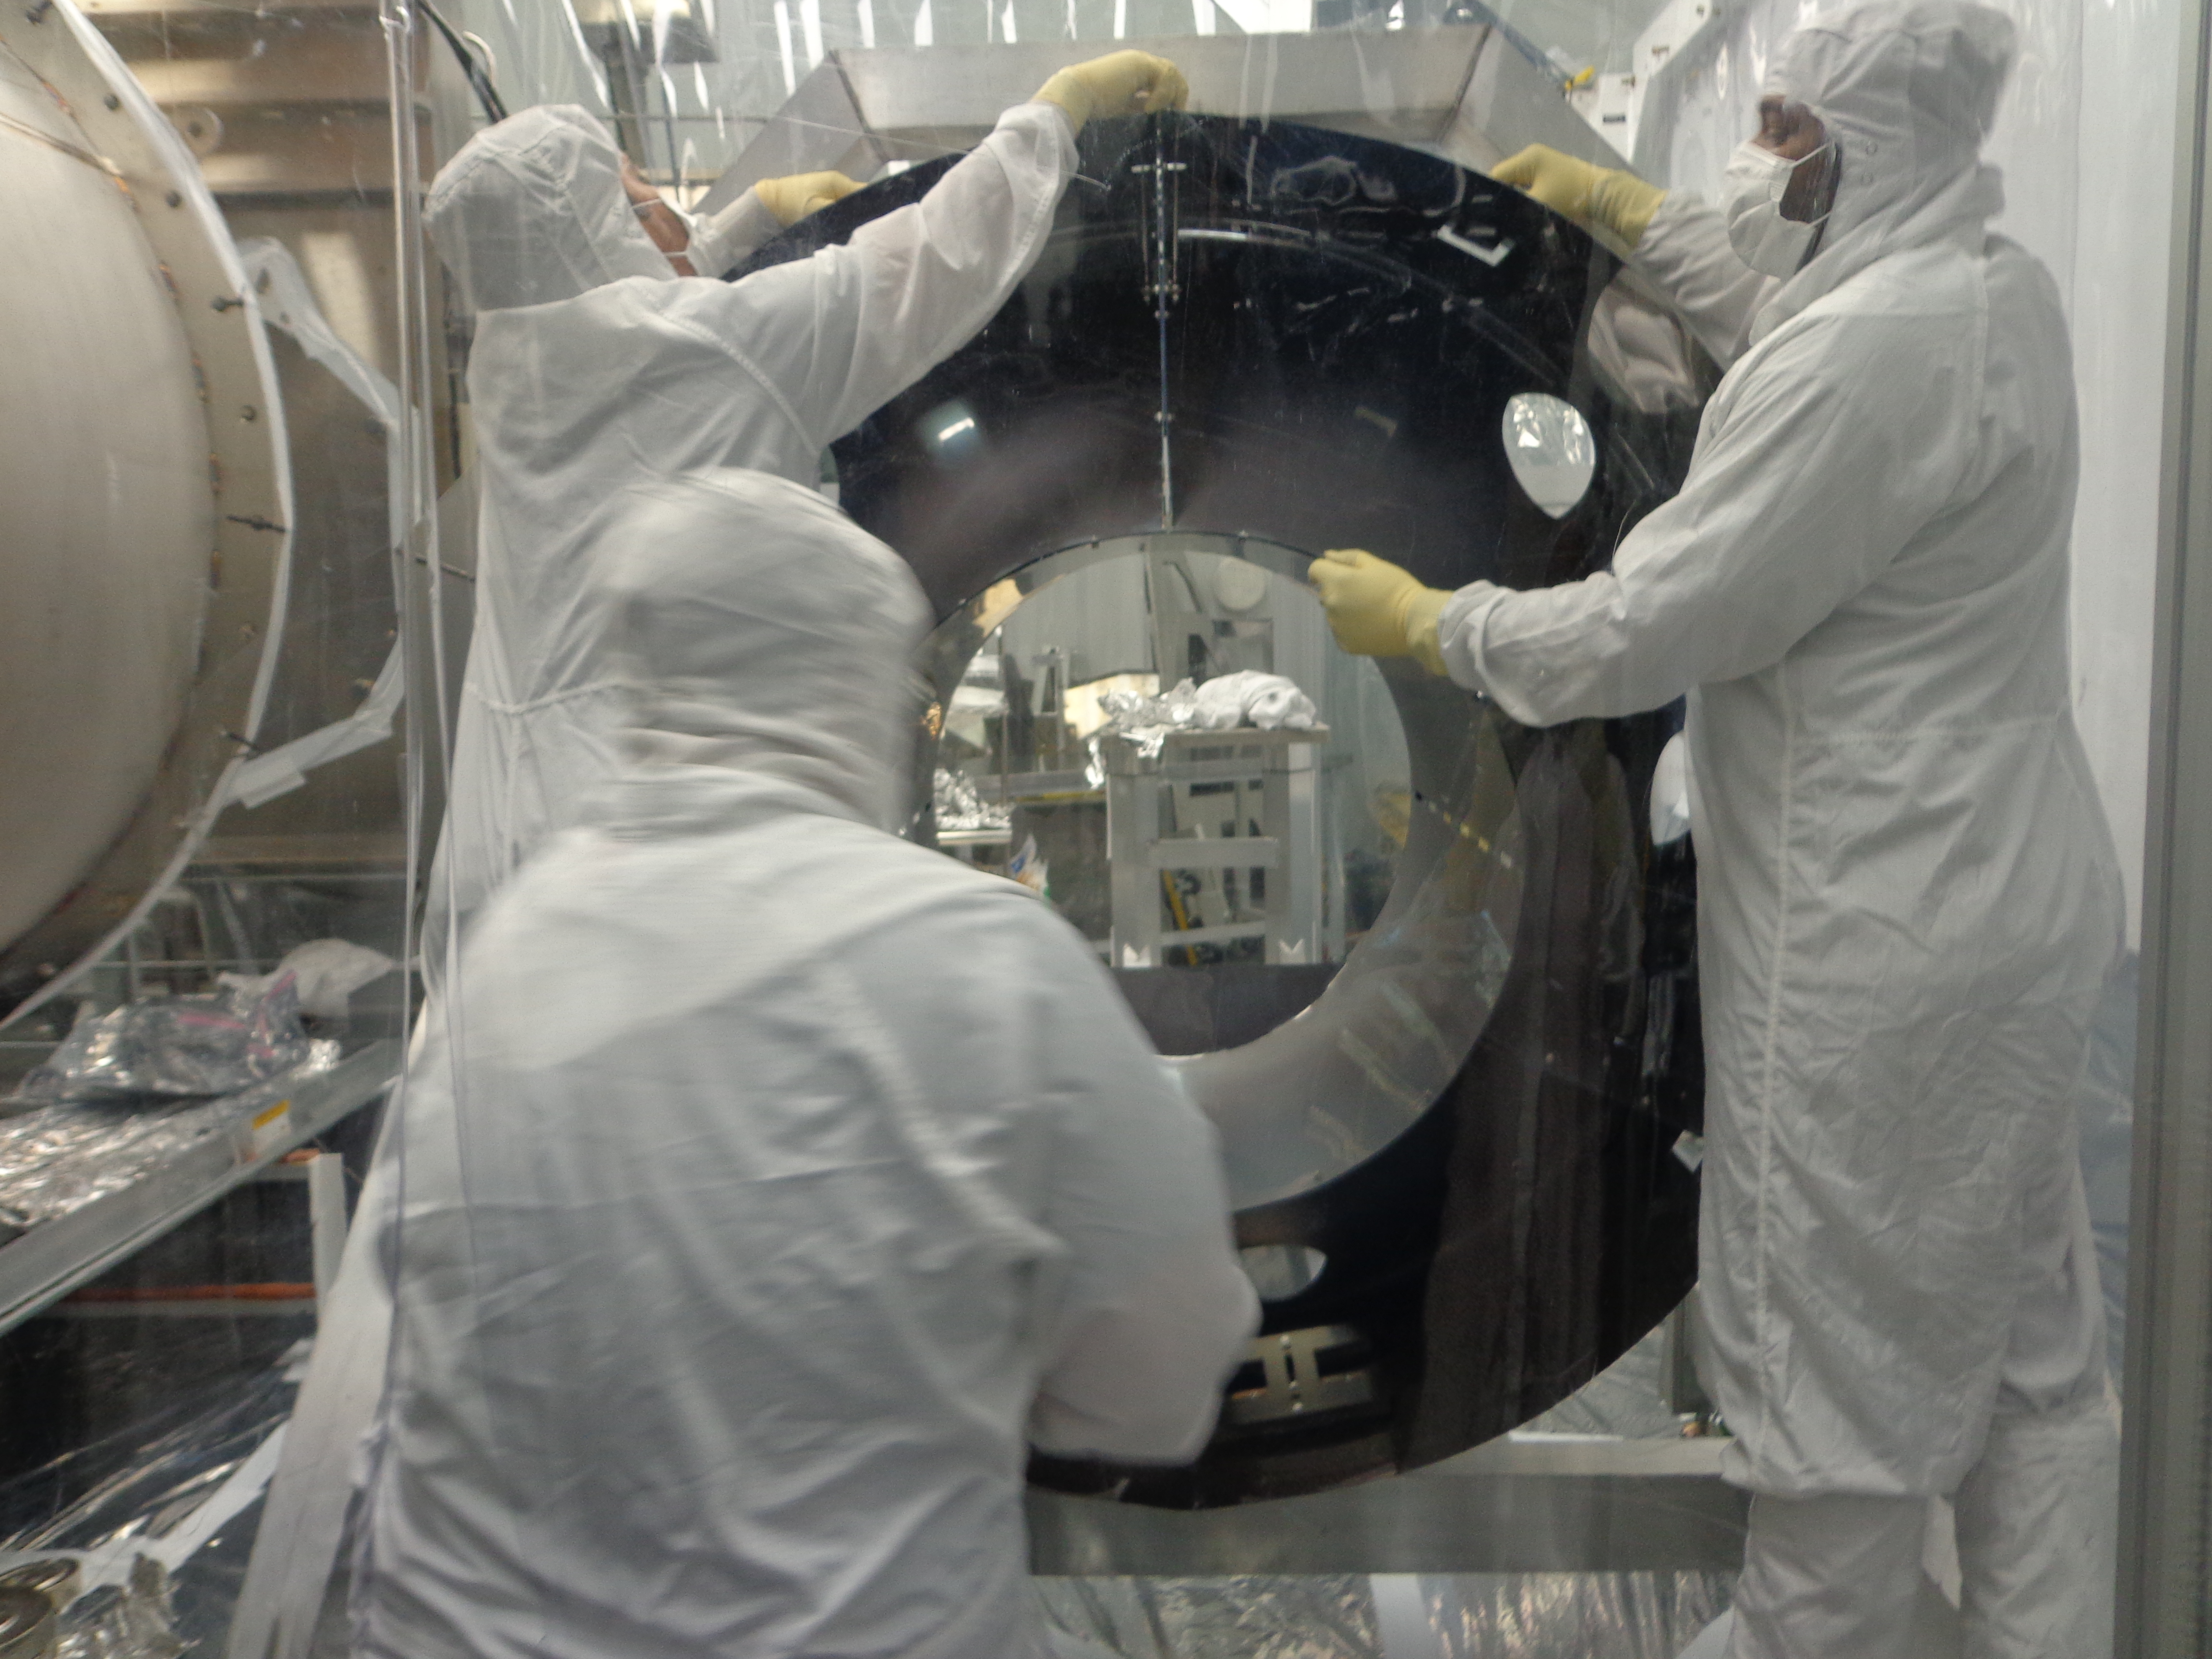
[Stefan, Alexa, Kiwamu]
The IMC wasn't locking today. We found that this was because the demodulation phase changed.
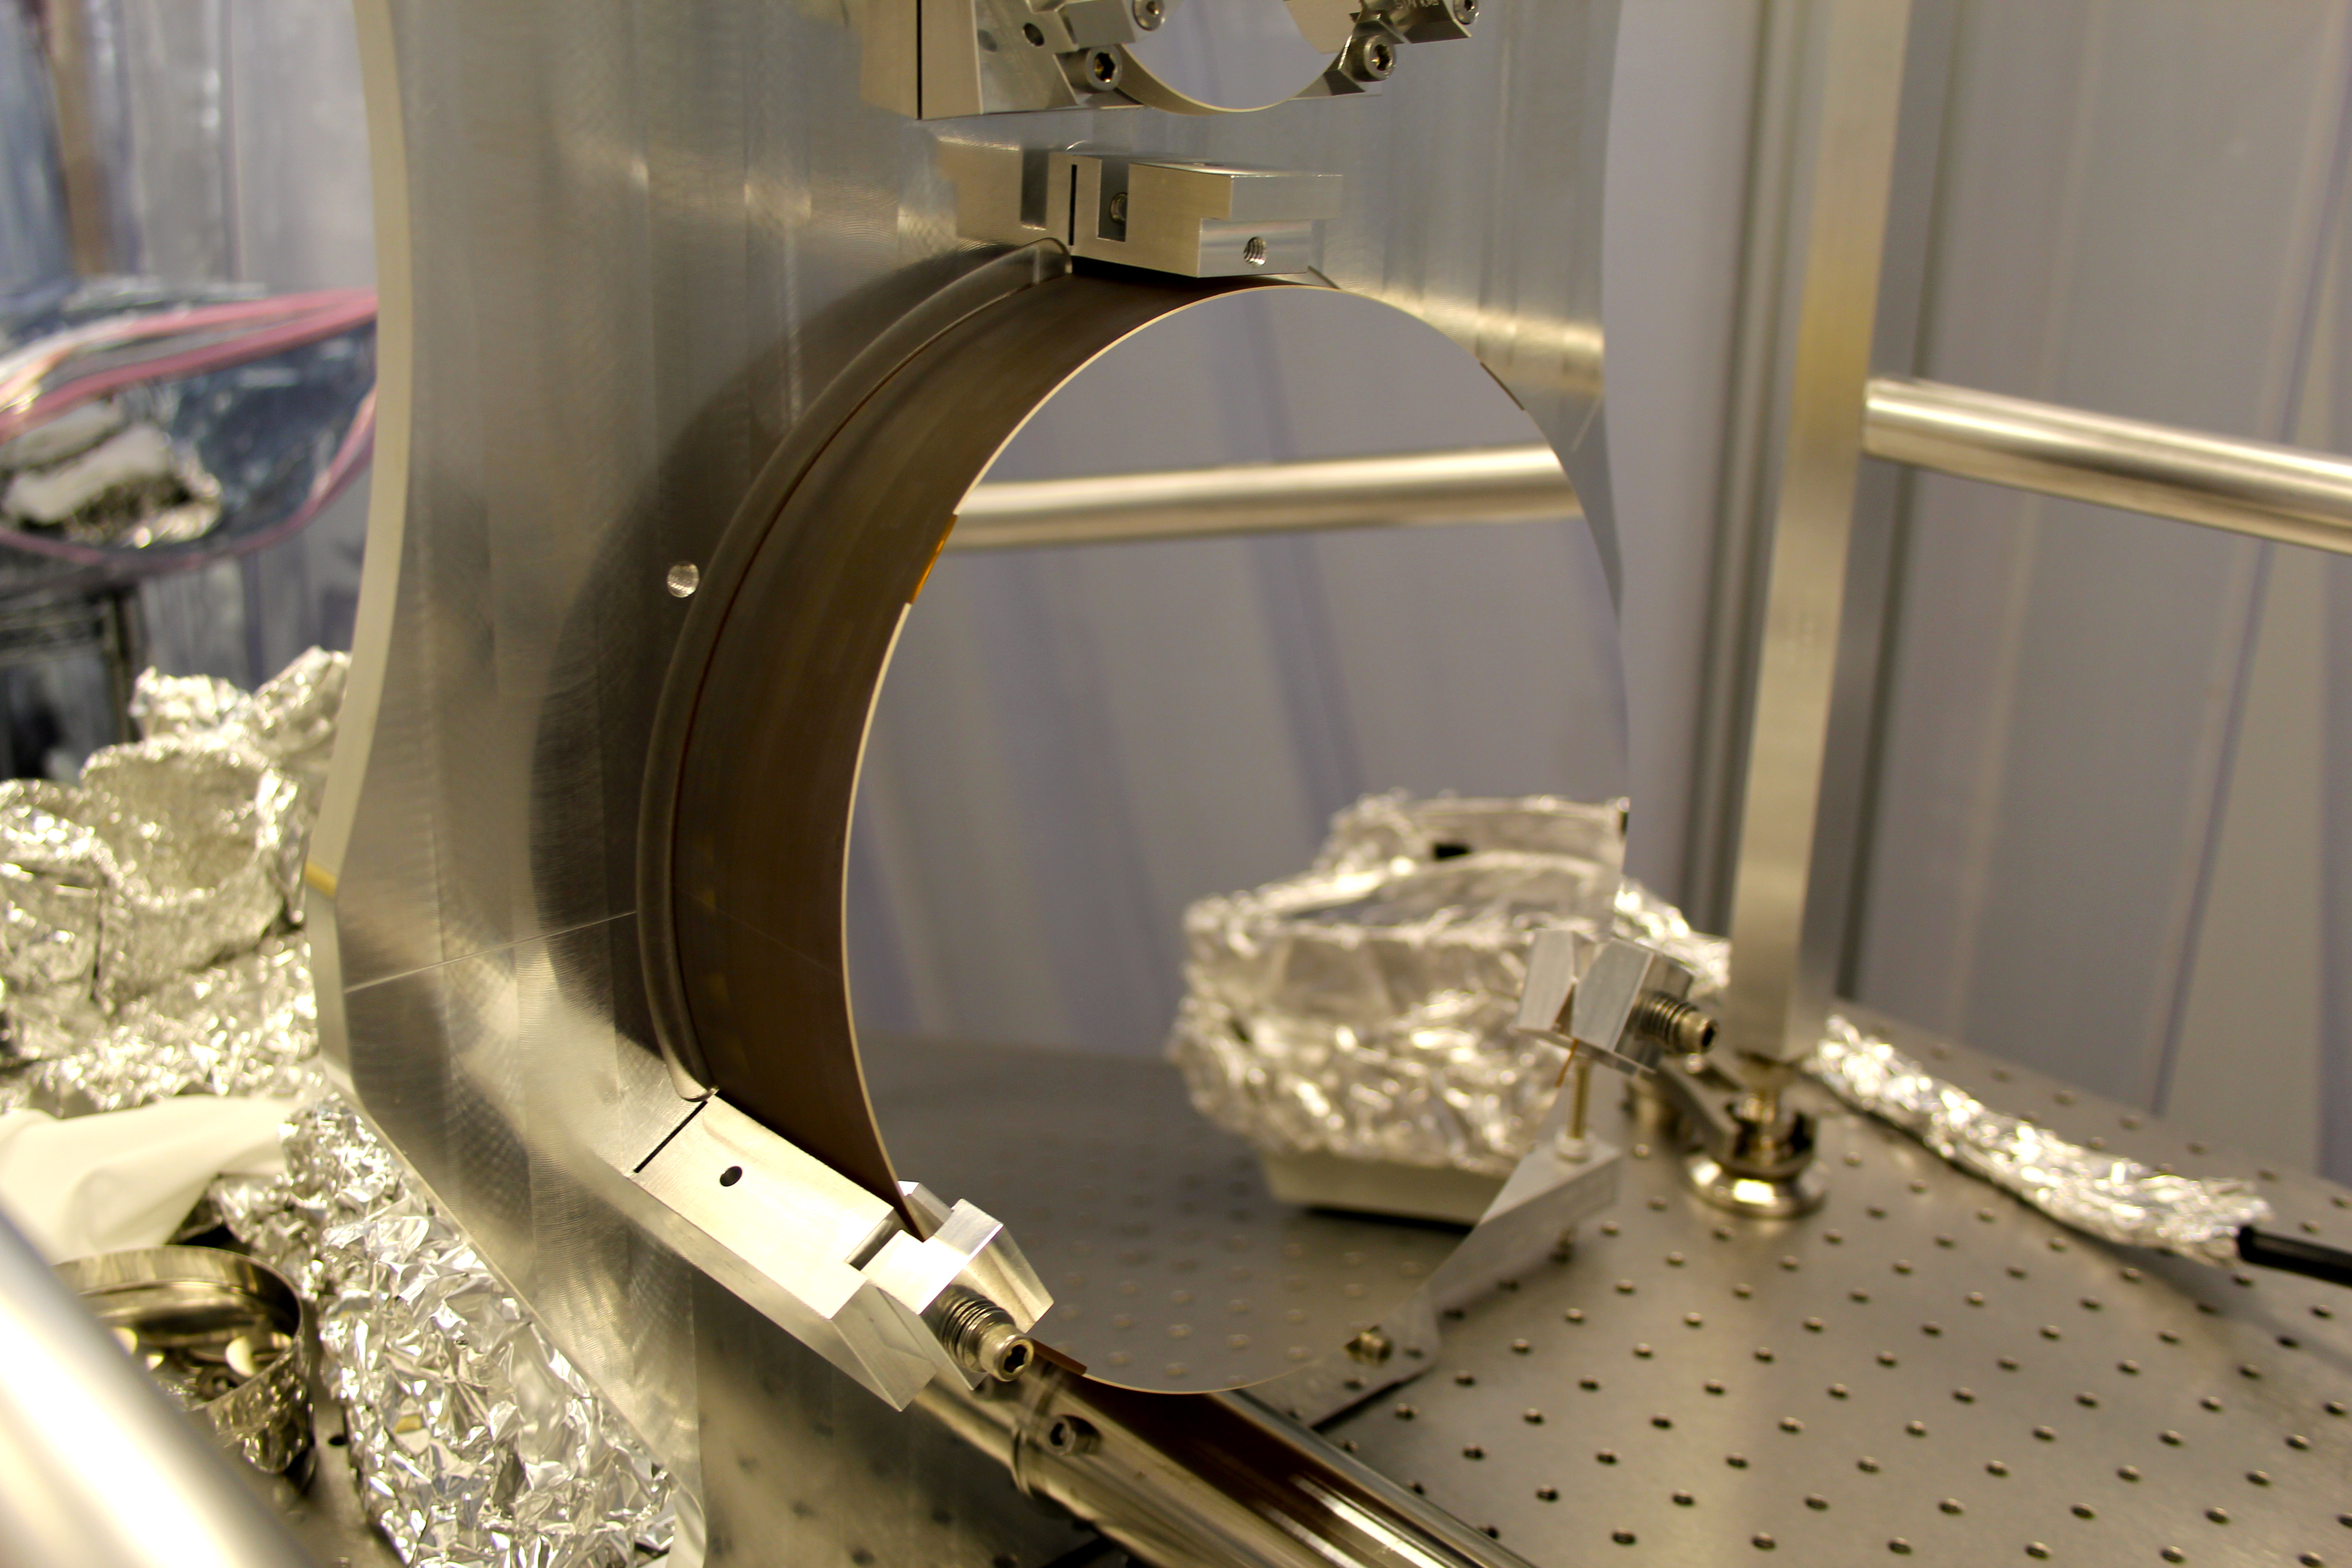
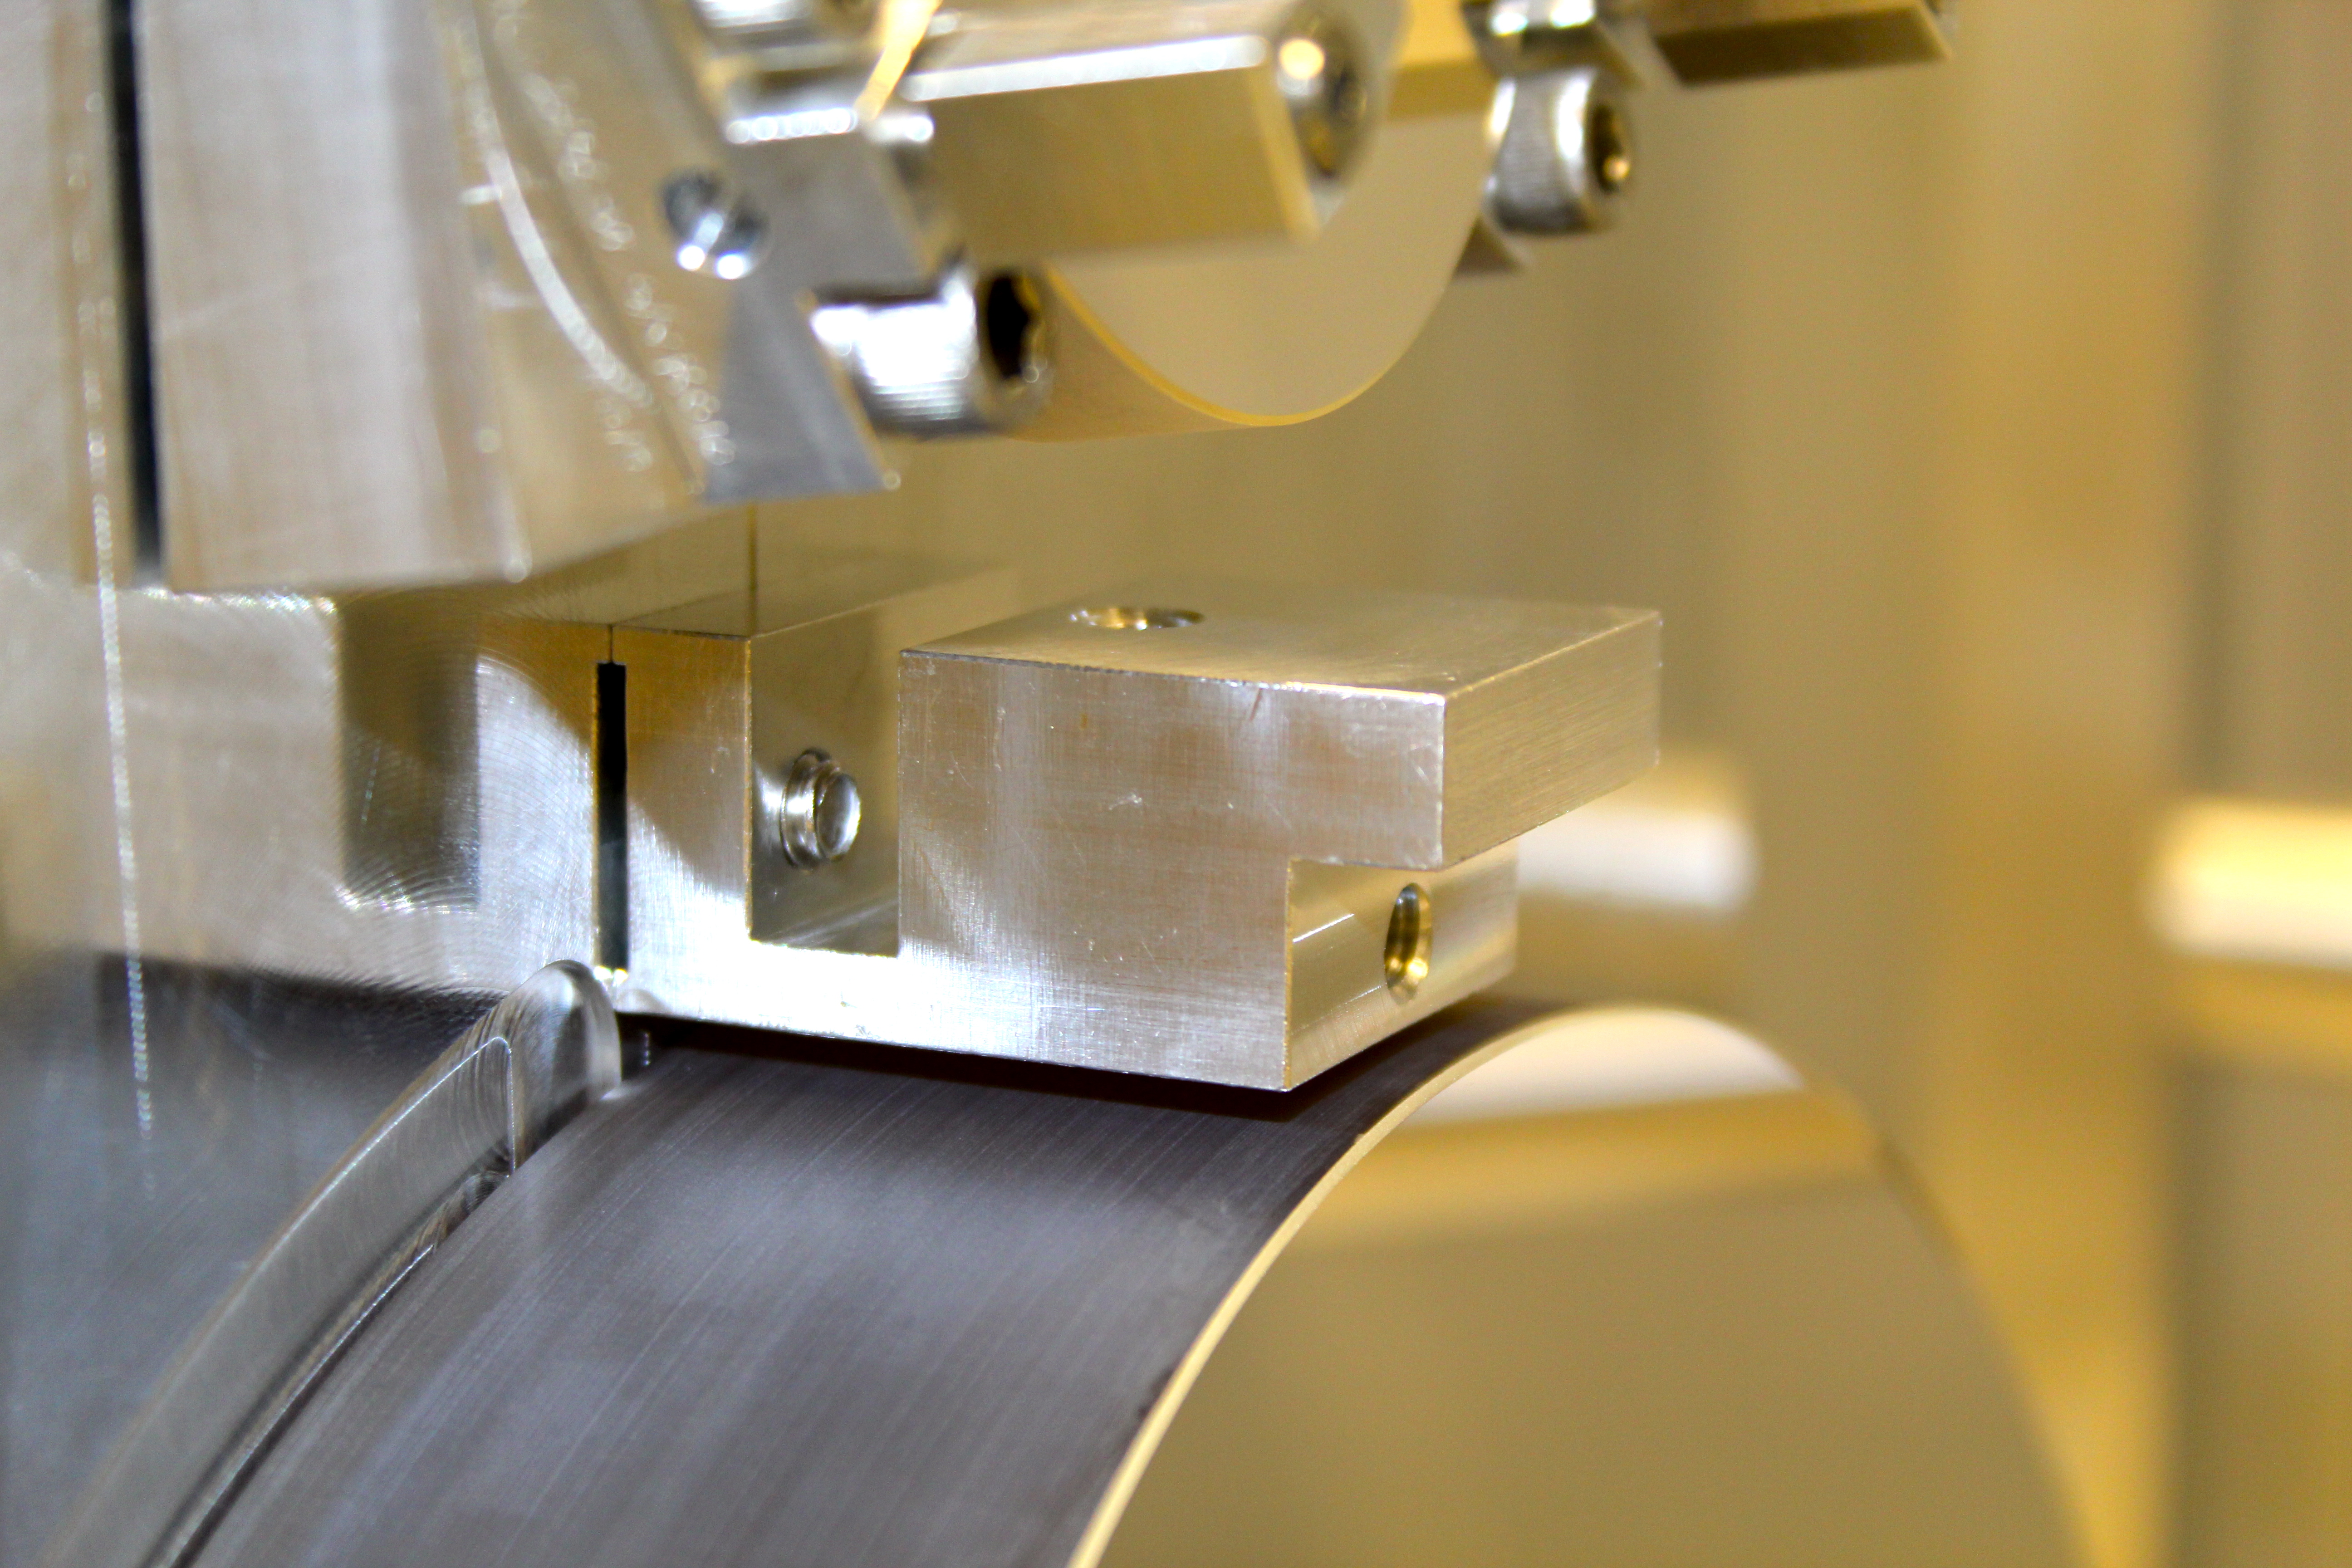
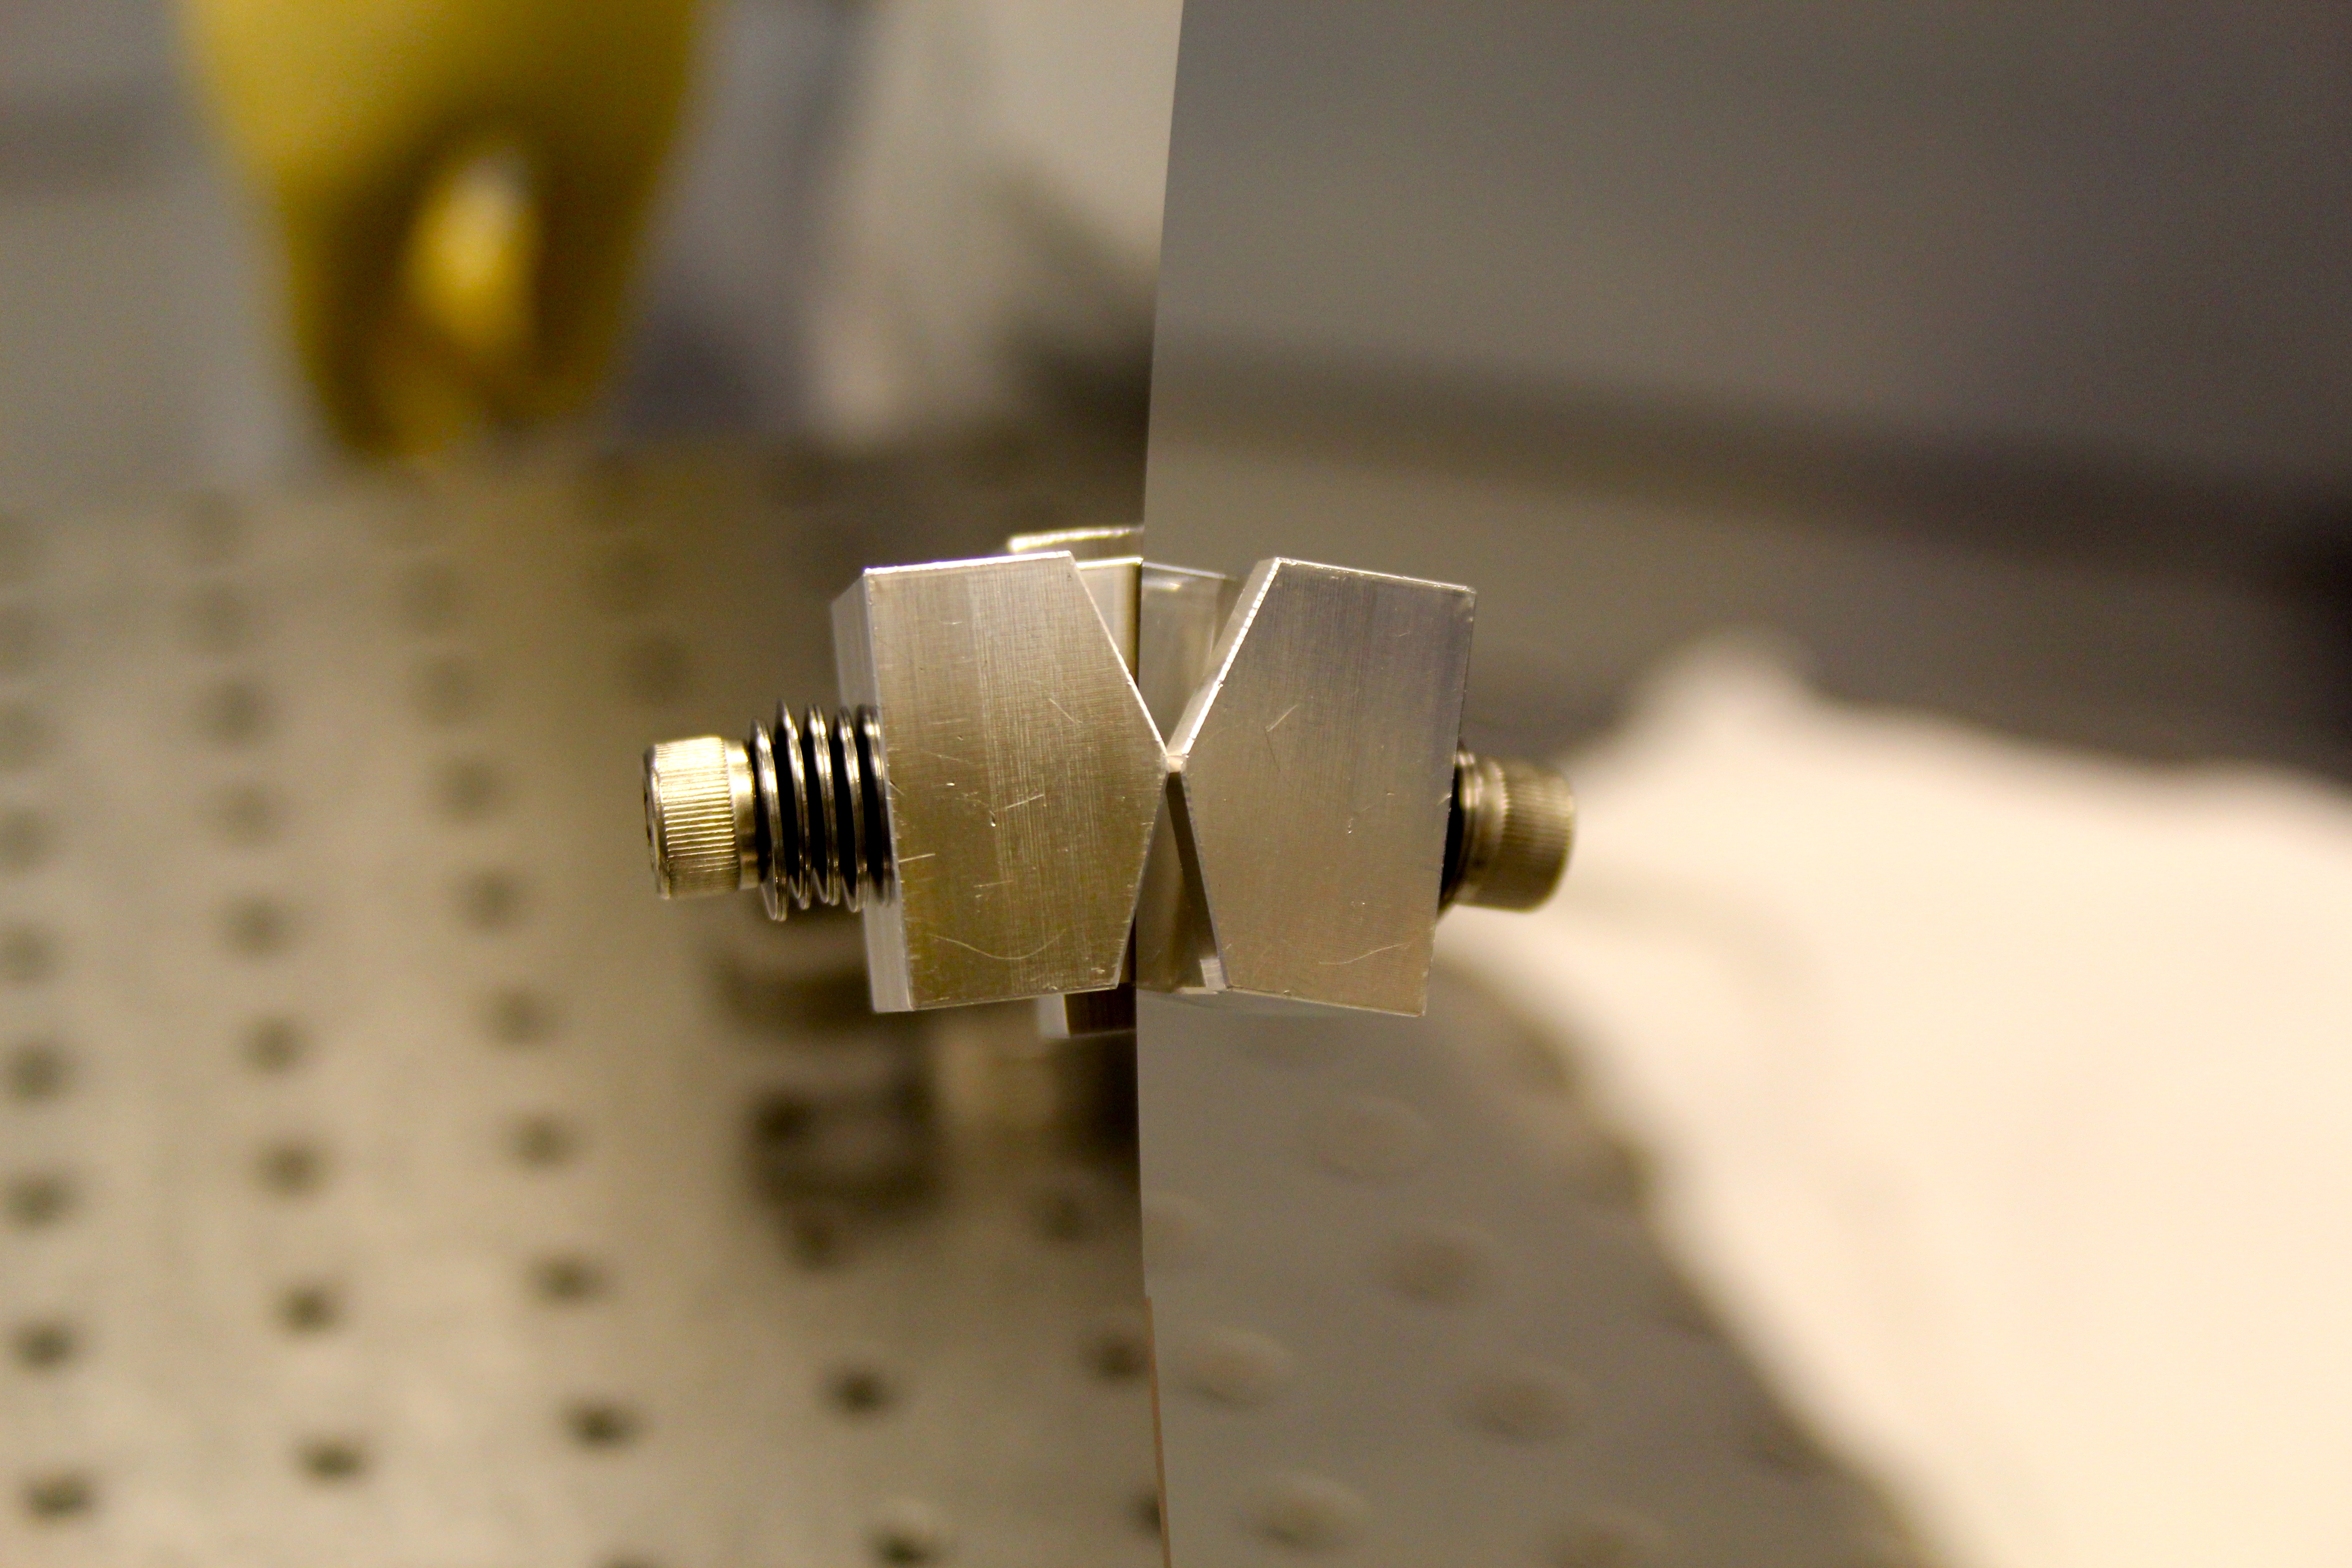
The guilty RF cable:
We took a look at the demod phase of not only the length diode but also both WFSs and found that the amount of rotation they got were identical. So we started suspecting something common, for example the cable length of the modulator. Eventually Stefan found that wiggling the N-connector of an RF cable rotates the demod phases by tens of degrees. This is the 4th output of the 24 MHz RF amplifier in the R1 rack at the field. In fact this is the one supplying the EOM with the 24 MHz modulation. This rotation happens more or less in a random fashion but the amount of rotation was relatively repeatable --- we could reproduce a couple of certain conditions with a certain demod phase by wiggling around the connector.
We tightened the N-connector and it seems that the problem was solved. Additionally we briefly tested it by wiggling the connector again but we didn't see any more rotations.
Demod phase need to be adjusted again :
Then an issue we got after fixing the RF cable is that all the demod phases were consistently off. Probably this may indicate that the we had been in a particular, but a different condition for a long time due to the loose connection at the RF connector. In any case we need to adjust all the demod phases associated with the IMC i.e. length diode and two WFSs.
Demod phase of the Length diode readjusted:
We readjusted the demod phase of the length diode as a first recovery step. The new optimum setting, where the I signal is maximized, is
-
28.625 nsec = 1/8 + 1/2 + 4 + 8 + 16 nsec
-
(This is set by the hardware switches at the front panel of the delay line phase adjuster)
Comparing it with the past setting of 14.4375 nsec (see alog 6282) we found that the amount of rotation we newly introduced is 123 degrees with the modulation frequency at 24078360 Hz. This resulted in a sign flip in the error signal. So we had to flip the control sign to properly lock the IMC.
Next step : readjustment of WFS demod phases :
Apparently we have to do the same correction for all segments of the WFSs. Unlike the length diode the demod phases can be adjusted in the digital land. Since we now know that we need to rotate everyone by 123 degrees from whatever previous phase, correcting the demod phases should be relatively straightforward --- we simply punch in some numbers in the digital system. Of course we have to pay attention to the sign flip.