Just before we lost lock due to either making power up and down or injecting anti-squeezing, I went to the floor to phase the new LSC-REFL_B.
Unfortunately I needed to advance the LO phase by about 30deg or about 9.3ns, which I couldn't do with the delay line, so as a bandaid solution I delayed it. I fine tuned it down to (16+1+1/2+1/4)ns=57.5deg.
360deg*9E6Hz*17.75s=57.51deg
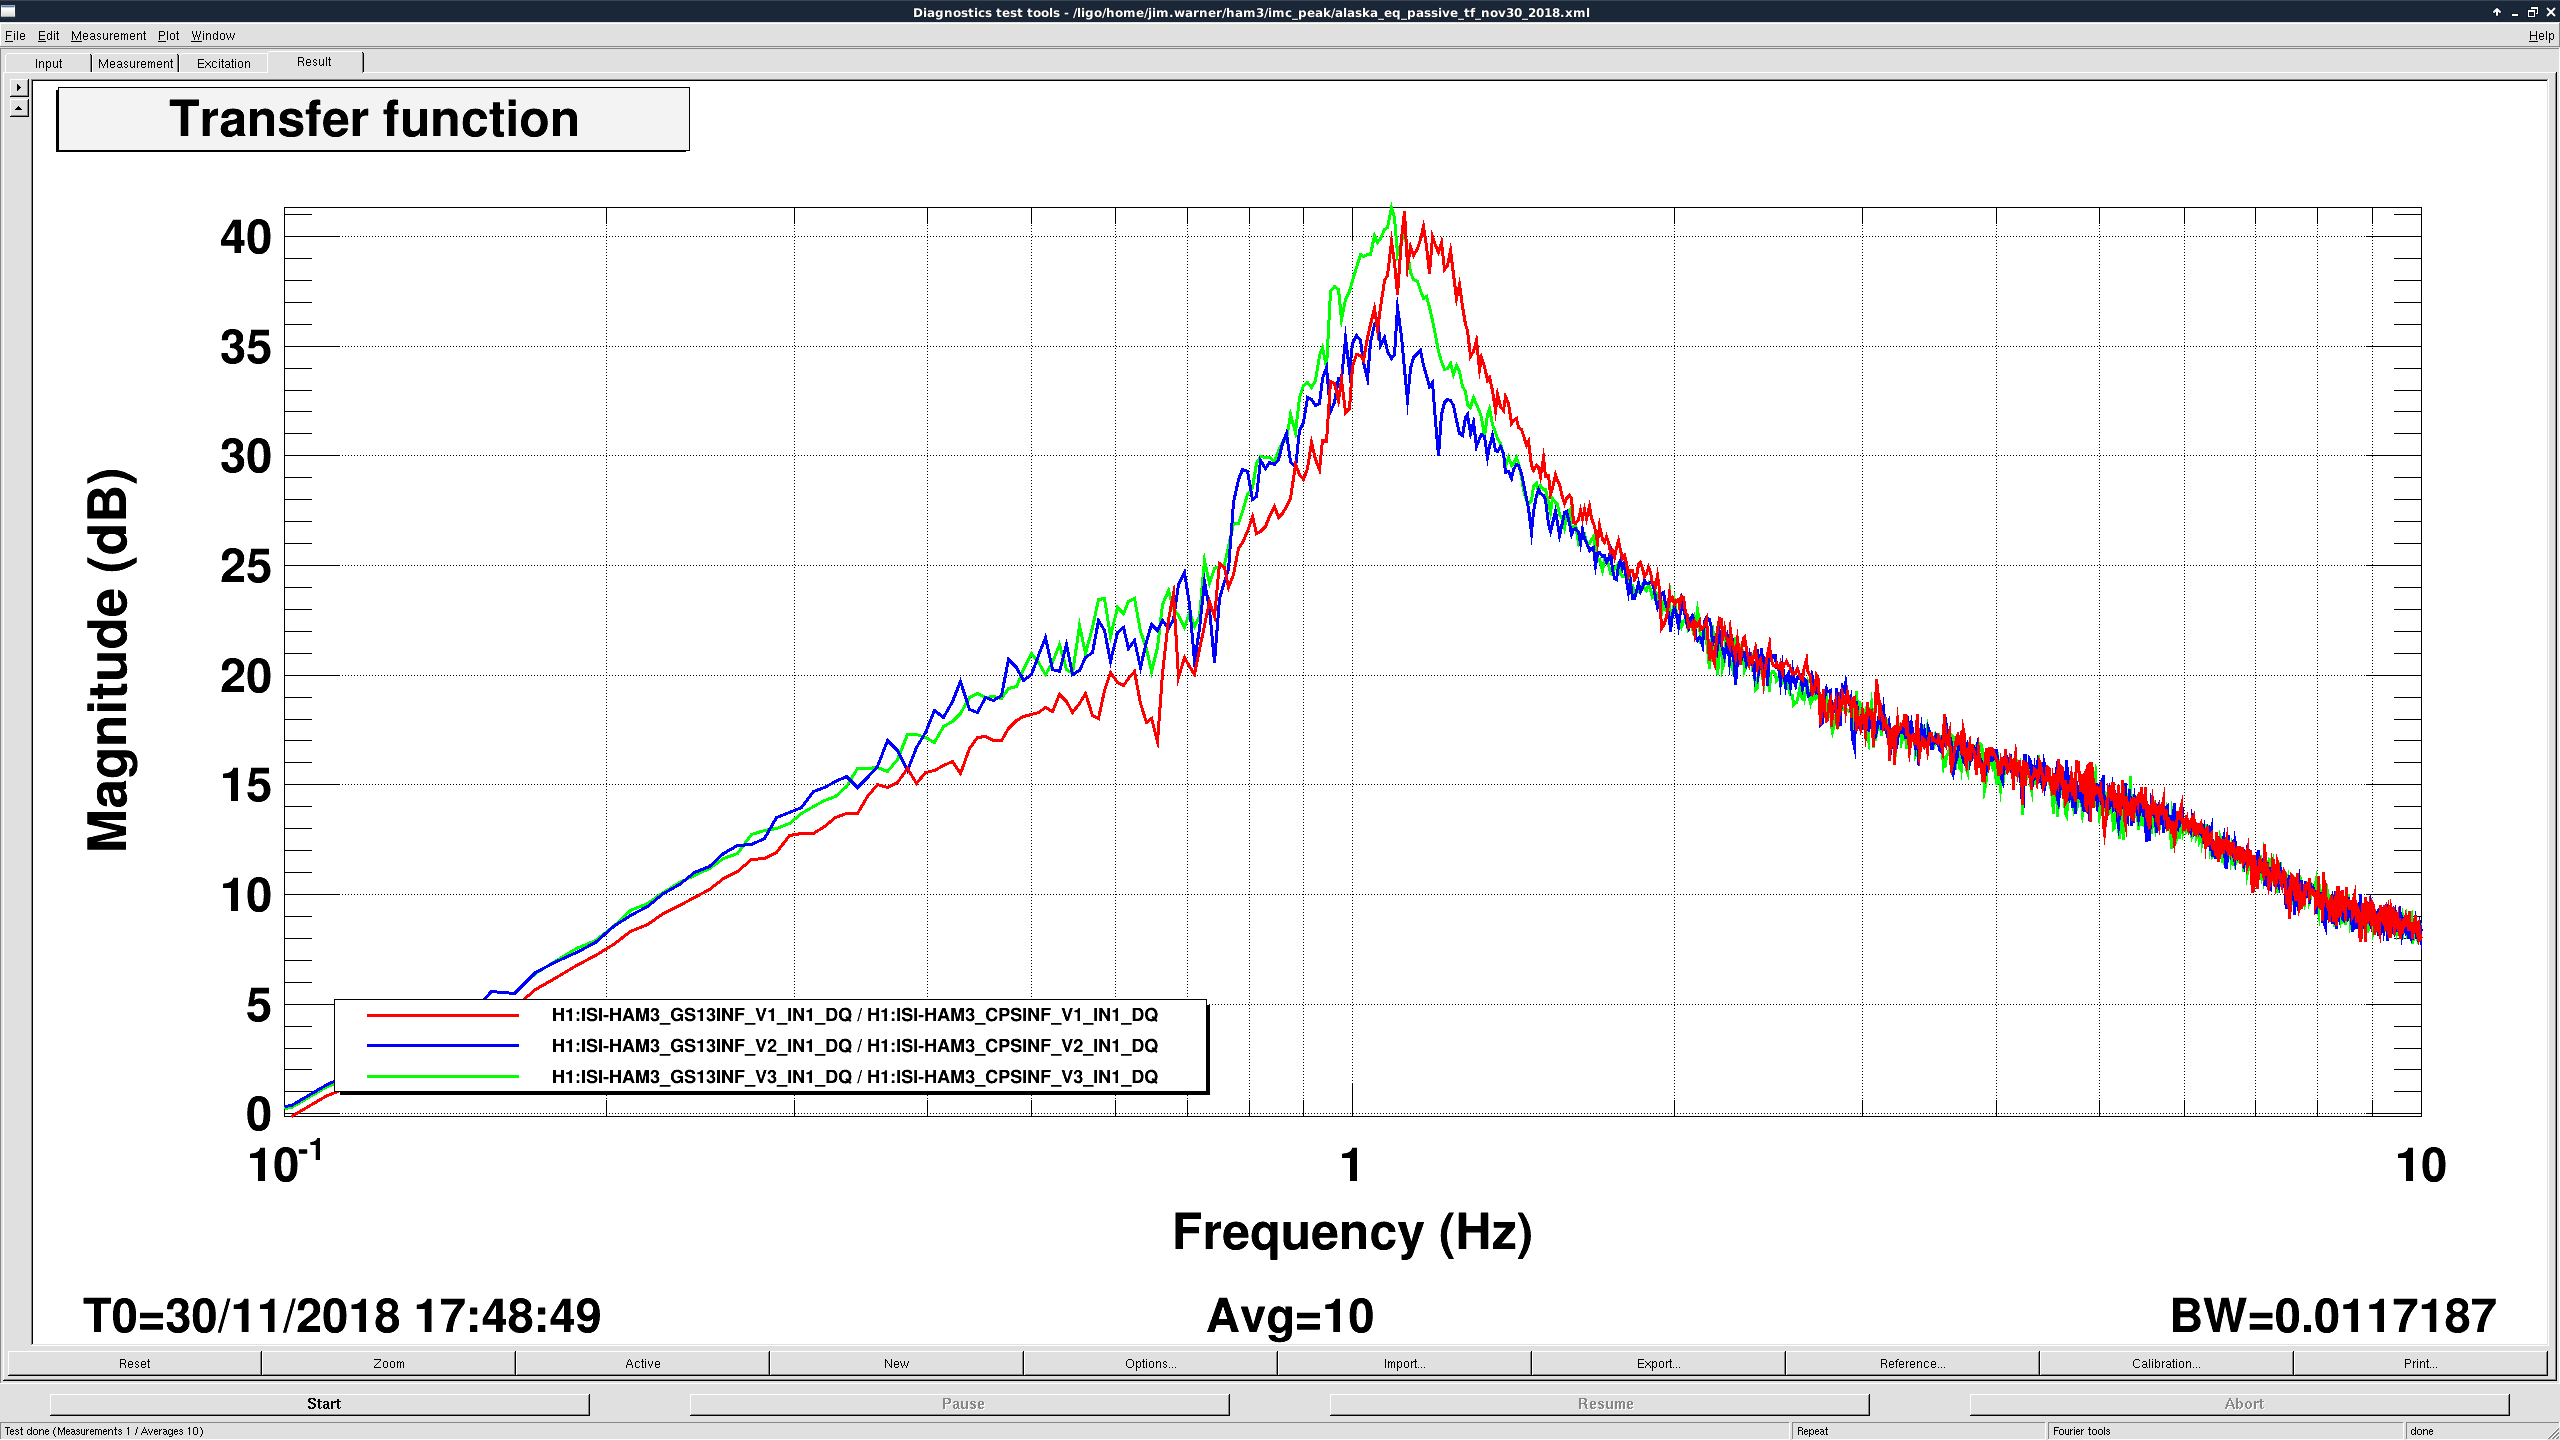
This means that right now H1:LSC-REFL_B_RF9_[QI] is equivalent of H1:LSC-REFL_A_[IQ] except for the sign of B_RF9_Q (no screenshot of fine tuning measurement as the lock was lost during the measurement).
We need a longer cable for the patch panel to the demod than the current one to delay the photodetector side. For safety margin we'd like to add more than 30 deg, so let's say 40 deg ~ 12 ns ~ 2.4m longer than the current cable, then use delay line to delay the LO side a bit.


The new cable was made by Fil and swapped by me at around 14:30 Dec/03/2018 local time.
The lock was lost while tuning the analog phase so it's not fine-tuned yet.